A garden bench is more than just a seating option—it’s a statement piece, a cozy nook for reading, a gathering spot for friends, and a decorative element that elevates your outdoor space. While store-bought benches can be expensive or generic, DIY garden benches allow you to customize your seating, fit your space perfectly, and add a personal touch to your garden.
In this article, we’ll explore five creative DIY garden bench ideas, complete with detailed instructions, materials, and tips, so you can build a functional and stylish bench that enhances your backyard or patio.
Why Add a Garden Bench?
Before diving into DIY projects, it’s important to understand why a garden bench is a great addition:
- Comfortable Seating: Provides a dedicated spot to relax and enjoy your garden.
- Focal Point: Acts as a decorative centerpiece, especially when paired with plants or garden art.
- Multi-Functional: Can serve as seating, a display surface for pots, or even storage if designed creatively.
- Encourages Outdoor Time: Creates inviting spaces to enjoy fresh air, read, or entertain.
- Customizable: DIY benches can fit any style, size, or material preference.
1. Classic Wooden Slat Bench
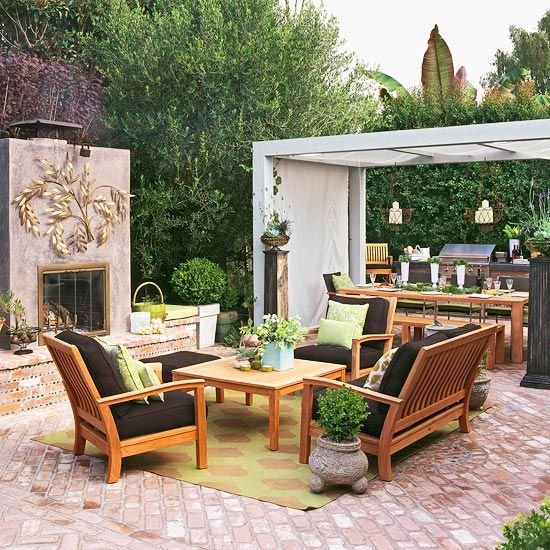
A timeless design that fits most gardens, patios, and balconies.
Materials Needed:
- Wooden planks (cedar, pine, or redwood)
- Wood screws or nails
- Wood glue
- Sandpaper
- Outdoor wood sealant or paint
Steps to Build:
- Cut Planks: Measure and cut planks for the seat, backrest, and legs.
- Assemble the Seat: Arrange planks side by side and attach to two perpendicular supports.
- Attach Legs: Secure four legs with screws and glue.
- Add Backrest: Attach a backrest plank at a slight angle for comfort.
- Finish: Sand edges and apply sealant or outdoor paint for durability.
Tip: Customize length to fit your space; add cushions for extra comfort.
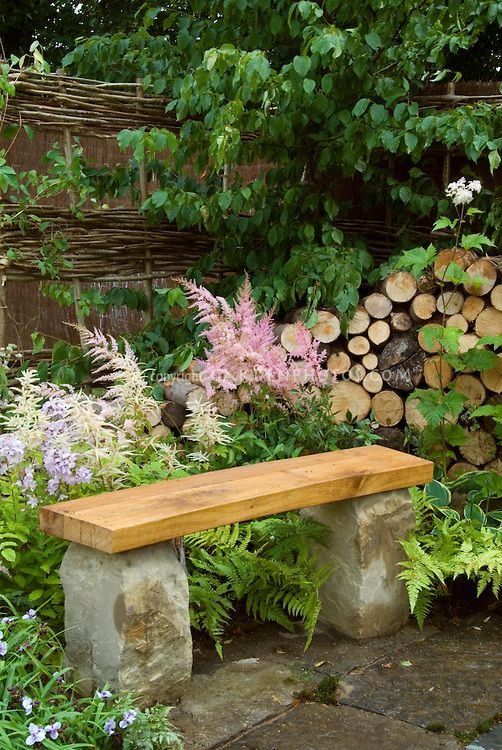
2. Rustic Log Bench
Perfect for natural or woodland-style gardens, a log bench uses minimal cutting and brings rustic charm.
Materials Needed:
- Thick wooden logs for legs
- Long, flat wooden plank for the seat
- Wood screws or metal brackets
Steps to Build:
- Select Logs: Choose logs with flat surfaces for stability.
- Cut Seat Plank: Ensure it’s long enough to rest on both sets of logs.
- Attach Seat: Secure the plank to the logs using screws or brackets.
- Level Bench: Make sure the legs are stable and level for safe seating.
Tip: Leave the wood natural for a rustic feel or treat with outdoor sealant to prevent rot.
3. Pallet Wood Garden Bench
A cost-effective and eco-friendly option, ideal for casual or modern gardens.
Materials Needed:
- Wooden pallets (1–2, depending on size)
- Screws and nails
- Sandpaper
- Outdoor paint or stain
Steps to Build:
- Disassemble Pallets: Remove nails carefully and sand planks.
- Build Seat: Use multiple planks to form the seat and attach them to side supports.
- Add Legs and Backrest: Use additional pallet wood to create sturdy legs and a simple backrest.
- Finishing Touches: Sand rough edges and apply paint or wood stain.
Tip: You can also add storage under the seat using leftover pallet wood.
4. Concrete and Wood Bench
For a modern, durable garden accent, combine concrete legs with a wooden seat.
Materials Needed:
- Concrete blocks or cast legs
- Wooden plank for the seat
- Wood screws and brackets
- Sandpaper and sealant
Steps to Build:
- Prepare Legs: Place concrete blocks or cast legs at both ends.
- Cut Seat Plank: Ensure it’s wide enough to cover the legs.
- Secure Seat: Attach plank to legs with screws and brackets for stability.
- Finish: Sand edges and treat wood with outdoor sealant to resist weather.
Tip: Concrete legs can be painted or left natural for a minimalist aesthetic.
5. Reclaimed Wood and Storage Bench
This design doubles as seating and storage, perfect for small patios or garden sheds.
Materials Needed:
- Reclaimed wood or old furniture pieces
- Hinges
- Screws and nails
- Sandpaper
- Outdoor sealant
Steps to Build:
- Construct the Box: Create a rectangular box from reclaimed wood to act as storage.
- Attach Seat with Hinges: Place a wooden plank on top, securing it with hinges for easy lifting.
- Add Legs or Base Supports: Ensure the box is stable and slightly elevated off the ground.
- Finishing Touches: Sand and seal the wood to protect from rain and sun.
Tip: Store gardening tools, cushions, or outdoor toys inside while keeping a functional seating area.
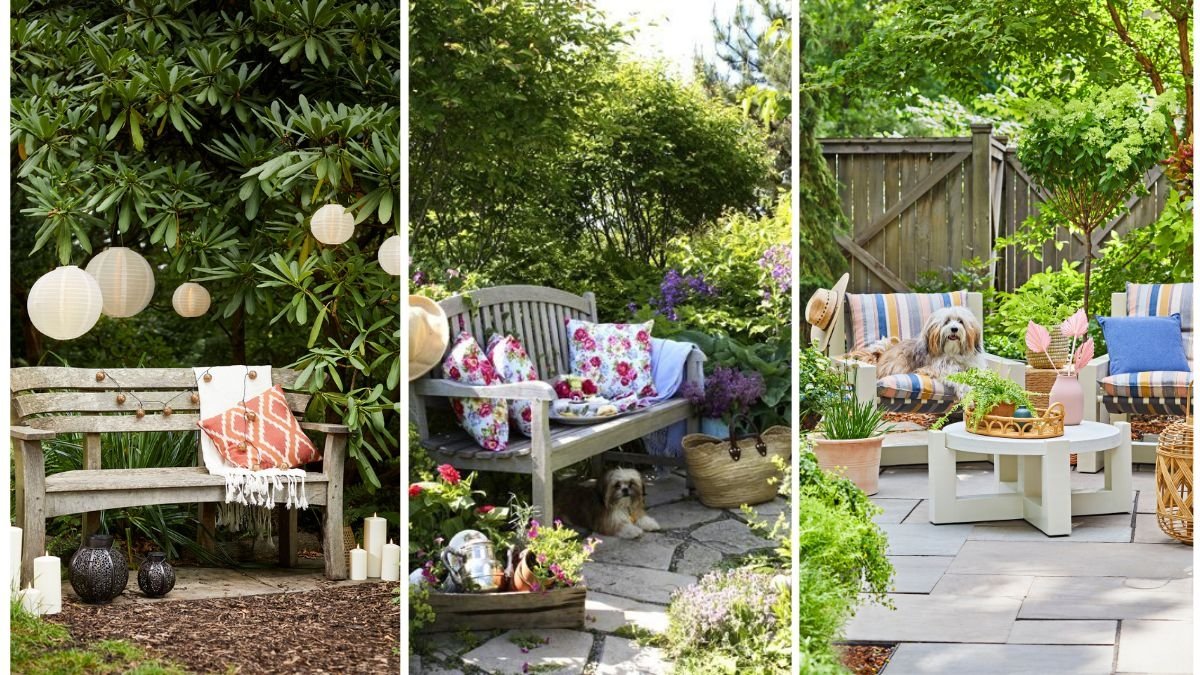
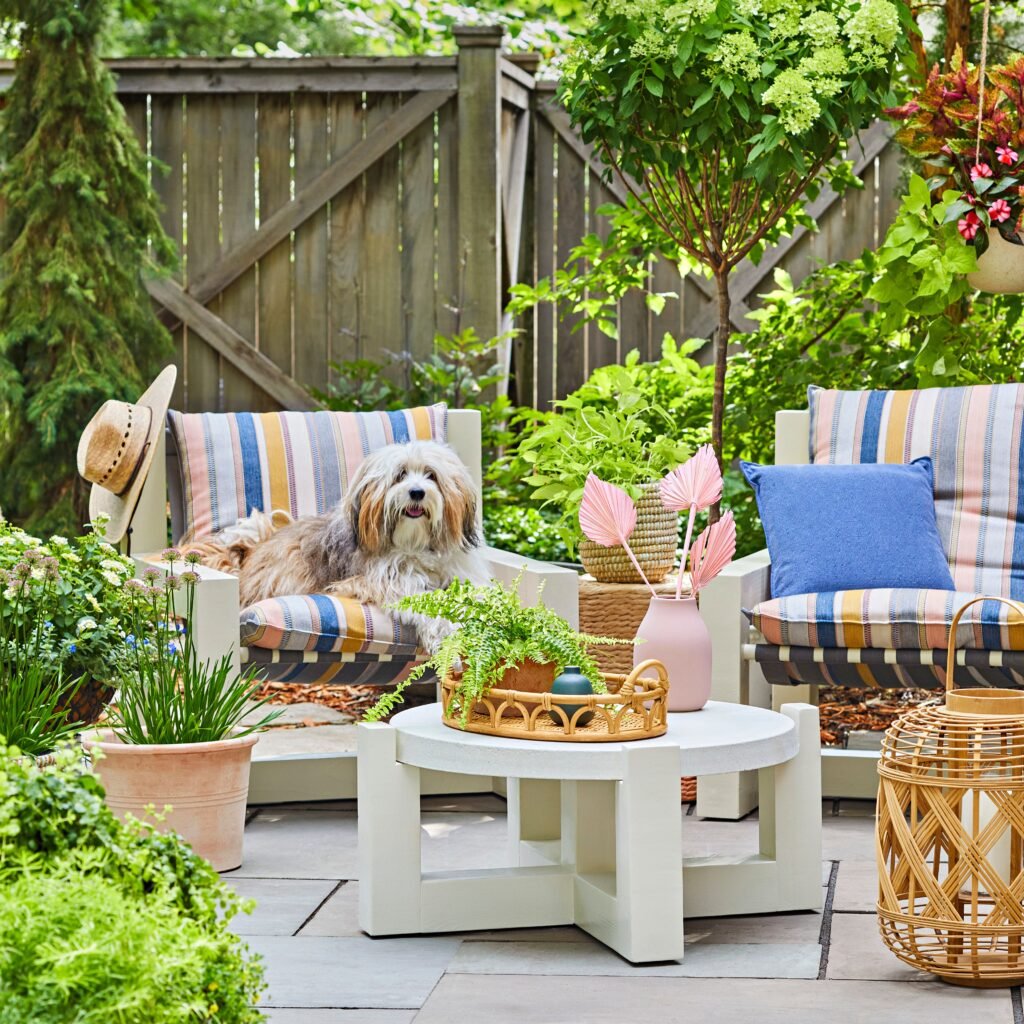
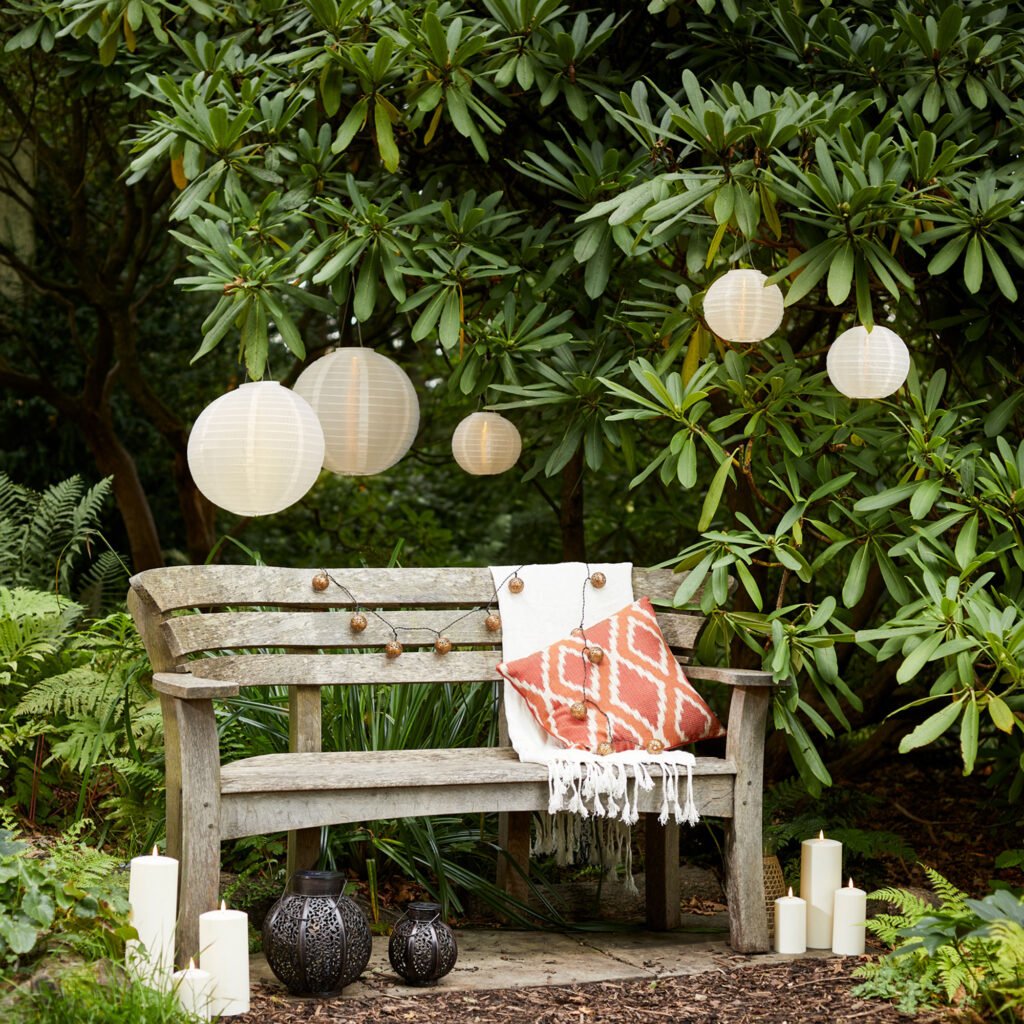
Placement and Styling Tips
- Choose a Spot: Place your bench in a shaded area, near a flower bed, under a tree, or along a pathway.
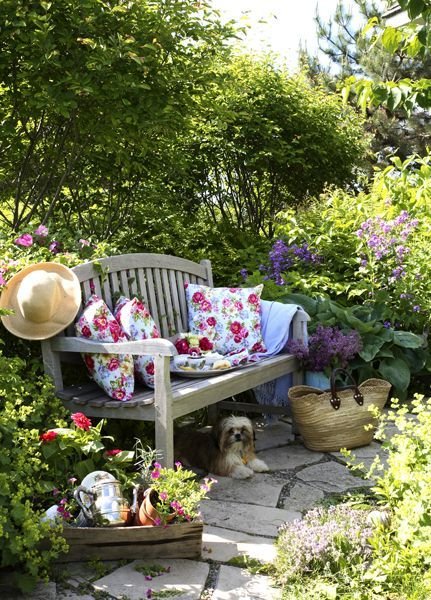
- Add Cushions and Throws: Make your bench more comfortable and inviting.
- Pair with Planters: Surround your bench with potted plants, flowers, or small shrubs for a cozy nook.
- Lighting: Consider string lights or solar garden lamps to create a warm evening ambiance.
- Functional Arrangement: Ensure space around the bench for walking or adding side tables for drinks and snacks.
Maintenance Tips
- Wood Treatment: Apply outdoor sealant annually to protect against moisture and sun damage.
- Cleaning: Wipe down the bench regularly to remove dust, dirt, and debris.
- Inspect for Damage: Check screws, nails, and joints to maintain stability.
- Cushion Care: Remove and store cushions during rain or winter months to extend their life.
- Repaint or Stain: Refresh your bench every few years to maintain its appearance and durability.
Benefits of DIY Garden Benches
- Customizable: Choose the size, style, and materials to match your garden.
- Cost-Effective: Use reclaimed wood, pallets, or inexpensive materials to save money.
- Eco-Friendly: Repurposing wood reduces waste and environmental impact.
- Creative Expression: Personalize designs with paint, cushions, and decorative touches.
- Functional and Decorative: Provides comfortable seating while enhancing garden aesthetics.
Conclusion
Building a DIY garden bench is a rewarding project that combines creativity, functionality, and style. From the timeless wooden slat bench to the rustic charm of a log bench, the cost-effective pallet wood bench, modern concrete and wood design, or storage bench, there are countless ways to craft a bench that fits your outdoor space and needs.
By carefully selecting materials, following construction steps, and maintaining your bench properly, you can create a durable, comfortable, and beautiful seating area. A well-placed garden bench not only provides a spot to relax but also enhances the overall design, making your backyard or patio a welcoming retreat for family, friends, and even wildlife.
Whether you’re enjoying morning coffee, reading a book, or hosting garden gatherings, a DIY garden bench adds comfort, style, and personality to your outdoor space.
Leave A Comment