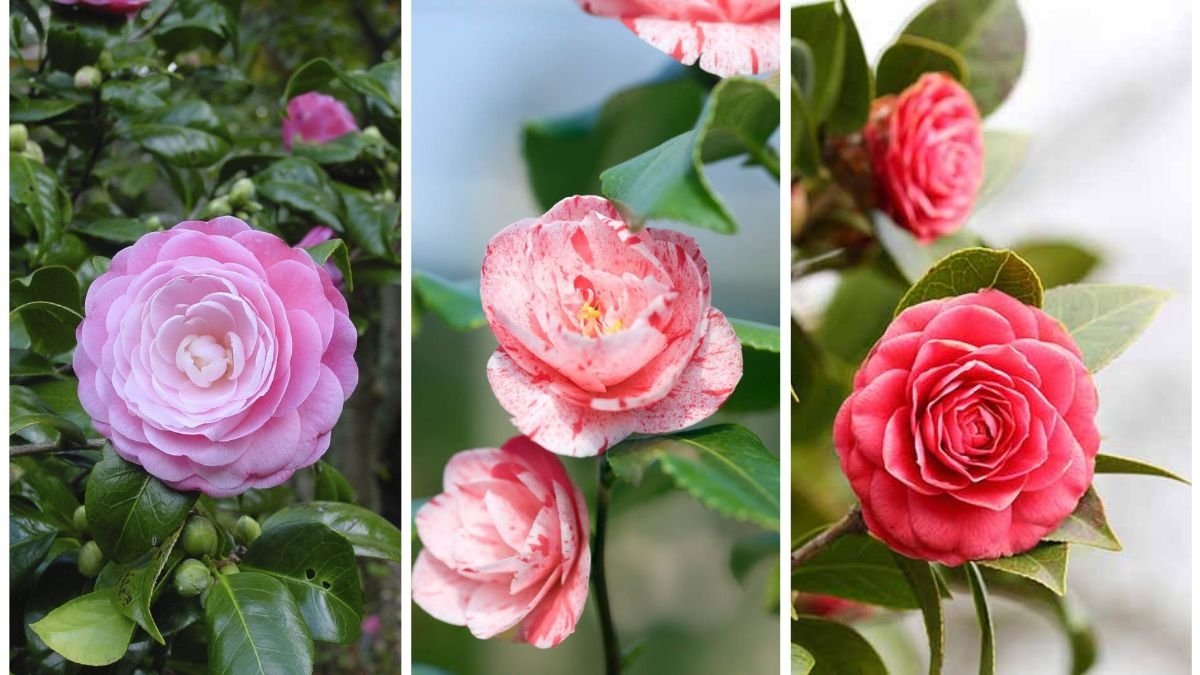
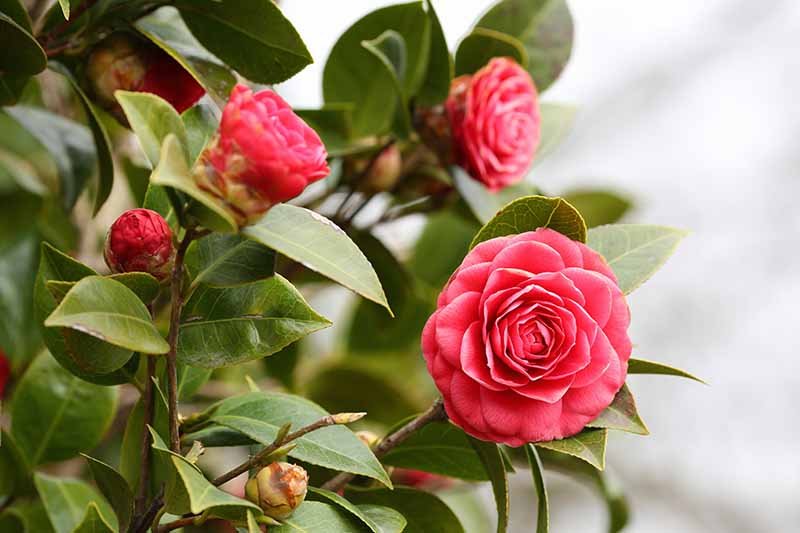
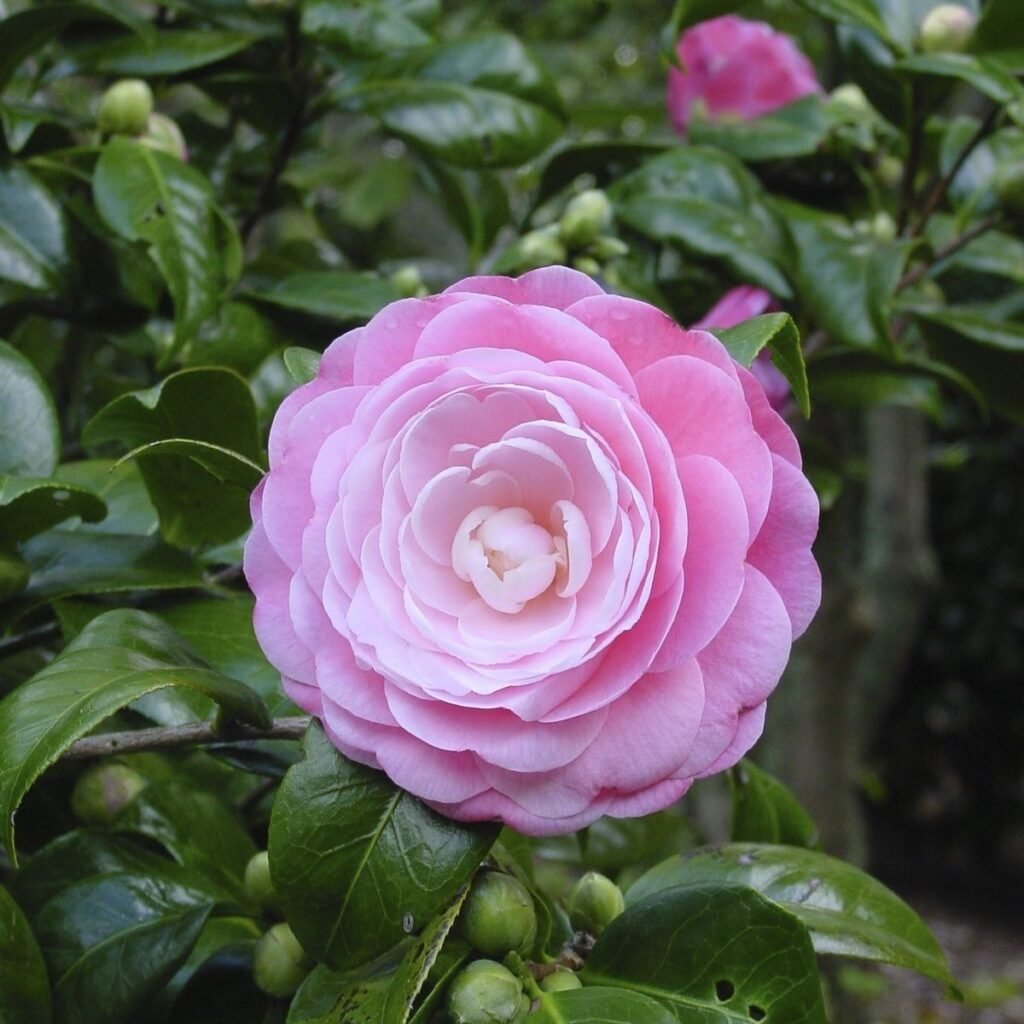
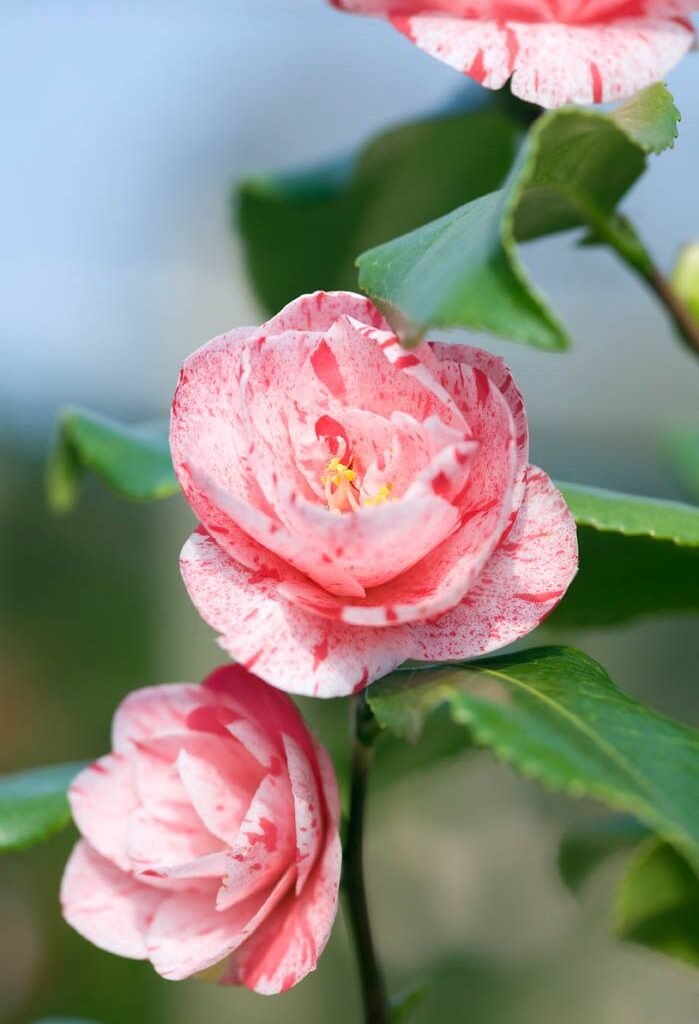
Camellias are elegant, evergreen shrubs admired for their glossy leaves and show-stopping flowers. With blooms in shades of white, pink, red, and even variegated patterns, camellias are a favorite choice for gardeners looking to add beauty and charm to their outdoor spaces. While they may seem delicate, camellias are surprisingly resilient and can thrive with proper care.
This comprehensive guide provides beginner-friendly tips for growing camellias successfully—from selecting the right variety to planting, watering, fertilizing, and managing pests. By following these guidelines, you can enjoy stunning camellia blooms for many seasons.
Why Grow Camellias?
Camellias are popular among gardeners for several reasons:
- Long Blooming Season: Many camellias bloom in fall, winter, or early spring, adding color when few other plants do.
- Evergreen Foliage: Their glossy, dark-green leaves provide year-round beauty.
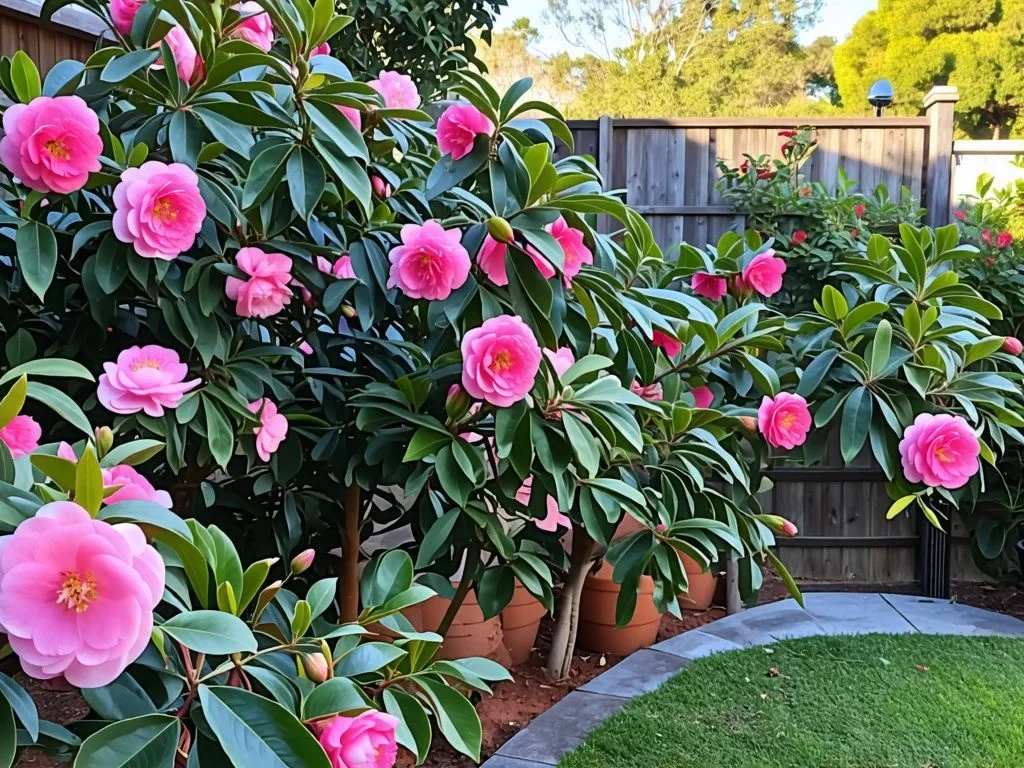
- Versatility: They can be grown as hedges, specimen plants, or in containers.
- Low-Maintenance: Once established, camellias require minimal pruning.
- Wildlife-Friendly: Flowers attract pollinators such as bees.
Understanding the appeal of camellias can motivate beginners to invest in proper care and maintenance.
Step 1: Choosing the Right Camellia Variety
There are two main types of camellias to consider:
- Camellia Japonica
- Most commonly grown species.
- Produces large, showy flowers in early to mid-spring.
- Prefers partial shade and sheltered locations.
- Ideal for hedges or specimen planting.
- Camellia Sasanqua
- Blooms in fall to early winter.
- Smaller leaves and flowers than C. japonica.
- More tolerant of sun and wind.
- Suitable for smaller spaces or containers.
Tip: Choose a variety suited to your climate and the desired bloom time. Japanese camellias thrive in cooler, shaded areas, while sasanquas handle more sun.
Step 2: Selecting the Right Location
Camellias thrive in specific conditions, and proper placement is crucial:
- Sunlight: Prefer partial shade. Morning sun with afternoon shade is ideal to prevent leaf scorch.
- Soil: Well-draining, acidic soil with pH 5.5–6.5. Avoid waterlogged soil, which can cause root rot.
- Shelter: Plant near buildings or trees for protection from strong winds and frost.
- Space: Camellias can grow 6–12 feet tall, so provide ample space for growth and airflow.
Pro Tip: Test soil pH before planting and amend with peat moss or sulfur to increase acidity if necessary.
Step 3: Planting Camellias
Proper planting is key to establishing healthy camellias:
- Timing: Plant in fall or early spring when temperatures are moderate.
- Planting Hole: Dig a hole twice as wide and as deep as the root ball.
- Soil Preparation: Mix garden soil with organic matter such as compost, pine bark, or peat moss to improve drainage.
- Planting Depth: Place the camellia slightly higher than the surrounding soil to prevent water pooling around the crown.
- Watering: Water thoroughly after planting to help settle the soil and eliminate air pockets.
- Mulching: Apply 2–3 inches of mulch around the base to retain moisture and regulate soil temperature, but keep mulch away from the trunk to prevent rot.
Step 4: Watering and Moisture Management
Consistent moisture is crucial for camellias, especially during establishment:
- Watering Frequency: Deeply water once or twice a week, depending on rainfall.
- Soil Moisture: Keep soil evenly moist but not waterlogged.
- Container Plants: Water more frequently as pots dry out faster.
- Signs of Underwatering: Wilting leaves, brown leaf tips, and poor flower development.
- Signs of Overwatering: Yellowing leaves and root rot.
Pro Tip: Use drip irrigation or soaker hoses to maintain consistent soil moisture without wetting foliage.
Step 5: Fertilizing Camellias
Proper fertilization encourages healthy growth and vibrant blooms:
- Timing: Fertilize in early spring after blooming and again in early summer.
- Type: Use fertilizers formulated for acid-loving plants. Avoid high-nitrogen fertilizers that promote leaf growth at the expense of flowers.
- Application: Follow package instructions and avoid fertilizing during late fall or winter.
- Soil Amendment: Add organic matter such as compost or well-rotted manure annually to improve fertility.
Step 6: Pruning and Shaping
Camellias require minimal pruning, but light pruning improves air circulation and maintains shape:
- Timing: Prune immediately after flowering to avoid removing flower buds for the next season.
- Method: Remove dead, damaged, or weak branches. Thin out crowded areas to allow light penetration.
- Shaping: Trim lightly to maintain desired shape, whether as a hedge, specimen plant, or container shrub.
- Avoid Heavy Pruning: Camellias bloom on old wood, so excessive pruning can reduce flowers.
Step 7: Pest and Disease Management
Although camellias are generally hardy, they can face a few pests and diseases:
Common Pests
- Aphids: Small insects feeding on sap, causing distorted leaves.
- Scale Insects: Appear as small bumps on stems and leaves.
- Spider Mites: Cause stippling and fine webbing on leaves.
Treatment: Use horticultural oil, insecticidal soap, or natural predators like ladybugs.
Common Diseases
- Camellia Petal Blight: Brown spots on petals, causing flowers to collapse.
- Root Rot: Caused by poor drainage or overwatering.
- Leaf Gall: Swollen or thickened leaves, often from fungal infection.
Prevention:
- Plant in well-draining soil.
- Avoid wetting leaves when watering.
- Maintain good air circulation around plants.
Step 8: Seasonal Care Tips
Spring
- Fertilize after flowering.
- Lightly prune for shape.
- Mulch to conserve moisture.
Summer
- Maintain consistent watering.
- Protect from intense afternoon sun if necessary.
- Monitor for pests like aphids or spider mites.
Fall
- Mulch to insulate roots against winter temperatures.
- Reduce fertilization to allow the plant to prepare for dormancy.
Winter
- Protect young or sensitive camellias from frost using burlap or frost cloth.
- Water during dry spells if the soil is not frozen.
- Avoid fertilizing, as growth is minimal during cold months.
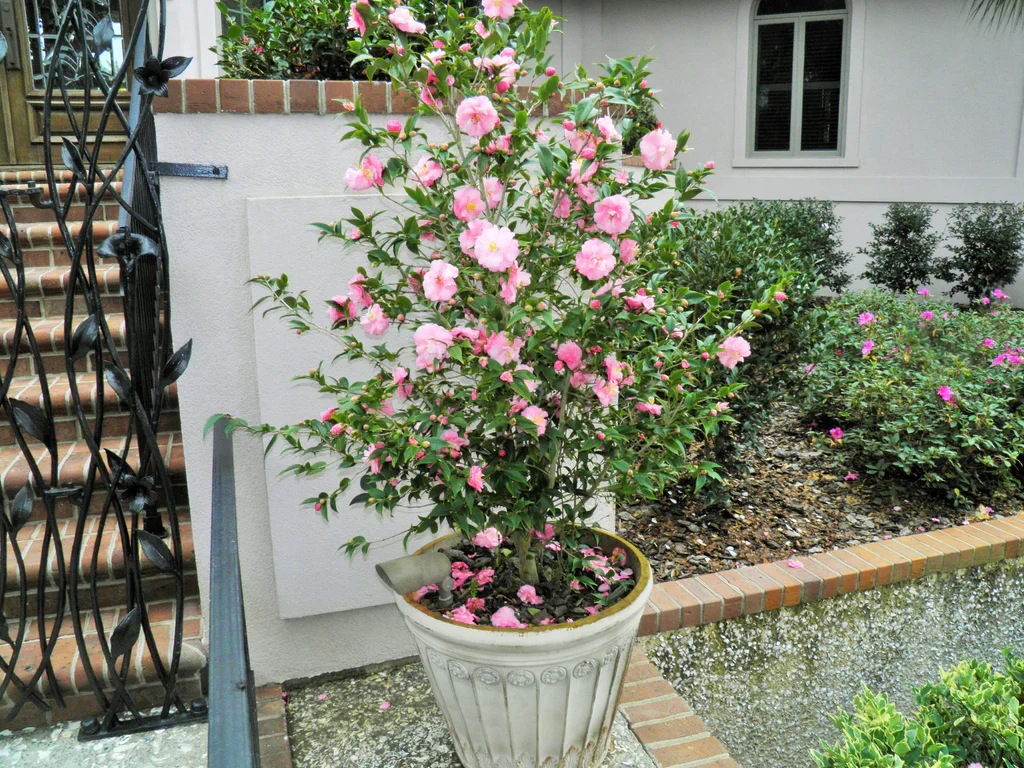
Growing Camellias in Containers
For limited space, camellias thrive in pots:
- Container Size: Large enough for roots to expand (at least 15–20 gallons).
- Soil: Use acidic, well-draining potting mix with added compost or pine bark.
- Watering: Monitor moisture closely; containers dry out faster than garden soil.
- Fertilizing: Apply slow-release, acid-forming fertilizer in spring and early summer.
- Winter Care: Move containers to a sheltered spot or indoors during extreme frost.
Common Mistakes Beginners Make
- Overwatering: Leads to root rot and fungal diseases.
- Planting in Full Sun: Can scorch leaves and reduce blooms.
- Heavy Pruning in Spring: Removes flower buds and reduces blooms.
- Ignoring Soil pH: Alkaline soil causes nutrient deficiencies and poor growth.
- Neglecting Mulch: Mulch protects roots, conserves moisture, and regulates temperature.
Final Thoughts
Growing camellias as a beginner gardener is highly rewarding. These stunning shrubs provide year-round visual appeal, striking blooms, and evergreen foliage that enhance any garden or landscape. By understanding their needs—from soil, sunlight, and water to seasonal care, pruning, and pest management—you can ensure healthy growth and vibrant flowers season after season.
Whether planted as hedges, specimen plants, or in decorative containers, camellias are a versatile and elegant addition to your outdoor space. With patience and consistent care, even beginners can enjoy the beauty and charm of camellias, creating a garden filled with color, texture, and grace for many years.
Leave A Comment