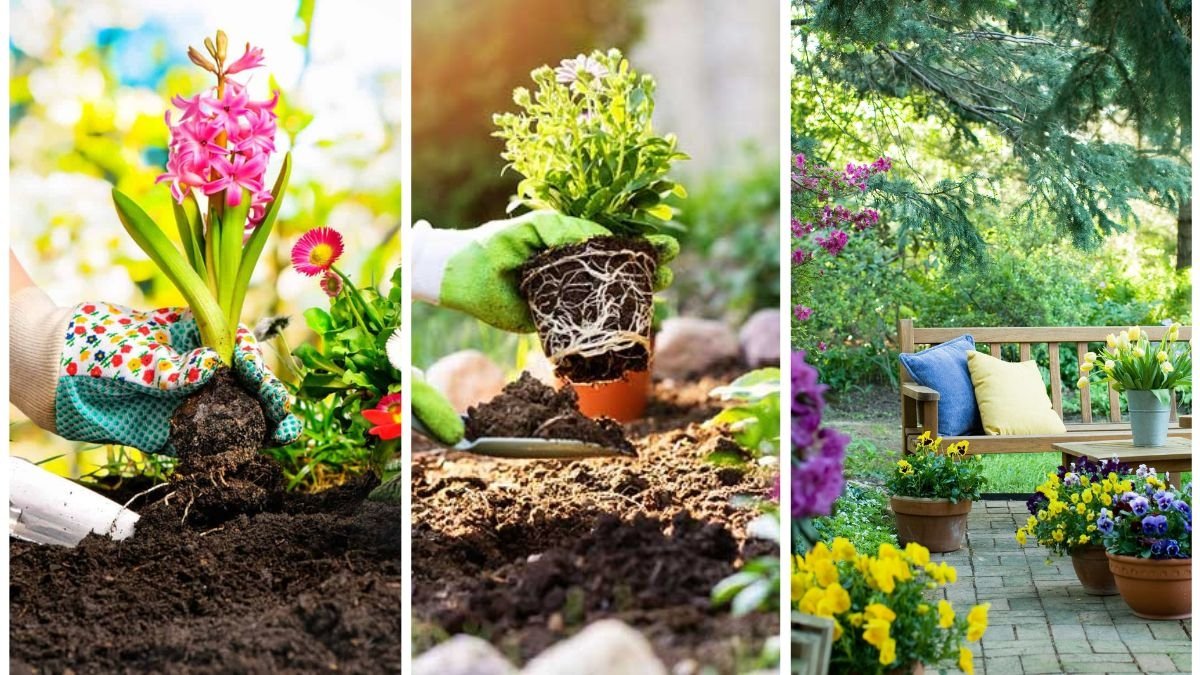
Spring is one of the most exciting seasons for gardeners. After months of winter dormancy, nature begins to awaken, and your garden is ready for a fresh start. Preparing your garden properly for spring planting ensures healthier soil, stronger plants, and a more productive growing season. Whether you’re growing vegetables, flowers, or herbs, the steps you take now can make all the difference in your garden’s success.
This guide will walk you through effective strategies to prepare your garden for spring planting, from cleaning and soil preparation to planning, fertilizing, and protecting young plants.
Step 1: Clean Up the Garden Beds
The first step in spring preparation is giving your garden a thorough cleanup.
- Remove Debris: Clear away leaves, twigs, and branches that accumulated over winter. This prevents pests and diseases from lingering.
- Pull Weeds: Tackle weeds before they spread. Removing them early reduces competition for nutrients.
- Dispose of Old Plants: Uproot any dead annuals or perennials that didn’t survive the winter.
Tip: Add organic material, such as leaves or pulled weeds, to a compost pile rather than discarding them. This will provide free fertilizer later in the season.
Step 2: Inspect and Repair Garden Structures
Winter weather can be harsh on fences, trellises, raised beds, and irrigation systems.
- Check Fences and Borders: Ensure structures are intact to keep out pests like rabbits or deer.
- Repair Raised Beds: Replace broken boards or reinforce loose corners.
- Test Watering Systems: Check hoses, sprinklers, or drip irrigation for leaks or blockages.
A well-maintained structure saves time during the busy planting season.
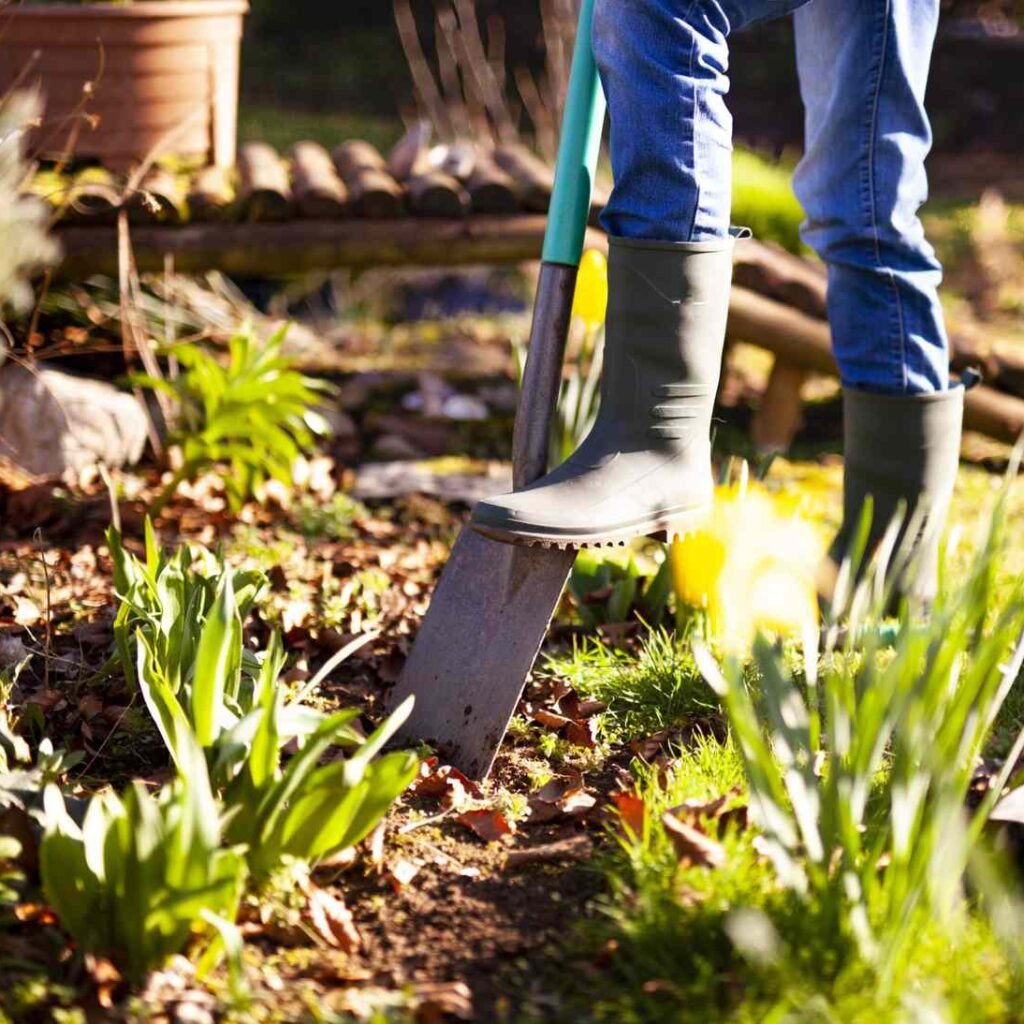
Step 3: Test and Prepare the Soil
Healthy soil is the foundation of a productive garden.
Test the Soil
Use a home soil testing kit or send a sample to a local extension service. Tests will reveal the pH level and nutrient content, guiding your choice of amendments.
- Ideal pH: Most vegetables and flowers thrive in slightly acidic to neutral soil (6.0–7.0).
- Nutrient Balance: Look for deficiencies in nitrogen, phosphorus, or potassium.
Improve Soil Quality
- Add Compost: Enriches soil with organic matter and improves structure.
- Mix in Fertilizer: Apply balanced organic or slow-release fertilizers based on soil test results.
- Loosen Compacted Soil: Use a garden fork or tiller to aerate. Good drainage prevents root rot.
Tip: Incorporating organic matter like composted manure or leaf mold in early spring ensures nutrients are available once plants begin growing.
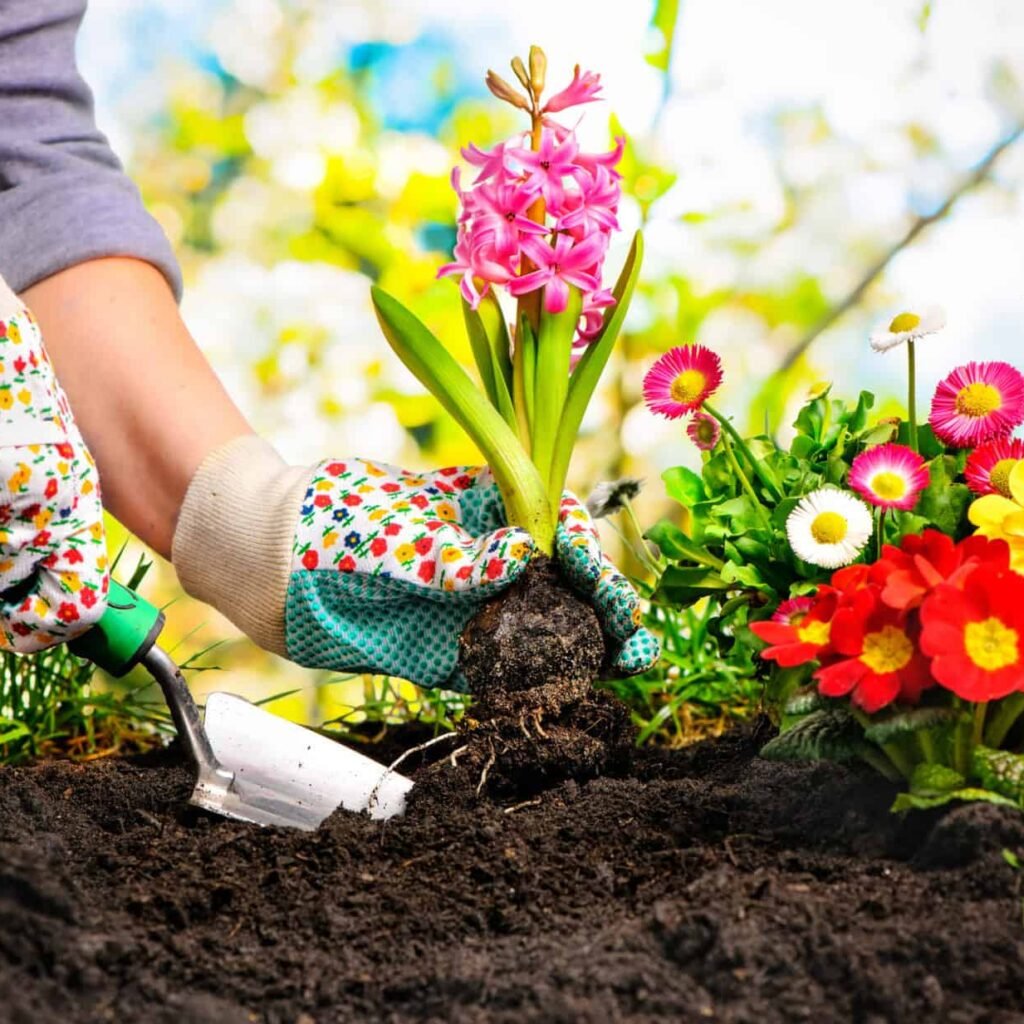
Step 4: Plan Your Planting Layout

A successful garden begins with thoughtful planning.
- Rotate Crops: Don’t plant the same crops in the same place every year. Crop rotation reduces soil depletion and pest buildup.
- Consider Sunlight: Place sun-loving plants like tomatoes, peppers, and sunflowers in the brightest spots. Shade-tolerant plants like lettuce or spinach do better in partial shade.
- Companion Planting: Pair plants that benefit each other, such as tomatoes with basil or beans with corn.
Sketch a simple layout on paper to visualize where everything will go.
Step 5: Start Seeds Indoors
Many plants benefit from being started indoors weeks before the last frost.
- Vegetables: Tomatoes, peppers, and eggplants thrive when started indoors.
- Flowers: Marigolds, zinnias, and cosmos grow well from seeds indoors.
- Timing: Check seed packets for recommended starting times, typically 6–8 weeks before transplanting.
Use seed trays with good-quality potting mix, keep them warm, and ensure they get adequate light (grow lights can be useful).
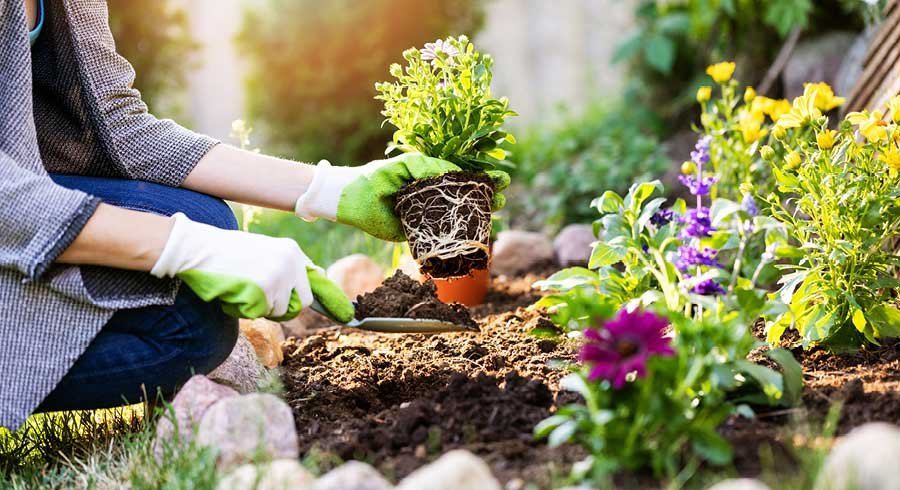
Step 6: Prune and Divide Perennials
Spring is the perfect time to encourage healthy growth in established plants.
- Prune Shrubs and Trees: Remove dead or damaged branches to allow new growth.
- Divide Overgrown Perennials: Plants like hostas, daylilies, and irises can be dug up, divided, and replanted. This keeps them healthy and provides free plants for other areas.
Pruning and dividing rejuvenate plants and keep your garden looking neat.
Step 7: Mulch for Moisture and Weed Control
Mulching is one of the simplest yet most effective steps for preparing your garden.
- Suppress Weeds: A layer of mulch prevents weed seeds from germinating.
- Retain Moisture: Mulch reduces water evaporation, keeping soil evenly moist.
- Regulate Temperature: Helps soil warm gradually in early spring and protects roots from sudden frosts.
Choose natural mulches such as shredded bark, straw, or compost. Apply 2–3 inches around plants, leaving space around stems to prevent rot.
Step 8: Set Up Pest and Disease Prevention
A proactive approach is key to avoiding infestations.
- Install Barriers: Use row covers or netting to keep insects away.
- Encourage Beneficial Insects: Ladybugs, lacewings, and bees help control pests and improve pollination.
- Rotate Crops: Prevents pests from establishing permanent homes.
- Practice Good Hygiene: Remove diseased plants immediately and disinfect tools regularly.
Taking preventive measures now saves effort later in the season.
Step 9: Water Wisely
Spring weather can be unpredictable. Prepare your watering strategy early.
- Drip Irrigation: Conserves water and delivers it directly to roots.
- Rain Barrels: Collect rainwater for an eco-friendly supply.
- Monitor Moisture: Use your finger to check soil; water when the top 2 inches are dry.
Avoid overwatering, as soggy soil can damage seedlings and roots.
Step 10: Add Finishing Touches for Beauty and Function
Gardening is not just about productivity—it’s about creating a space you love.
- Install Decorative Borders: Define garden beds with stones or wooden edges.
- Add Pathways: Use gravel or stepping stones for easy access.
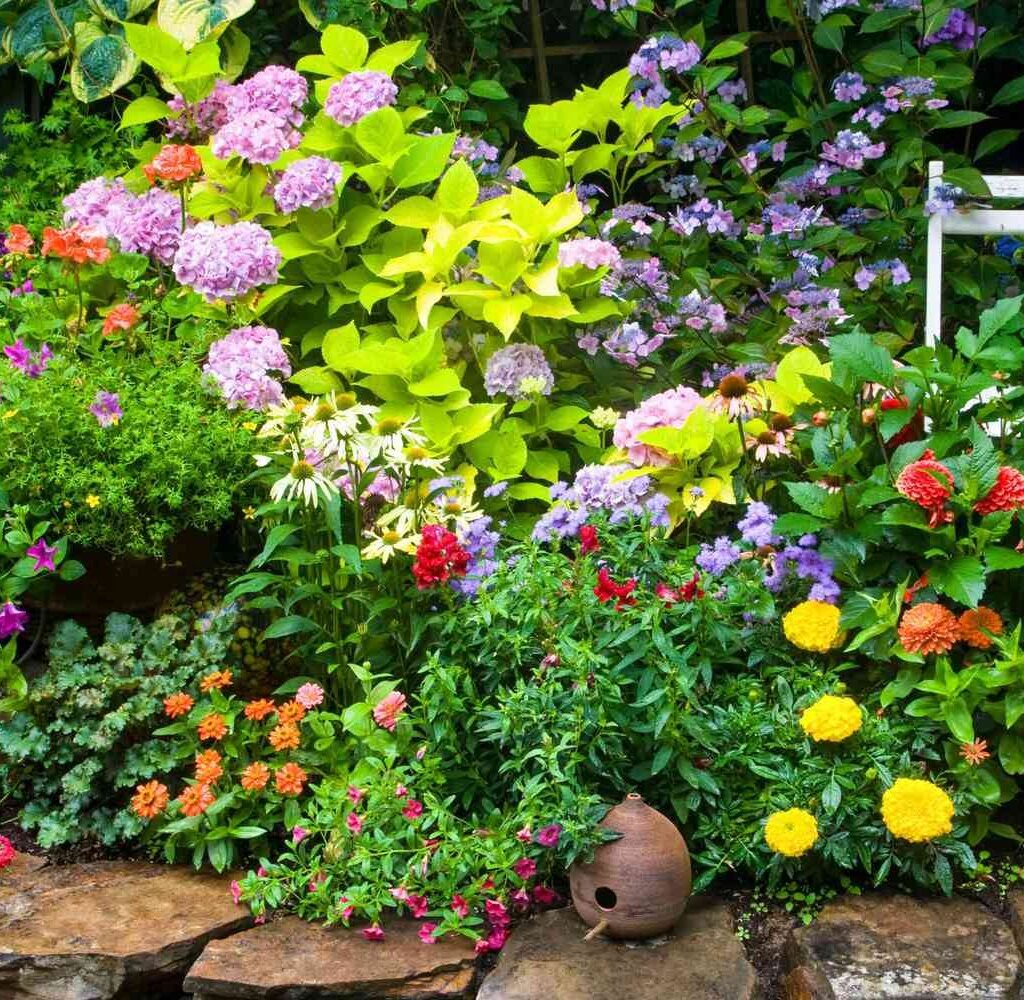
- Incorporate Garden Art: Trellises, birdbaths, or sculptures enhance beauty.
These finishing touches make your spring garden inviting and enjoyable.
Maintenance Through the Season
Once planting begins, ongoing maintenance will keep your garden thriving.
- Weed Weekly: Prevent weeds from taking over.
- Fertilize Appropriately: Feed plants based on growth stage and soil needs.
- Monitor Pests: Catch issues early before they spread.
- Harvest Regularly: Picking fruits and vegetables encourages more production.
Conclusion
Preparing your garden for spring planting is about more than just putting seeds in the soil. It’s a process of cleaning, repairing, planning, enriching, and protecting your outdoor space so that plants have the best possible start. By following these steps—from soil testing and seed starting to mulching and pest prevention—you’ll set the stage for a vibrant, productive garden all season long.
With preparation complete, your spring planting will not only be easier but far more rewarding. A well-prepared garden is a thriving garden—full of color, growth, and life that will bring joy throughout the year.
Leave A Comment