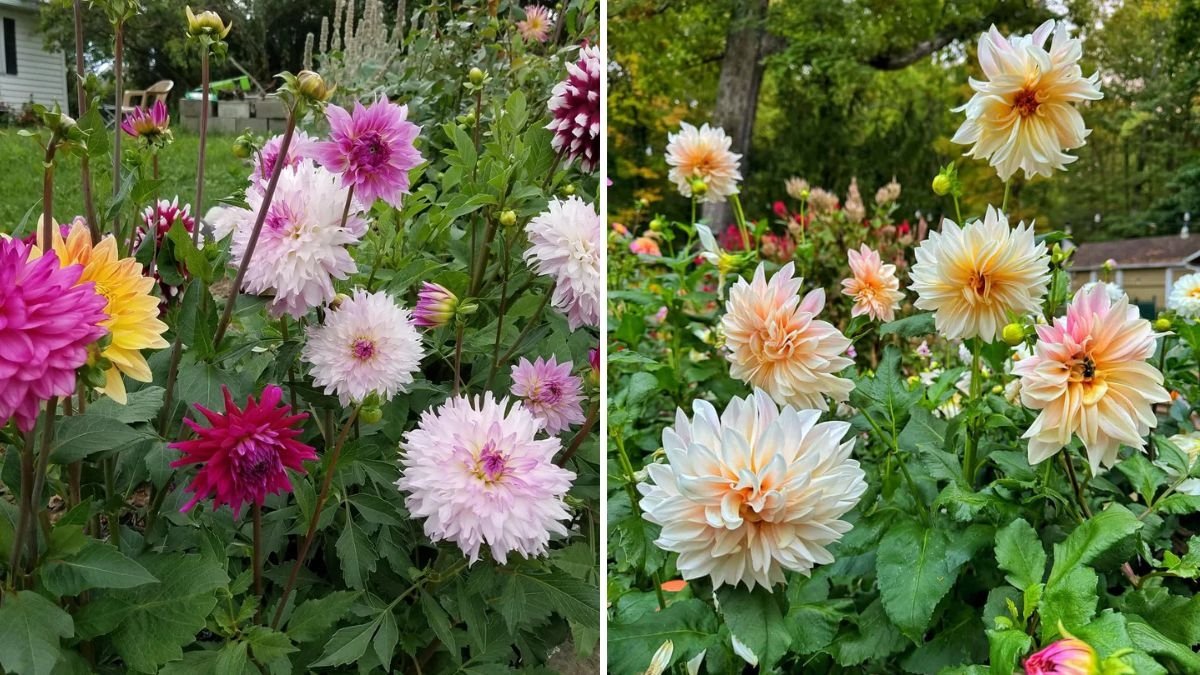
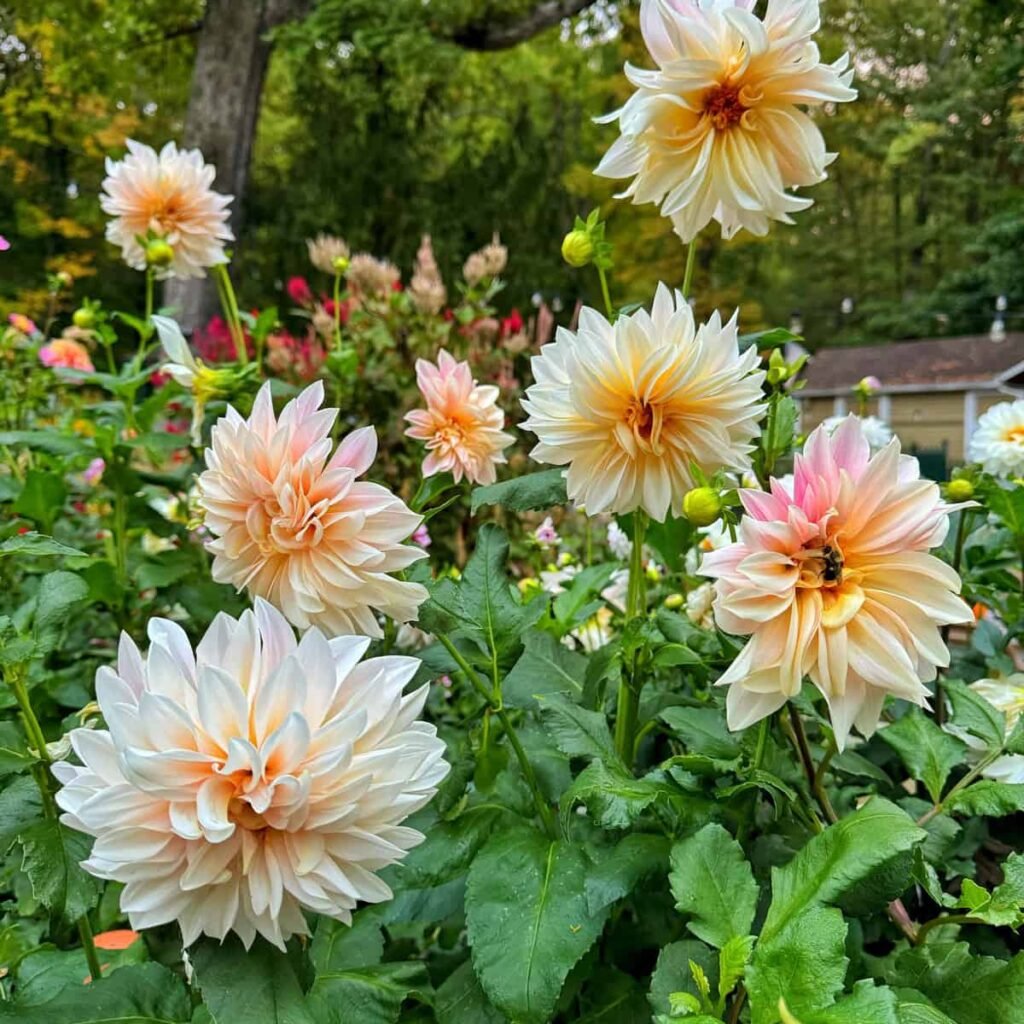
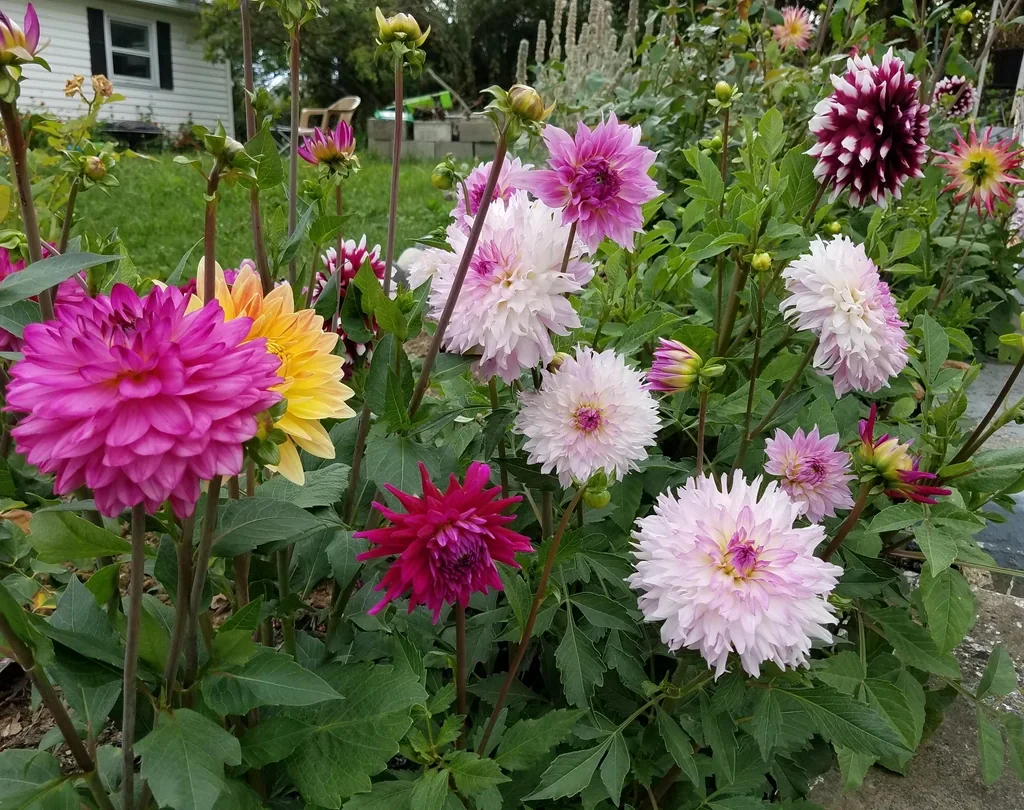
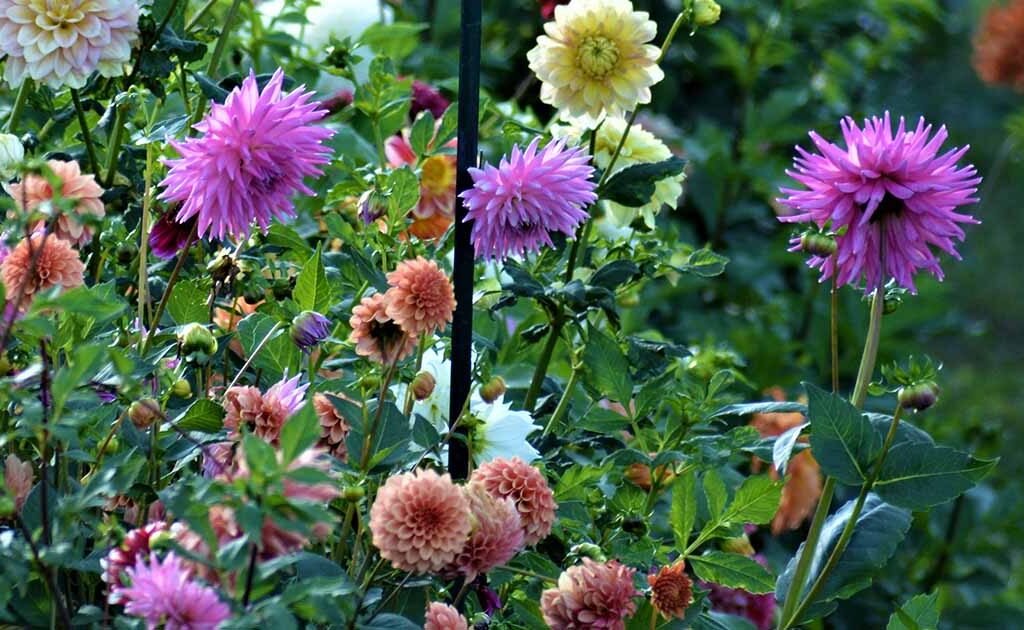
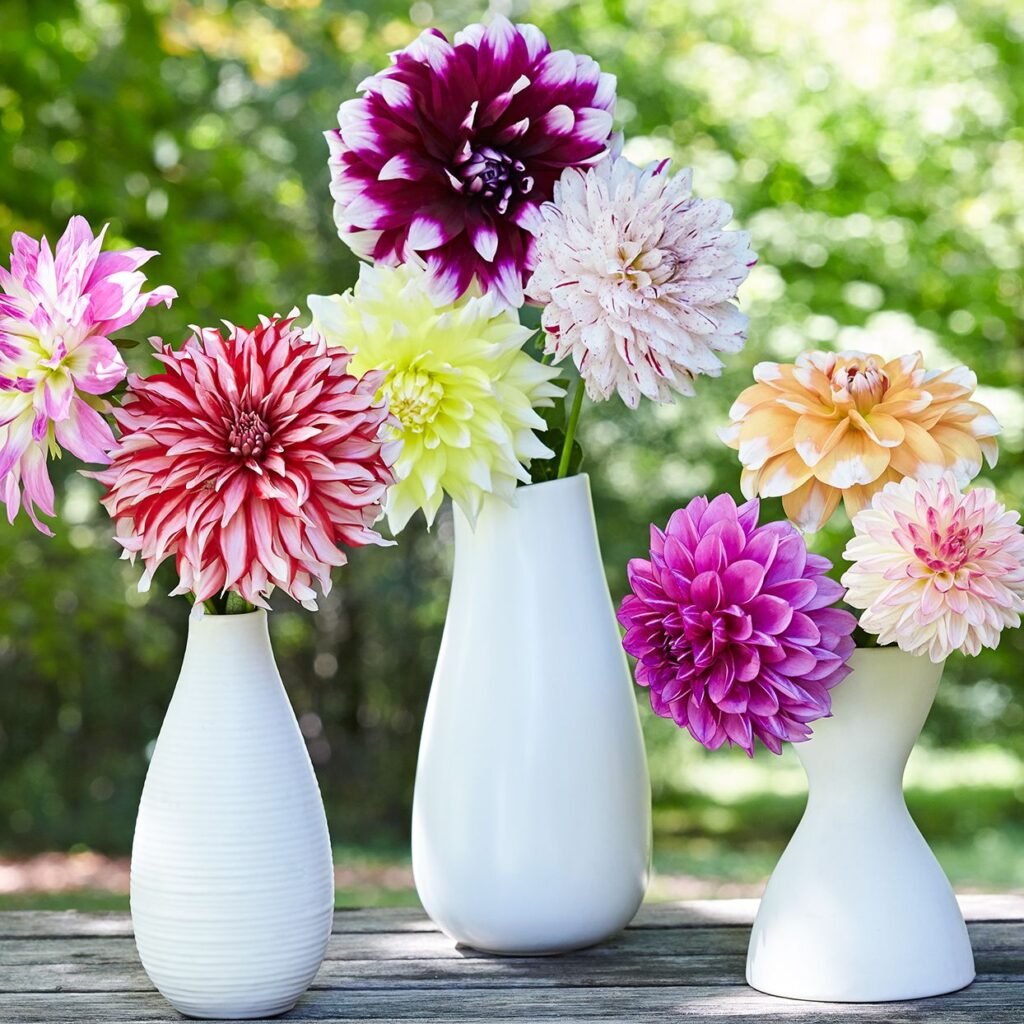
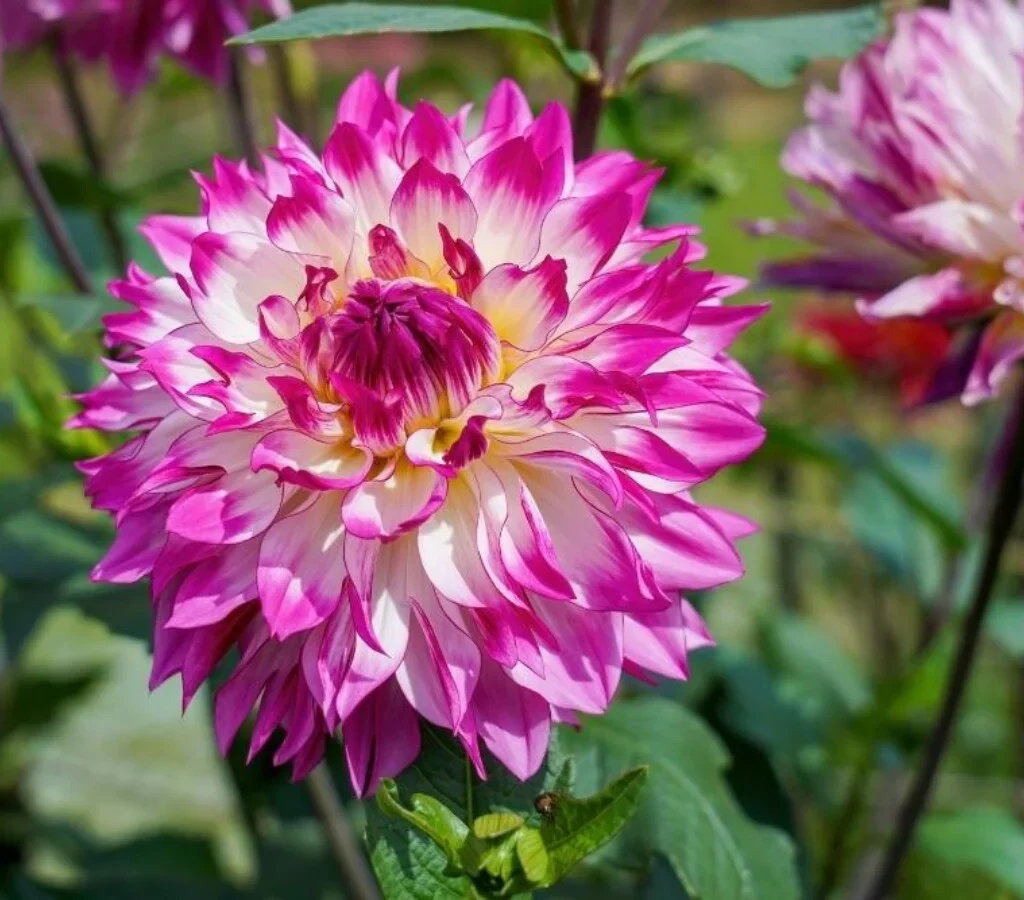
Dahlias are renowned for their vibrant colors, intricate blooms, and long-lasting presence in summer and fall gardens. From small pompons to giant dinner-plate varieties, dahlias bring dramatic flair to landscapes and containers alike. While they thrive in warm seasons, gardeners in temperate and colder climates face a common challenge: dahlias are tender perennials that cannot survive harsh winters outdoors. Proper overwintering is essential to protect their tubers, preserve plant vitality, and ensure showstopping blooms the following year. This guide offers a detailed, expert-backed approach to overwintering dahlias, covering preparation, storage, and spring revival.
Understanding Dahlia Dormancy
Dahlias naturally enter dormancy as temperatures drop in late autumn. During this stage:
- Foliage and stems die back.
- The plant stores nutrients in its tubers underground.
- Growth halts until warmer conditions trigger sprouting in spring.
Recognizing dormancy is key to successful overwintering. Attempting to store or dig tubers too early or too late can lead to rot, disease, or loss of next season’s blooms.
Why Overwintering Dahlias Matters
Overwintering is not just about survival—it’s about ensuring vigor, bloom quality, and disease-free plants. Proper overwintering:
- Protects tubers from freezing: Dahlias are frost-sensitive, and exposure to subzero temperatures can kill tubers.
- Preserves genetic varieties: Overwintered tubers allow gardeners to maintain favorite cultivars year after year.
- Supports strong flowering: Healthy, properly stored tubers produce robust stems, lush foliage, and abundant blooms in the next season.
- Reduces pest and disease risk: Tubers stored in optimal conditions are less likely to succumb to fungal infections or pests.
Without careful winter care, gardeners risk losing their plants or facing reduced flower quality the following season.
Preparing Dahlias for Winter
Preparation begins after the first frost or once the plant shows signs of dormancy. Follow these steps:
1. Cutting Back Foliage
- Cut back stems to about 4–6 inches above the soil surface after the first frost.
- Remove any diseased or damaged foliage to prevent fungal infections during storage.
Tip: Leave some green if mild frost occurs, but do not wait too long, or stems will decay and affect tuber health.
2. Digging Up Tubers
- Carefully dig around the base of the plant with a garden fork or spade.
- Lift tubers gently to avoid bruising or cutting them.
- Shake off excess soil without washing, as moisture increases the risk of rot.
Expert advice: For tender varieties, dig tubers before the first hard frost. Hardier types can remain in the ground if protected with sufficient mulch.
Cleaning and Inspecting Tubers
Proper cleaning and inspection ensure tubers remain healthy throughout storage:
- Remove soil clumps: Gently brush off soil without scrubbing.
- Separate damaged tubers: Discard any shriveled, mushy, or diseased tubers.
- Divide large clumps: Many dahlia tubers grow in clusters; separate them carefully to avoid damaging “eyes” (growth points).
Healthy, undamaged tubers are critical for strong flowering next season.
Selecting the Right Storage Conditions
Dahlia tubers need a controlled environment to survive winter:
Temperature
- Ideal storage: 40–50°F (4–10°C).
- Avoid freezing temperatures, which kill tubers, and overly warm conditions, which may trigger premature sprouting.
Humidity
- Maintain slightly humid conditions (70–80%) to prevent shriveling.
- Avoid damp, wet conditions that can encourage rot or fungal infections.
Darkness and Ventilation
- Store tubers in a dark area to prevent sprouting.
- Ensure good air circulation to prevent mold growth.
Storage options:
- Unheated basement or garage
- Root cellar
- Insulated boxes with peat moss, vermiculite, or sawdust
Preparing Tubers for Storage
- Layering: Place tubers in a box or crate, separating each with shredded newspaper, peat moss, or vermiculite.
- Labeling: Label each variety to track cultivars and maintain garden organization.
- Checking periodically: Inspect tubers every 4–6 weeks for signs of rot, mold, or shriveling. Remove affected tubers immediately.
Proper storage preparation significantly increases survival rates and ensures vigorous growth in spring.
Alternative In-Ground Overwintering
For gardeners with mild climates (zones 8–10), in-ground overwintering may be possible:
- Mulching: Apply 6–12 inches of straw, leaves, or compost over the root zone.
- Protective covers: Use frost cloths or garden blankets during extreme cold spells.
- Monitoring: Check for signs of frost damage or wet conditions that can promote rot.
Even in mild climates, lifting and storing tubers indoors ensures maximum safety and plant health.
Spring Revival: Preparing Tubers for Planting
Once the danger of frost has passed, it’s time to wake up your tubers for the growing season:
- Inspect tubers: Remove any that show rot or mold.
- Optional pre-sprouting: Place tubers in shallow trays with slightly moist peat or vermiculite to encourage early sprouting.
- Planting: Plant in well-draining soil with full sun exposure, 6–8 inches deep, spaced 18–24 inches apart.
- Watering: Water lightly after planting and gradually increase as shoots emerge.
Pre-sprouting can lead to earlier flowering and stronger plants in the first season.
Tips for Showstopping Blooms
- Soil preparation: Use rich, well-draining soil with organic matter to support root development and strong stems.
- Fertilization: Apply balanced fertilizer (N-P-K 10-10-10) at planting, switching to a high-phosphorus fertilizer during flowering.
- Staking: Tall varieties often need stakes or cages to prevent stem breakage.
- Deadheading: Remove spent flowers to encourage continuous bloom production.
- Watering: Provide consistent moisture, avoiding wetting foliage to prevent fungal disease.
Following these tips ensures tubers that survived winter become healthy, vigorous plants producing abundant, eye-catching flowers.
Common Mistakes to Avoid
- Storing tubers while wet: Moisture encourages rot and fungal growth.
- Allowing tubers to freeze: Even brief exposure to subzero temperatures can destroy tubers.
- Ignoring signs of disease: Moldy or shriveled tubers can infect others if not removed promptly.
- Overcrowding: Tubers packed too tightly may not receive enough air circulation, leading to decay.
- Premature planting: Planting too early in cold soil can stunt growth and reduce bloom quality.
Awareness of these mistakes improves overwintering success and ensures beautiful blooms in the next season.
Conclusion
Overwintering dahlias is a critical step for gardeners seeking showstopping blooms year after year. By understanding dahlia dormancy, carefully digging and cleaning tubers, and storing them under optimal conditions, you preserve plant vitality and maximize flowering potential. Whether storing tubers indoors or protecting them with mulch in mild climates, proper overwintering ensures strong stems, lush foliage, and vibrant flowers in the following season.
Spring revival is equally important: inspect tubers, pre-sprout if desired, plant in nutrient-rich soil, and provide proper care throughout the growing season. Combined with staking, fertilization, and deadheading, these practices turn overwintered tubers into spectacular, long-lasting garden displays.
Ultimately, overwintering dahlias is not just about survival—it’s about creating a foundation for exceptional blooms that captivate the eye and elevate any garden. With careful attention, gardeners can enjoy vibrant, showstopping dahlias year after year, transforming their outdoor spaces into colorful, flourishing paradises.
Leave A Comment