Carrots are a highly nutritious and versatile vegetable that can be enjoyed raw, cooked, or juiced. Rich in beta-carotene, vitamins A, K, and C, antioxidants, and fiber, carrots support eye health, immunity, digestion, and overall well-being.
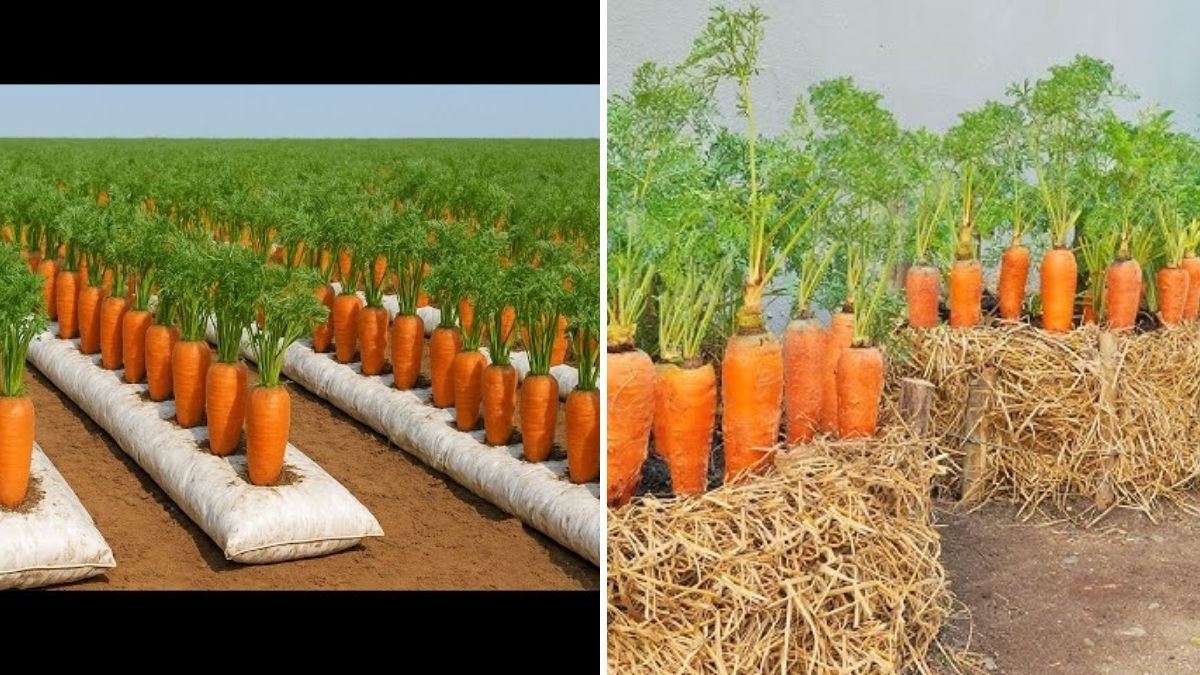
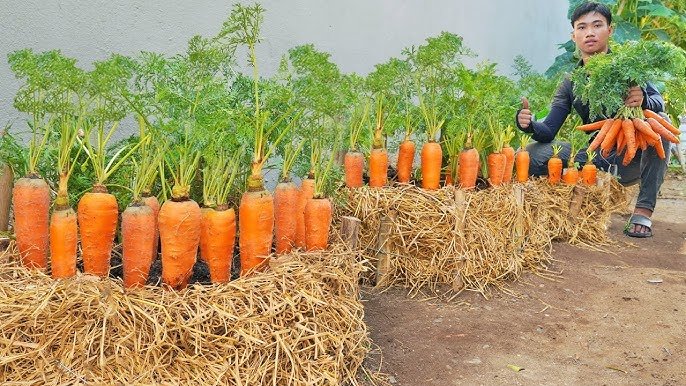
Many urban gardeners believe growing carrots requires deep garden beds, fertile soil, and lots of space. However, the YouTube video “Old burlap sacks Don’t throw them away Grow carrots this way!” demonstrates a simple, space-saving method to grow carrots using recycled burlap sacks. This approach is eco-friendly, cost-effective, and perfect for small spaces, allowing gardeners to enjoy fresh, homegrown carrots with minimal effort.
This blog post explains step-by-step how to grow carrots in old burlap sacks, tips for high yield, and ways to ensure fast, healthy growth.
Why Grow Carrots in Burlap Sacks?
Using burlap sacks for carrot cultivation offers several advantages:
- Space-Saving: Perfect for terraces, balconies, and small patios.
- Cost-Effective: Recycles old sacks and avoids purchasing expensive garden beds.
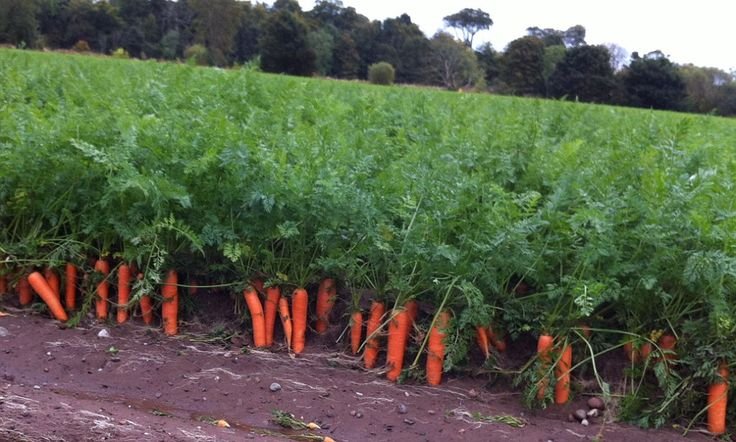
- High Yield: Carrots grow straight and healthy in loose, well-aerated soil.
- Easy to Manage: Lightweight and movable, ideal for watering, fertilizing, and harvesting.
- Eco-Friendly: Reduces waste by repurposing old materials.
Burlap sack gardening is perfect for beginners and urban gardeners.
Step 1: Choosing the Right Burlap Sacks
- Use clean, intact burlap sacks.
- Large sacks work best: at least 12–18 inches deep and wide to accommodate root growth.
- Avoid torn sacks or those with chemical residues.
- Burlap is breathable, allowing air circulation and moisture retention, which promotes healthy root growth.
Proper sack selection ensures straight, robust carrots.
Step 2: Preparing the Growing Medium
Carrots need light, loose, and nutrient-rich soil to grow straight and long.
Recommended Soil Mix:
- 50% garden soil or loamy soil
- 30% compost or well-rotted manure
- 20% sand or cocopeat for aeration and moisture retention
Optional: Add bone meal or wood ash to improve phosphorus content and support root development.
Well-prepared soil ensures fast germination and straight, healthy roots.
Step 3: Selecting Carrot Seeds
- Use fresh, high-quality carrot seeds suitable for your region.
- Popular varieties include Nantes, Chantenay, and Amsterdam carrots.
- Choose seeds that are uniform and free from damage for better germination.
Quality seeds ensure strong seedlings and faster harvests.
Step 4: Planting Carrots in Burlap Sacks
- Fill the burlap sack with prepared soil, leaving 2–3 inches from the top.
- Sow seeds ¼–½ inch deep, spacing 1–2 inches apart.
- Lightly cover seeds with soil and water gently.
- Keep sacks in a flat, sunny area during germination.
Correct planting ensures straight, strong carrot roots and healthy seedlings.
Step 5: Sunlight Requirements
- Carrots need 6–8 hours of sunlight daily.
- Place the sacks on a terrace, balcony, or near a sunny window.
- In hot climates, provide partial shade during peak afternoon hours to prevent soil from drying out.
Adequate sunlight promotes healthy leaves and strong root growth.
Step 6: Watering Carrots
- Keep the soil consistently moist but not waterlogged.
- Water 2–3 times a week, more frequently in hot or dry conditions.
- Mulch with dry leaves or straw to retain moisture and regulate temperature.
Proper watering ensures continuous growth and prevents root splitting.
Step 7: Fertilization for High Yield
- Apply organic fertilizers like vermicompost or cow dung slurry every 10–15 days.
- Avoid nitrogen-rich fertilizers that promote excessive leafy growth instead of root development.
- Phosphorus and potassium-rich fertilizers support strong root formation and better flavor.
Balanced fertilization results in straight, healthy carrots with rich taste.
Step 8: Thinning Seedlings
- Once seedlings are 2–3 inches tall, thin them to 2–3 inches apart.
- Thinning ensures enough space for roots to grow straight and long.
- Use removed seedlings as greens or compost.
Proper thinning prevents crowding and improves yield quality.
Step 9: Pest and Disease Management
Even in sacks, carrots can face minor pests:
| Problem | Solution |
|---|---|
| Aphids | Spray neem oil or mild soap solution |
| Root fly | Cover soil with fine mesh or netting |
| Fungal infections | Ensure proper drainage and avoid overwatering |
Monitoring and early intervention keep carrots healthy and highly productive.
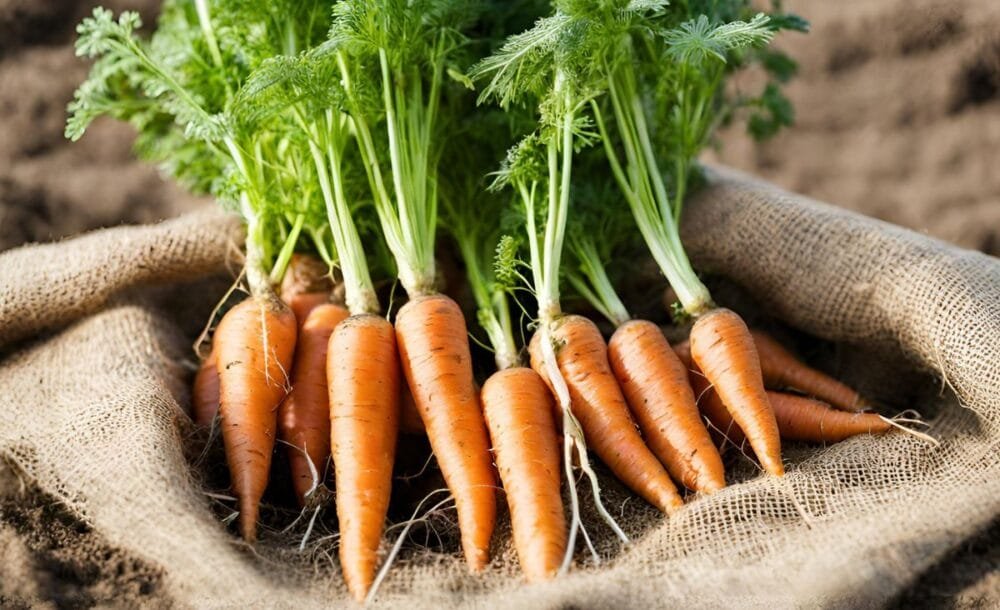
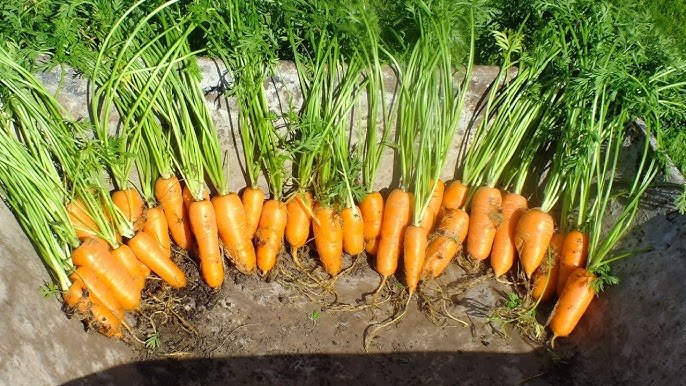
Step 10: Harvesting Carrots
- Carrots are ready to harvest 60–90 days after sowing, depending on variety.
- Gently loosen the soil around the roots and pull carrots carefully.
- Avoid damaging roots, as broken carrots store poorly and lose flavor.
- Harvest regularly to encourage continuous growth in successive sowings.
Burlap sacks make harvesting easy and mess-free, even in small spaces.
Step 11: Benefits of Growing Carrots in Burlap Sacks
- Mobility: Sacks can be moved to adjust sunlight or protect from rain.
- Space Efficiency: Ideal for small terraces, balconies, and urban homes.
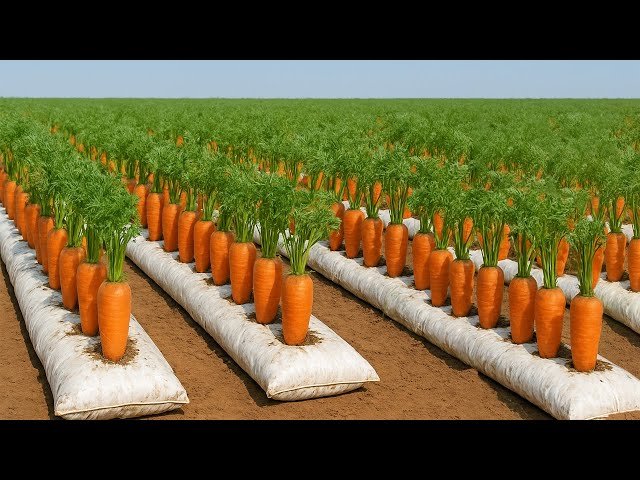
- High Yield: Loose soil encourages straight, large carrots.
- Low Maintenance: Minimal watering, fertilization, and pest management.
- Eco-Friendly: Repurposes old materials and reduces waste.
This method is practical, economical, and productive.
Step 12: Tips for Continuous Carrot Production
- Succession Planting: Sow seeds every 2–3 weeks to maintain a steady supply.
- Soil Refresh: Add compost or organic fertilizer between harvests.
- Mulching: Conserves soil moisture and reduces weeds.
- Regular Monitoring: Check for pests and nutrient deficiencies weekly.
Following these tips ensures lush, fast-growing carrots with minimal effort.
Step 13: Why Gardeners Are Amazed by This Method
- Minimal space and resources produce abundant, high-quality carrots.
- Burlap sacks provide loose, well-aerated soil, resulting in straight and healthy roots.
- Urban gardeners can enjoy fresh, organic carrots without a traditional garden.
- Easy, low-maintenance method makes home gardening accessible for everyone.
This method combines simplicity, sustainability, and high productivity, making it ideal for urban home gardeners.
Conclusion: Grow Carrots Easily Using Old Burlap Sacks
Using old burlap sacks to grow carrots is a smart, eco-friendly solution for urban gardeners. With proper soil, sunlight, watering, and fertilization, anyone can enjoy healthy, straight, flavorful carrots in limited space.
Even without a garden, you can harvest multiple carrots regularly, save money, and enjoy fresh, homegrown vegetables year-round. Don’t throw away those old burlap sacks—turn them into a productive carrot garden today!
Leave A Comment