A backyard greenhouse is a gardener’s dream come true. It extends your growing season, protects plants from harsh weather, and allows you to cultivate delicate or exotic plants that may not thrive outdoors. The best part? You don’t need a large plot of land or a huge budget to enjoy the benefits of greenhouse gardening. With some planning, basic materials, and a bit of DIY effort, you can build a small greenhouse in your backyard that is both functional and attractive.
In this guide, we’ll walk you through everything you need to know—from planning and materials to construction and maintenance—so you can enjoy a thriving, year-round garden.
Why Build a Backyard Greenhouse?
A greenhouse provides multiple advantages that make it a valuable addition to any garden:
- Extended Growing Season: Protects plants from frost and cold, allowing for early planting in spring and late harvesting in fall.
- Controlled Environment: Helps regulate temperature, humidity, and light, creating ideal conditions for sensitive plants.
- Pest and Disease Management: Reduces exposure to pests and soil-borne diseases.
- Space Efficiency: A small greenhouse allows vertical gardening and efficient use of limited space.
- Variety of Plants: Grow vegetables, herbs, flowers, and tropical plants that might struggle outdoors.
Whether you want to grow tomatoes in winter or propagate seedlings for your garden, a small greenhouse is a practical and rewarding investment.
Step 1: Plan Your Greenhouse
Planning is crucial for a successful backyard greenhouse.
- Choose a Location:
- Pick a spot with full sunlight for most of the day.
- Ensure the area is level and has good drainage.
- Leave space around the greenhouse for access and ventilation.
- Decide on Size:
- Small greenhouses typically range from 4×6 feet to 6×10 feet.
- Consider the number of plants you plan to grow and your available backyard space.
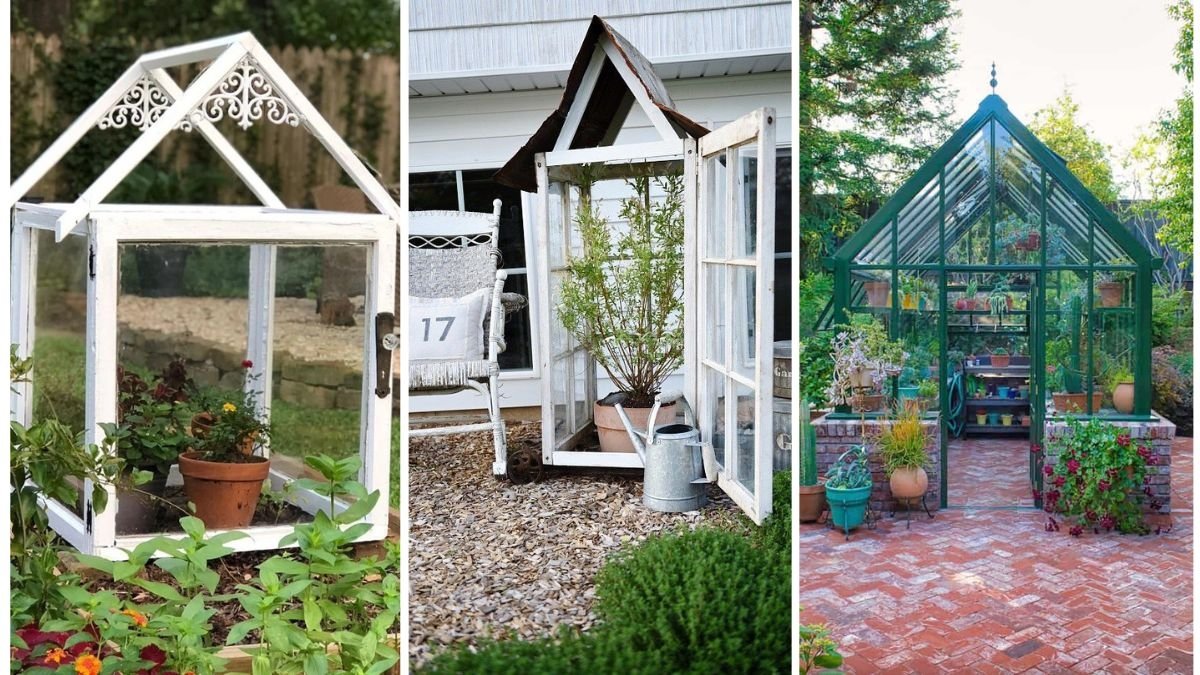
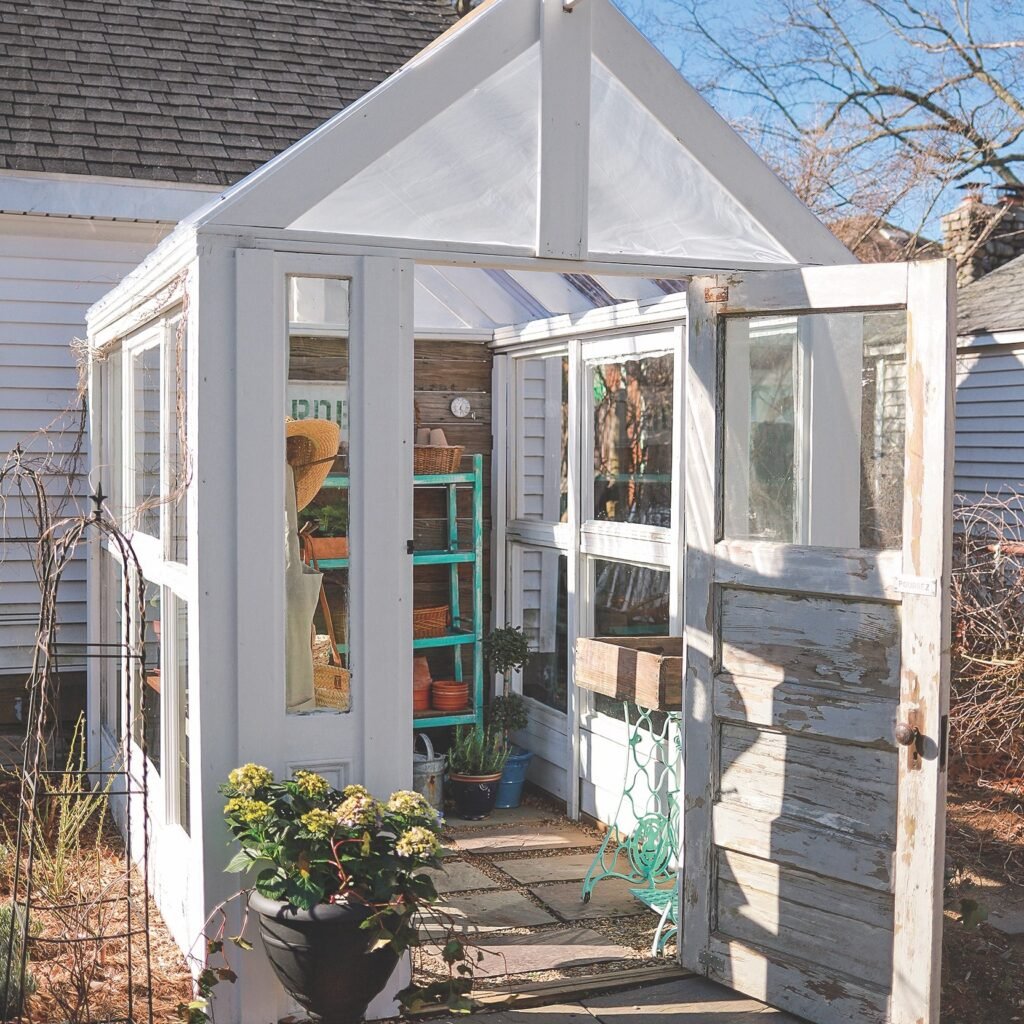
- Select a Style:
- Lean-to Greenhouse: Attaches to a wall for space-saving and heat retention.
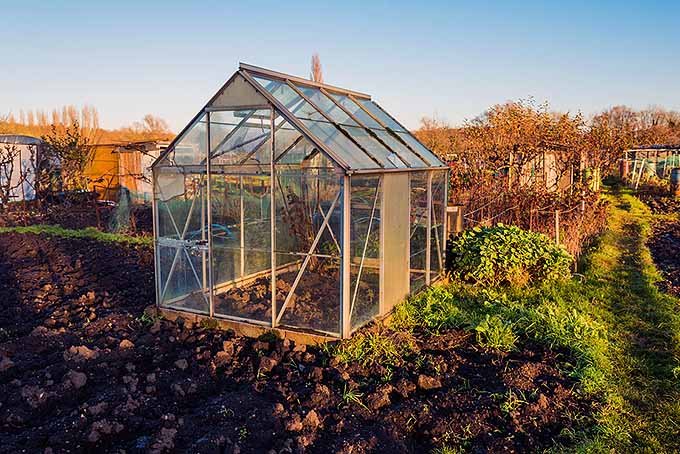
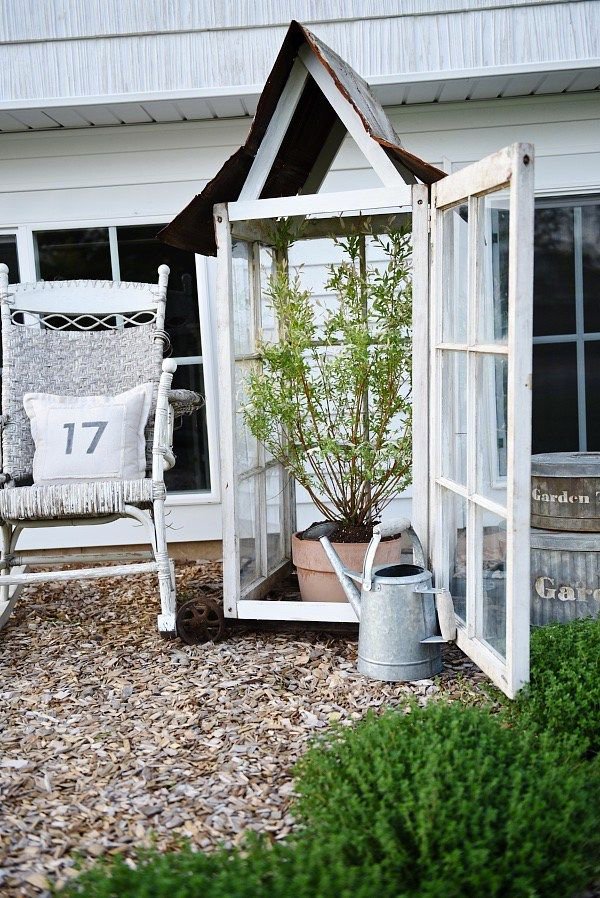
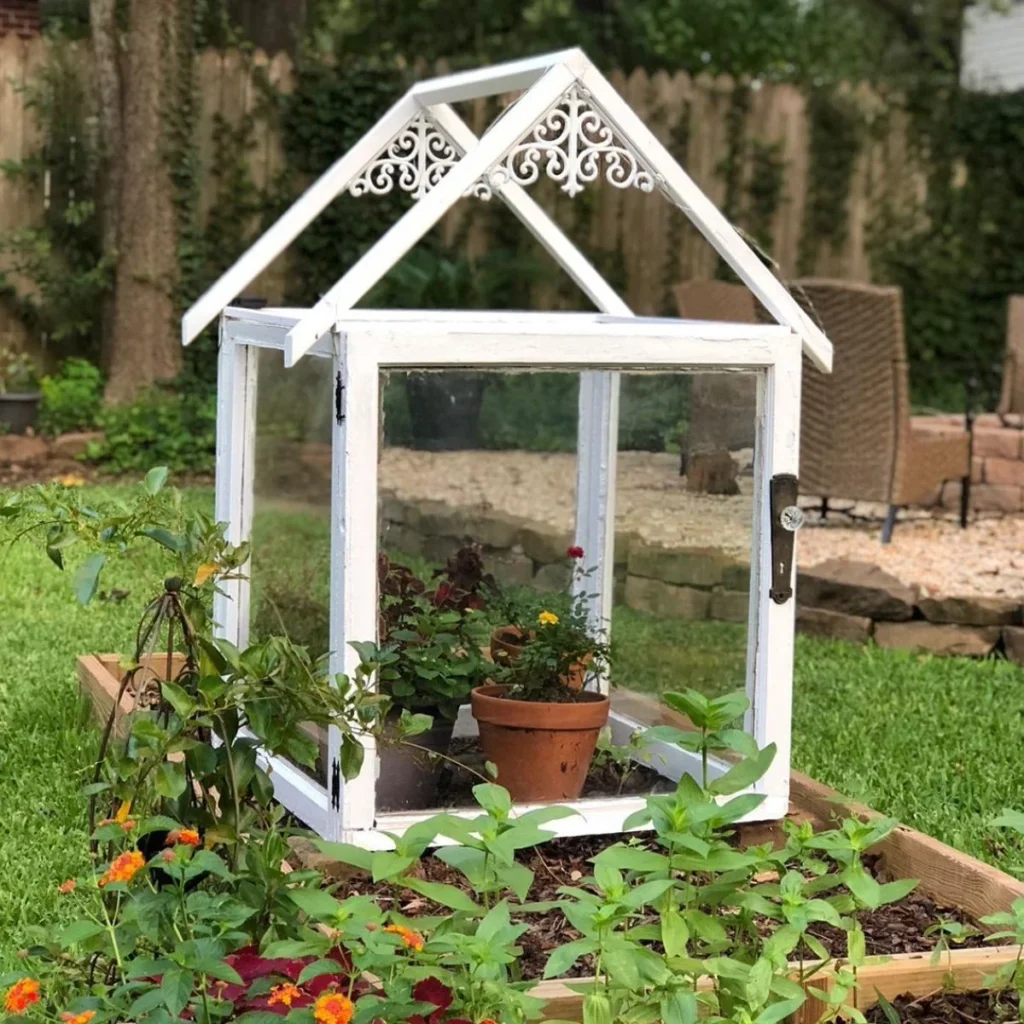
- A-Frame or Gable Greenhouse: Classic pitched roof for snow runoff and easy ventilation.
- Hoop House or Tunnel Greenhouse: Simple, cost-effective, and great for quick setups.
- Determine Materials:
- Frame: Wood, PVC, or metal.
- Covering: Polycarbonate panels, polyethylene film, or glass.
- Foundation: Concrete slab, gravel, or pressure-treated wood base.
Step 2: Gather Materials and Tools
Materials for a Small Wooden Frame Greenhouse:
- Pressure-treated lumber for base and frame
- PVC pipes or metal rods (optional for hoop-style)
- Screws and nails
- Hinges for doors
- Polycarbonate sheets or clear polyethylene film
- Gravel or concrete for foundation
- Ventilation components (windows, vents, or fans)
Tools Needed:
- Saw (hand or circular)
- Drill
- Screwdriver
- Measuring tape
- Level
- Stapler or zip ties (if using plastic film)
Step 3: Prepare the Foundation
A strong, level foundation is essential for greenhouse stability.
- Clear the Area: Remove rocks, roots, and debris.
- Choose a Base:
- Gravel Base: Excellent drainage, prevents water pooling.
- Concrete Slab: Durable and level, ideal for permanent greenhouses.
- Wooden Frame Base: Simple DIY solution, slightly elevated to prevent rot.
- Level the Ground: Use a level to ensure the foundation is flat to avoid structural issues.
Pro Tip: Adding a gravel layer under a wooden or plastic base improves drainage and reduces moisture-related problems.
Step 4: Build the Frame
- Assemble Base: Construct a rectangular frame with pressure-treated lumber or PVC. Secure it firmly to the foundation.
- Build Walls: Attach vertical posts at regular intervals, ensuring they are plumb (vertically straight).
- Construct the Roof:
- For A-frame, attach angled rafters to form a pitched roof.
- For hoop-style, bend PVC or metal pipes over the frame to create arches.
- Install Door Frame: Leave space for an entry door and optional ventilation windows.
Tips: Use treated wood or rust-resistant metal to prolong the life of your greenhouse.
Step 5: Cover the Greenhouse
The covering material protects plants from the elements while letting in light:
- Polycarbonate Panels: Durable, lightweight, and UV-resistant. Ideal for small greenhouses.
- Polyethylene Film: Affordable, flexible, and easy to attach. Needs replacing every few years.
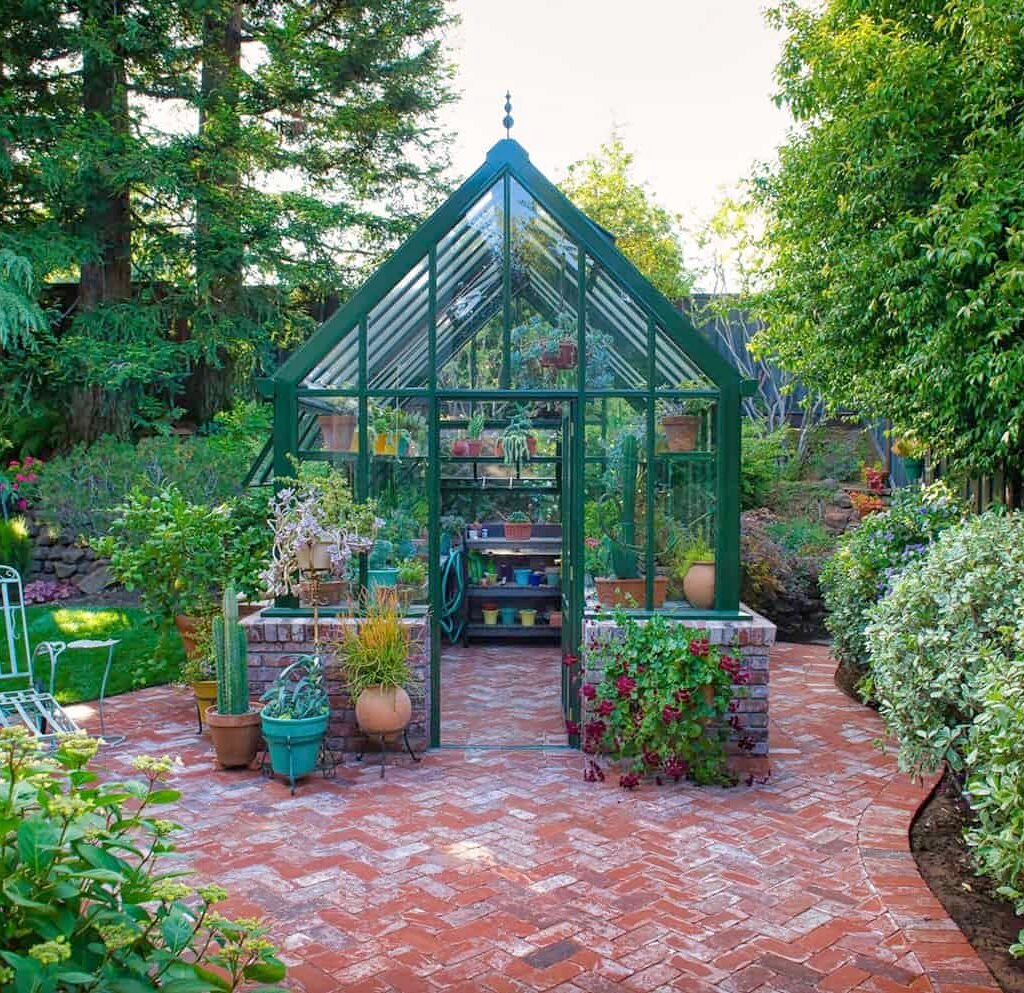
- Glass Panels: Classic and visually appealing but heavier and more fragile.
Steps:
- Attach panels or film securely to the frame using screws, clips, or staples.
- Ensure tight seals to retain heat and prevent drafts.
- Leave small gaps or install vents for airflow.
Step 6: Install Ventilation and Irrigation
Proper ventilation and watering are key to a healthy greenhouse:
- Ventilation:
- Install windows or vents at opposite ends for cross-ventilation.
- Automatic vent openers are optional but helpful for temperature control.
- Irrigation:
- Simple drip irrigation or soaker hoses work well.
- Consider placing a water barrel inside the greenhouse for convenience.
Tip: Overheating and poor ventilation can damage plants, so always monitor temperature and humidity.
Step 7: Arrange Shelves and Plant Beds
- Use tiered shelves or benches to maximize vertical space.
- Place pots and seed trays where they receive optimal sunlight.
- Leave walkways for easy access and maintenance.
Tip: Use recycled pallets, crates, or cinder blocks as cost-effective shelving solutions.
Step 8: Maintain Your Greenhouse
Maintaining a small greenhouse ensures longevity and healthy plants:
- Clean Regularly: Remove algae, dirt, and fallen leaves.
- Inspect Structure: Check for loose screws, leaks, or damaged panels.
- Monitor Temperature: Use a thermometer and ventilate on hot days.
- Rotate Plants: Prevent disease and ensure uniform growth.
- Pest Control: Keep an eye on aphids, whiteflies, and fungus gnats.
Benefits of a Small Backyard Greenhouse
- Year-Round Gardening: Grow fresh vegetables, herbs, and flowers even in winter.
- Efficient Use of Space: Vertical shelving and compact design maximize limited yards.
- Better Plant Control: Regulate water, light, and temperature for optimal growth.
- Educational: Great for learning about plant propagation, seedlings, and exotic plants.
- Cost-Effective: Small greenhouses require fewer materials and lower energy costs than large ones.
Conclusion
Building a small greenhouse in your backyard is an achievable project that brings enormous rewards. With careful planning, the right materials, and a little DIY effort, you can create a space that protects your plants, extends the growing season, and enhances your garden’s appeal.
From wooden frames with polycarbonate panels to hoop-style PVC greenhouses, there are plenty of easy DIY options to suit your budget and style. With proper ventilation, irrigation, and maintenance, your greenhouse will provide healthy plants and fresh produce throughout the year.
A backyard greenhouse is more than a structure—it’s a sanctuary for plants and gardeners alike. By following these steps, you can enjoy the satisfaction of nurturing your garden in a controlled environment and elevate your backyard into a lush, thriving haven.
Leave A Comment