Mulching is one of the simplest yet most effective gardening practices that every gardener should master. Whether you’re cultivating vegetables, flowers, shrubs, or trees, mulch provides both functional and aesthetic benefits. It helps conserve soil moisture, suppress weeds, regulate temperature, and enrich the soil—all while giving your garden beds a neat and polished look.
If you’ve ever wondered how to mulch properly, this step-by-step guide will walk you through everything you need to know, from choosing the right mulch to applying it effectively.
Why Mulching Matters
Before diving into the process, it’s important to understand why mulching is such a powerful tool in gardening.
- Moisture Retention: Mulch slows water evaporation, keeping soil moist longer.
- Weed Suppression: A thick layer blocks sunlight, preventing weeds from sprouting.
- Temperature Regulation: Keeps soil cooler in summer and insulates roots in winter.
- Soil Enrichment: Organic mulches break down over time, adding nutrients.
- Erosion Control: Reduces the impact of heavy rain and prevents soil runoff.
- Aesthetic Appeal: Creates a tidy, uniform look across garden beds.
With these benefits in mind, let’s explore the steps to successful mulching.
Step 1: Choose the Right Mulch

The first decision is selecting the mulch that best suits your garden’s needs.
Types of Mulch
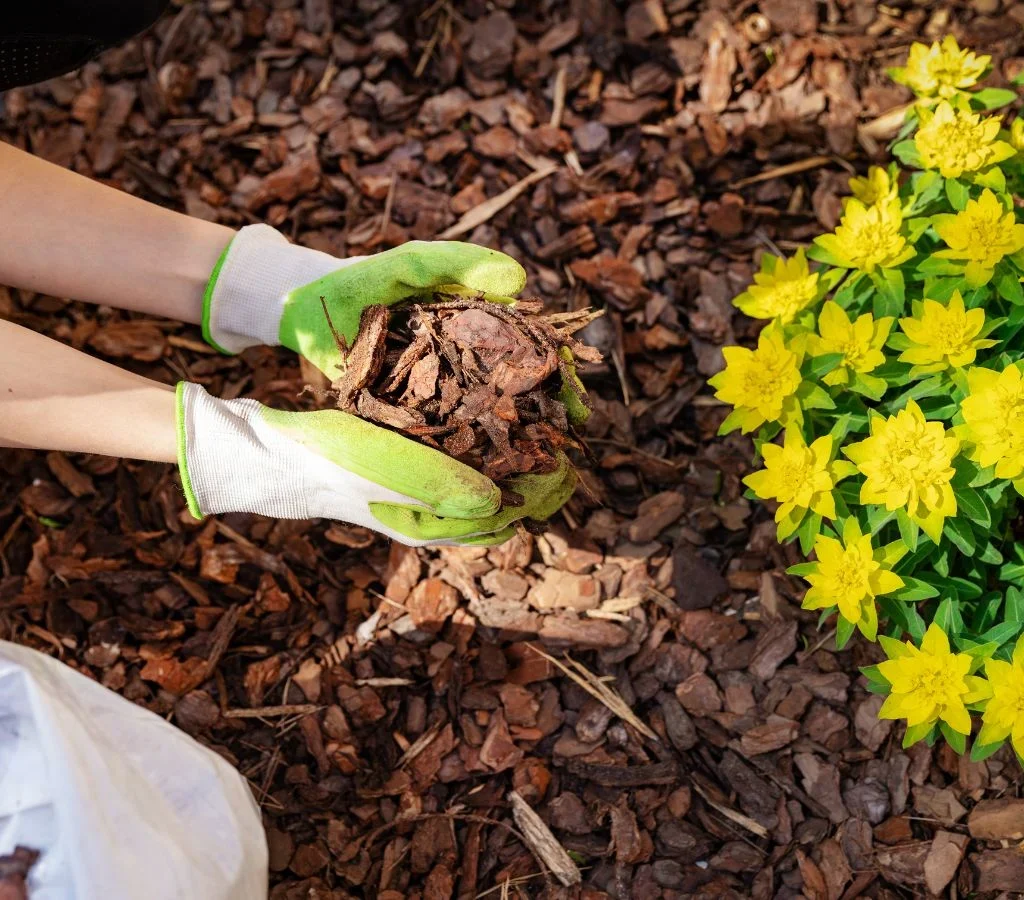
- Organic Mulches (break down and enrich the soil)
- Wood Chips or Bark: Long-lasting, great for trees and shrubs.
- Straw or Hay: Ideal for vegetable gardens; lightweight and easy to apply.
- Grass Clippings: Readily available, but apply in thin layers to avoid matting.
- Compost: Rich in nutrients, perfect for improving soil quality.
- Leaves: Shredded leaves work well as a natural, eco-friendly mulch.
- Inorganic Mulches (do not decompose but offer lasting coverage)
- Gravel or Pebbles: Great for pathways or drought-tolerant gardens.
- Landscape Fabric: Suppresses weeds but should be combined with a top layer for aesthetics.
- Rubber Mulch: Made from recycled tires; durable and long-lasting.
Tip: For flower and vegetable gardens, organic mulches are best because they feed the soil as they decompose. For decorative or low-maintenance landscapes, inorganic options work well.
Step 2: Prepare the Garden Bed
Mulching works best when applied to clean, well-prepared soil.
- Remove Weeds: Pull out weeds by hand or with a hoe to prevent them from regrowing under the mulch.
- Clear Debris: Remove sticks, leaves, and old mulch that may harbor pests.
- Loosen the Soil: Use a rake or garden fork to aerate the top few inches of soil. This improves water infiltration and root growth.
- Water the Soil: Apply a thorough watering before mulching. Moist soil helps plants establish and keeps mulch in place.
Preparing your bed properly ensures mulch has maximum effect.
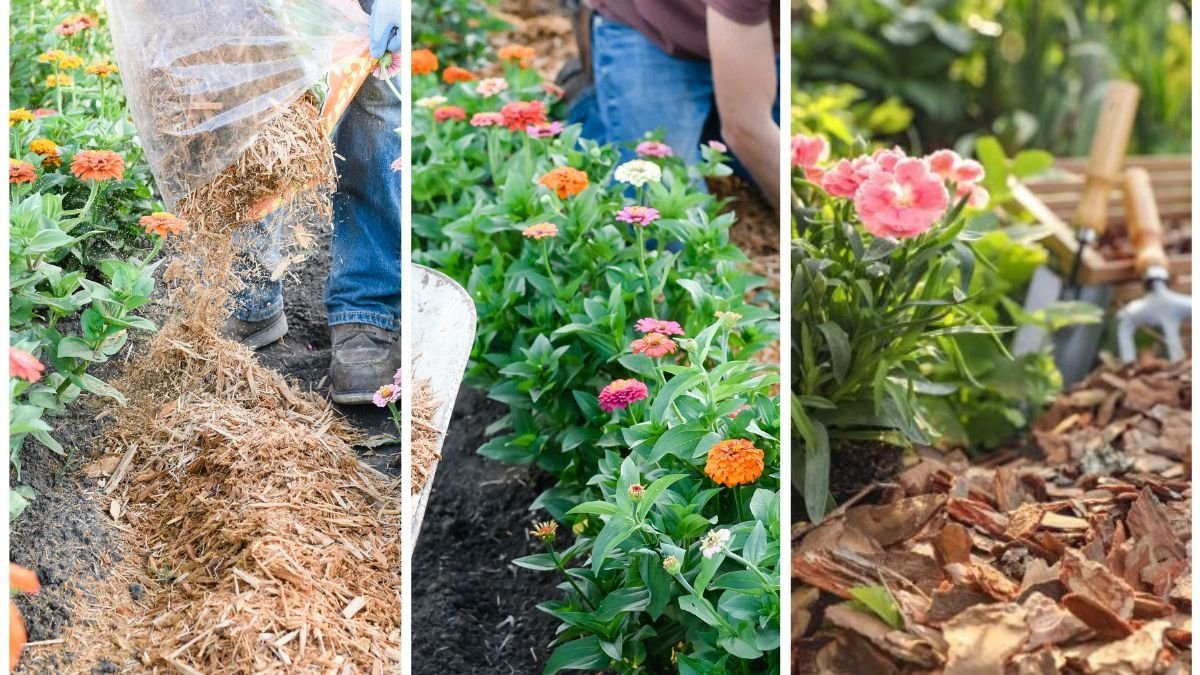
Step 3: Apply the Mulch
Now comes the fun part—laying down the mulch.
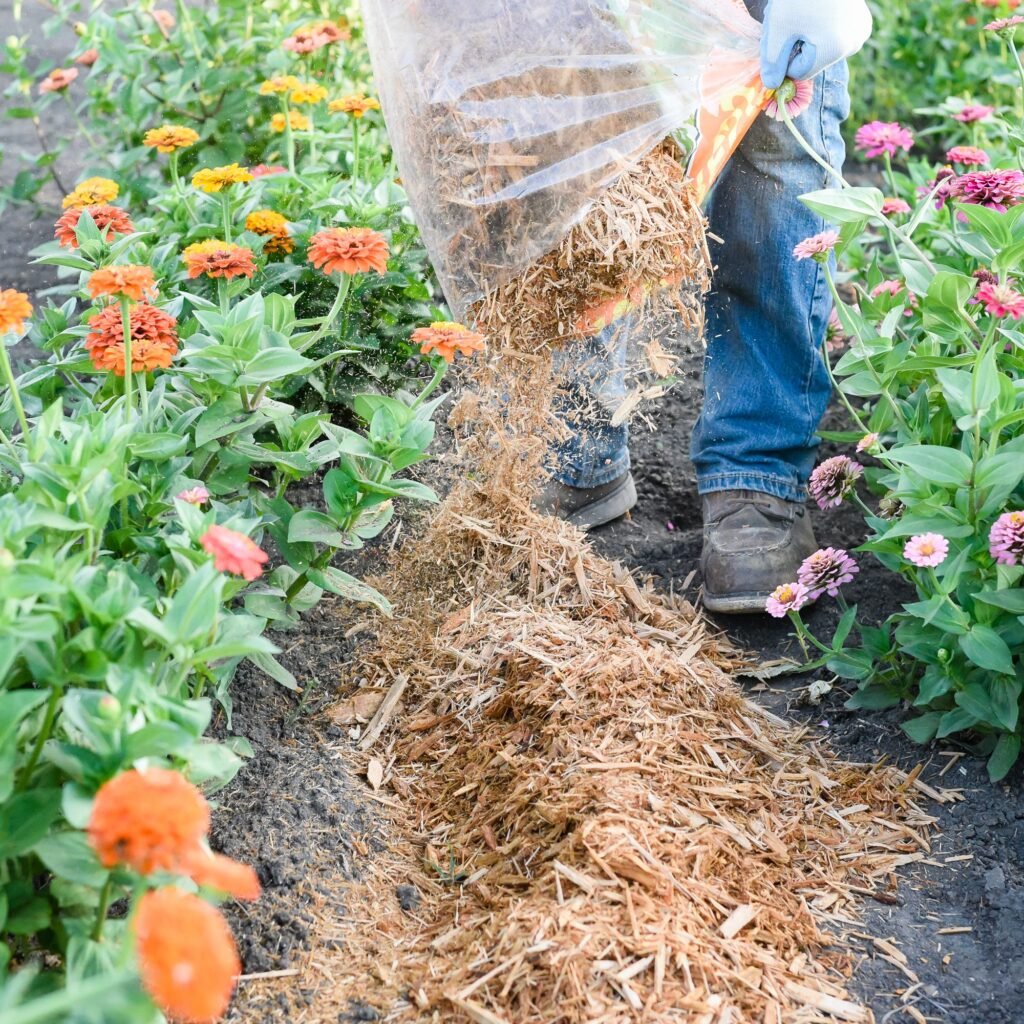
- Spread Evenly: Apply mulch in a 2–4 inch layer across the garden bed.
- Too thin: Weeds may grow through.
- Too thick: Roots may suffocate, and water may not penetrate.
- Keep Mulch Away from Plant Stems: Leave a small gap (about 2–3 inches) around plant bases, tree trunks, or shrub crowns. This prevents rot, mold, and pest damage.
- Cover All Bare Soil: Ensure no patches of soil are left exposed, as these areas invite weeds and erosion.
Tip: For vegetable gardens, use lighter mulches like straw or compost. For trees and shrubs, wood chips and bark are ideal.
Step 4: Special Mulching Techniques
Different parts of your garden may require unique mulching approaches.
- Vegetable Beds: Use straw or shredded leaves for quick decomposition and soil enrichment. Avoid mulch with weed seeds.
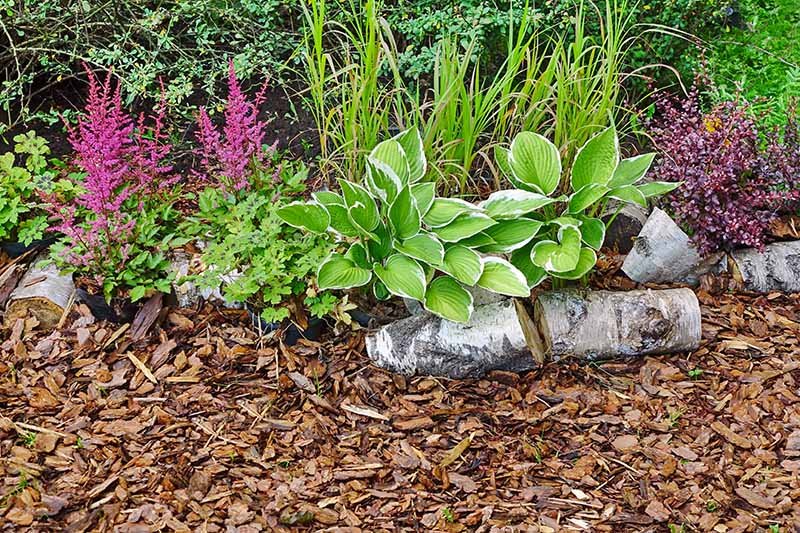
- Flower Beds: Choose bark or compost for a neat appearance and soil improvement.
- Trees and Shrubs: Create a “mulch donut” around the base—thick around the outer edge but thinner near the trunk.
- Pathways: Gravel or wood chips provide durability and weed suppression.
- Container Gardens: A thin layer of mulch (like moss or compost) helps retain moisture in pots.
Step 5: Maintain Your Mulch
Mulching isn’t a one-time job. Proper maintenance keeps it effective year-round.
- Replenish Regularly: Organic mulch decomposes, so top it up every season or as needed.
- Check Depth: Maintain a consistent 2–4 inch layer. Remove excess if it becomes too thick.
- Fluff the Mulch: Rake or turn over compacted mulch to improve airflow and prevent mold.
- Monitor for Pests: Occasionally check under mulch for slugs or rodents, which sometimes hide in thick layers.
- Replace Old Mulch: Every 1–2 years, remove decomposed mulch and refresh the layer to maintain aesthetics and soil health.
Step 6: Seasonal Considerations
Mulching strategies vary depending on the season.
- Spring: Apply fresh mulch after soil warms up. Too early may keep soil cold.
- Summer: Mulch conserves water and keeps roots cool. Water deeply before applying.
- Fall: Add mulch to protect perennials and root systems from frost.
- Winter: Mulch acts as insulation, but avoid piling it too close to stems, which can cause rot.
Adjusting mulch practices to the season ensures plants stay healthy year-round.
Step 7: Combine Mulching with Other Gardening Practices
Mulching works best as part of a holistic garden care routine.
- Irrigation: Pair mulch with drip irrigation or soaker hoses for efficient watering.
- Fertilization: Add compost or organic fertilizer under mulch to feed roots directly.
- Companion Planting: Use mulch alongside beneficial plant pairings for pest control and soil improvement.
Together, these practices create a thriving, low-maintenance garden ecosystem.
Common Mulching Mistakes to Avoid
- Volcano Mulching Around Trees: Piling mulch against tree trunks can suffocate roots and invite pests.
- Using the Wrong Material: Fresh grass clippings or hay with seeds may cause odor or weed growth.
- Too Much Mulch: Layers thicker than 4 inches may prevent water and air from reaching roots.
- Skipping Bed Preparation: Applying mulch over weeds or compacted soil reduces its effectiveness.
- Neglecting Maintenance: Old, compacted mulch can harbor disease and pests.
Avoiding these pitfalls ensures mulch remains beneficial rather than harmful.
Conclusion
Mulching your garden beds is one of the most rewarding and practical steps in gardening. By following this step-by-step guide—choosing the right mulch, preparing the soil, applying it correctly, and maintaining it over time—you’ll enjoy healthier plants, fewer weeds, better moisture retention, and a polished, professional-looking garden.
Whether you’re tending a vegetable patch, a flower border, or ornamental trees, mulching is a time-saving, cost-effective practice that pays off in every season. With proper technique, your garden beds will thrive and bring you beauty and abundance year after year.
Leave A Comment