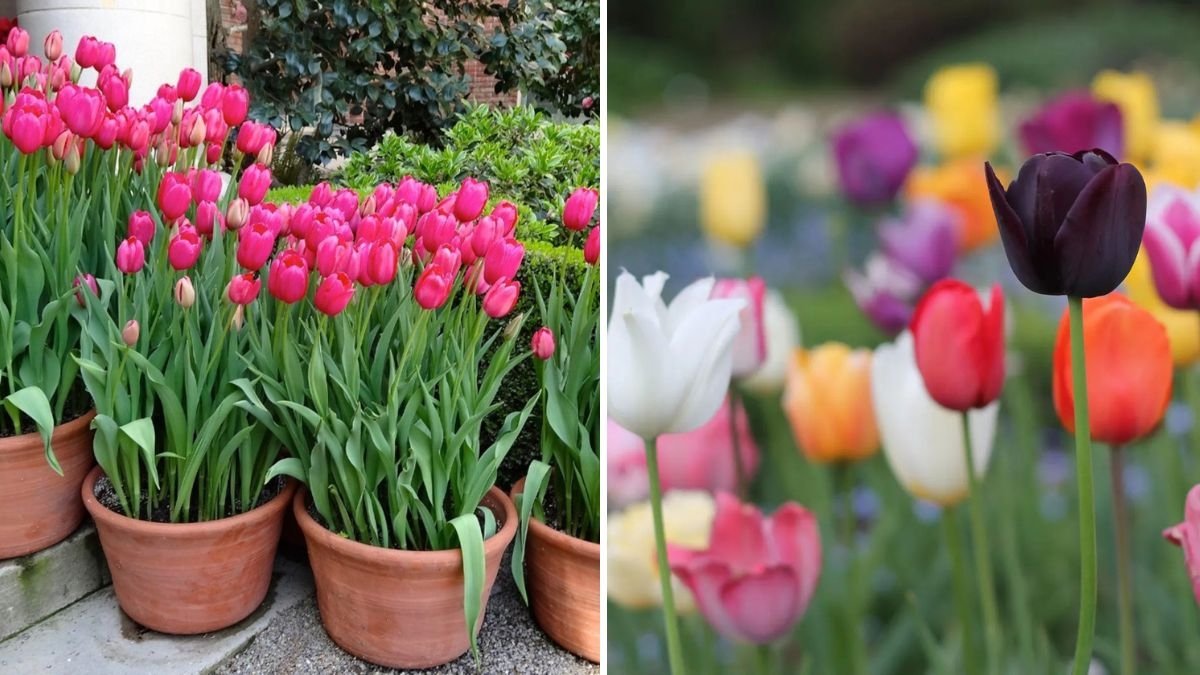
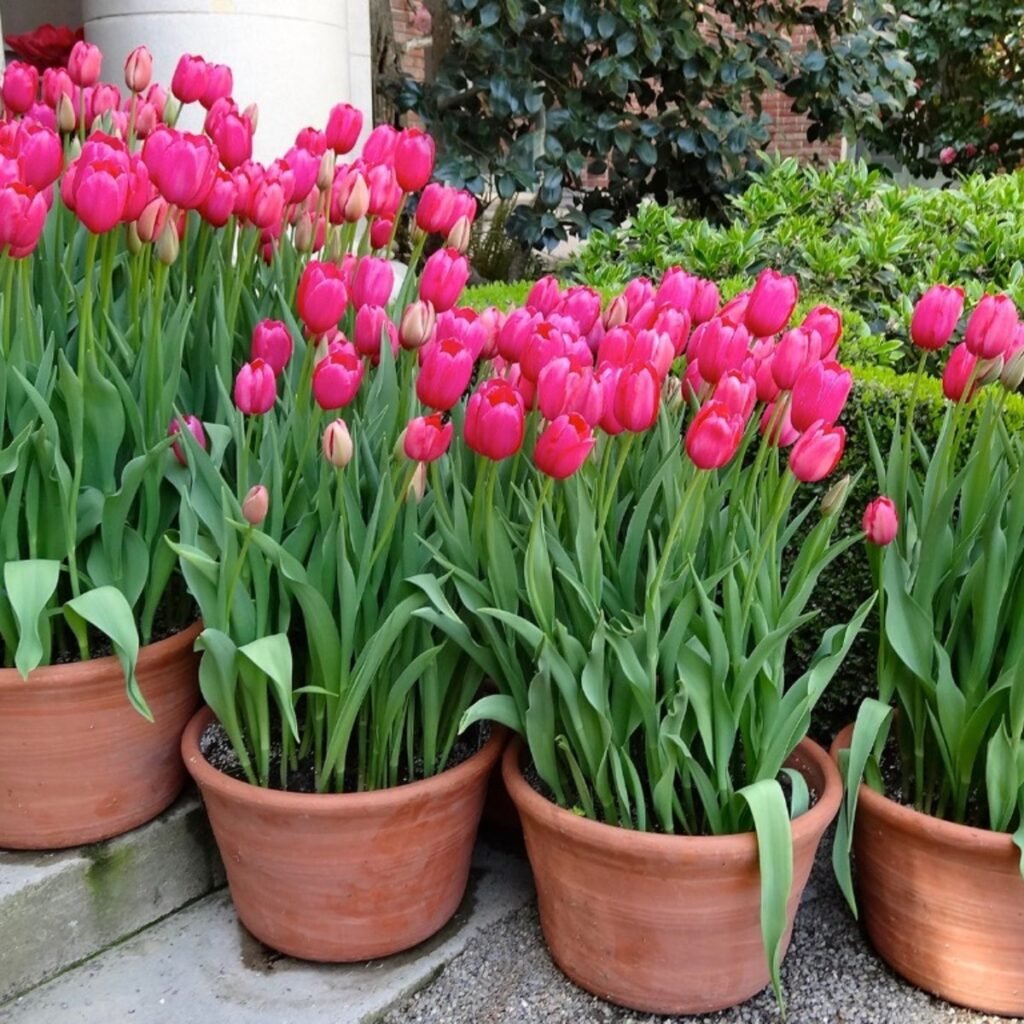
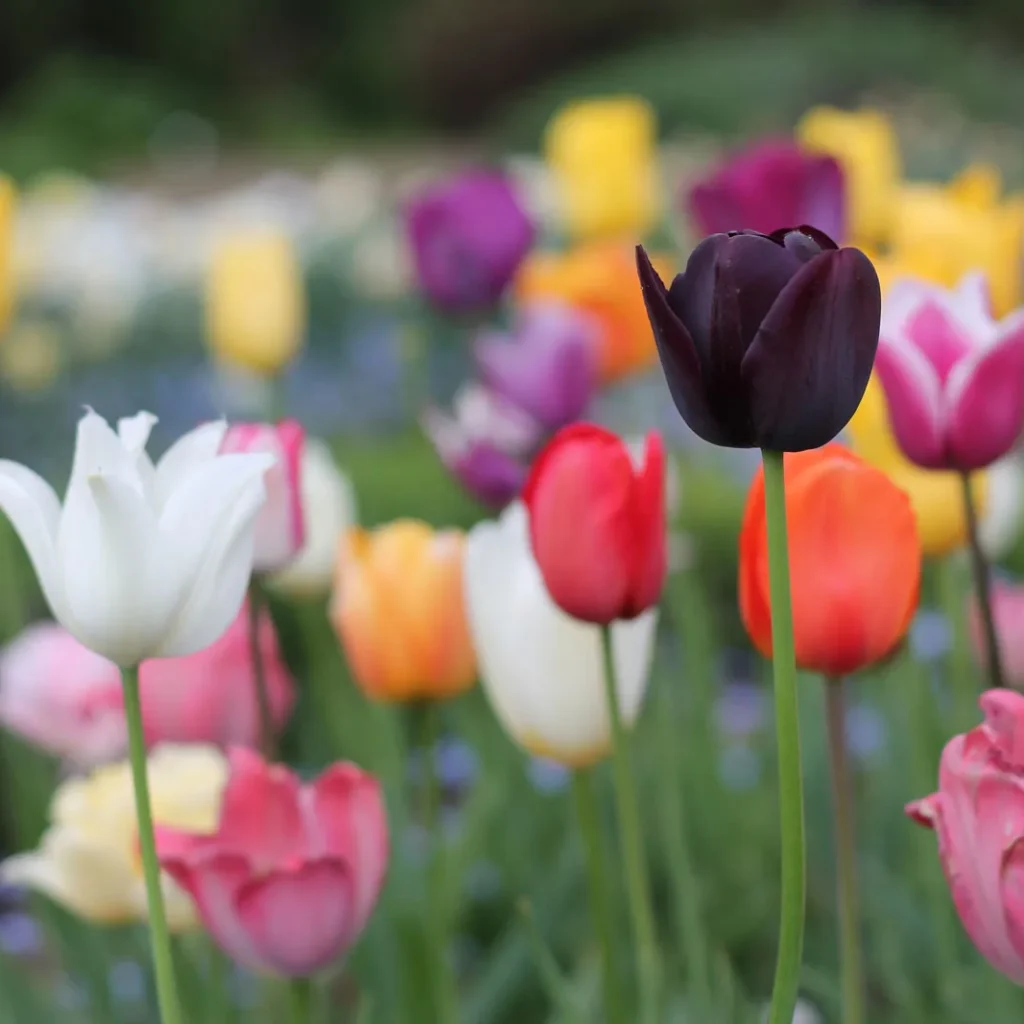
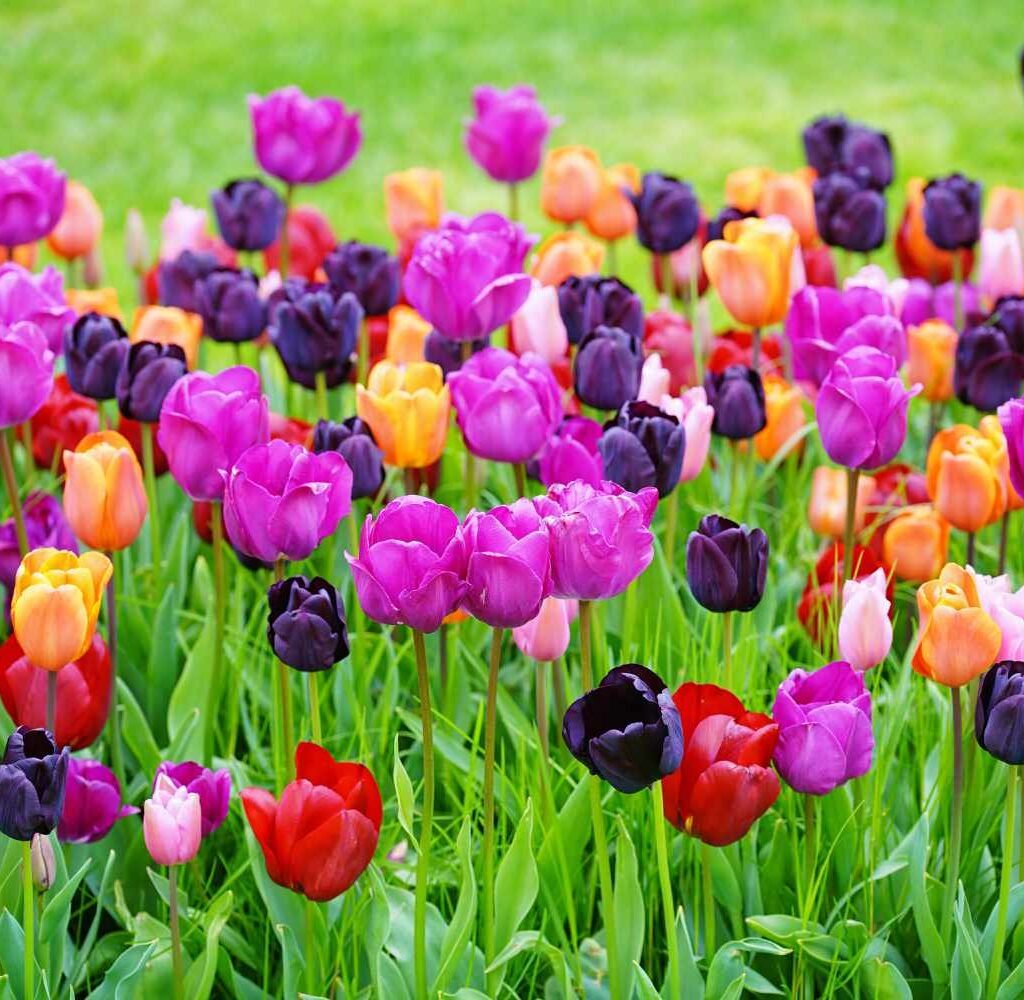
Tulips are among the most cherished spring-blooming flowers, admired for their vibrant colors, graceful shapes, and ability to brighten gardens after the long winter months. For gardeners, preserving tulip bulbs properly over the winter is essential to ensure healthy, vigorous blooms in the following season. Improper storage can lead to rotting, mold, or weakened bulbs that fail to flower. This article provides a comprehensive guide to storing tulip bulbs for winter, including harvesting, cleaning, curing, storage methods, and tips for planting success in spring.
Why Proper Storage of Tulip Bulbs Matters
Tulip bulbs are living plant structures that store energy for the next growing season. Proper storage ensures:
- Healthy Spring Blooms: Well-stored bulbs produce robust flowers with strong stems.
- Disease Prevention: Reduces the risk of rot, mold, or pest infestations.
- Long-Term Viability: Preserves bulbs for multiple seasons, especially for heirloom or rare varieties.
- Maximizing Investment: Bulbs are often a seasonal purchase; proper storage ensures their full value.
- Sustainable Gardening: Supports self-sufficiency by allowing gardeners to reuse bulbs year after year.
Step 1: Harvesting Tulip Bulbs
The first step in successful winter storage is proper harvesting:
Timing:
- Tulips should be dug after the foliage has yellowed and died back naturally, usually 6–8 weeks after blooming.
- Allowing leaves to die back ensures the bulb has stored maximum energy for next year’s growth.
Tools:
- Use a garden fork or trowel to gently lift bulbs from the soil.
- Avoid pulling bulbs forcefully, which can damage the bulb or its roots.
Handling:
- Brush off excess soil carefully.
- Avoid washing bulbs with water, as moisture can promote rot during storage.
Tips: Work on dry days when the soil is not wet to minimize the risk of fungal infections.
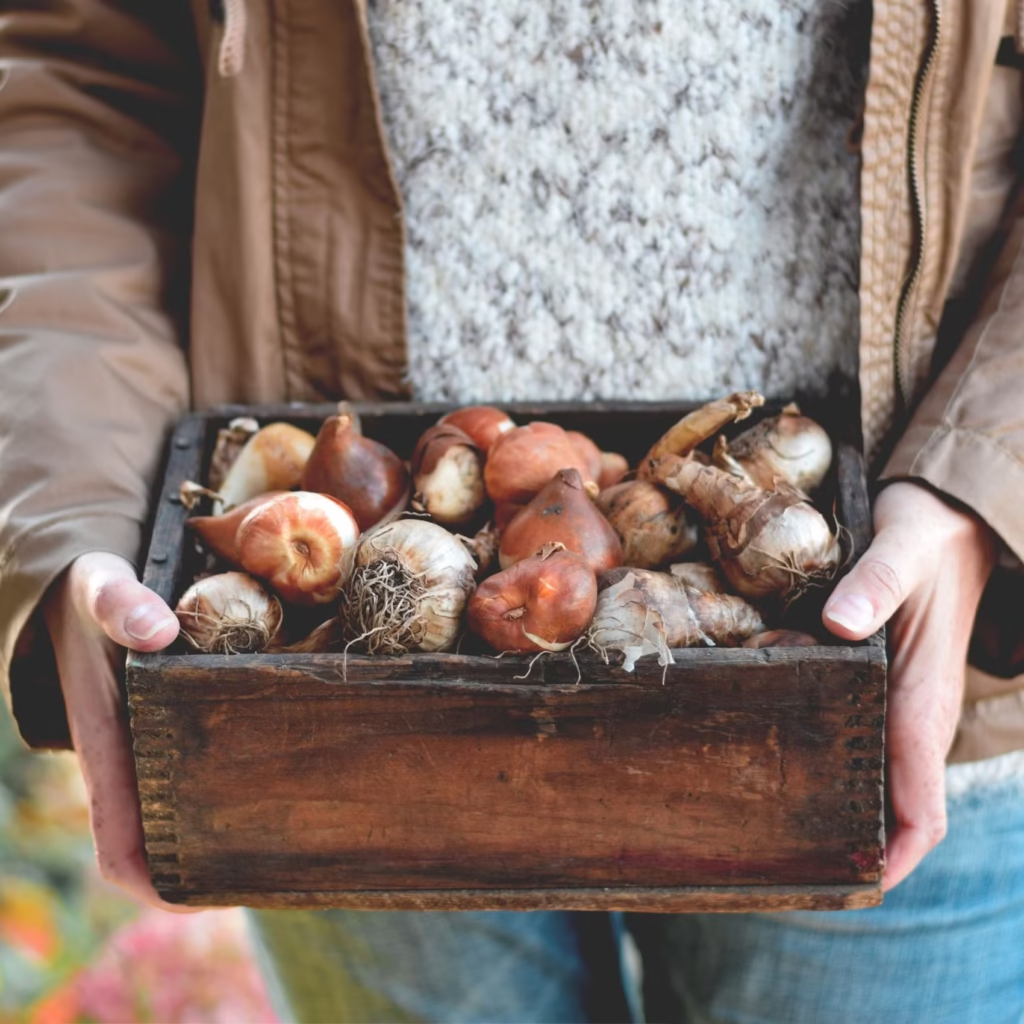
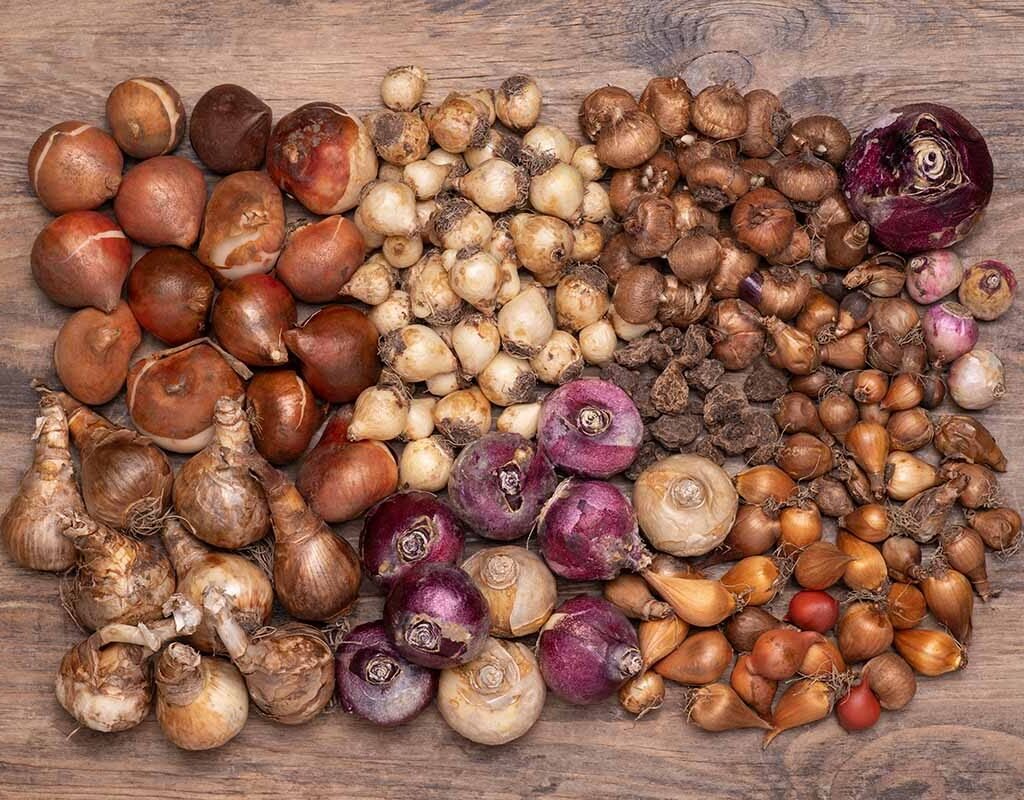
Step 2: Cleaning and Inspecting Bulbs
After harvesting, clean and inspect bulbs before storage:
- Remove Loose Soil: Gently brush away remaining dirt.
- Trim Foliage: Cut back foliage to about 1 inch above the bulb.
- Check for Damage: Discard any bulbs that are soft, moldy, or show signs of disease.
Healthy bulbs are firm to the touch and free of blemishes or spots.
Step 3: Curing Tulip Bulbs
Curing, or drying, prepares tulip bulbs for long-term storage:
Process:
- Place bulbs in a single layer in a cool, dry, well-ventilated area.
- Ideal curing temperature: 60–70°F (15–21°C).
- Duration: 1–2 weeks until outer skins feel papery and dry.
Benefits:
- Reduces moisture content to prevent rot.
- Strengthens the bulb’s outer protective layer.
- Improves long-term storage success.
Tips: Avoid stacking bulbs during curing to allow air circulation and prevent mold.
Step 4: Choosing the Right Storage Environment
Tulip bulbs require a specific environment to maintain dormancy over winter:
Temperature:
- Ideal storage temperature: 40–50°F (4–10°C).
- Avoid freezing temperatures, which can damage bulbs.
- Keep bulbs away from heat sources or direct sunlight, which can trigger premature sprouting.
Humidity:
- Low humidity is crucial to prevent rot and mold.
- Aim for a relative humidity of around 50–60%.
Ventilation:
- Good airflow prevents moisture buildup and fungal growth.
- Avoid airtight containers unless moisture is carefully controlled.
Step 5: Storing Tulip Bulbs
Several storage methods are effective for overwintering tulip bulbs:
1. Paper Bags or Cardboard Boxes
- Place bulbs in paper bags, mesh bags, or cardboard boxes.
- Add dry peat moss, sawdust, or vermiculite to absorb residual moisture.
- Label bags with variety and size for easy identification.
2. Wooden Crates
- Wooden crates allow natural ventilation.
- Line crates with paper or dry material to cushion bulbs and maintain dryness.
3. Refrigerator Storage (Optional)
- For gardeners in warm climates without cool basements:
- Store bulbs in a refrigerator at 40–50°F (4–10°C).
- Keep away from fruits like apples, which emit ethylene gas and can cause sprouting.
4. Hanging Mesh Bags
- Place bulbs in mesh onion or produce bags.
- Hang in a cool, dry, ventilated area.
Tips: Avoid storing tulip bulbs in plastic bags without ventilation; trapped moisture can lead to rot.
Step 6: Monitoring Bulbs During Winter
Even properly stored bulbs need occasional inspection:
- Check for Mold or Rot: Remove any affected bulbs immediately to prevent spreading.
- Maintain Dry Conditions: If humidity rises, add dry peat moss or silica gel to absorb moisture.
- Prevent Premature Sprouting: Ensure bulbs remain in a cool environment and avoid exposure to warmth or light.
Step 7: Preparing Bulbs for Spring Planting
As winter ends and planting time approaches:
- Inspect Bulbs Again: Discard any that are soft, shriveled, or moldy.
- Pre-Soak (Optional): Some gardeners soak bulbs for a few hours in lukewarm water to kick-start growth.
- Select Planting Site: Choose well-drained soil with full sun exposure.
- Plant Depth: Typically 6–8 inches deep, with the pointed end up.
- Spacing: Leave 4–6 inches between bulbs for proper airflow and growth.
Step 8: Tips for Long-Term Tulip Storage Success
- Label Everything: Keep track of tulip varieties, bloom color, and size.
- Do Not Overcrowd: Ensure bulbs are stored with sufficient space for air circulation.
- Avoid Extreme Fluctuations: Sudden changes in temperature or humidity can damage bulbs.
- Handle Gently: Rough handling can bruise bulbs and invite disease.
- Separate Varieties: Store bulbs by type to maintain organized planting plans.
Advantages of Proper Tulip Bulb Storage
- Vibrant Spring Blooms: Ensures strong, colorful flowers in the following season.
- Disease-Free Plants: Reduces the risk of rot or fungal infection.
- Cost Savings: Enables gardeners to reuse bulbs rather than purchasing new ones every year.
- Sustainable Gardening: Supports environmentally responsible practices.
- Planning and Variety Management: Allows careful selection and preservation of favorite tulip varieties for future gardens.
Conclusion
Proper storage of tulip bulbs over the winter is essential to enjoy a vibrant, colorful garden in the spring. From careful harvesting and cleaning to curing, selecting the right storage environment, and monitoring bulbs during dormancy, every step contributes to healthy, strong blooms. By following these practices, gardeners can ensure their tulip bulbs remain viable, disease-free, and ready to flower year after year. Well-stored bulbs not only maximize the beauty of spring gardens but also promote sustainable gardening, cost efficiency, and the joy of planting and nurturing favorite varieties season after season. With patience, careful handling, and attention to detail, tulip storage becomes a rewarding part of the gardening cycle, guaranteeing endless springtime color.
Leave A Comment