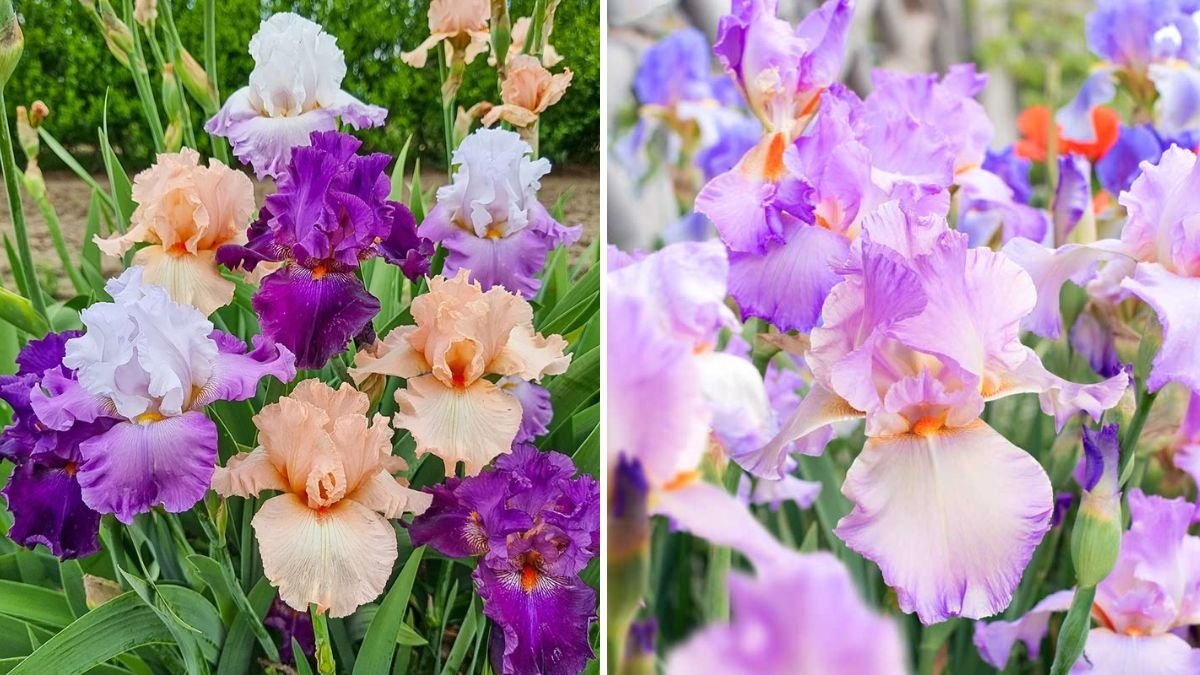
Irises are iconic garden perennials, known for their elegant, sword-like foliage and vibrant, intricate blooms. They are resilient, low-maintenance plants that bring a splash of color to gardens from late spring through early summer. However, like many perennials, irises can become overcrowded over time, leading to reduced bloom quality and increased susceptibility to disease. Dividing irises is an essential horticultural practice that rejuvenates the plants, encourages healthier growth, and ensures abundant flowering year after year. This article provides a comprehensive guide on why, when, and how to divide irises properly, along with expert tips to maintain their vitality and visual appeal.
Why Dividing Irises Matters
Over time, iris clumps naturally expand as rhizomes grow and multiply. While this is a sign of vigor, overcrowded irises face several issues:
- Reduced blooms: Crowded rhizomes compete for nutrients, light, and space, producing fewer and smaller flowers.
- Weaker plants: Overcrowding can result in thinner, weaker stems prone to bending or breakage.
- Disease susceptibility: Dense growth increases humidity and reduces airflow, creating an ideal environment for fungal infections such as rhizome rot.
- Soil depletion: Nutrient competition among rhizomes can lead to poor overall plant health.
Dividing irises addresses these challenges by spreading the plants, restoring vigor, and promoting lush, healthy growth. Gardeners who divide their irises every few years enjoy larger, more vibrant blooms and a more aesthetically pleasing garden.
When to Divide Irises
Timing is crucial for successful iris division. The general rule of thumb:
- Late summer to early fall (6–8 weeks after bloom): This is the ideal period for dividing most iris varieties, as the plant is entering dormancy and can recover before winter.
- Signs it’s time to divide:
- Clumps with fewer flowers than previous years
- Rhizomes growing in dense, crowded patterns
- Thin or stunted foliage
- Rhizomes showing signs of rot or decay
By dividing at the right time, gardeners minimize stress and give the plants sufficient recovery time for robust blooms the following spring.
Tools and Materials Needed
Proper tools make dividing irises safe, efficient, and effective:
- Garden fork or spade: For lifting the clump without damaging rhizomes.
- Sharp knife or pruning shears: For cutting rhizomes cleanly.
- Gloves: To protect hands from sharp foliage edges.
- Bucket of water: For rinsing soil from rhizomes.
- Disinfectant: To clean tools and prevent disease transmission.
- Compost or well-rotted manure: For enriching the planting site.
Using the right tools ensures clean cuts, minimizes damage to rhizomes, and reduces the risk of infection.
Step-by-Step Guide to Dividing Irises
1. Dig Up the Clump
- Gently lift the entire iris clump with a garden fork or spade, starting several inches away from the center to avoid cutting rhizomes.
- Lift the rhizomes carefully, keeping the roots intact.
2. Clean the Rhizomes
- Rinse the rhizomes with water to remove excess soil.
- Examine for any signs of rot, disease, or damage.
- Discard any mushy or discolored rhizomes to prevent spreading infection.
3. Separate the Rhizomes
- Identify healthy rhizomes with at least one or two “fans” of leaves and visible growth buds or “eyes.”
- Use a sharp knife or pruning shears to cut the rhizomes apart.
- Ensure each division has healthy roots and at least one leaf fan.
4. Trim Foliage
- Cut foliage back to 6 inches to reduce water loss and encourage root establishment.
- Remove any dead or damaged leaves completely.
5. Prepare the Planting Site
- Choose a sunny location with well-draining soil, as irises are prone to rot in wet conditions.
- Amend the soil with compost or well-rotted manure for added fertility.
- Avoid planting rhizomes too deeply; the top should be just at or slightly above soil level.
6. Plant the Divisions
- Place each rhizome with roots spread out horizontally.
- Cover roots with soil while keeping the rhizome top exposed.
- Space divisions 12–24 inches apart to allow room for growth.
7. Watering and Mulching
- Water lightly after planting to settle the soil.
- Avoid heavy watering, which can encourage rot.
- Apply a light layer of mulch around the plants to retain moisture and control weeds, but keep mulch away from the rhizome crown.
Aftercare for Divided Irises
Proper care after division ensures strong recovery and healthy blooms:
- Watering: Provide consistent but moderate moisture until the plants establish roots.
- Fertilization: Apply a low-nitrogen fertilizer to encourage root growth and prevent excessive leafy growth.
- Sunlight: Ensure 6–8 hours of full sun daily to support vigorous flowering.
- Weed control: Keep the area around the iris free of weeds to reduce competition for nutrients and water.
- Monitor for pests and disease: Check for signs of iris borers or fungal infections and treat promptly.
Regular aftercare promotes robust plants ready for showstopping blooms next season.
Common Mistakes to Avoid
Even experienced gardeners can make mistakes when dividing irises. Avoid these pitfalls:
- Dividing too frequently: Irises generally need division every 3–5 years. Over-dividing can stress the plants.
- Planting too deep: Rhizomes buried too deeply may rot and fail to bloom.
- Ignoring diseased rhizomes: Planting infected rhizomes spreads disease and compromises the entire bed.
- Neglecting sunlight: Irises require full sun for at least 6 hours daily. Partial shade can lead to weak stems and fewer flowers.
- Over-fertilizing: Excess nitrogen promotes leaf growth at the expense of blooms.
Awareness of these mistakes helps ensure successful division and thriving plants.
Benefits of Dividing Irises
Dividing irises provides numerous benefits beyond simply making more plants:
- Stronger, healthier plants: Reduces overcrowding and competition for nutrients.
- More prolific blooms: Healthy rhizomes produce larger, more abundant flowers.
- Disease prevention: Separating old, decaying rhizomes reduces the risk of fungal infections.
- Aesthetic enhancement: Regular division ensures even spacing and a tidy, visually appealing garden.
- Propagation: Division allows gardeners to increase their collection or share plants with friends and family.
By maintaining a consistent division schedule, gardeners can enjoy a vibrant, thriving iris garden year after year.
Expert Tips for Optimal Division
- Label divisions: Keep track of different iris varieties for organized planting and identification.
- Consider companion planting: Plant irises alongside perennials with similar sun and soil requirements to enhance garden aesthetics.
- Use disinfected tools: Prevent the spread of disease by cleaning knives and shears with rubbing alcohol or a bleach solution.
- Timing matters: Avoid dividing during extreme heat or cold; late summer to early fall is ideal.
- Observe growth patterns: Some irises benefit from dividing after 3–4 years, while vigorous varieties may need division sooner.
Following these expert tips maximizes plant health, bloom quality, and overall garden beauty.
Conclusion
Dividing irises is a vital gardening practice that ensures healthy, vibrant plants capable of producing showstopping blooms year after year. By understanding the importance of division, recognizing the signs of overcrowding, and following proper techniques, gardeners can rejuvenate their iris beds, promote robust growth, and prevent disease. From careful lifting and cleaning of rhizomes to precise planting and aftercare, each step contributes to stronger plants, abundant flowers, and a stunning garden display.
Whether for a small home garden or an extensive perennial border, dividing irises at the right time and with attention to detail guarantees a perennial paradise filled with tall, striking blooms. With careful practice, gardeners can enjoy the full glory of irises season after season, maintaining healthy, thriving plants that are the centerpiece of any garden.
Leave A Comment