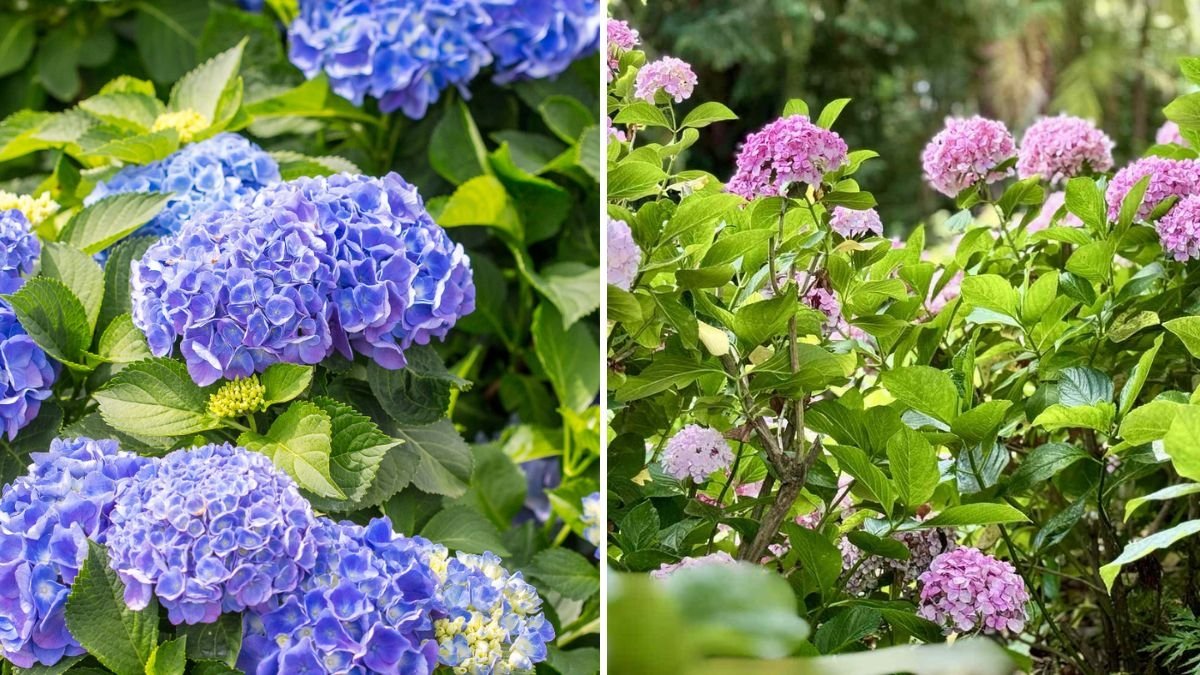
Hydrangeas are a favorite among gardeners, celebrated for their lush foliage and voluminous flower clusters that come in shades of pink, blue, white, and purple. However, growing healthy, vibrant hydrangeas goes beyond watering and fertilizing. One of the most underrated yet powerful gardening techniques is mulching. Mulching not only improves soil health but also helps hydrangeas thrive throughout the season, producing strong stems, vibrant blooms, and disease resistance.
This guide explores why mulching is essential, how it benefits hydrangeas, and tips for choosing and applying mulch effectively.
1. What Mulching Does for Hydrangeas
Mulching involves placing a layer of organic or inorganic material on top of the soil around plants. While many gardeners use mulch for decorative purposes, its benefits extend far beyond aesthetics:
- Soil Moisture Retention: Mulch slows water evaporation, ensuring hydrangeas get a steady supply of moisture.
- Temperature Regulation: It insulates roots against temperature extremes, protecting against heat in summer and frost in winter.
- Weed Suppression: A thick mulch layer prevents weed growth, reducing competition for nutrients.
- Soil Enrichment: Organic mulches decompose over time, enriching the soil with nutrients.
- Disease Prevention: Mulch reduces soil splash, which can spread fungal pathogens to hydrangea leaves.
Tip: Mulching is not just cosmetic—it’s a comprehensive care strategy that boosts overall plant health and bloom quality.
2. Choosing the Right Mulch for Hydrangeas
Not all mulches are created equal. Hydrangeas respond best to organic mulches that improve soil fertility and maintain a slightly acidic environment.
Recommended Mulches
- Bark Chips: Slow-decomposing and ideal for long-term coverage; enhances soil structure.
- Shredded Leaves: Readily available, enrich the soil as they break down.
- Compost: Nutrient-rich and improves moisture retention.
- Pine Needles: Slightly acidic, perfect for hydrangeas that prefer lower soil pH (helps maintain blue blooms).
What to Avoid
- Mulches that compact easily, such as heavy clay or sawdust without compost, which can restrict water flow.
- Synthetic mulches around hydrangeas may not improve soil fertility and can sometimes affect soil temperature excessively.
Tip: A 2–4 inch layer of organic mulch is generally sufficient to protect roots without suffocating them.
3. How Mulching Protects Hydrangea Roots
Hydrangeas have shallow root systems, making them vulnerable to temperature swings and drought. Mulch acts as a protective barrier:
- Summer: Prevents soil from drying out and overheating, reducing stress on the plant.
- Winter: Insulates roots, preventing frost heaving that can damage or kill hydrangea plants.
- Transplants: Newly planted hydrangeas benefit from mulch as it reduces transplant shock and promotes root establishment.
Tip: Keep mulch about 1–2 inches away from the crown of the plant to prevent rot while maximizing root protection.
4. Mulching Improves Hydrangea Flower Quality
Consistent moisture and nutrient availability are directly tied to bloom size, color, and longevity:
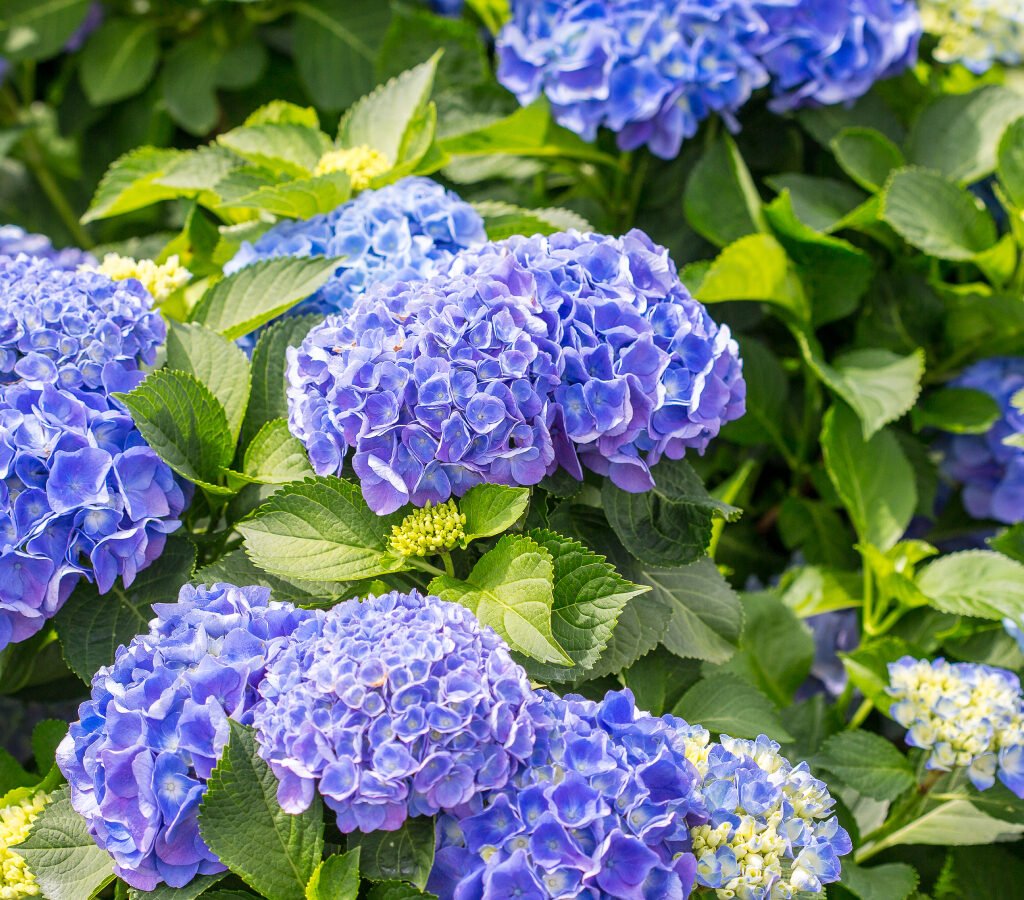
- Vibrant Colors: Mulching helps maintain slightly acidic soil, which is critical for blue hydrangea varieties.
- Larger Blooms: Steady moisture ensures flowers develop fully rather than wilting or turning brown prematurely.
- Extended Blooming Season: Well-hydrated and nourished plants bloom longer, producing more flower clusters.
Tip: Replenish mulch as it decomposes to maintain consistent benefits throughout the growing season.
5. Mulching for Disease and Pest Management
Hydrangeas can be susceptible to powdery mildew, leaf spots, and root rot. Mulching helps mitigate these issues:
- Reduces soil splash during watering or rain, limiting fungal spread to leaves.
- Helps maintain even soil moisture, preventing root stress that attracts pests.
- Certain organic mulches, like compost or shredded leaves, promote beneficial microbes that naturally combat pathogens.
Tip: Remove any old or moldy mulch from the previous season before applying a fresh layer to reduce disease risks.
6. Seasonal Mulching Strategies
Spring Mulching
- Apply a fresh layer after soil has warmed and before active growth begins.
- Supports strong new growth and early flower development.
Summer Mulching
- Maintain 2–3 inches to retain moisture during hot months.
- Consider using pine bark or pine needles to keep soil slightly acidic for blue hydrangeas.
Fall and Winter Mulching
- Increase mulch depth to 3–4 inches to insulate roots against frost.
- Mulch also protects the soil from heavy rains and prevents erosion.
Tip: Seasonal mulching ensures hydrangeas remain healthy and productive year-round.
7. Applying Mulch Correctly Around Hydrangeas
Proper technique ensures maximum benefits:
- Clear the Area: Remove weeds and debris around the base of the plant.
- Spread Evenly: Apply 2–4 inches of mulch in a circle around the plant, extending to the drip line if possible.
- Avoid Direct Contact: Keep mulch 1–2 inches away from the main stem to prevent rot.
- Replenish as Needed: Organic mulch decomposes, so check monthly and add more as necessary.
Tip: Combining mulch with deep watering ensures nutrients reach the roots efficiently.
8. Combining Mulching With Fertilization
Mulch and fertilizer work hand-in-hand for hydrangeas:
- Organic Mulches: Release nutrients slowly as they decompose, reducing the need for frequent synthetic fertilizers.
- Fertilization Timing: Apply slow-release fertilizer under the mulch in early spring for strong root and shoot growth.
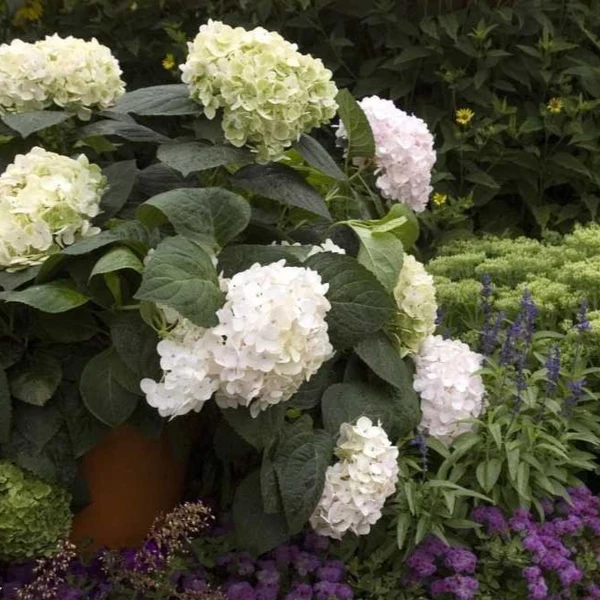
- Soil Testing: Test soil pH periodically; amend with lime or sulfur if necessary to maintain desired flower color (especially for blue or pink hydrangeas).
Tip: Mulch enhances fertilizer efficiency by keeping nutrients in the root zone rather than letting them wash away.
9. Common Mulching Mistakes to Avoid
- Too Thick: Mulch layers over 4 inches can suffocate roots and promote fungal diseases.
- Piling Against Stems: Direct contact with the hydrangea crown can lead to crown rot.
- Ignoring Decomposition: Old mulch should be replaced or refreshed to maintain benefits.
- Using Non-Organic Materials: Materials like gravel or rubber don’t improve soil fertility or moisture retention.
Tip: Correct mulching technique is essential to reap all the benefits without causing harm.
10. The Long-Term Benefits of Mulching Hydrangeas
When done properly, mulching is a low-effort, high-reward strategy:
- Healthier, stronger plants with deeper root systems.
- Fewer pests and diseases, reducing the need for chemical interventions.
- Enhanced flower size, color, and longevity.
- Reduced water requirements and labor, thanks to better moisture retention.
- A more attractive garden with well-maintained soil and tidy beds.
Conclusion
Mulching is more than just a decorative practice—it’s a secret weapon for growing healthy, vibrant hydrangeas. By providing consistent moisture, regulating soil temperature, enriching soil fertility, and preventing disease, mulch ensures your hydrangeas thrive and produce abundant, colorful blooms year after year.
For gardeners looking to maximize bloom size, prolong flowering, and minimize maintenance, mulching is the essential step that can transform ordinary hydrangeas into show-stopping garden stars.
Tip: Combine mulching with proper watering, fertilization, and pruning for the ultimate hydrangea care routine, ensuring your garden remains colorful and lush throughout the growing season.
Leave A Comment