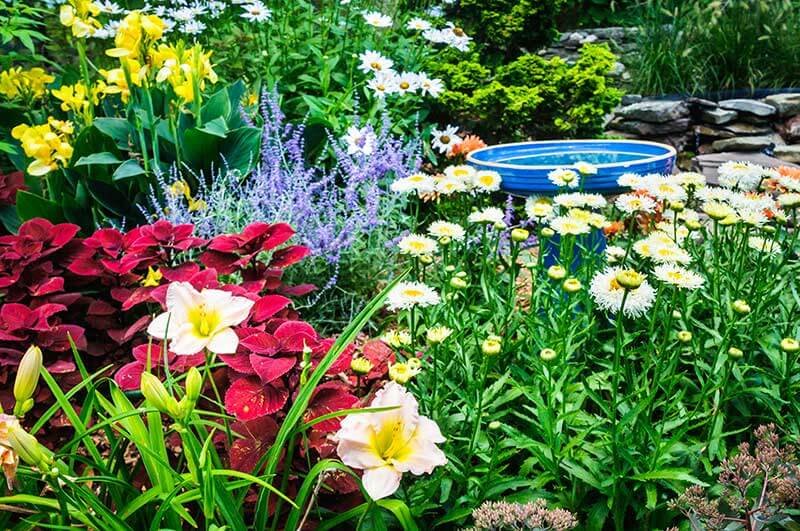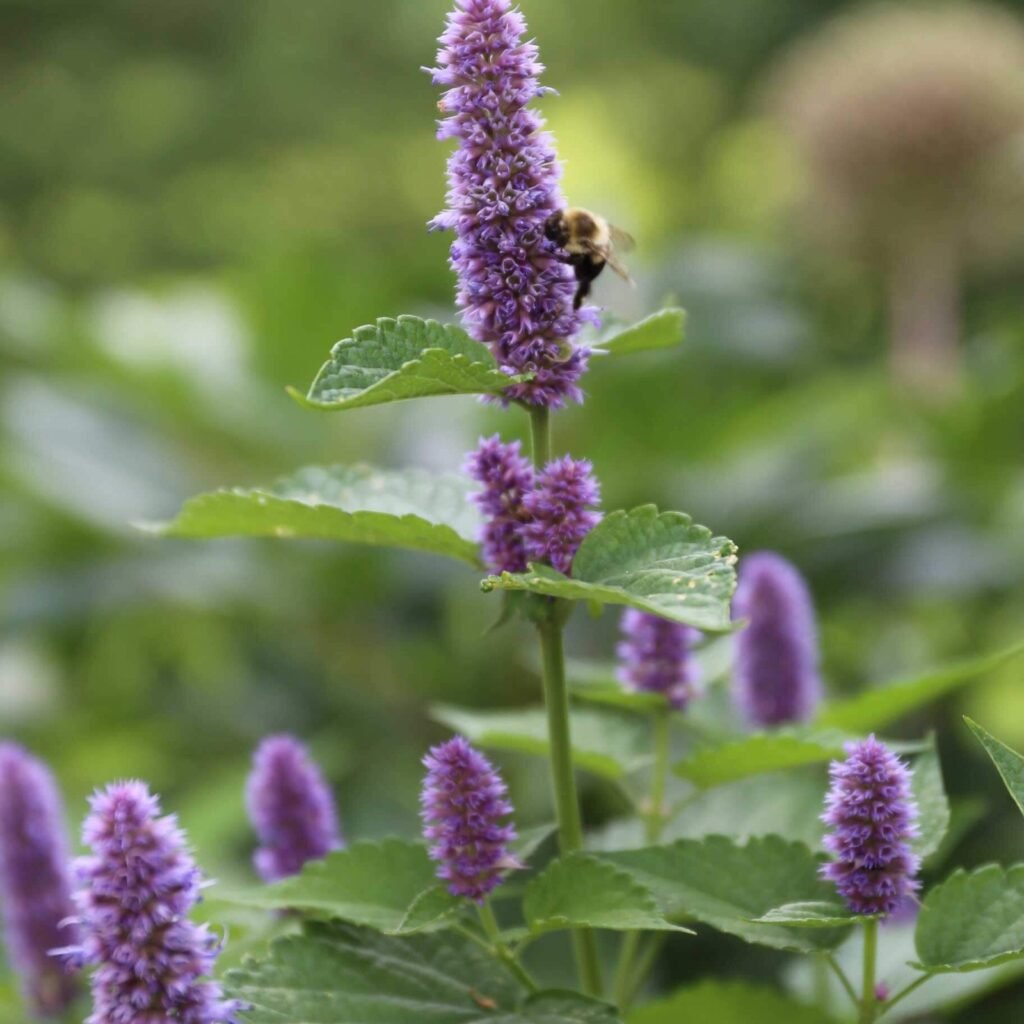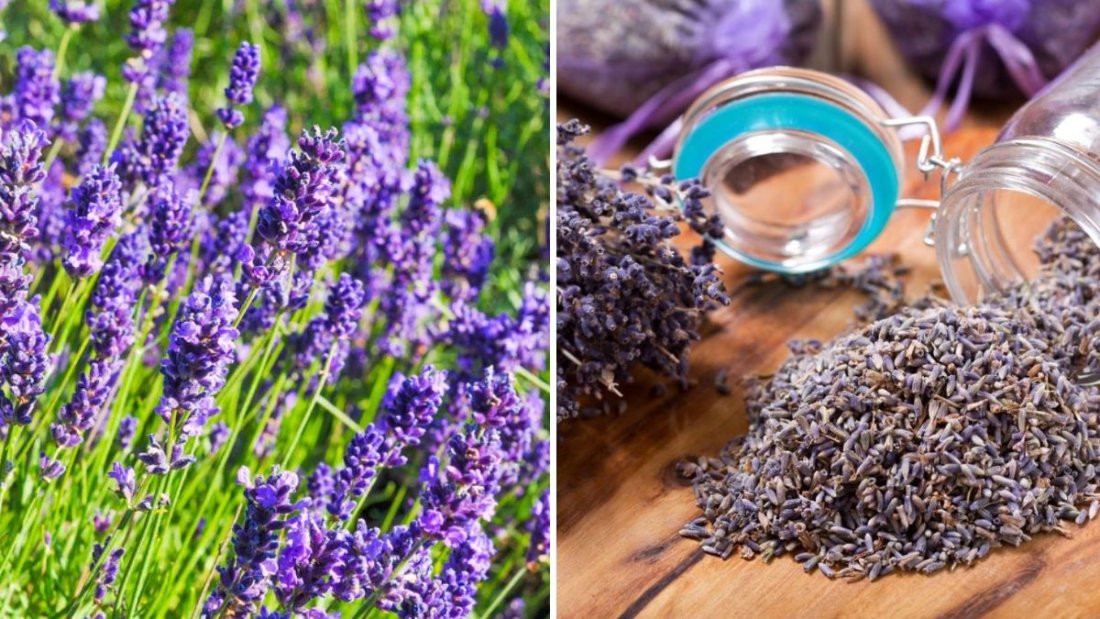
Lavender is one of the most cherished aromatic plants, celebrated for its calming fragrance, beautiful purple blooms, and versatile uses in essential oils, culinary dishes, and crafts. Whether grown in home gardens, on farms, or in pots, harvesting lavender correctly is essential to maximize its fragrance, color, and longevity. Improper harvesting can reduce essential oil content, diminish aroma, and even damage the plant. This article provides a comprehensive, step-by-step guide on the best practices for harvesting lavender to preserve its scent and quality, including timing, techniques, drying, storage, and tips for maintaining healthy plants.
Why Proper Lavender Harvesting Matters
Harvesting lavender at the right time and using the proper techniques ensures:
- Maximum Essential Oil Content: The fragrance is strongest just before full bloom.
- Prolonged Blooming: Correct cutting promotes new flower growth for subsequent harvests.
- Better Quality Products: Ensures long-lasting aroma for dried bundles, sachets, and essential oils.
- Plant Health: Reduces the risk of damaging stems or roots, supporting long-term productivity.
- Aesthetic Appeal: Maintains bushy, vibrant plants for decorative gardens and landscapes.
Step 1: Choosing the Right Lavender Variety
There are numerous lavender varieties, each suited to different climates, uses, and scents:
- English Lavender (Lavandula angustifolia): Sweet fragrance, ideal for dried arrangements and essential oil.
- French Lavender (Lavandula dentata): Decorative foliage with mild aroma, blooms longer.
- Spanish Lavender (Lavandula stoechas): Distinctive flowers, excellent for ornamental gardens.
- Lavandin Hybrids: Robust plants with strong fragrance, commonly used in essential oil production.
Tips: Select varieties based on intended use—culinary, aromatic, or decorative. English lavender is preferred for long-lasting scent and drying purposes.
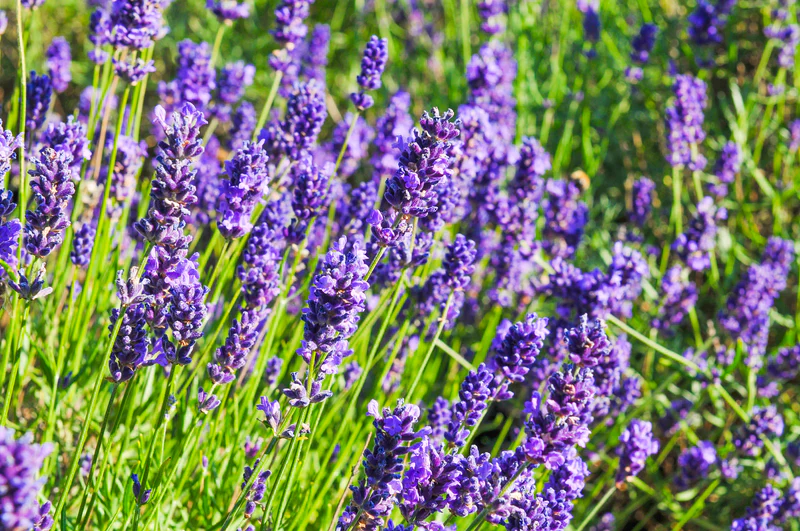
Step 2: Knowing the Optimal Harvest Time
Timing is critical to capturing lavender’s peak fragrance:
Flower Development Stages:
- Bud Stage: Tight buds with no color—essential oil content is still developing.
- Early Bloom Stage: First flowers open; essential oils begin to peak.
- Full Bloom Stage: Most flowers open—aroma is strong, but overripe blooms may lose potency.
- Late Bloom Stage: Flowers start to fade and brown—scent diminishes.
Best Time to Harvest:
- Harvest lavender when approximately half of the flower buds have opened.
- This stage provides the strongest fragrance, longest-lasting color, and higher essential oil concentration.
Seasonal Timing:
- Early to mid-summer is generally ideal for most varieties.
- In warmer climates, multiple harvests may be possible—plan spacing to avoid cutting too frequently.
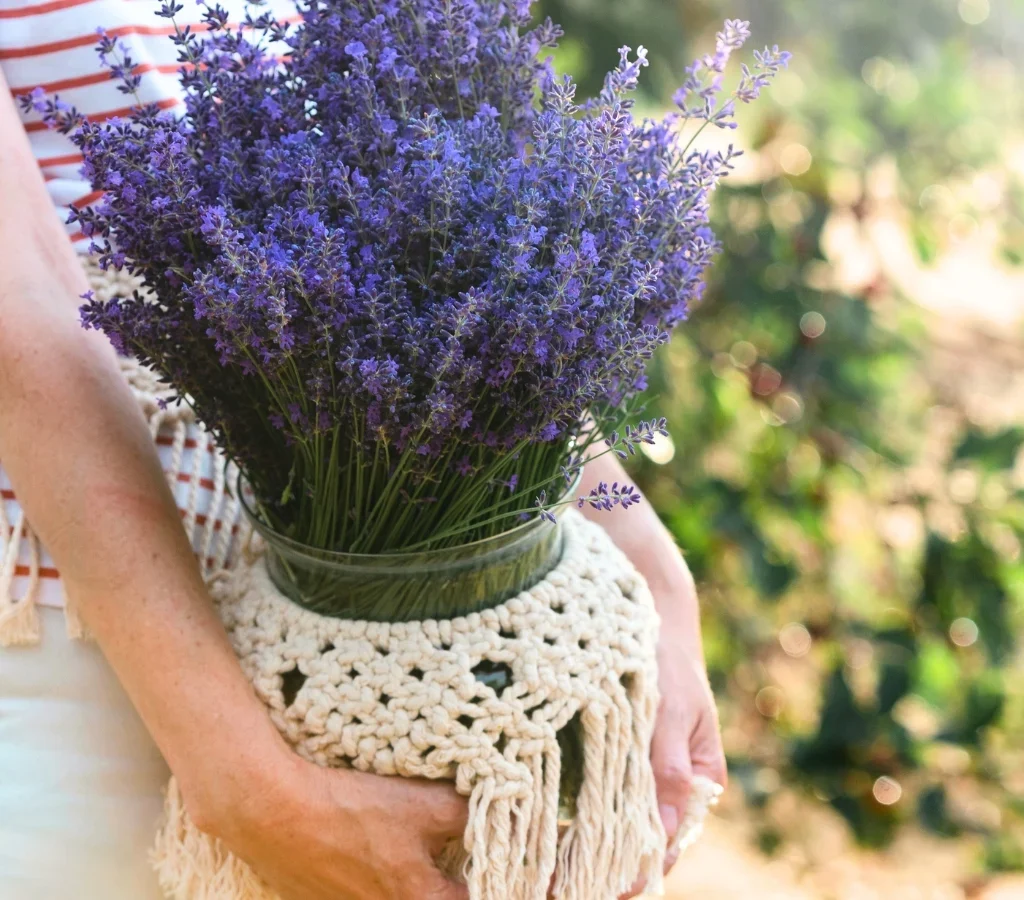
Step 3: Preparing for Harvest
Before cutting lavender, preparation ensures cleaner, more efficient harvesting:
- Tools: Use sharp, clean scissors, garden shears, or a sickle. Clean tools prevent disease spread and reduce damage to stems.
- Container: Use a basket, bucket, or cloth bag to collect stems, avoiding crushing flowers.
- Weather: Harvest in the morning after dew dries but before peak heat, when essential oils are concentrated.
Tips: Avoid cutting during rain or very humid days, as moisture can reduce fragrance and promote mold during drying.
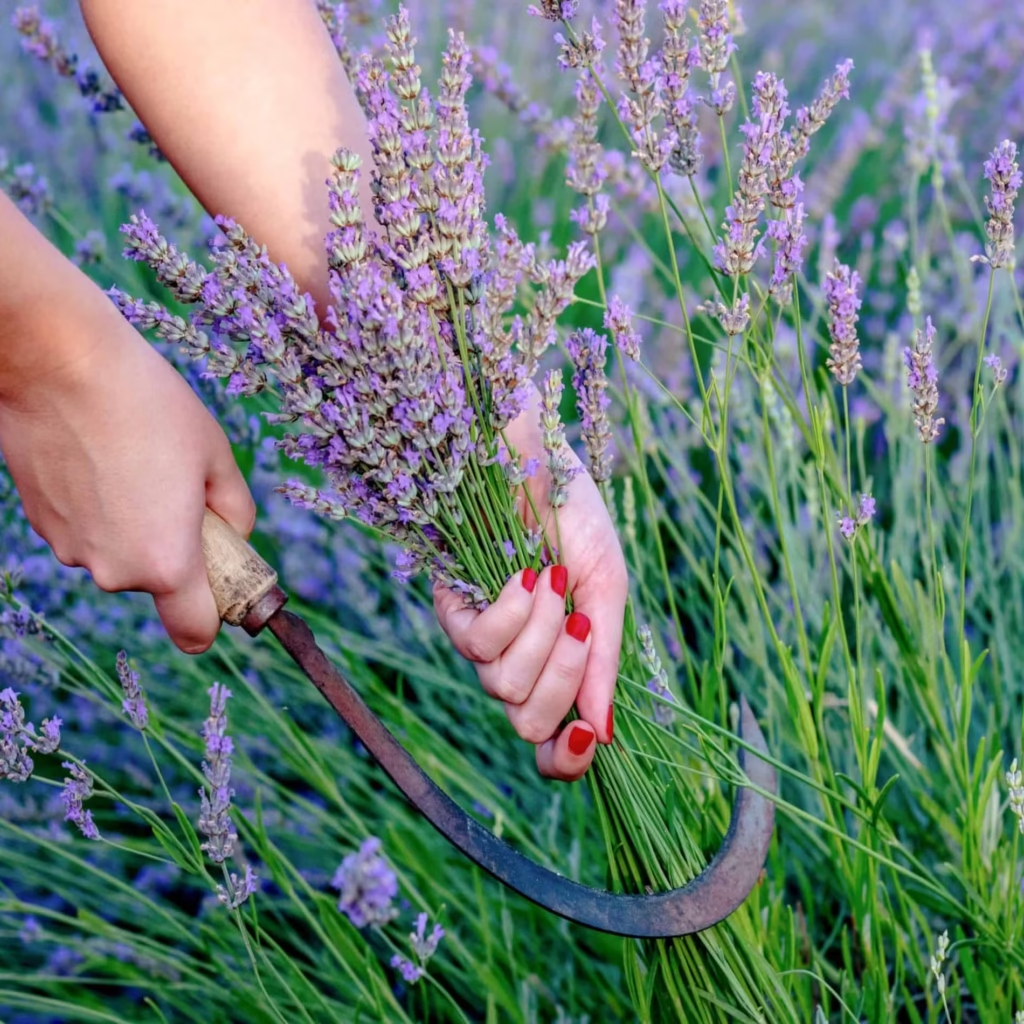
Step 4: Proper Harvesting Techniques
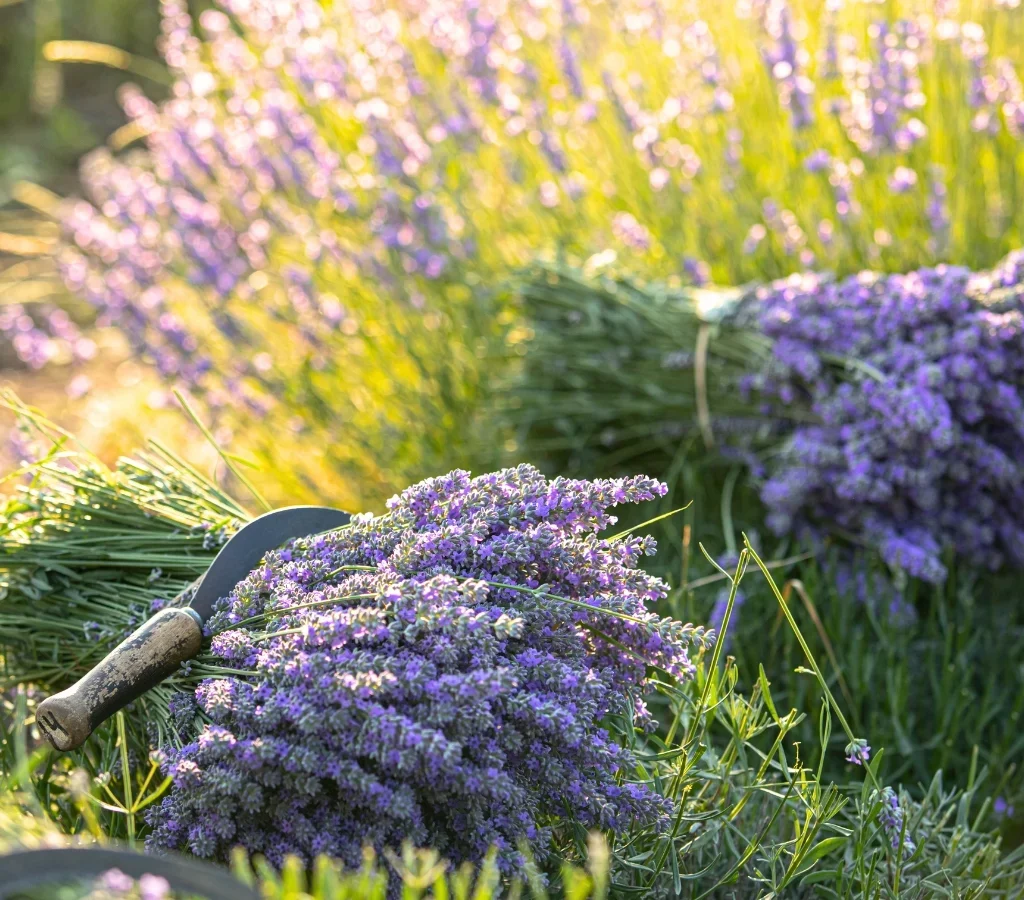
Correct cutting techniques are essential to preserve plant health and maximize scent:
Step 1: Identify Mature Stems
- Focus on stems with a high density of flower buds at the correct stage.
- Avoid cutting older, woody stems near the base, as they may not regrow vigorously.
Step 2: Cutting Method
- Angle Cut: Cut stems at a 30–45° angle to promote water runoff and faster drying.
- Length: Harvest stems approximately 8–12 inches long, leaving enough green growth for the plant to regenerate.
- Bundle Formation: Collect 10–15 stems at a time, holding them gently to prevent crushing buds.
Step 3: Maintaining Plant Health
- Avoid cutting more than one-third of the plant at a time to prevent stress.
- Regularly remove dead or woody stems to encourage fresh growth and improve air circulation.
Tips: Use gentle handling to avoid bruising the buds, which can reduce aroma and oil content.
Step 5: Drying Lavender for Long-Lasting Scent
Drying lavender properly preserves fragrance, color, and quality.
Step 1: Preparing Bundles
- Tie 10–15 stems together with string or rubber bands.
- Ensure stems are aligned evenly and not crushed.
Step 2: Hanging Method
- Hang bundles upside down in a dark, well-ventilated, dry space.
- Darkness preserves color, while airflow prevents mold.
- Avoid direct sunlight, which can fade flowers and degrade scent.
Step 3: Alternative Drying Methods
- Tray Drying: Lay stems on a paper towel or mesh tray in a dry, dark location.
- Dehydrator: Use low heat (95–105°F or 35–40°C) for controlled drying in large quantities.
Step 4: Drying Duration
- Depending on humidity, stems typically dry in 1–3 weeks.
- Stems are ready when buds feel crisp, and stems snap easily.
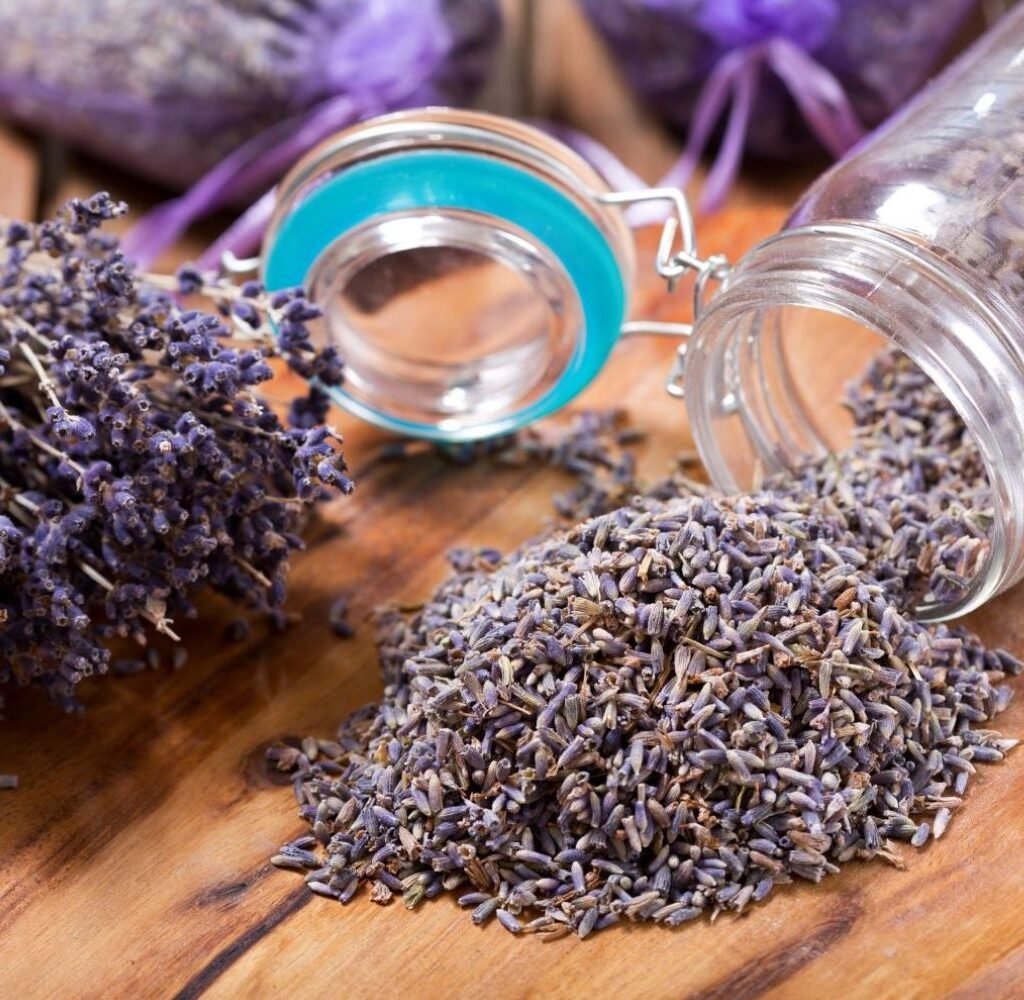
Step 6: Storing Dried Lavender
Proper storage is critical for long-lasting fragrance:
- Containers: Use airtight glass jars, fabric sachets, or sealed paper bags.
- Location: Store in a cool, dark, and dry area to preserve essential oils.
- Labeling: Include variety and harvest date for reference.
Tips: Avoid plastic bags for long-term storage, as they can trap moisture and reduce aroma.
Step 7: Using Lavender for Maximum Benefit
Harvested and stored lavender has multiple applications:
- Aromatherapy: Use dried lavender in sachets, pillows, and essential oil distillation.
- Culinary Uses: Sprinkle in baked goods, teas, or herbal infusions.
- Decorative Crafts: Create wreaths, garlands, or dried flower arrangements.
- Pest Repellent: Place bundles in closets or drawers to repel moths and insects.
Tips: Crush dried buds gently to release fragrance just before use, ensuring the scent lasts longer.
Step 8: Encouraging Future Growth
After harvesting:
- Pruning: Lightly trim remaining green foliage to shape plants and encourage new growth.
- Fertilizing: Apply compost or balanced fertilizer to support strong stems for next season.
- Watering: Maintain consistent soil moisture without waterlogging to sustain plant health.
- Weed Control: Remove competing plants to reduce stress and improve air circulation.
Tips: Avoid cutting too late in the season; allow some growth for winter protection.
Advantages of Proper Lavender Harvesting
- Long-Lasting Aroma: Maximizes essential oil content for dried or processed lavender.
- Extended Blooming: Proper cutting techniques encourage regrowth and more flowers next season.
- High-Quality Products: Preserves color, texture, and fragrance for craft and culinary uses.
- Plant Longevity: Healthy pruning and selective harvesting maintain vigorous plants for years.
- Sustainable Gardening: Reduces waste and encourages seasonal self-sufficiency.
Conclusion
Harvesting lavender correctly is both an art and a science, combining knowledge of plant biology with careful handling to preserve scent, color, and plant health. By selecting healthy plants, harvesting at the optimal stage, using proper cutting techniques, and drying and storing stems appropriately, gardeners can enjoy long-lasting fragrance throughout the year. Proper lavender care not only enhances the beauty and aroma of gardens but also ensures a sustainable supply of high-quality blooms for culinary, decorative, and aromatic uses. With attention to detail and seasonal planning, harvesting lavender becomes a rewarding practice that brings enjoyment and utility for seasons to come.