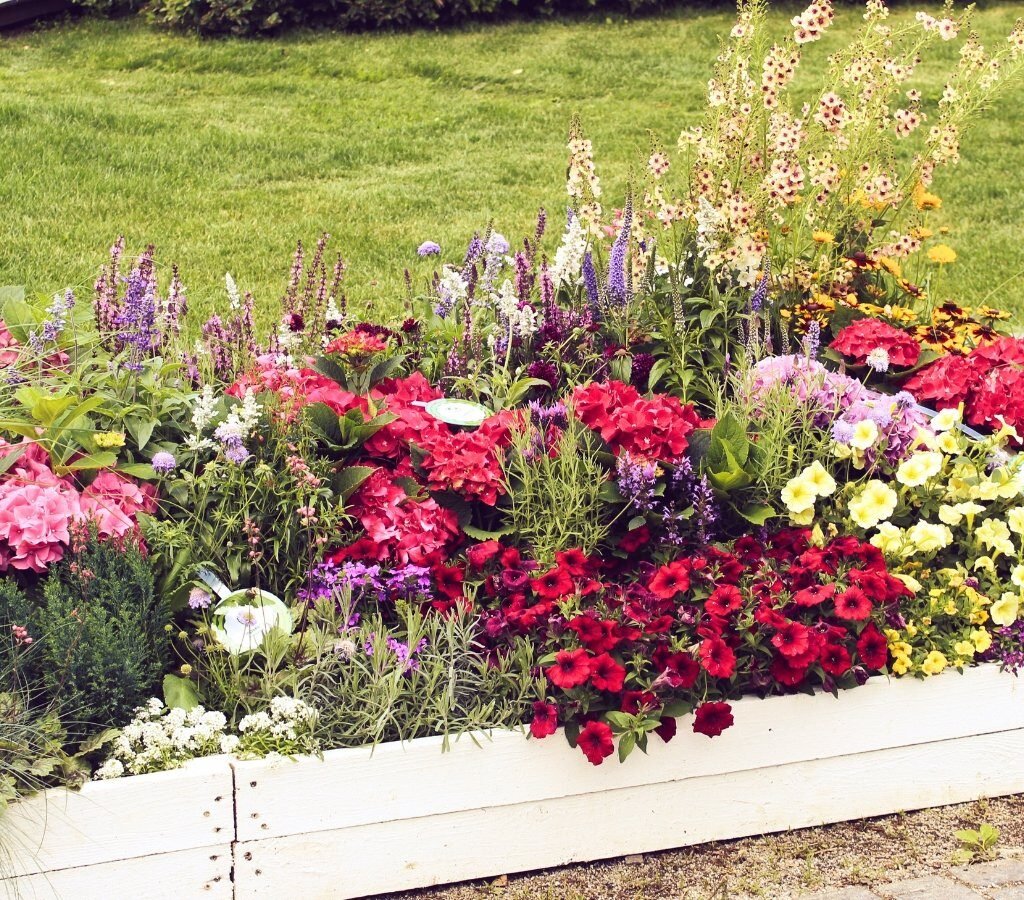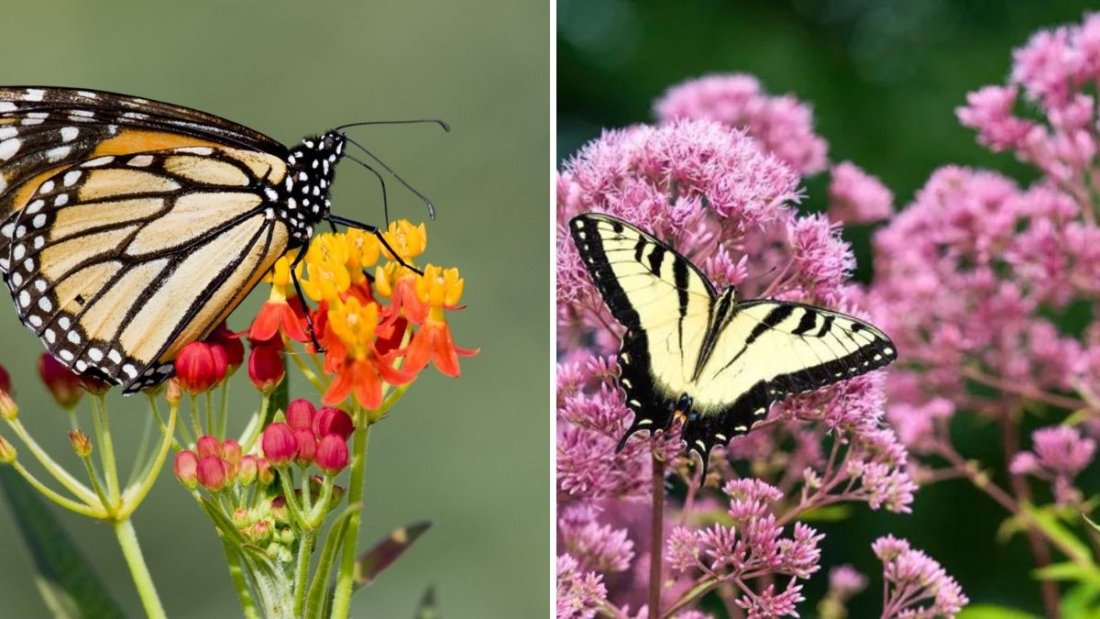
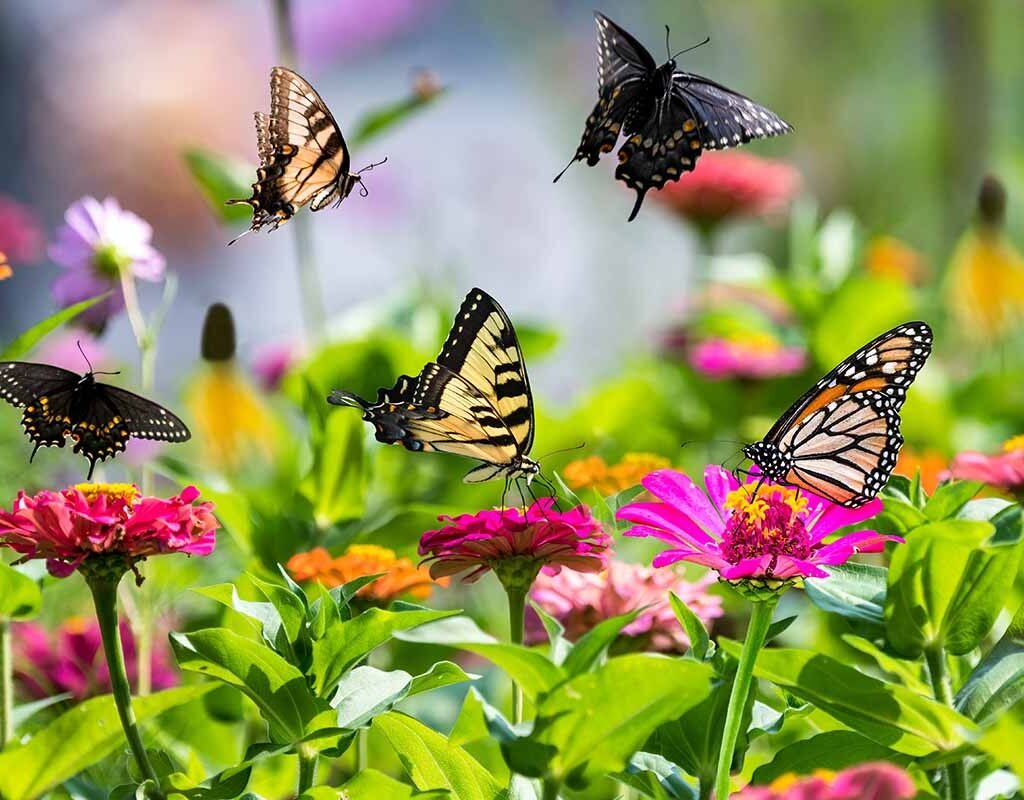
Few sights are as enchanting in a garden as fluttering butterflies. These delicate pollinators bring movement, color, and life to any outdoor space, while also supporting the ecosystem by pollinating plants. If you want a garden that buzzes with activity and bursts with beauty throughout the summer, choosing the right butterfly-attracting flowers is key.
This guide explores seven flowers that consistently attract butterflies, including planting tips, bloom times, care requirements, and the ecological benefits of a butterfly-friendly garden.
1. Butterfly Bush (Buddleja davidii)
Why Butterflies Love It
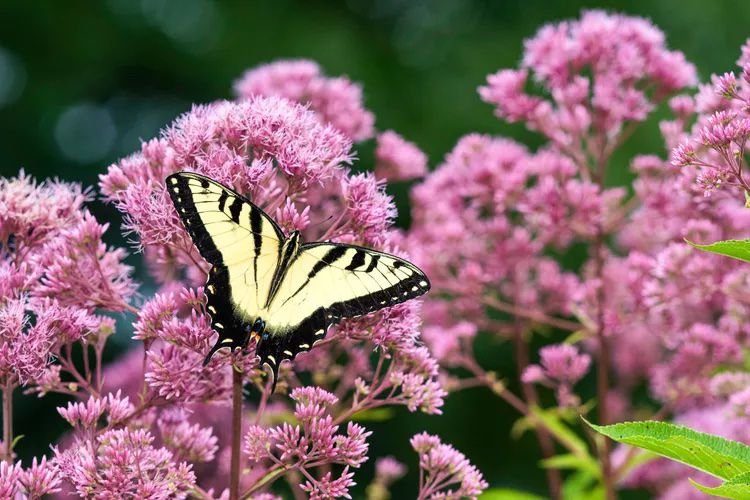
The butterfly bush lives up to its name. Its long, cone-shaped blooms are rich in nectar, making it a magnet for butterflies like monarchs, swallowtails, and painted ladies.
Planting Tips
- Light: Full sun (at least 6 hours daily).
- Soil: Well-draining soil, moderately fertile.
- Watering: Regular watering until established; drought-tolerant once mature.
- Care: Prune in late winter or early spring to encourage new growth and blooms.
Bloom Time
- Mid to late summer, providing continuous nectar throughout the season.
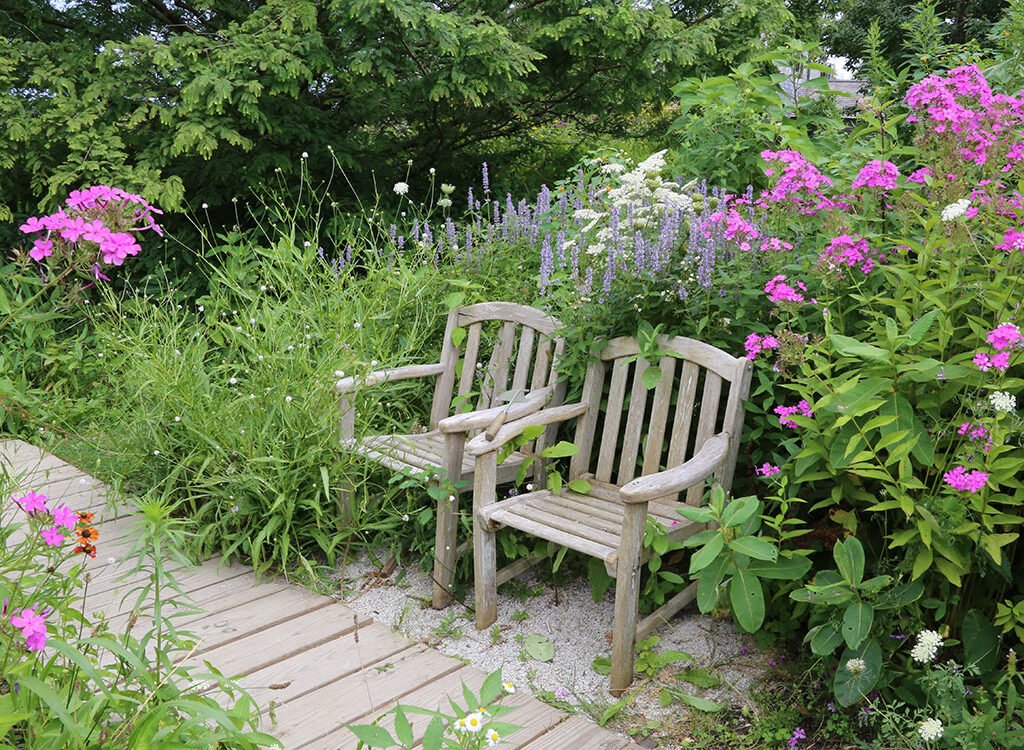
Pro Tip: Place near a seating area to enjoy butterflies up close while they feed.
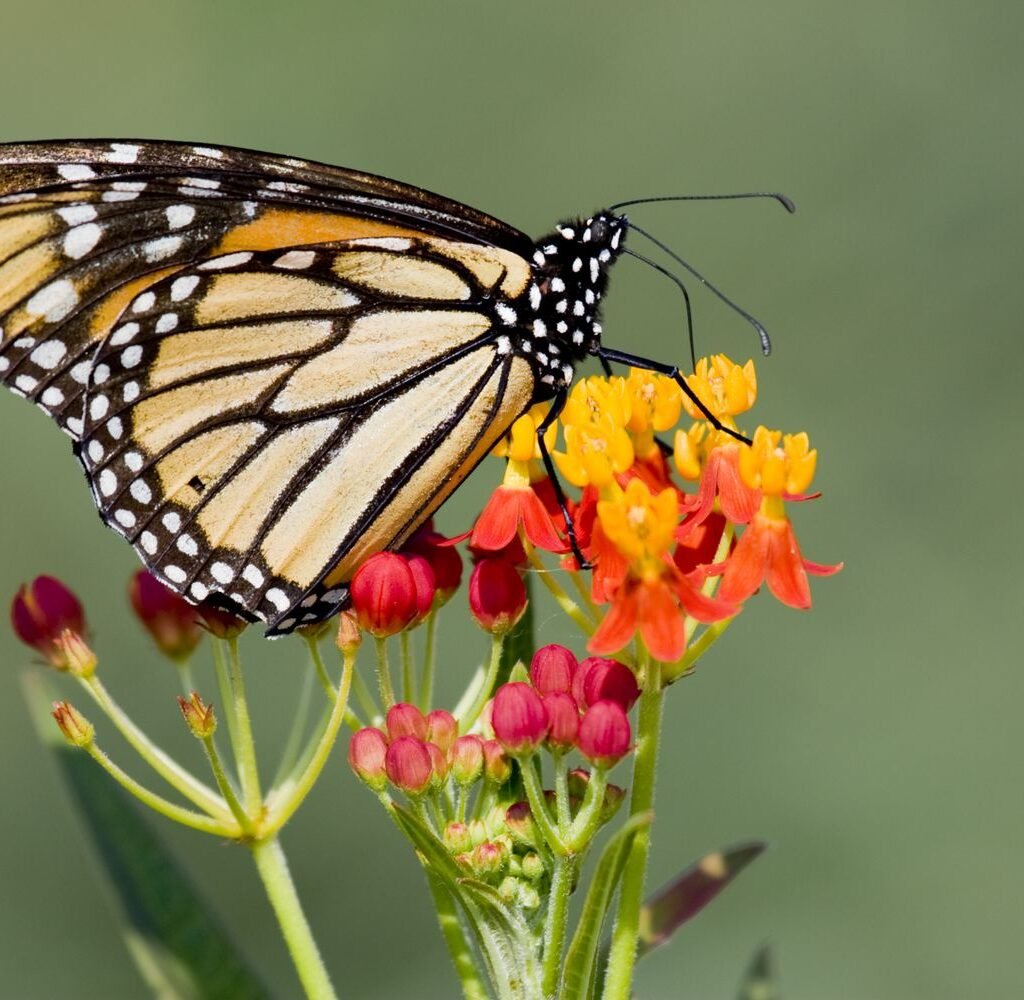
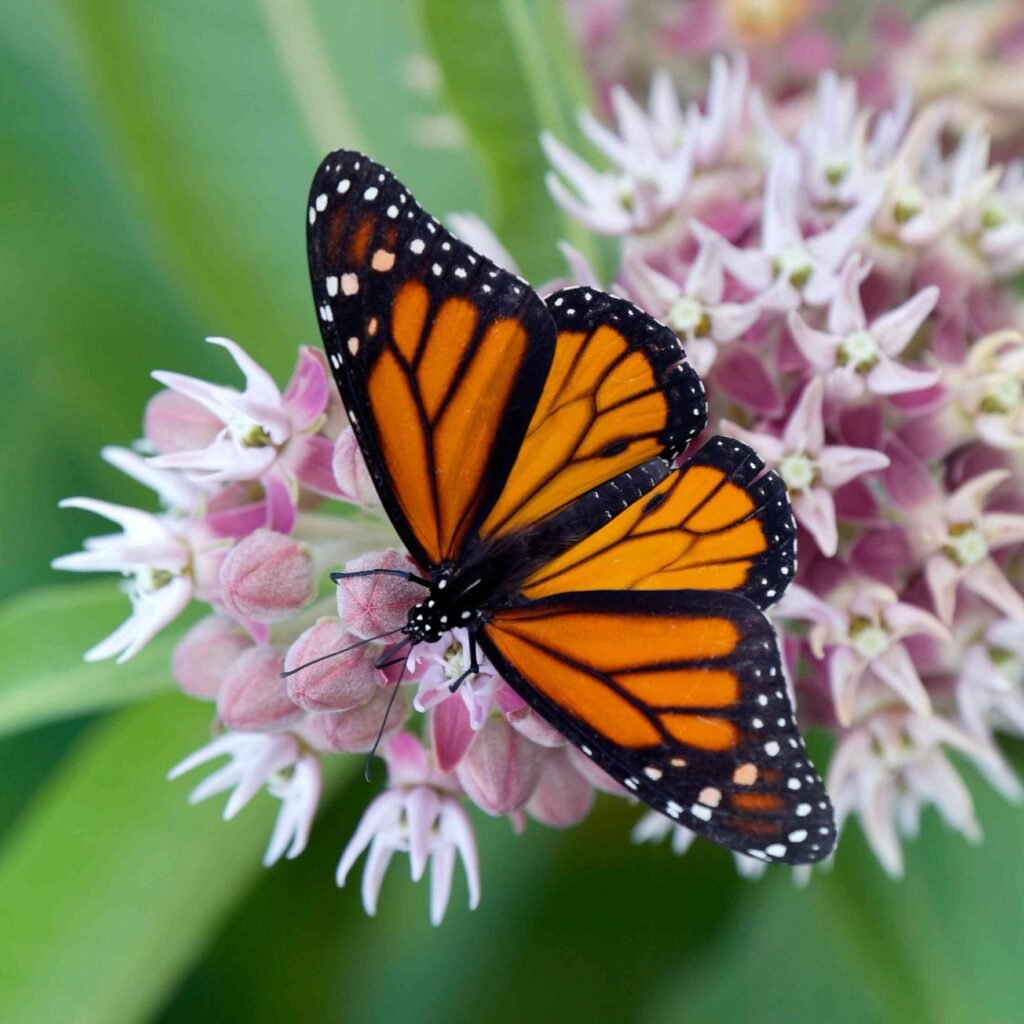
2. Milkweed (Asclepias spp.)
Why Butterflies Love It
Milkweed is the host plant for monarch butterflies, providing both nectar for adults and leaves for caterpillars to feed on. Planting milkweed supports the entire butterfly life cycle.
Planting Tips
- Light: Full sun.
- Soil: Well-draining soil; tolerates poor soil conditions.
- Watering: Moderate watering, avoid waterlogged soil.
- Care: Deadhead spent flowers to prolong bloom period.
Bloom Time
- Summer to early fall.
Pro Tip: Choose native milkweed species for your region—they are best for local butterfly populations.
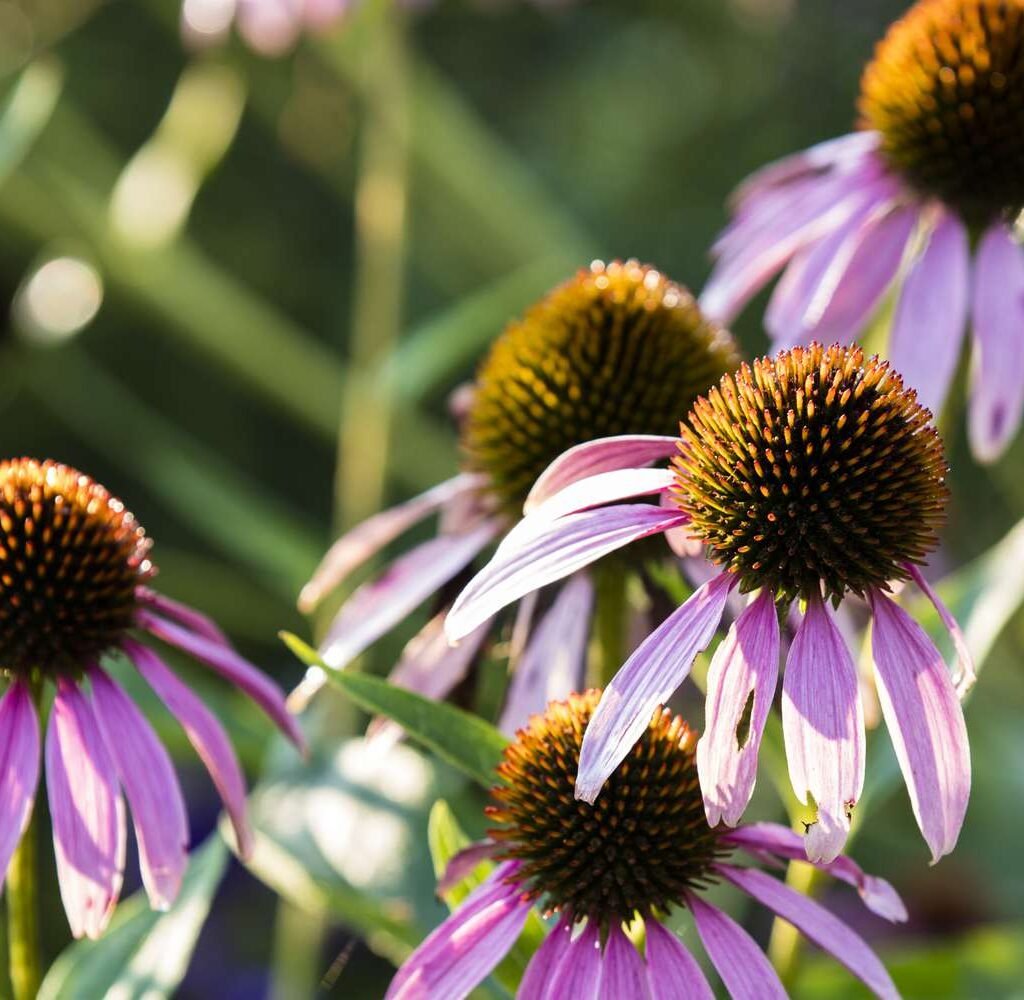
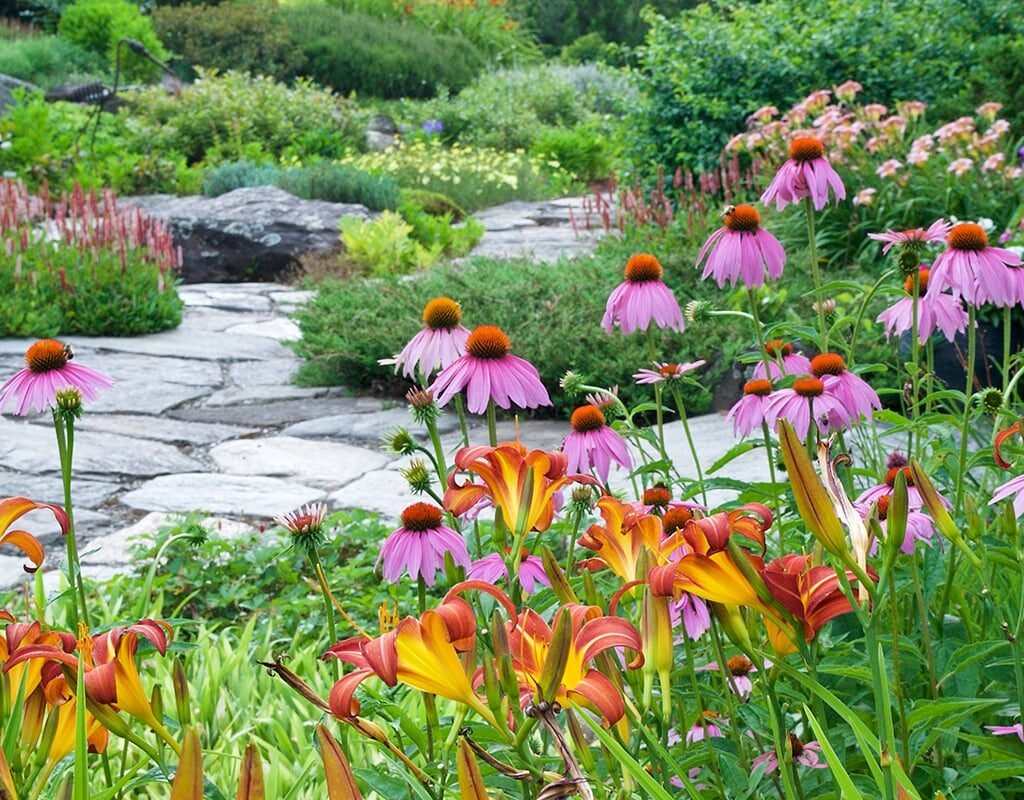
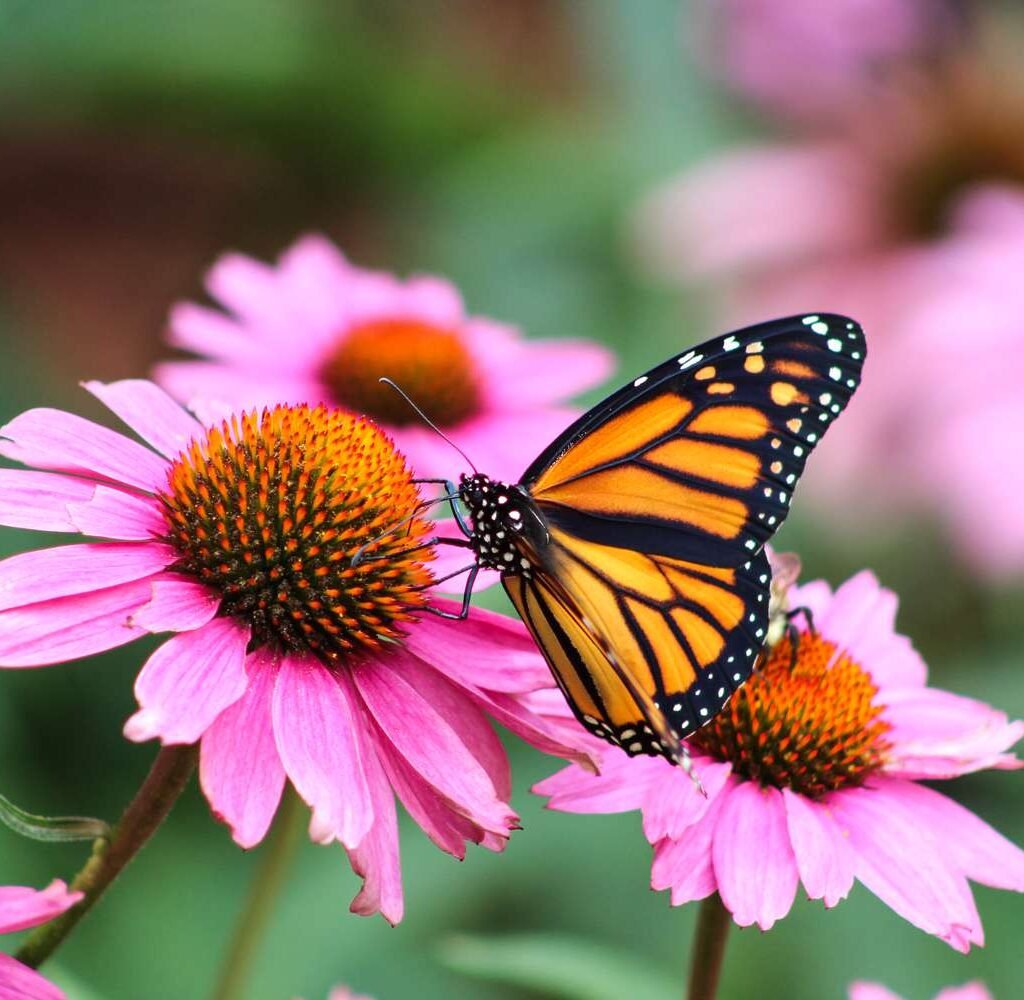
3. Coneflower (Echinacea purpurea)
Why Butterflies Love It
Coneflowers are nectar-rich perennials that attract a variety of pollinators, including butterflies, bees, and hummingbirds. Their long-lasting blooms make them a staple in butterfly gardens.
Planting Tips
- Light: Full sun.
- Soil: Well-drained soil; tolerates poor soil.
- Watering: Moderate; drought-tolerant once established.
- Care: Deadhead regularly for prolonged flowering.
Bloom Time
- Early summer to fall, ensuring a long feeding period.
Pro Tip: Plant in clusters to make it easier for butterflies to locate nectar sources.
4. Lantana (Lantana camara)
Why Butterflies Love It
Lantana is a tropical perennial with clusters of vibrant flowers that change color as they age. Its sweet nectar is irresistible to butterflies, especially in hot summer months.
Planting Tips
- Light: Full sun.
- Soil: Well-draining, sandy or loamy soil.
- Watering: Moderate; drought-tolerant once established.
- Care: Prune to maintain shape and encourage blooms.
Bloom Time
- Summer through fall, making it a long-lasting nectar source.
Pro Tip: Lantana also attracts hummingbirds and bees, adding to your garden’s pollinator diversity.
5. Zinnia (Zinnia elegans)
Why Butterflies Love It
Zinnias are bright, colorful annuals that butterflies find irresistible. Their open, daisy-like blooms provide easy access to nectar, making them a favorite for pollinators.
Planting Tips
- Light: Full sun.
- Soil: Fertile, well-draining soil.
- Watering: Moderate; water at the base to prevent fungal issues.
- Care: Deadhead regularly to encourage continuous blooms.
Bloom Time
- Summer to early fall, offering a long-lasting butterfly buffet.
Pro Tip: Plant a mix of colors to create a visual and ecological attractant for butterflies.
6. Black-eyed Susan (Rudbeckia hirta)
Why Butterflies Love It
Black-eyed Susans are hardy perennials with bright yellow petals and nectar-rich centers. Their tall stems make it easy for butterflies to perch and feed.
Planting Tips
- Light: Full sun.
- Soil: Well-draining, moderately fertile soil.
- Watering: Moderate; drought-tolerant once established.
- Care: Deadhead to encourage more blooms and extend the flowering season.
Bloom Time
- Mid to late summer.
Pro Tip: Combine with purple or blue flowers to create contrast and draw in butterflies from a distance.
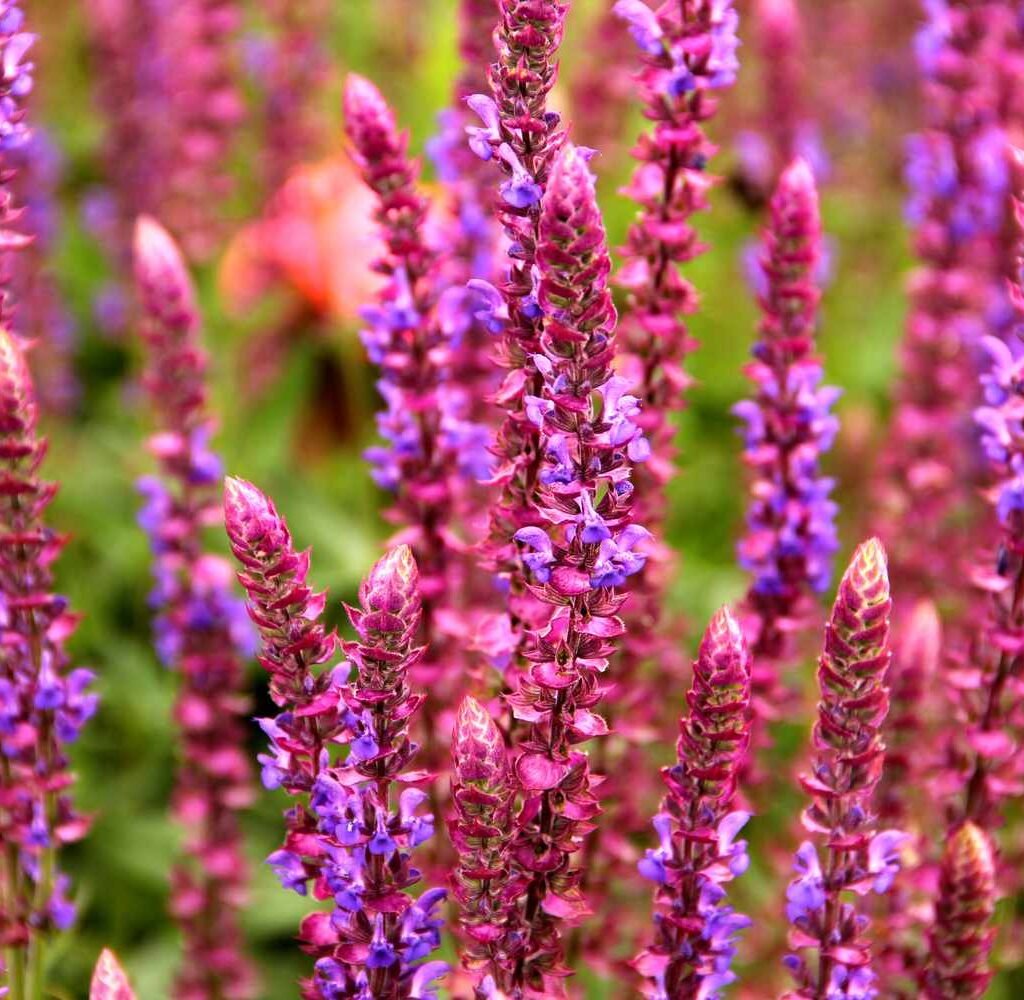
7. Verbena (Verbena bonariensis)
Why Butterflies Love It
Verbena has tall, airy stems with clusters of small purple flowers, making it a perfect nectar source for butterflies. Its airy structure allows easy landing for even large butterflies.
Planting Tips
- Light: Full sun.
- Soil: Well-draining soil; adaptable to poor soils.
- Watering: Moderate; water deeply but infrequently.
- Care: Deadhead to prolong bloom; cut back in late fall or early spring.
Bloom Time
- Summer to fall, providing nectar during the hottest months.
Pro Tip: Plant in groups to create a butterfly “highway” in your garden.
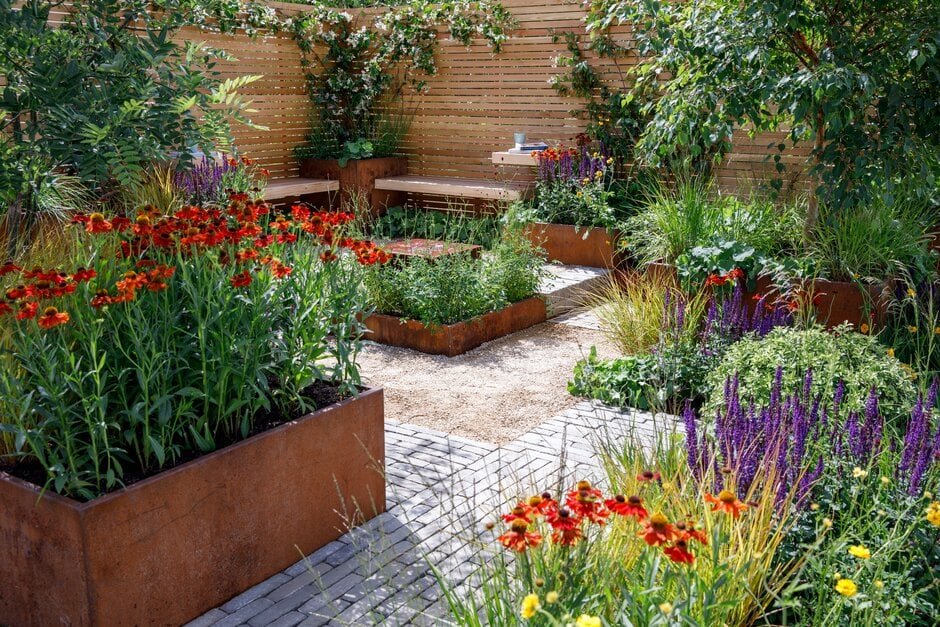
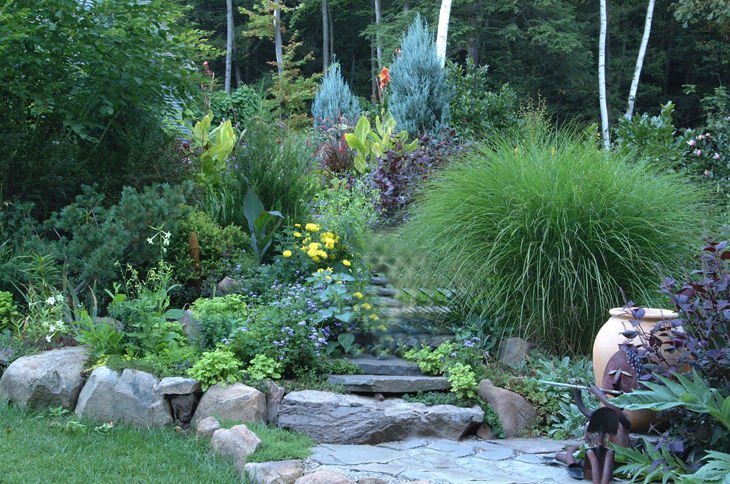
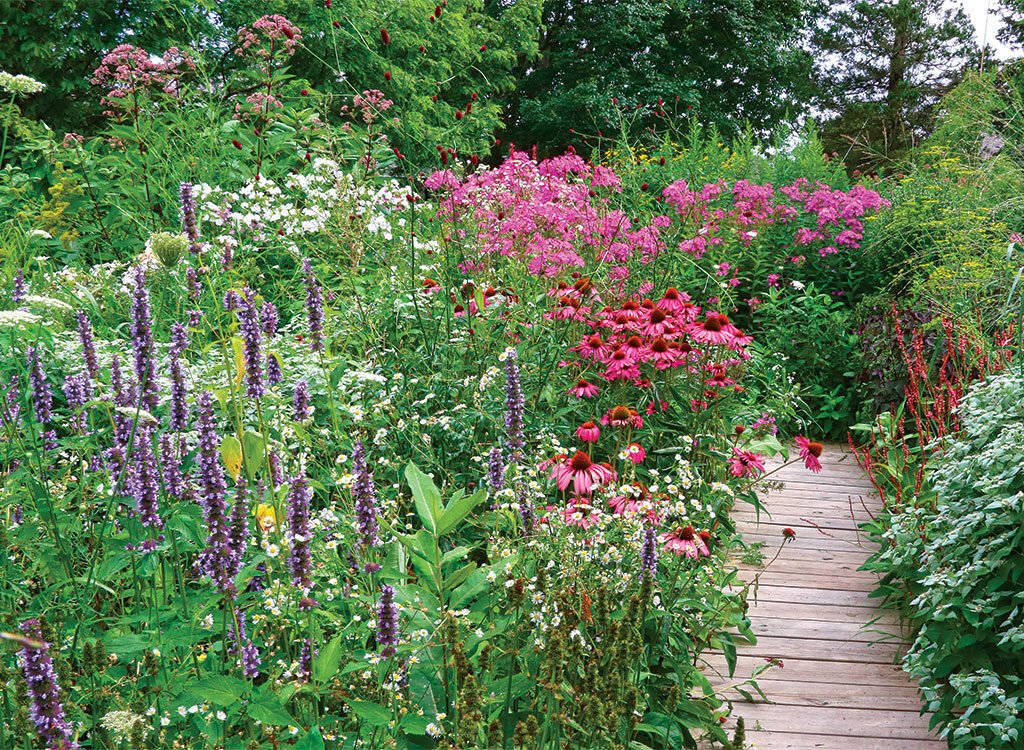
Creating a Butterfly-Friendly Garden
To maximize butterfly visits:
- Plant in clusters: Butterflies are drawn to large patches of nectar-rich blooms rather than single flowers.
- Provide shelter: Include shrubs, tall grasses, or small trees for resting and protection from wind.
- Avoid pesticides: Chemicals harm butterflies at all stages, from caterpillar to adult.
- Offer water: Shallow puddles or wet sand provide drinking spots and minerals.
- Add host plants: Plants like milkweed and parsley support caterpillars and complete the butterfly life cycle.
Pro Tip: Diversity is key—mix flowers of different heights, colors, and bloom times for a continuous summer display.
Benefits of a Butterfly Garden
- Pollination: Supports not only butterflies but other beneficial insects like bees.
- Visual delight: Adds motion, color, and beauty to your garden.
- Educational opportunities: Observe the life cycle of butterflies up close.
- Eco-friendly: Helps conserve local butterfly populations and biodiversity.
Pro Tip: Even small urban gardens or balcony planters can become butterfly havens with the right flowers.
Final Thoughts
Attracting butterflies requires thoughtful plant selection, care, and garden design. By planting butterfly bush, milkweed, coneflowers, lantana, zinnias, black-eyed Susans, and verbena, gardeners can create a vibrant, colorful garden that thrives all summer long.
Key takeaways:
- Plant a mix of perennials and annuals for continuous blooms.
- Provide nectar sources and host plants to support the entire butterfly lifecycle.
- Avoid pesticides and create a welcoming environment with shelter and water.
- Cluster flowers and vary heights to maximize butterfly attraction.
With these strategies, your garden can become a summer paradise for butterflies, bringing joy, color, and ecological benefits season after season.