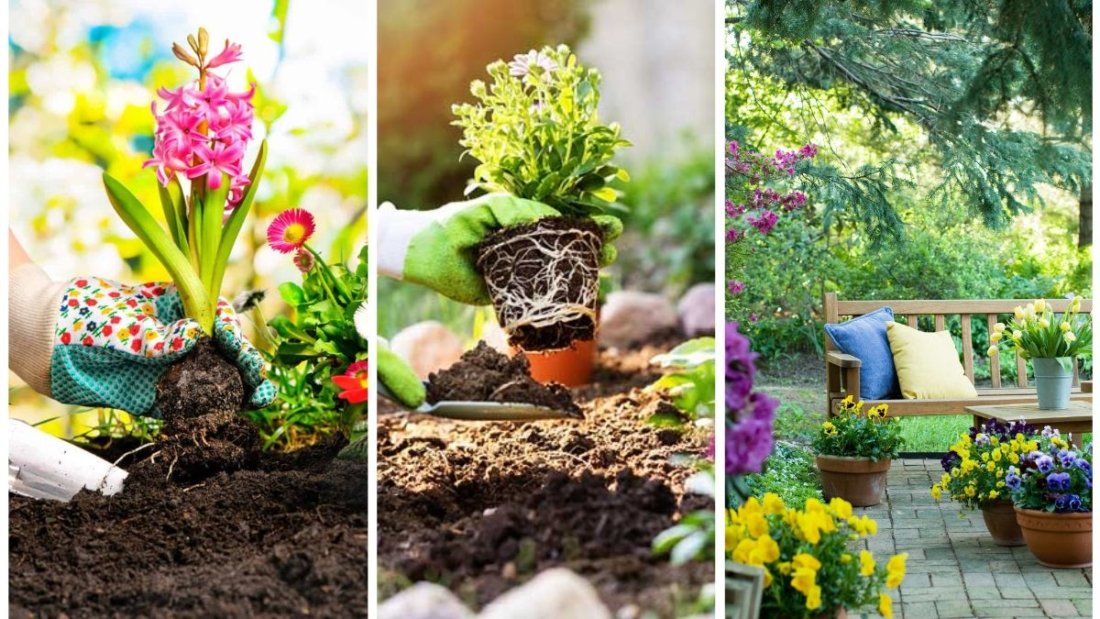
When the first chill of autumn rolls in, many gardeners start to worry about the survival of their plants. Cold weather, frost, and snow can be harsh on both annual and perennial gardens, often leaving plants damaged or even dead by spring. However, with proper preparation, you can protect your plants, soil, and gardening infrastructure so that everything emerges healthier and stronger once the warmer season returns.
Winterizing your garden is not just about survival—it’s about ensuring long-term growth, minimizing damage, and making spring planting easier. In this step-by-step guide, we’ll cover everything you need to know about how to winterize your garden effectively.
Why Winterizing Matters
Many new gardeners assume that plants naturally adapt to seasonal changes, but without preparation, cold weather can cause serious damage. Winterizing is important because it:
- Protects Plants from Frost – Prevents damage to roots, leaves, and stems.
- Preserves Soil Quality – Stops erosion and nutrient loss from winter rains or snow.
- Prepares for Spring – A clean, healthy garden is easier to plant in the next growing season.
- Reduces Pest and Disease Risk – Cleaning debris eliminates places where pests and pathogens overwinter.
- Extends Plant Lifespan – Perennials and shrubs survive harsh conditions with extra protection.
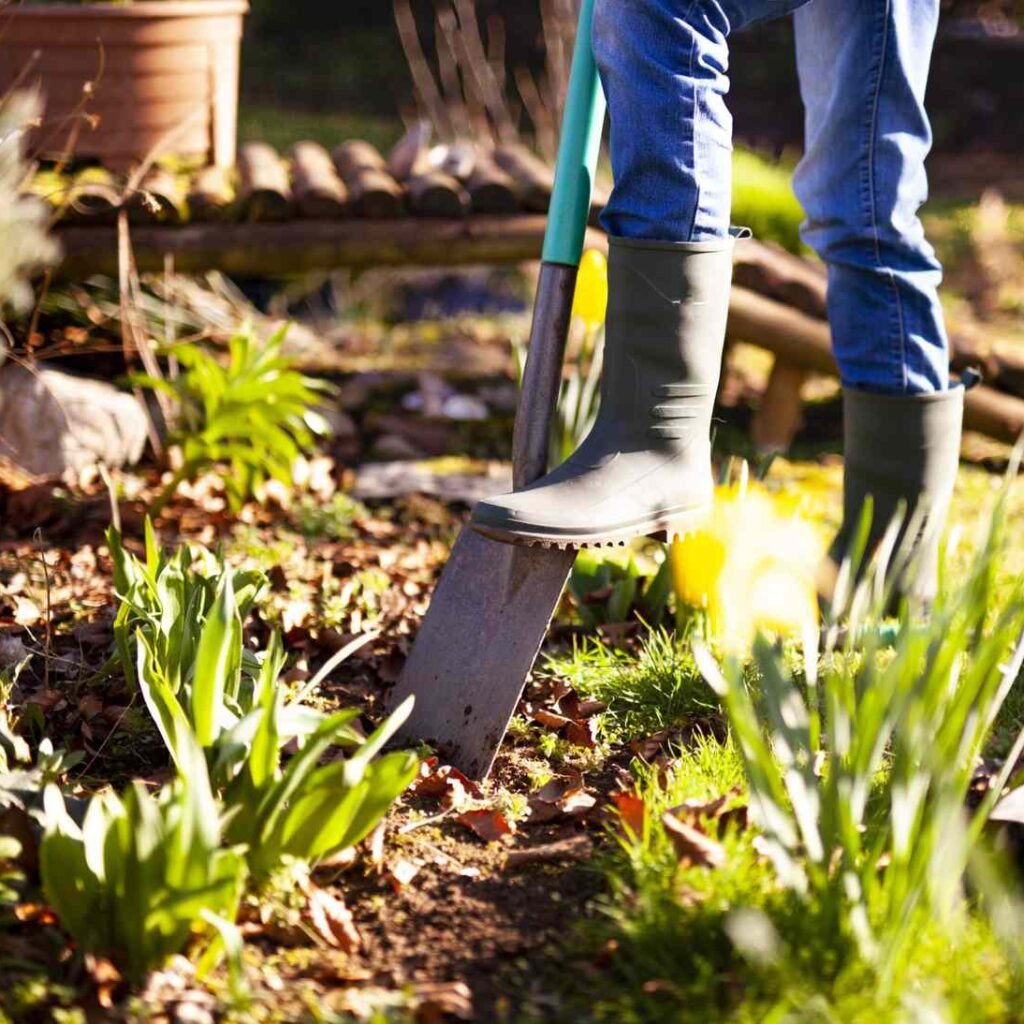
Step 1: Clean Up Your Garden
The first step in winterizing is clearing out your beds to avoid pests, diseases, and rotting material.
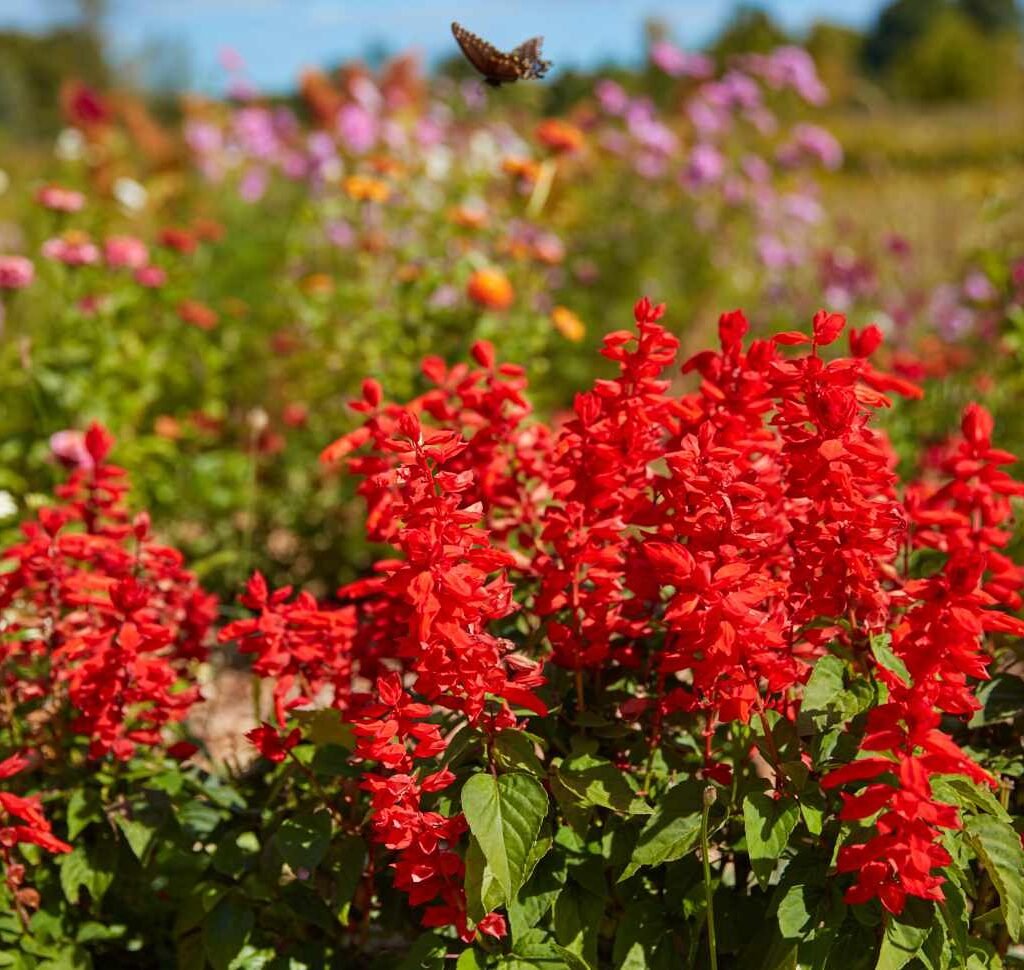
- Remove Dead Annuals: Pull out plants that have finished their lifecycle (like marigolds or zinnias) and compost healthy ones.
- Dispose of Diseased Plants: Do not compost diseased foliage, as this can spread pathogens in spring. Burn or bag them for disposal.
- Rake Fallen Leaves: Use leaves as mulch or compost them. If left in thick layers, they may smother lawns and harbor pests.
- Clear Weeds: Remove weeds before they drop seeds and cause spring infestations.
Tip: Turn garden cleanup into an opportunity to start a compost pile for next season.
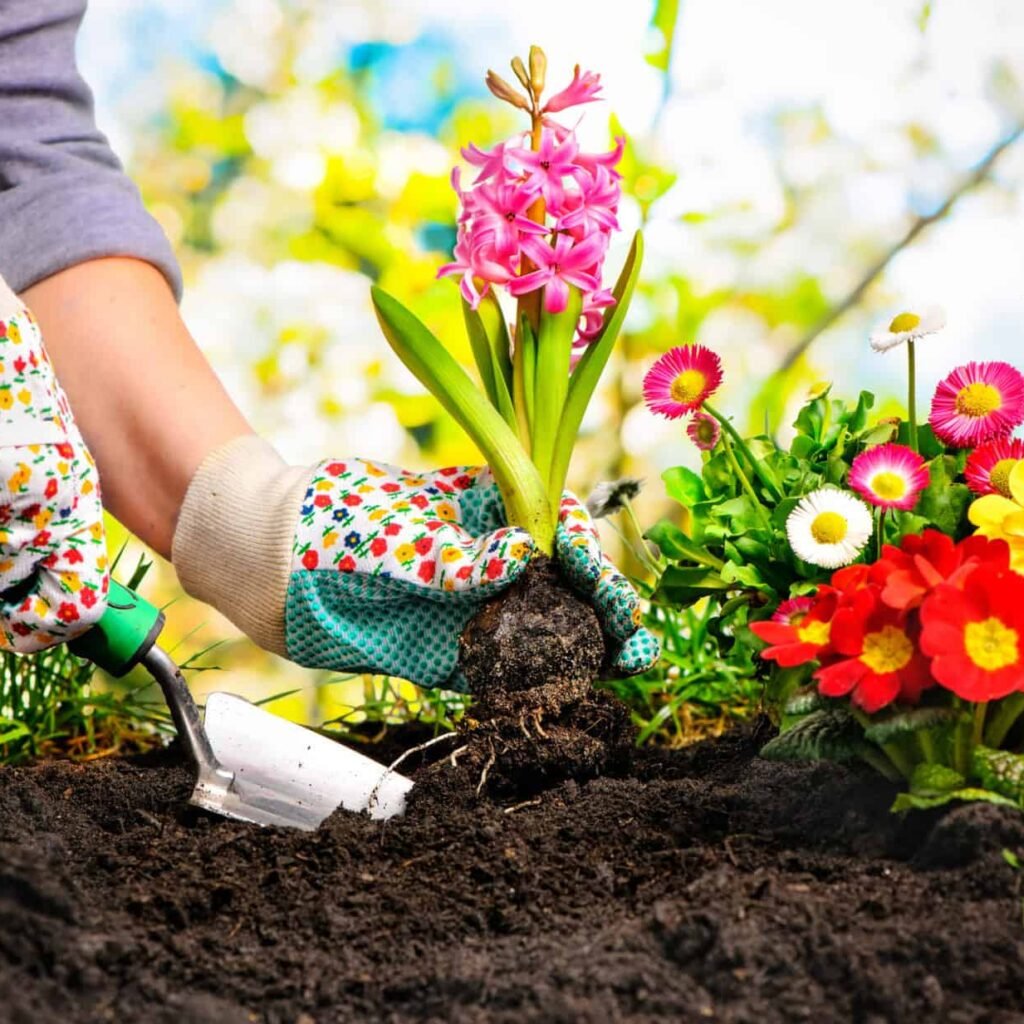
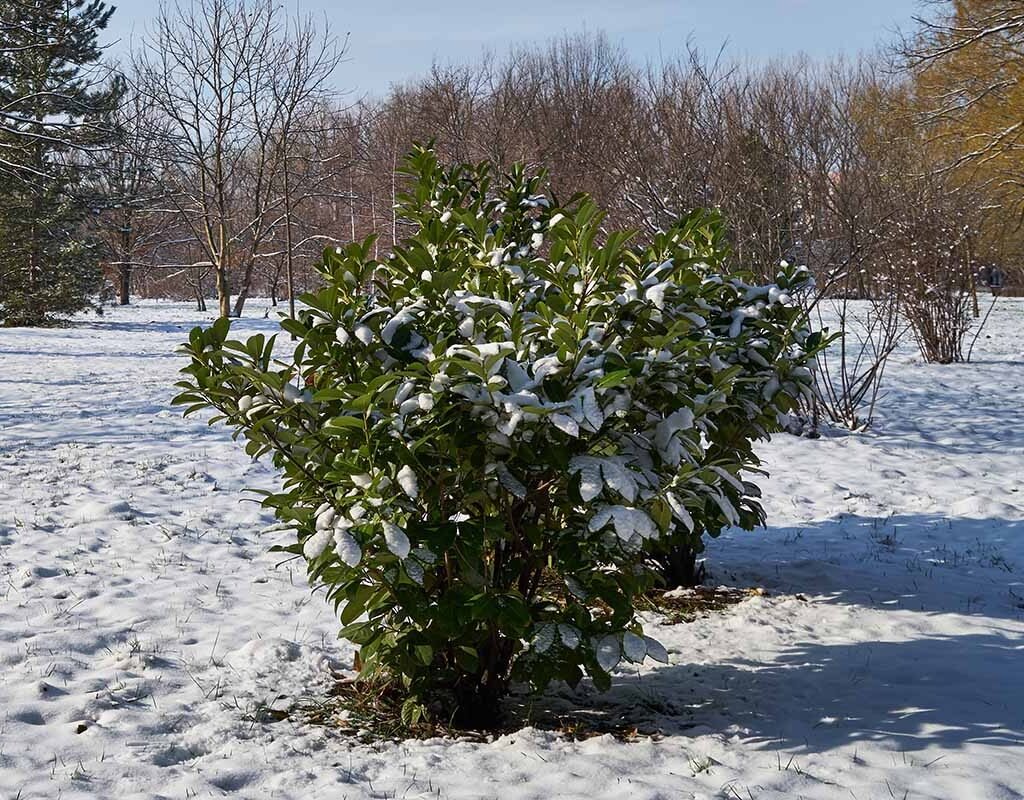
Step 2: Care for Perennials and Shrubs
Perennials and shrubs are investments, so protecting them through winter is essential.
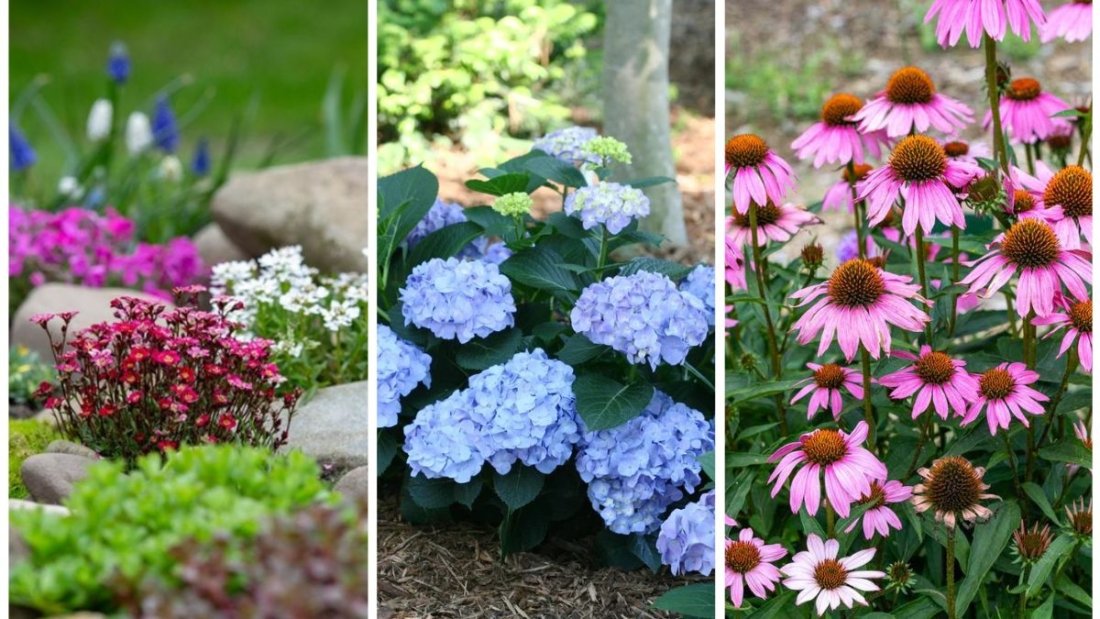
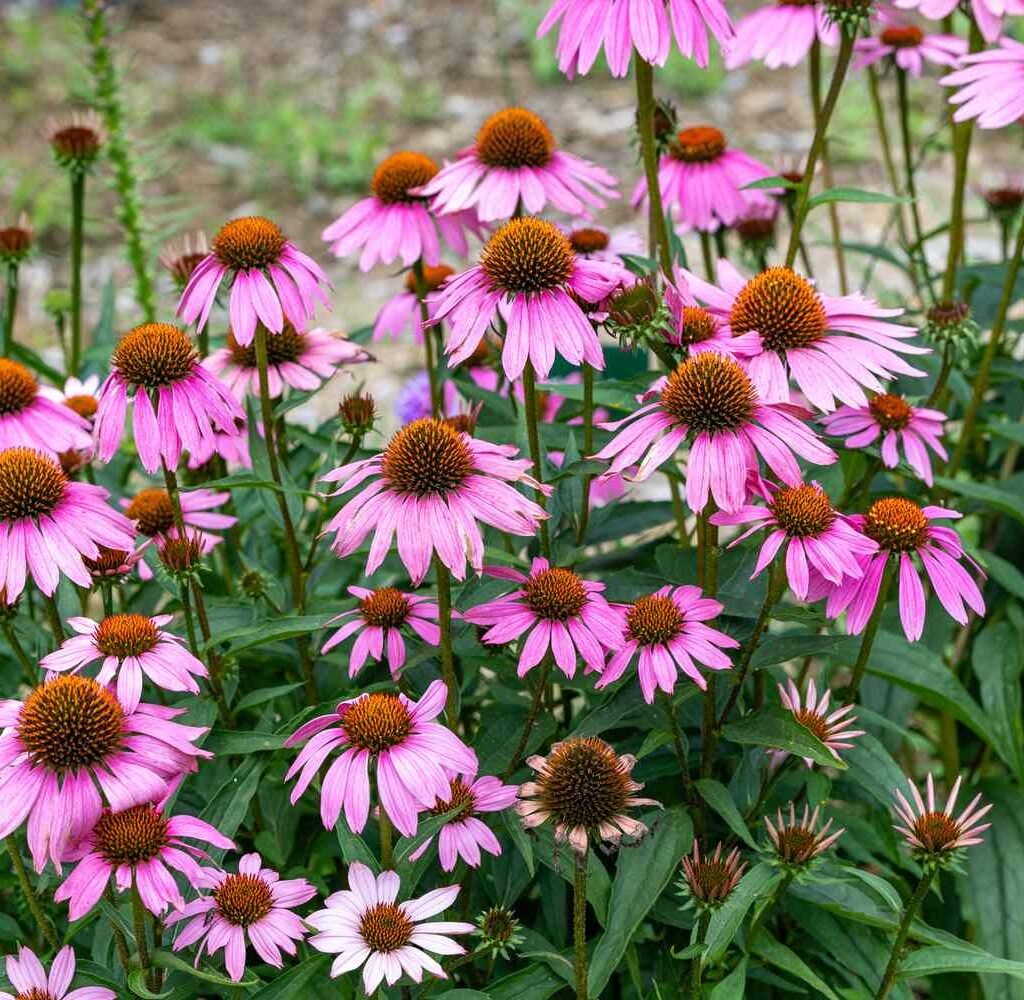
- Cut Back Perennials: Trim most perennials to 4–6 inches above the ground to reduce disease and encourage new spring growth. Some, like coneflowers, can be left standing to feed birds.
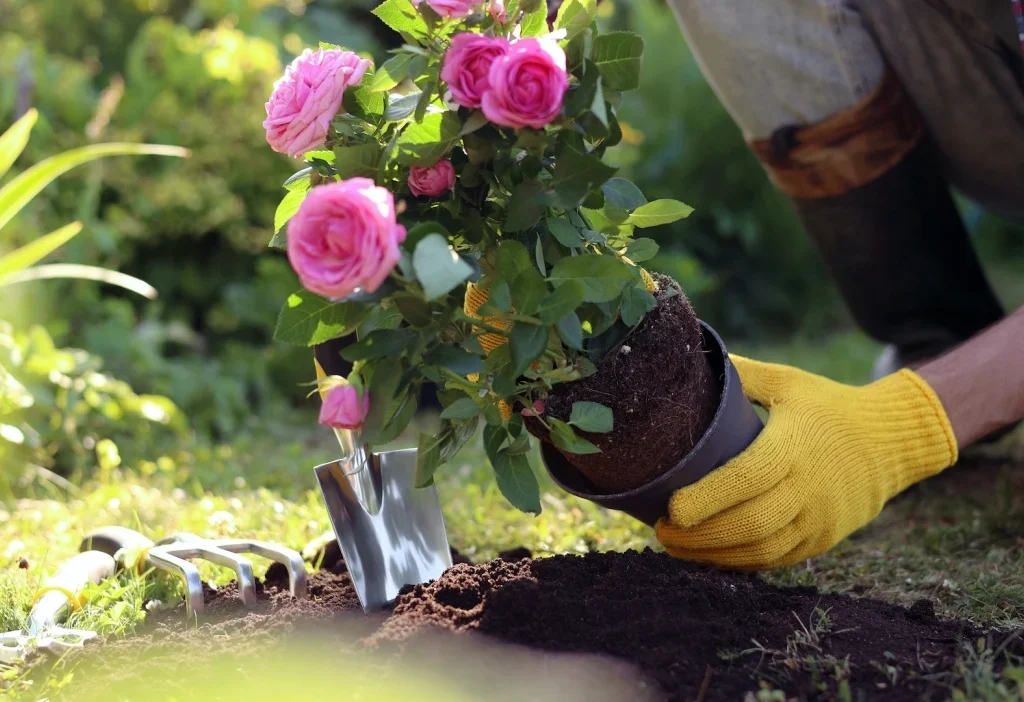
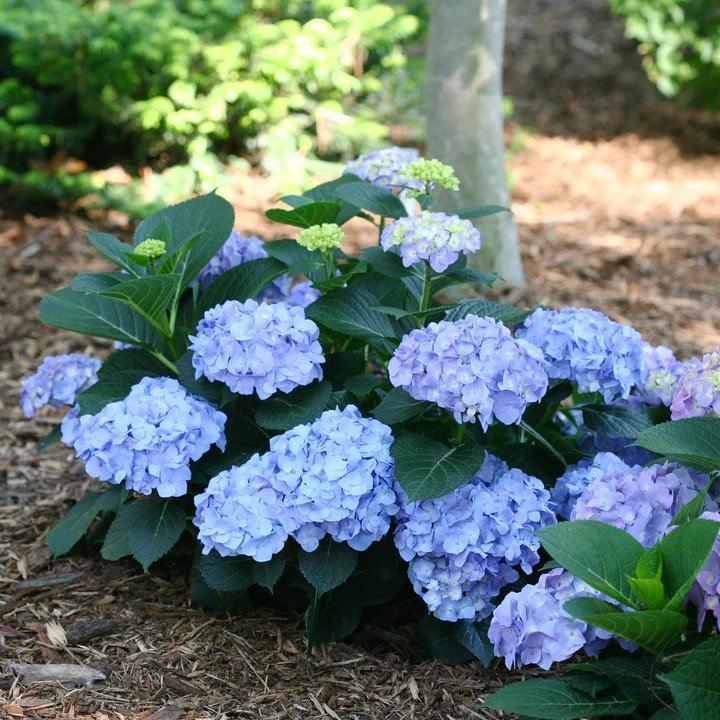
- Protect Shrubs and Roses: Apply mulch around the base of shrubs and mound soil over rose crowns to insulate them. Burlap wraps also shield delicate shrubs from harsh winds.
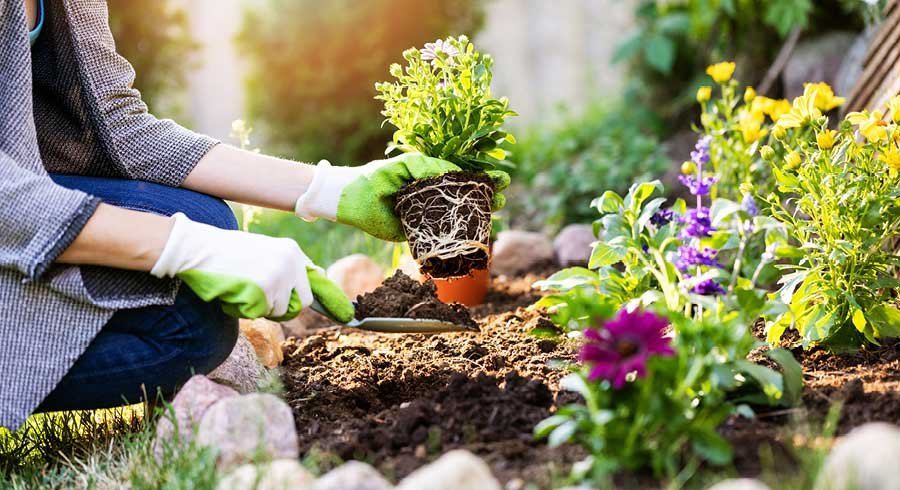
- Divide Overgrown Plants: Fall is a great time to divide perennials like hostas or daylilies, which helps them rejuvenate.
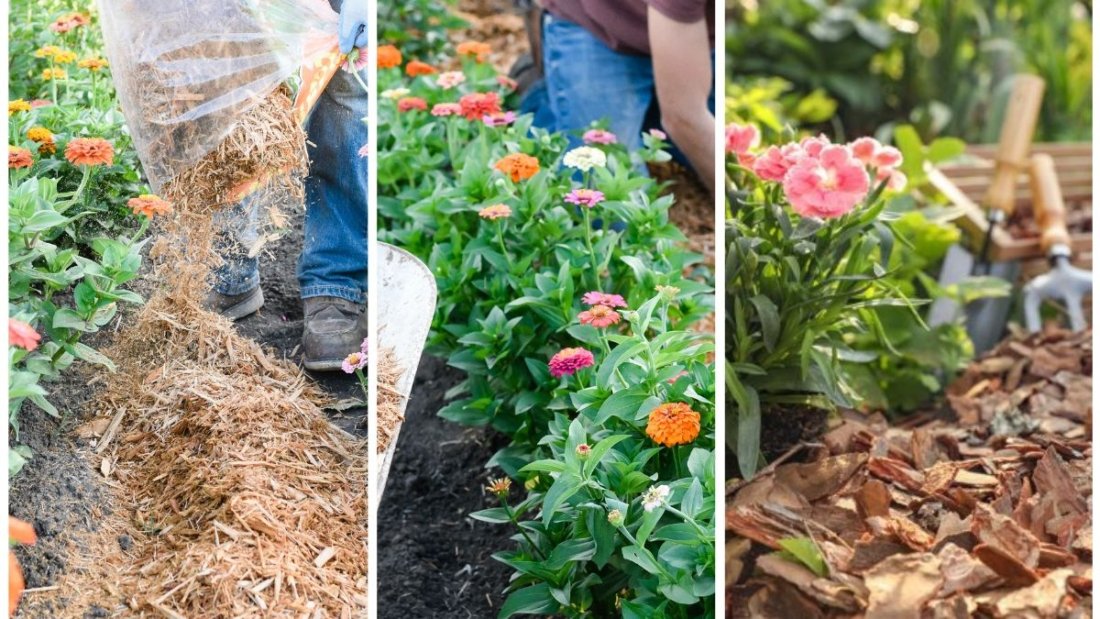
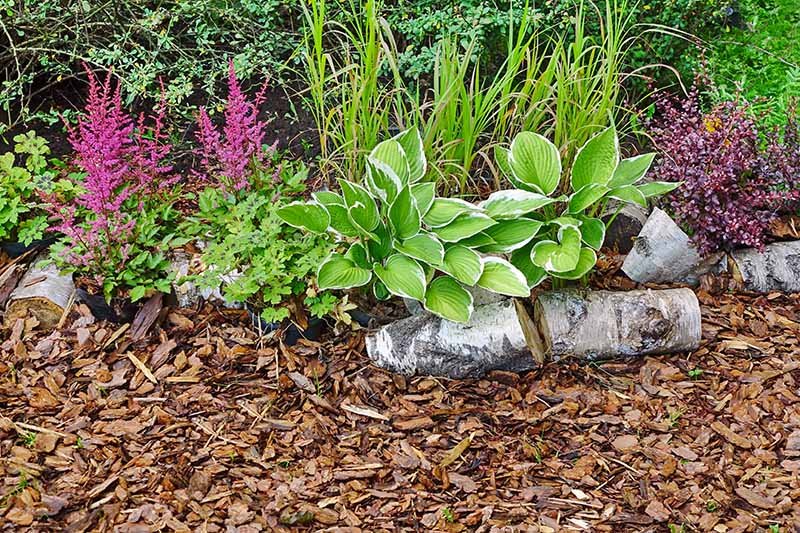
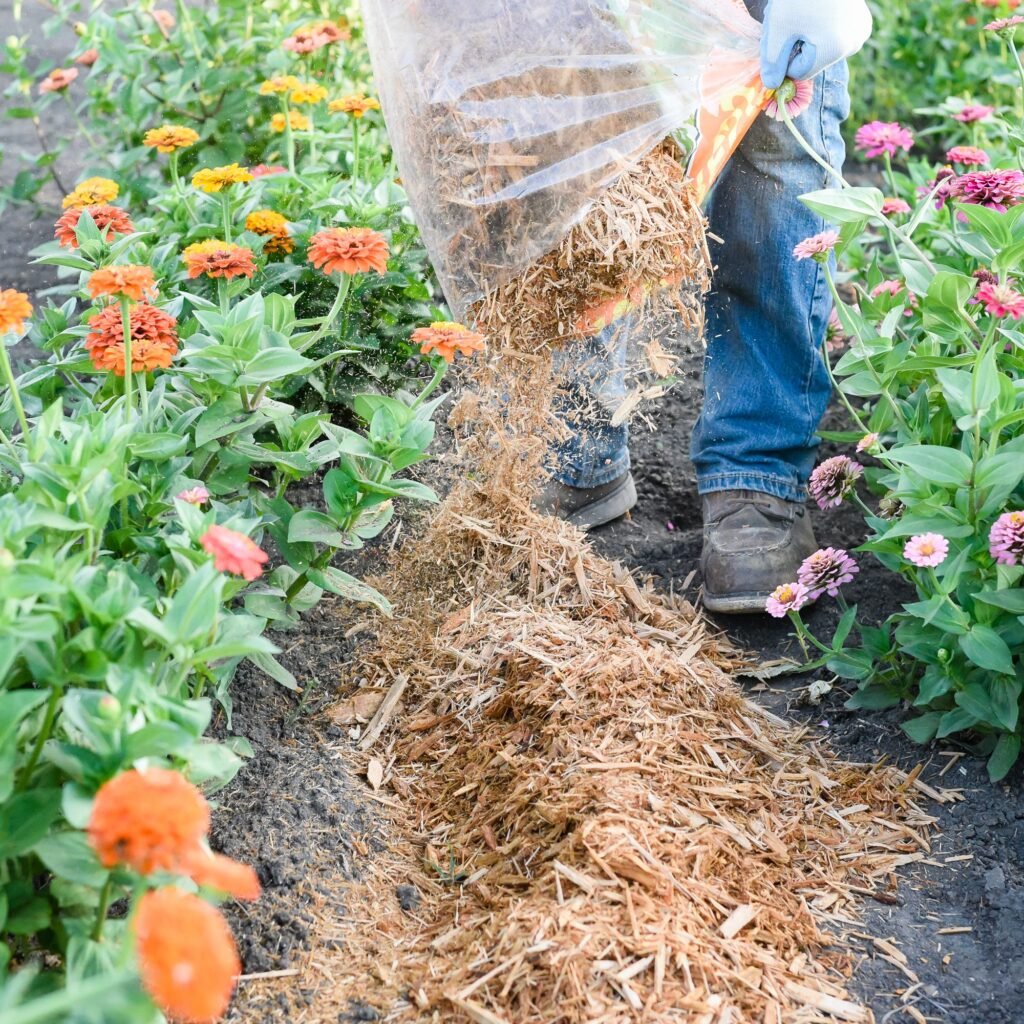
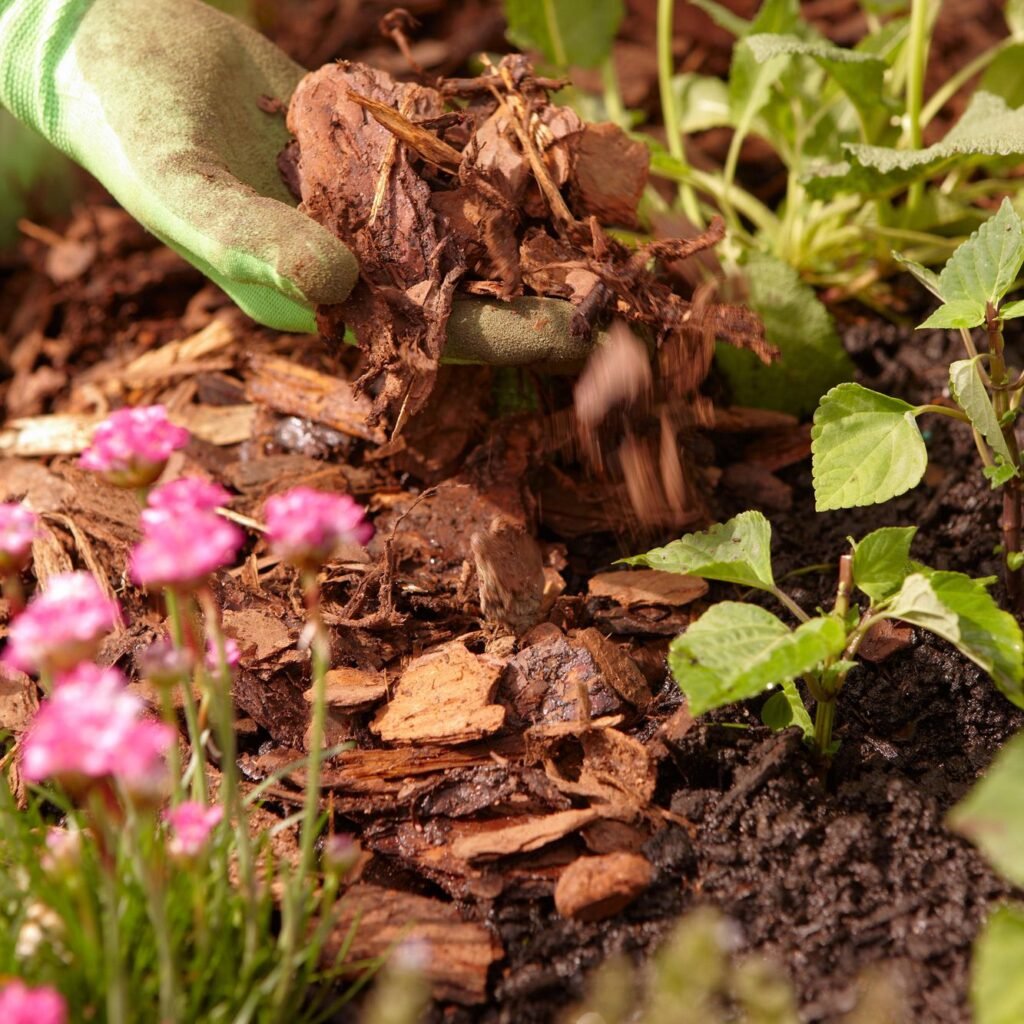
Step 3: Mulch for Insulation
Mulching is one of the most effective ways to protect your garden during winter.
- Benefits: Keeps soil temperatures stable, prevents frost heaving, and protects roots.
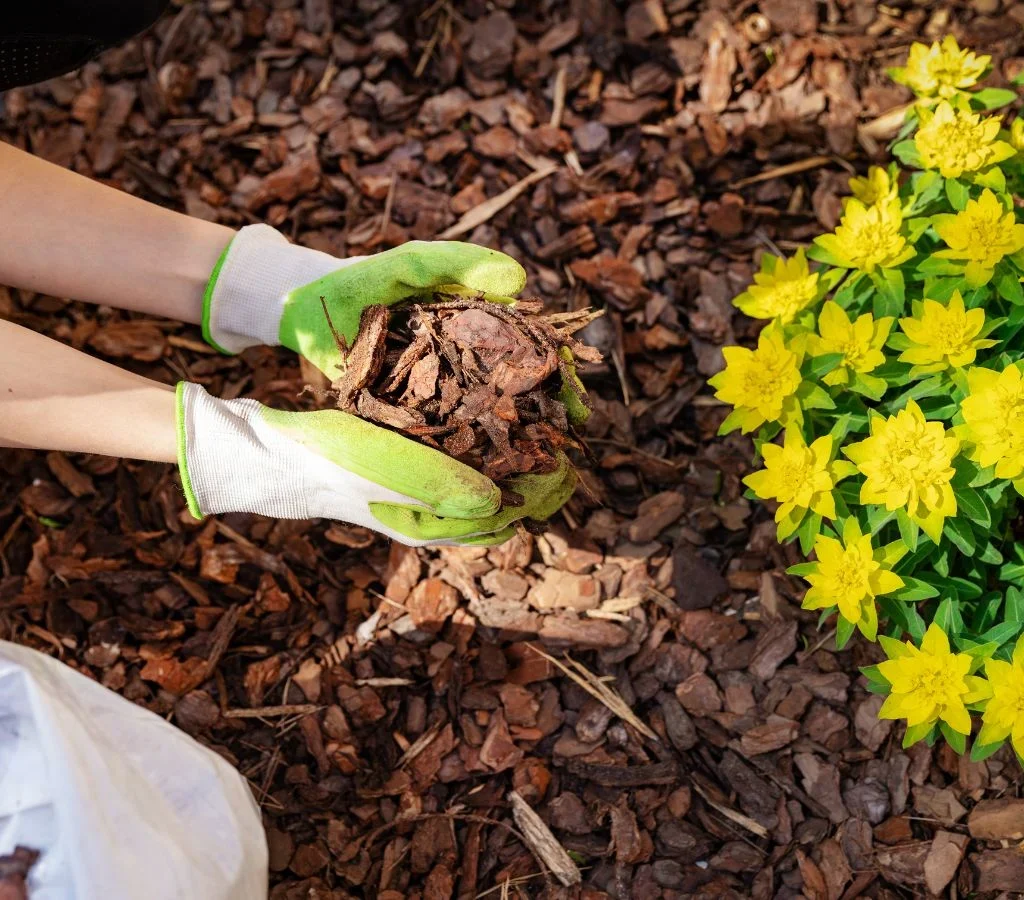
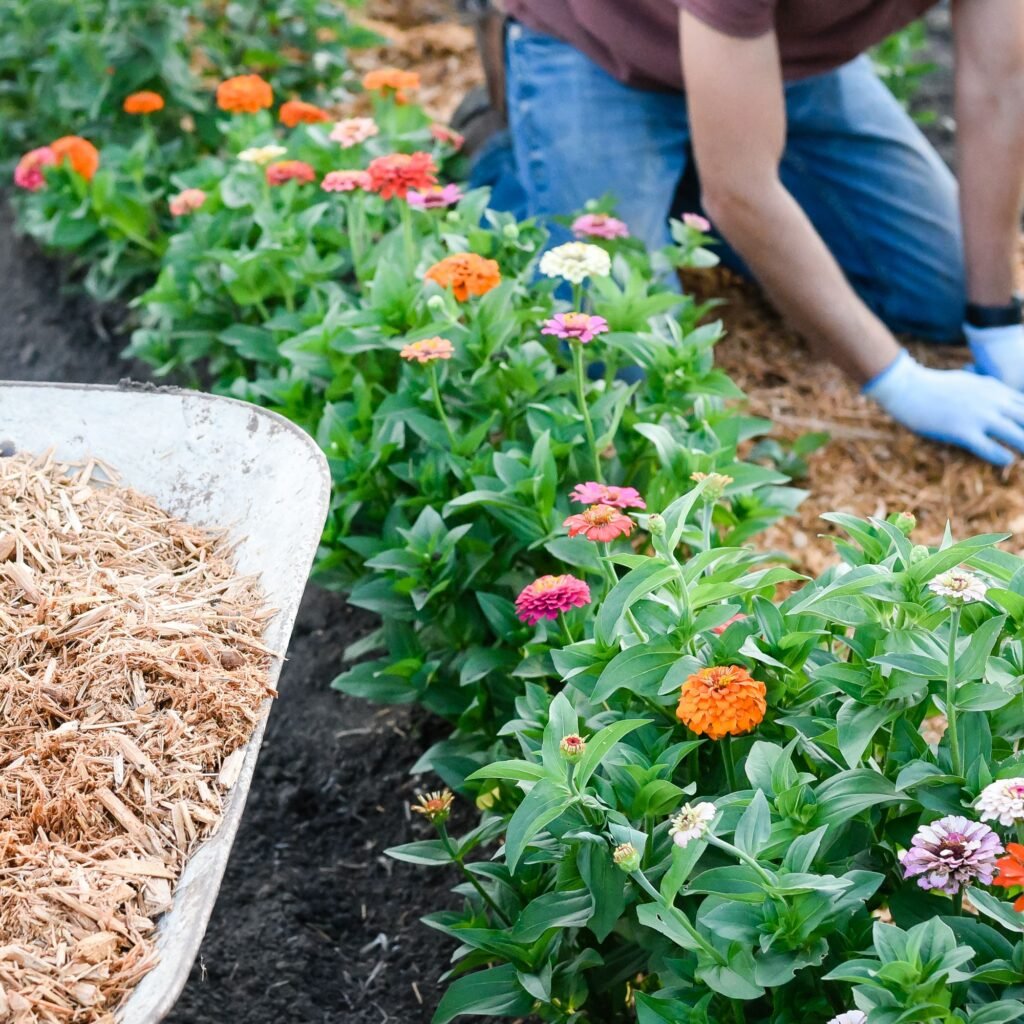
- Best Materials: Straw, shredded leaves, wood chips, or pine needles.
- Application: Spread 2–4 inches around the base of plants, but avoid piling mulch directly against stems to prevent rot.
For vegetable gardens, mulching also suppresses winter weeds and enriches the soil as organic matter breaks down.
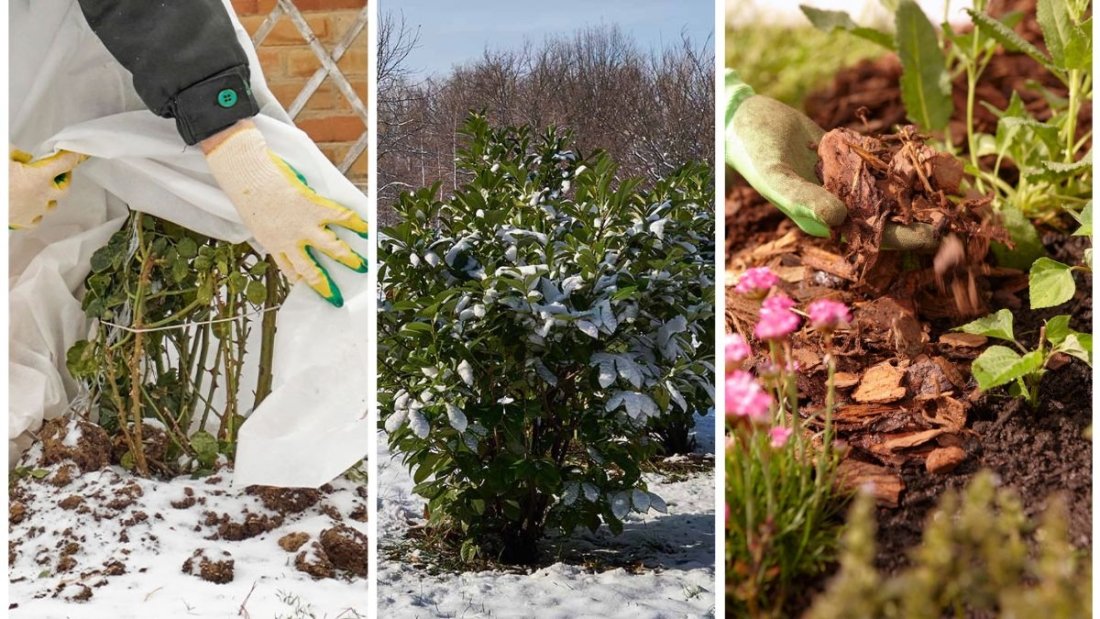
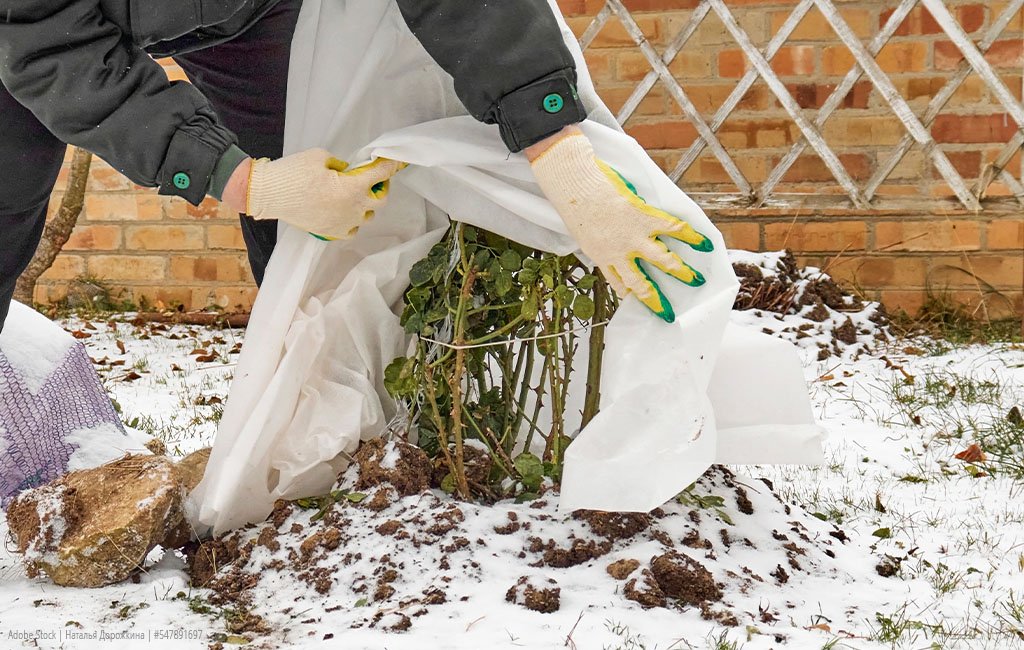
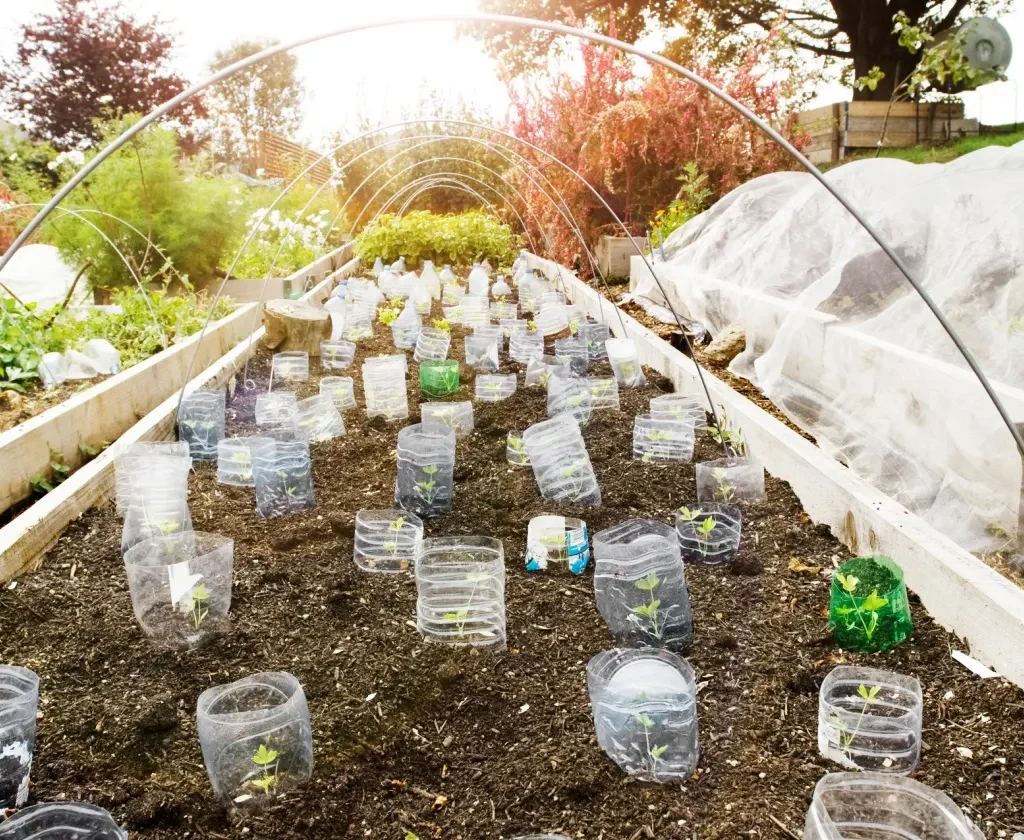
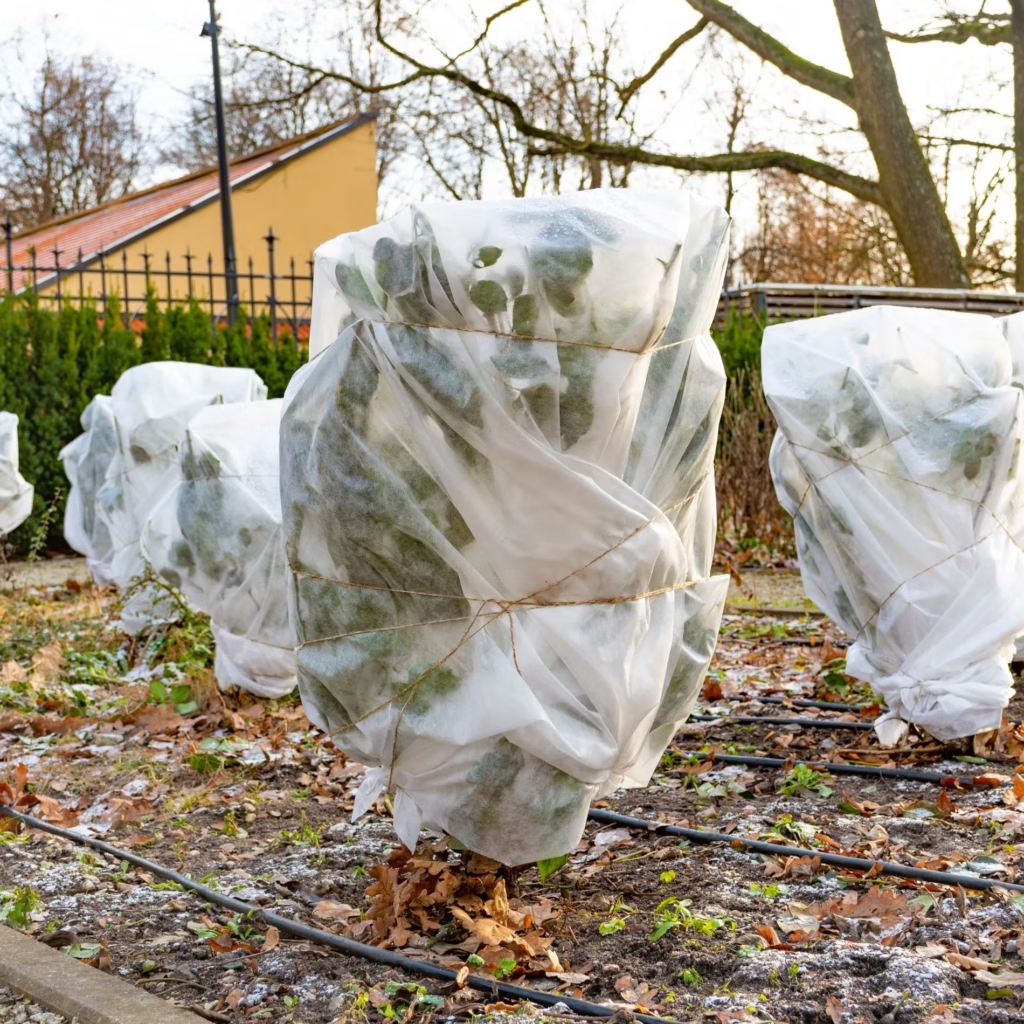
Step 4: Protect Delicate Plants
Some plants cannot handle freezing temperatures and require special attention.
- Cover with Frost Cloth or Burlap: Use breathable fabric to shield tender plants from frost while allowing airflow.
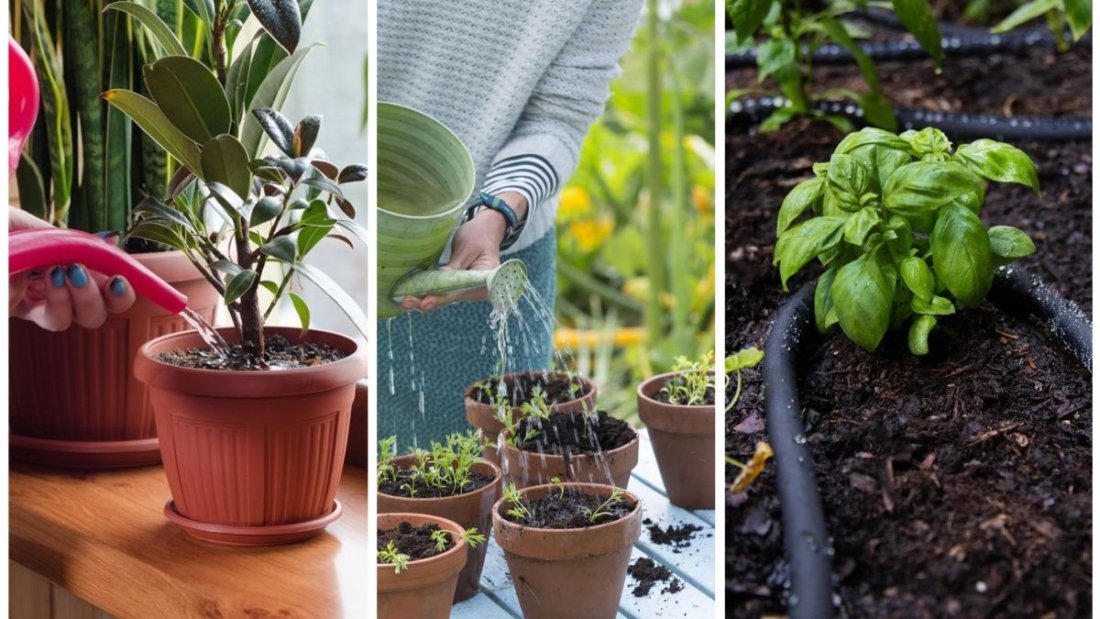
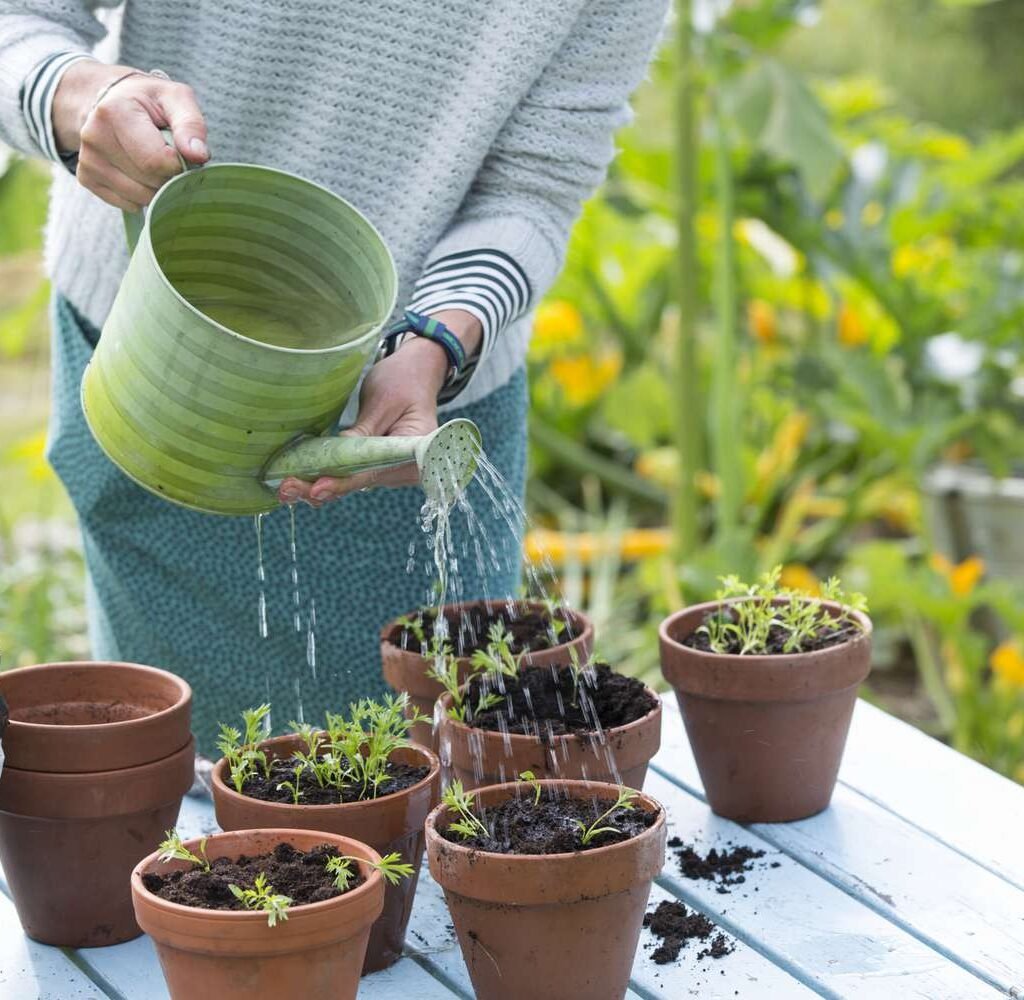
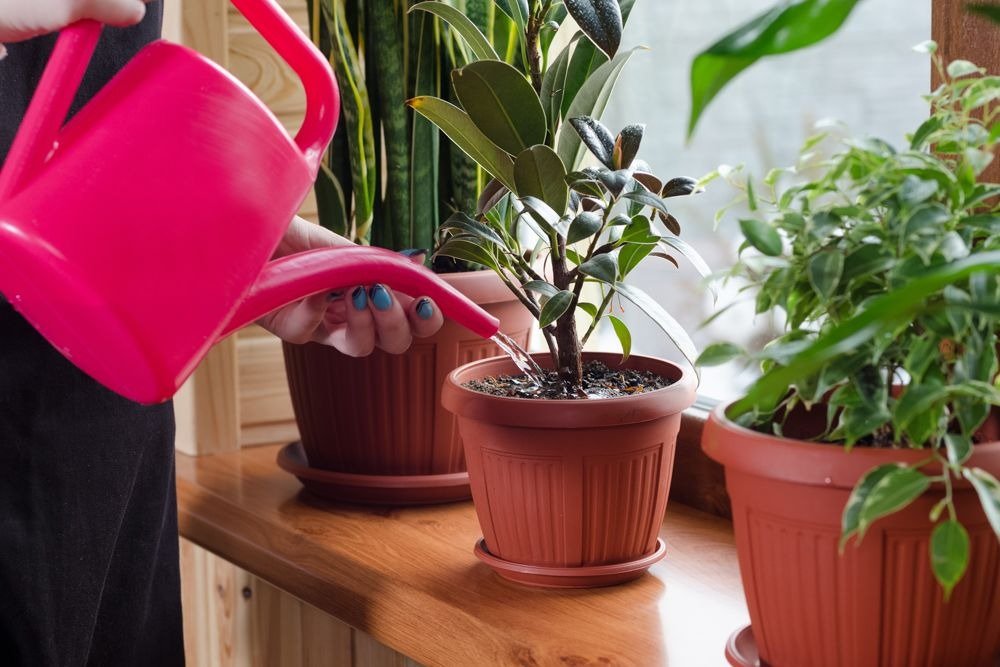
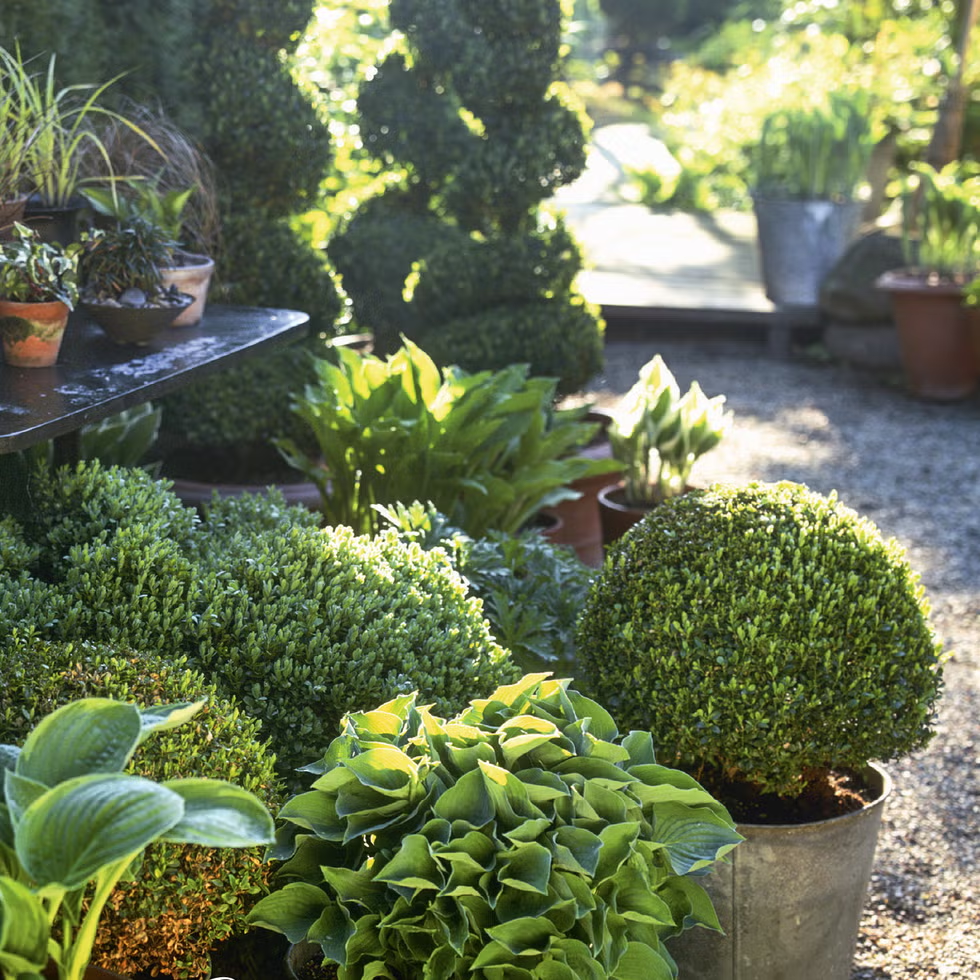
- Bring Potted Plants Indoors: Move container plants like herbs, succulents, or tropicals to a garage, greenhouse, or sunny window.
- Use Cold Frames or Cloches: These create mini-greenhouses that extend the growing season for leafy greens and herbs.
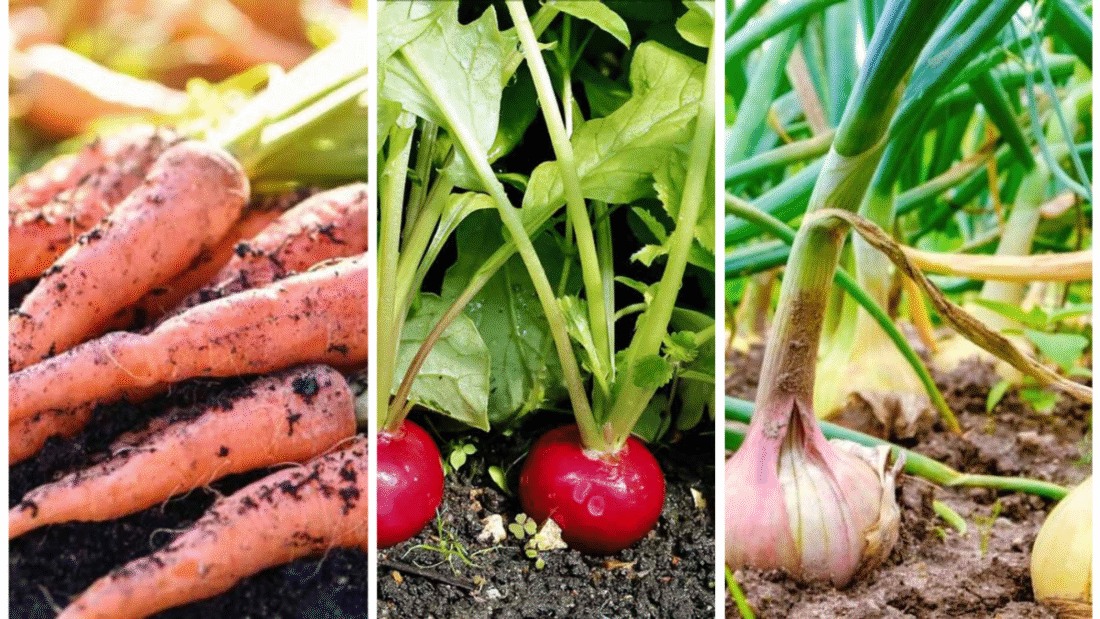
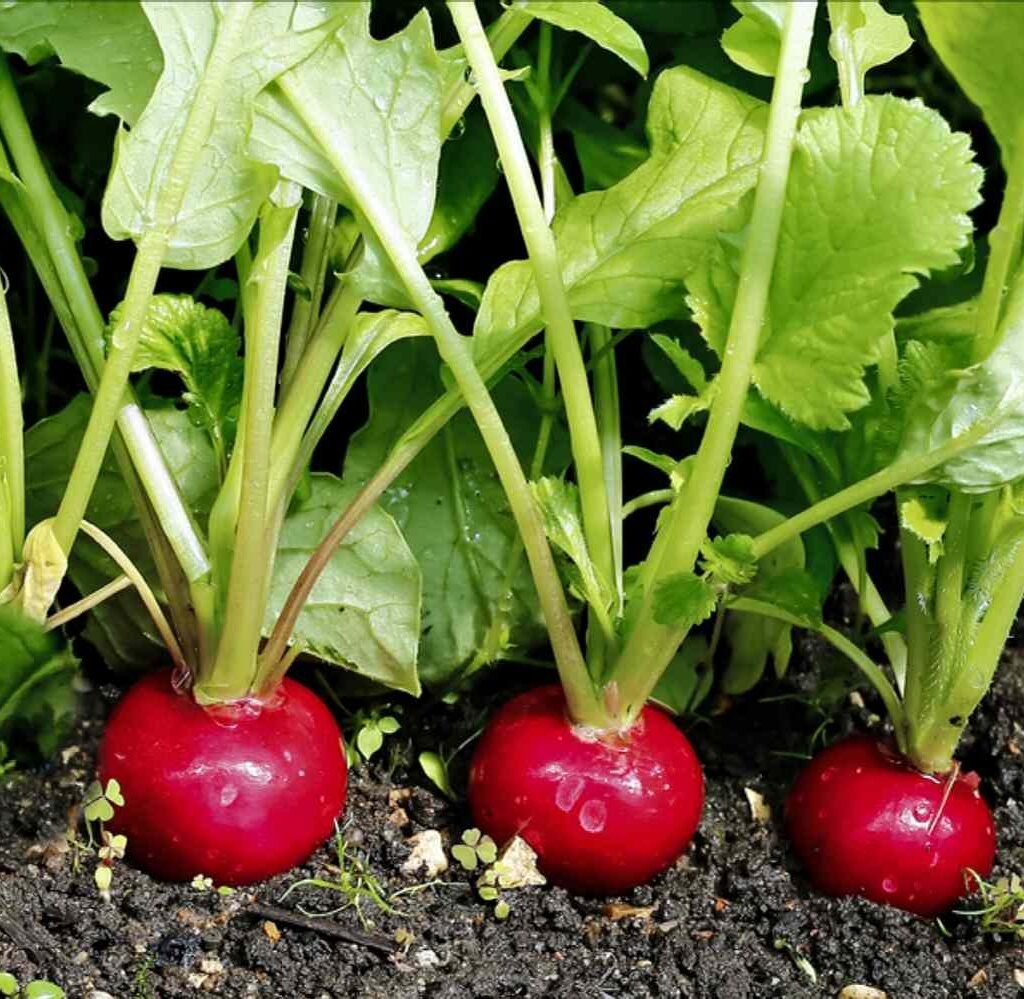
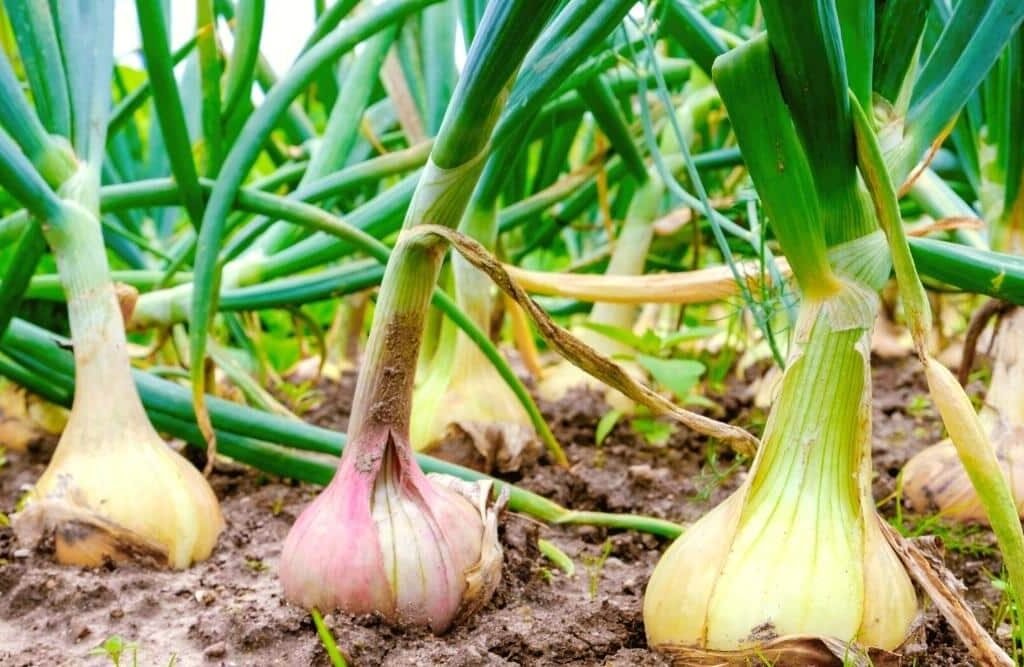
- Straw or Leaf Insulation: Pack around tender root crops (like carrots and leeks) so they can be harvested later in winter.
Step 5: Prepare Trees and Lawns
Trees and lawns also need care before winter arrives.
For Trees:
- Young Trees: Wrap trunks with tree guards or burlap to prevent cracking and rodent damage.
- Pruning: Remove dead or damaged branches to prevent breakage from snow or ice.
For Lawns:
- Final Mow: Cut grass slightly shorter than usual, but not too short to prevent stress.
- Fertilize: Apply a winter fertilizer to strengthen roots.
- Rake and Aerate: Remove debris and aerate compacted soil to improve oxygen and nutrient absorption.
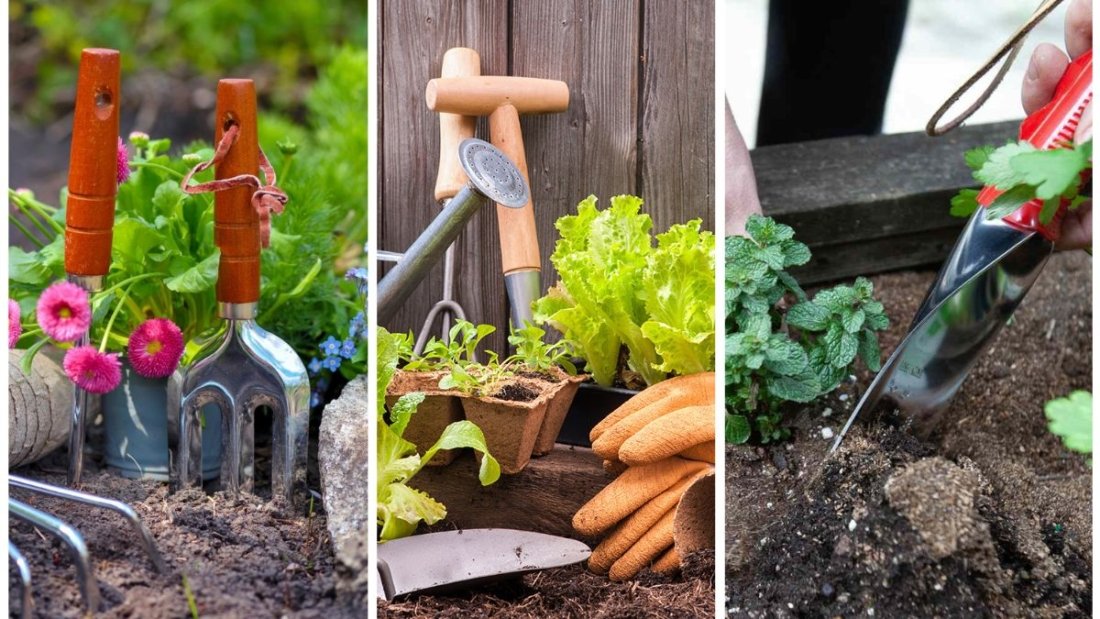
Step 6: Protect Garden Infrastructure
Your garden tools, irrigation systems, and structures also need winter care.
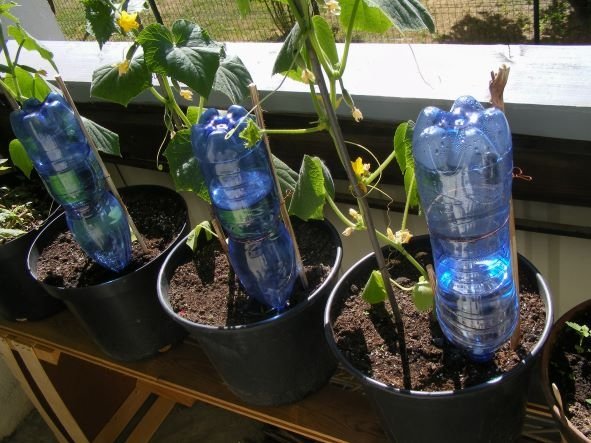
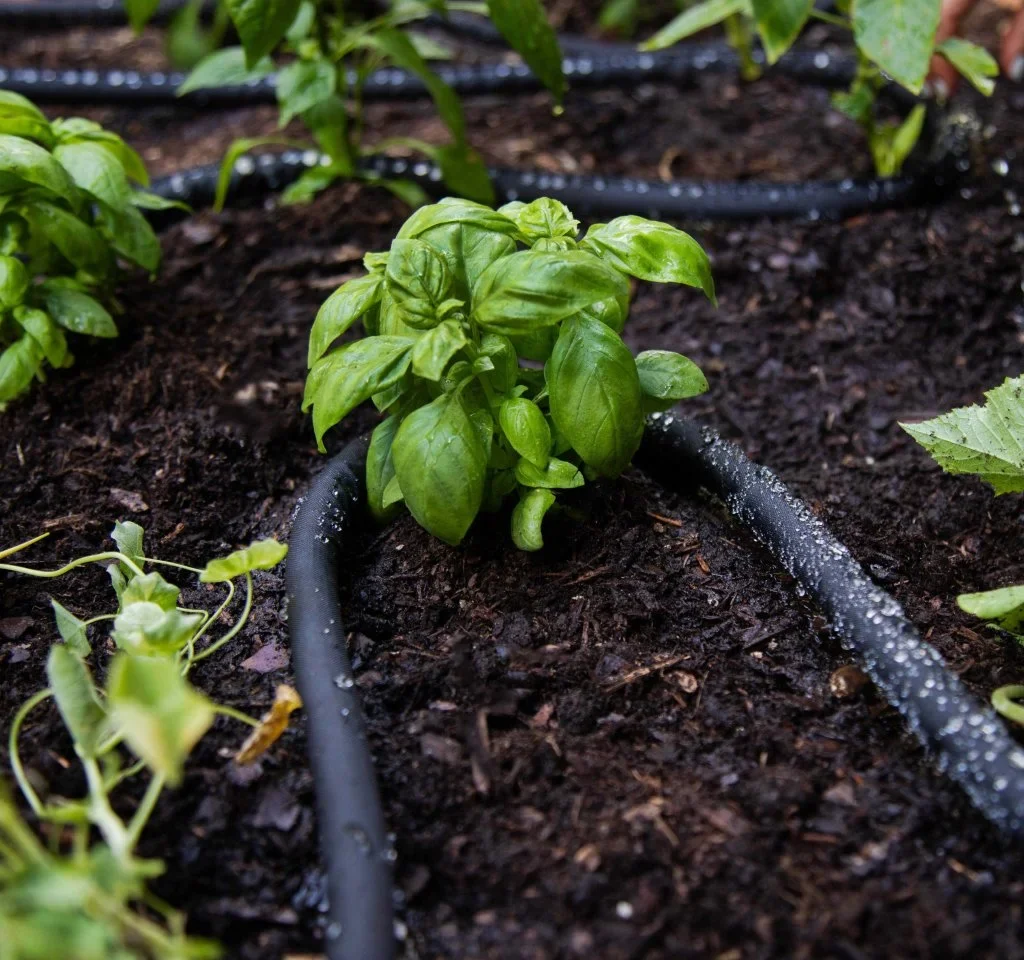
- Drain Hoses and Irrigation Systems: Prevents freezing and cracking. Store hoses in a frost-free area.
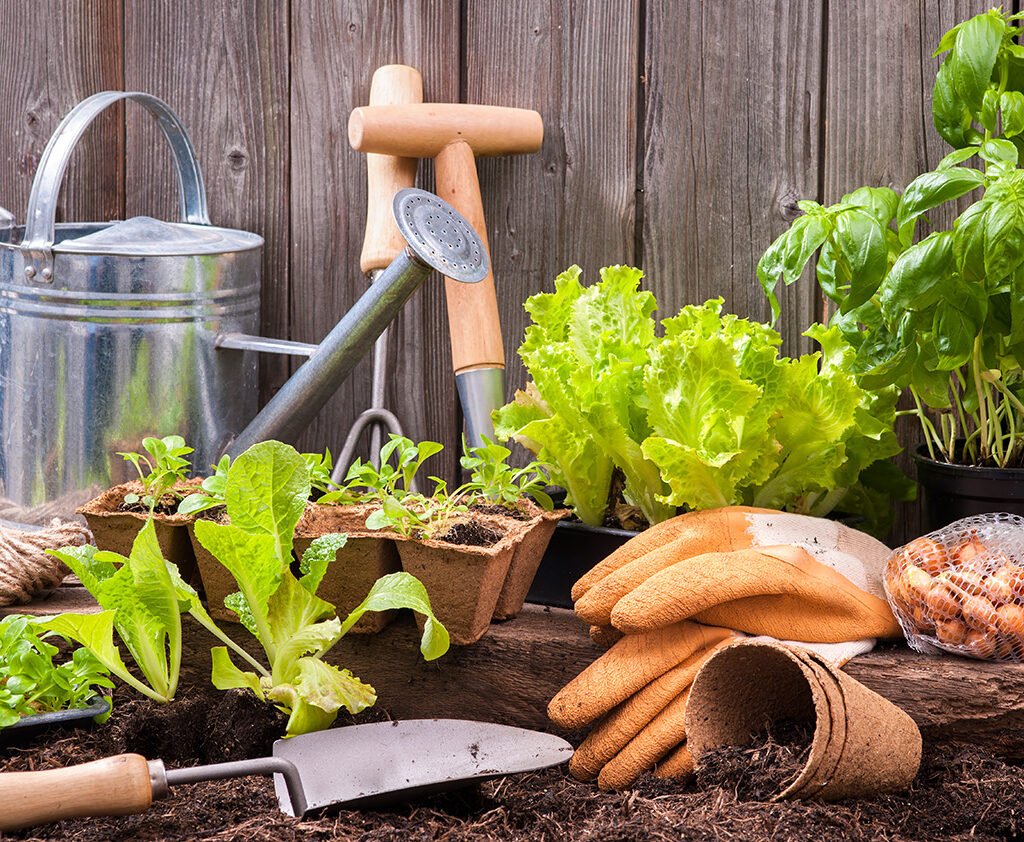
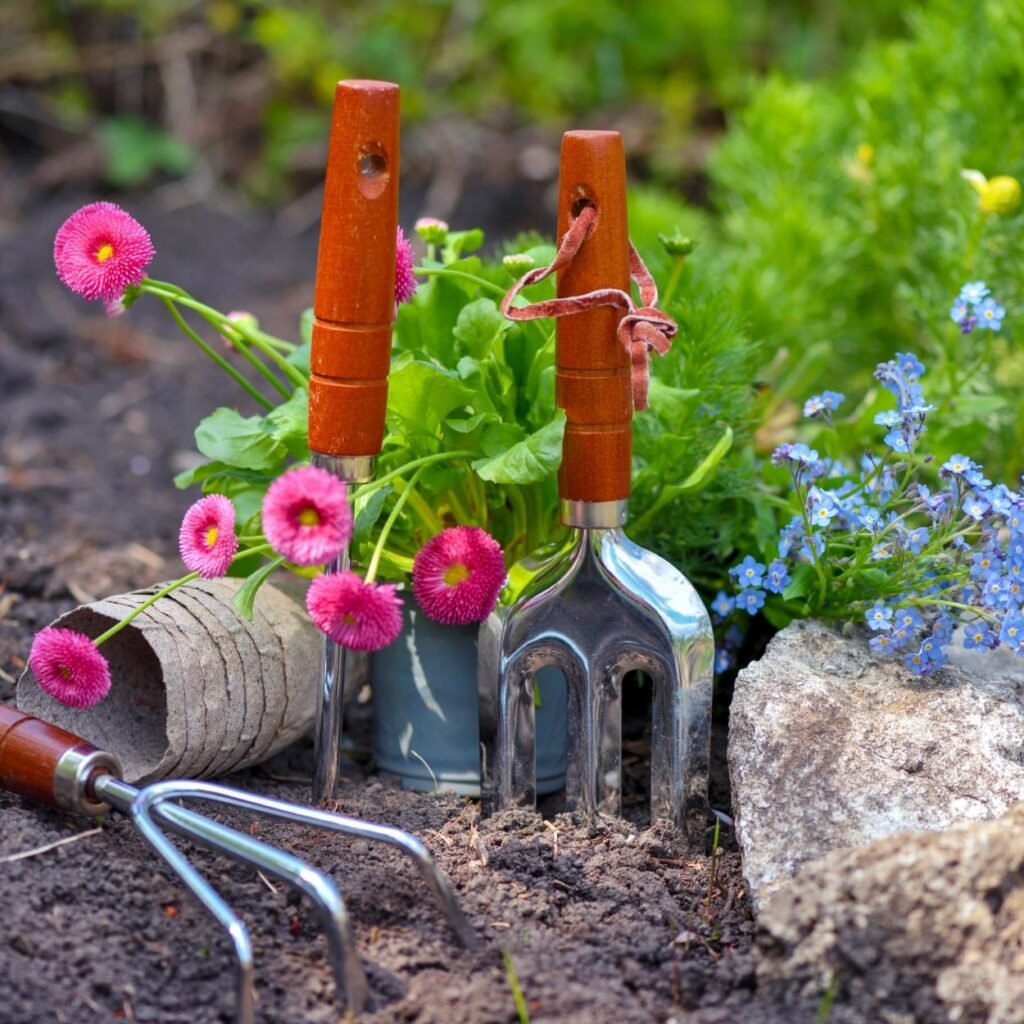
- Clean Tools: Wash, sharpen, and oil tools before storing them to prevent rust.
- Empty Containers: Terracotta and ceramic pots can crack in freezing temperatures. Store them indoors.
- Check Fences and Trellises: Repair structures so they’re ready for spring planting.
Step 7: Enrich the Soil
Winter is an excellent time to prepare your soil for the next season.
- Add Compost or Manure: Work organic matter into the soil to improve fertility.
- Plant Cover Crops: Rye, clover, or vetch protect soil from erosion, add nutrients, and suppress weeds.
- Test Soil pH: Fall is a good time to adjust soil pH with lime or sulfur if necessary, giving amendments time to work before spring.
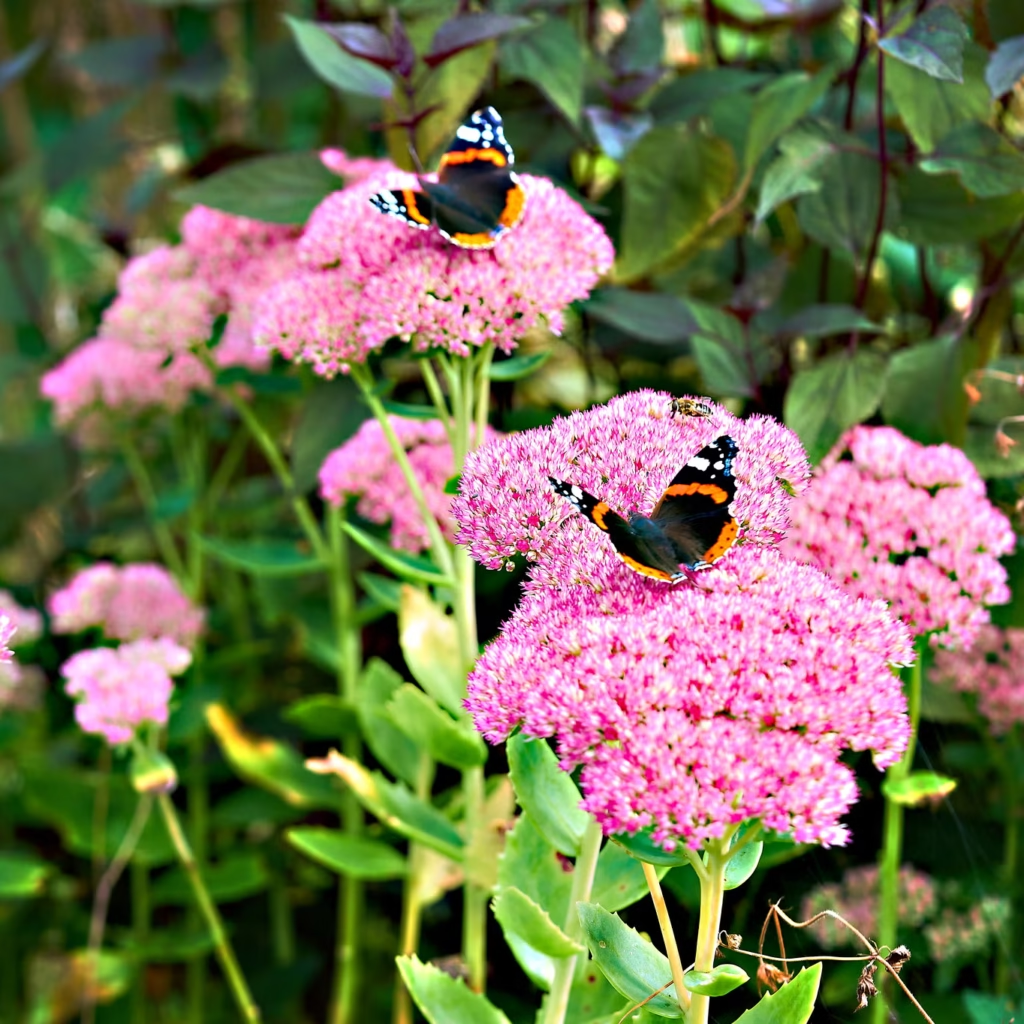
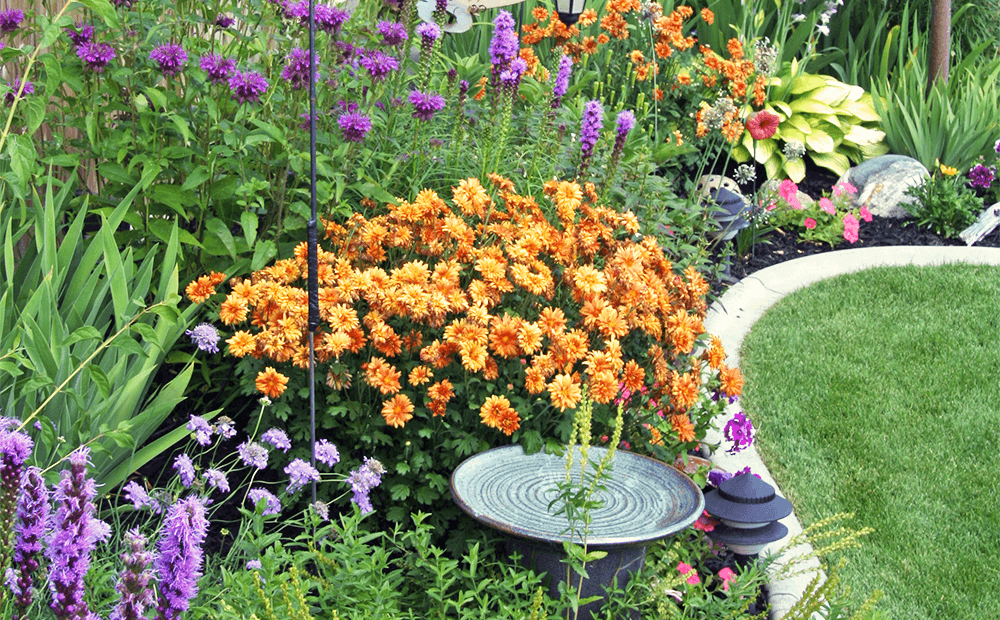
Step 8: Plan for Wildlife and Pollinators
Winterizing isn’t just about protecting plants—it’s also about supporting garden wildlife.
- Leave Seed Heads: Plants like sunflowers and coneflowers provide food for birds.
- Create Shelter: Piles of twigs or brush can shelter beneficial insects and small animals.
- Install Bird Feeders: Provide a winter food source to attract birds that will help with pest control in spring.
Step 9: Indoor Gardening Options
For gardeners who miss fresh produce during winter, indoor gardening is an excellent option.
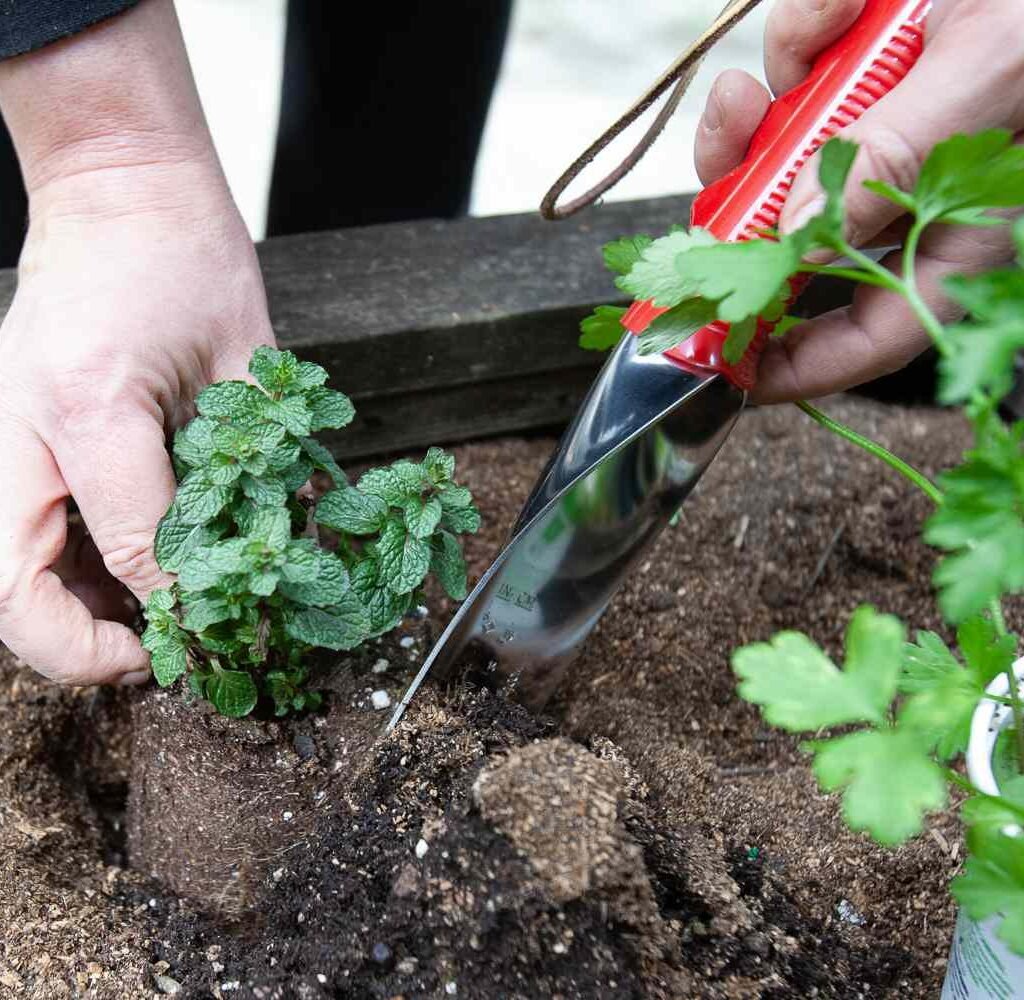
- Grow Herbs Indoors: Basil, parsley, and mint do well in sunny windowsills.
- Use Grow Lights: Extend light hours for leafy greens like lettuce or spinach.
- Hydroponic Kits: A fun, efficient way to grow vegetables indoors without soil.
This way, gardening doesn’t have to stop when outdoor conditions get too harsh.
Common Mistakes to Avoid
- Applying Mulch Too Early – Wait until the ground freezes slightly to avoid trapping moisture that causes rot.
- Over-Pruning – Heavy pruning in late fall stimulates new growth that may be killed by frost.
- Neglecting Drainage – Poorly drained soil leads to root rot during winter rains.
- Leaving Tools Exposed – Rust and damage shorten the lifespan of essential equipment.
- Forgetting Pests – Rodents and insects can overwinter in debris and harm plants.
Conclusion
Winterizing your garden may feel like extra work at the end of the growing season, but it’s an investment in the health and beauty of your plants. By cleaning up debris, mulching, protecting delicate plants, preparing soil, and maintaining tools, you create the best possible conditions for your garden to thrive come spring.
A little effort in autumn ensures that when the snow melts and the days grow longer, your garden wakes up strong, vibrant, and ready to flourish.