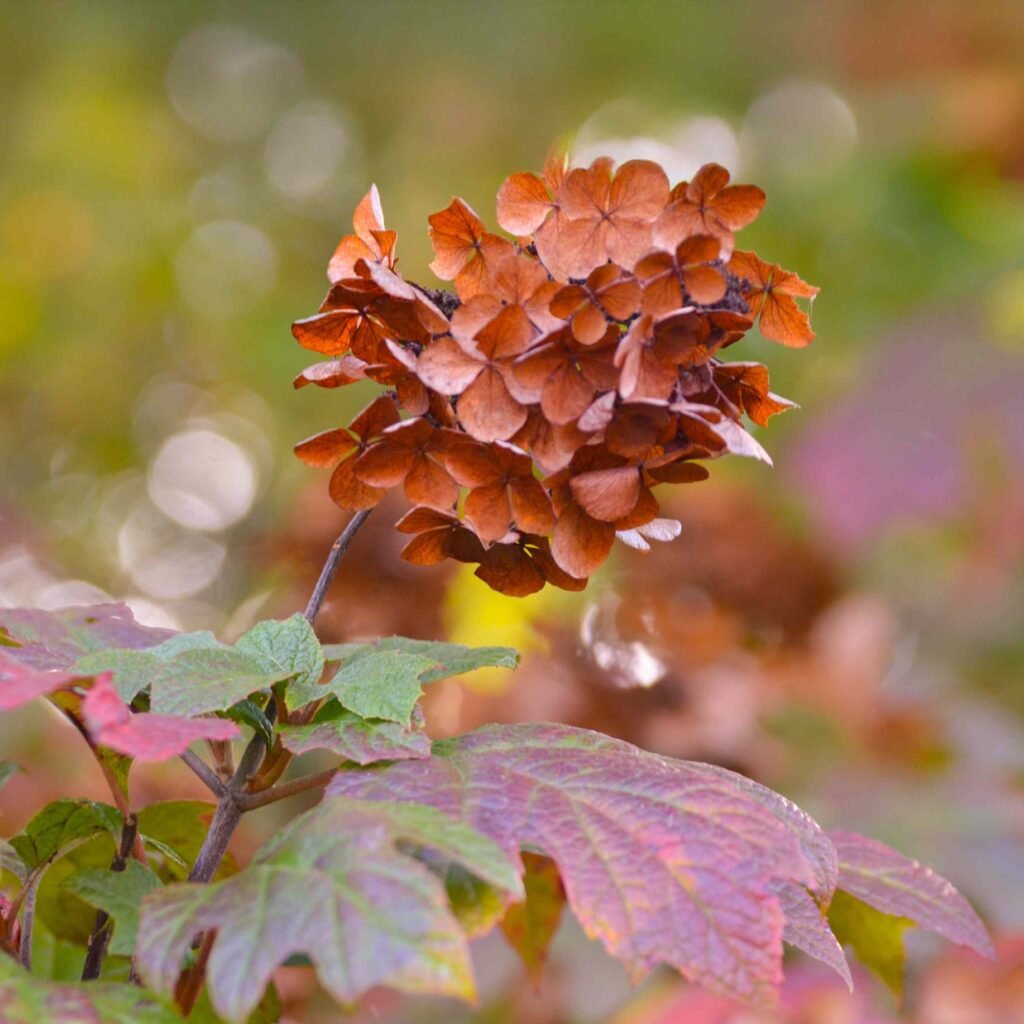
As the vibrant hues of autumn paint the landscape, many gardeners and homeowners are tempted to take advantage of the seemingly perfect time to prune their trees. The cooler temperatures and leaf drop create the illusion of an ideal window to trim back branches and shape trees before winter. However, pruning certain trees in autumn can cause significant damage, hinder their health, and even jeopardize their survival come spring.
In this article, we will explore why pruning some trees in autumn is harmful, identify the species you should never prune during this season, and discuss best practices for tree care that promote healthy growth year-round.
The Basics of Pruning: Why Timing Matters

Pruning is an essential horticultural practice that helps maintain tree health, safety, and aesthetics. Proper pruning removes dead or diseased branches, encourages structural integrity, and stimulates new growth. However, timing is critical.
Trees follow natural growth cycles closely linked to seasonal changes. Pruning during the wrong season can interfere with these cycles, leaving trees vulnerable to diseases, pests, and environmental stressors.
Why Autumn Is a Risky Time for Pruning
Autumn is often considered risky for pruning because:
- Trees Are Preparing for Dormancy: As temperatures drop and daylight shortens, trees begin to enter dormancy. Pruning at this time can disrupt their natural preparation for winter, forcing them to expend energy on healing wounds instead of conserving resources.
- Increased Susceptibility to Disease: Open cuts made during autumn can remain vulnerable throughout the winter months, providing entry points for pathogens and fungi when the tree’s defenses are lowered.
- Cold Damage Risk: Exposed branches and fresh pruning wounds are more susceptible to frost damage in late fall and early winter.
- Reduced Healing Ability: The slower metabolic rate of trees in autumn means that pruning wounds heal more slowly, increasing the risk of decay and infestations.
Trees You Should Never Prune in Autumn
While pruning needs vary by species, there are several trees that are particularly vulnerable to autumn pruning. Let’s look at why these trees are best left untouched during fall.
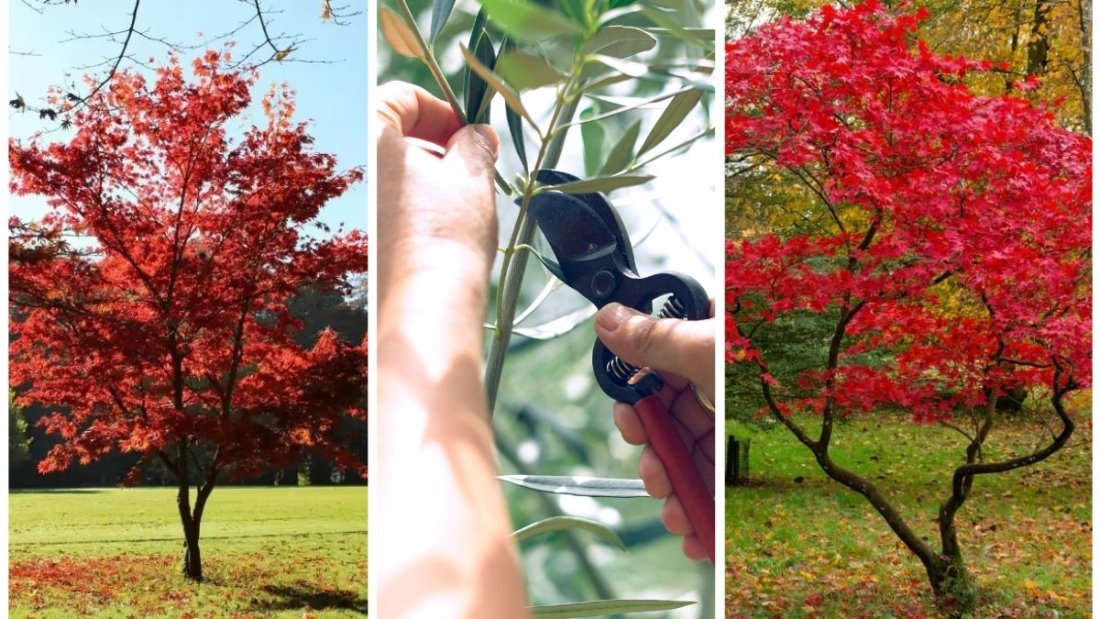
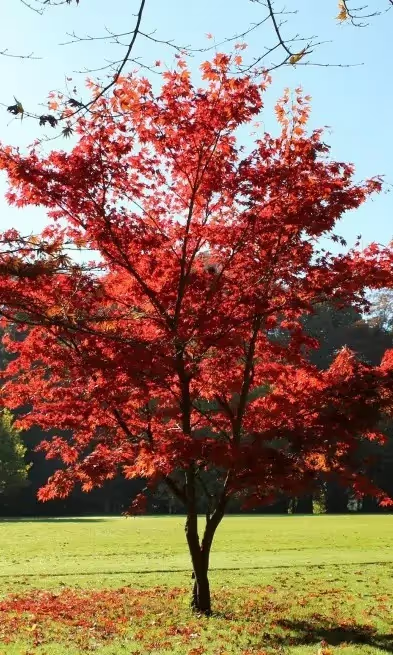
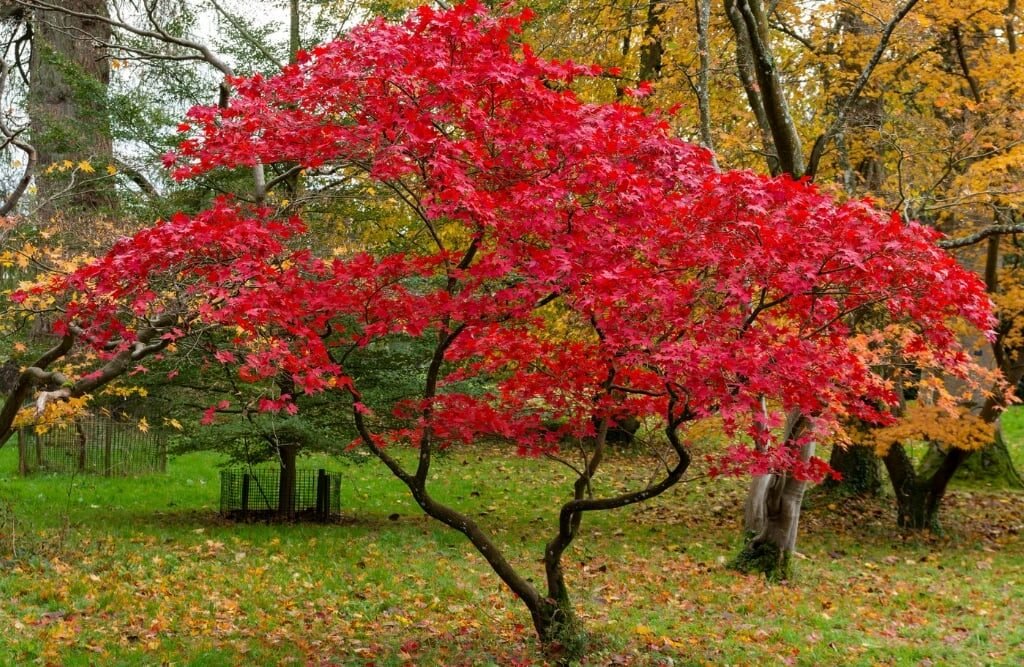
1. Maples (Acer spp.)
Maples, especially the popular sugar maple and red maple, are best pruned in late winter or early spring, before bud break.
- Why Not Autumn? Maples are prone to “bleeding,” where sap leaks profusely from pruning cuts made in autumn and early spring. While this sap loss usually doesn’t kill the tree, it can weaken it and attract insects and diseases.
- Additional Risks: Late-season pruning can encourage fungal infections like Verticillium wilt, which can cause branch dieback and decline.
2. Oaks (Quercus spp.)
Oaks are majestic, long-lived trees that require special care.
- Why Not Autumn? Oaks are susceptible to a fungal disease called oak wilt, which spreads through open wounds. Pruning in autumn can create open wounds that remain exposed during the winter, increasing the risk of infection come spring when beetles that spread oak wilt become active.
- Best Practice: Prune oaks in late winter or early spring when fungal activity and insect vectors are minimal.
3. Birch (Betula spp.)
Birches are beloved for their striking bark and delicate leaves.
- Why Not Autumn? Pruning birches in autumn can cause excessive sap loss, similar to maples. The wounds may also remain open through winter, exposing the tree to fungal infections and frost damage.
- Additional Note: Birch trees have relatively thin bark and are vulnerable to sunscald and cracking if pruned late in the season.
4. Walnut Trees (Juglans spp.)
Walnut trees, including the black walnut, are prized for their nuts and shade.
- Why Not Autumn? Walnut trees are susceptible to thousand cankers disease, a fungal pathogen spread by beetles. Fresh pruning wounds in autumn can serve as entry points for these fungi and their insect vectors.
- Optimal Timing: Prune walnuts in late winter or early spring to avoid peak beetle activity.
5. Pines and Other Conifers
Evergreen conifers like pines, spruces, and firs are structurally different from deciduous trees but also have specific pruning needs.
- Why Not Autumn? Pruning conifers in autumn can leave the tree vulnerable to winter desiccation (drying out) and cold damage. Freshly cut branches lose moisture faster in cold, dry winds, leading to browning and dieback.
- Best Time: Prune conifers in late winter or early spring, just before new growth begins.
The Consequences of Autumn Pruning
Understanding why pruning these trees in autumn is harmful requires looking at the consequences in detail:
1. Increased Disease and Pest Infestation
Fresh pruning wounds are ideal entry points for fungi, bacteria, and insects. When pruning occurs in autumn, the tree’s natural defense mechanisms are reduced, and wounds may not close before winter. This leaves the tree susceptible to diseases like oak wilt, Verticillium wilt, cankers, and various fungal infections.
Insect pests are also attracted to fresh cuts. For example, beetles that carry oak wilt fungi are drawn to open wounds. This makes autumn pruning a potential vector for pest and disease introduction.
2. Delayed Wound Healing and Structural Weakness
Tree cells responsible for wound healing slow down during the cooler months. Pruning in autumn results in slow closure of cuts, increasing the risk of decay and structural weakness. This can compromise the tree’s integrity and longevity.
3. Frost and Winter Damage
Fresh cuts are more vulnerable to frost cracks and winter injury. Water loss through exposed tissues can cause dehydration and cell damage, especially in conifers and thin-barked trees.
Best Practices for Pruning Trees
If autumn pruning is off the table for these species, when and how should pruning be done?
Timing: Late Winter to Early Spring
Pruning during late winter or early spring, while trees are still dormant but before new growth begins, is generally optimal for most species. The risk of disease and pest infestation is lower, and the tree can rapidly heal pruning wounds as growth resumes.
Use Proper Tools and Techniques
- Clean Cuts: Use sharp, sterilized tools to make clean cuts that heal faster.
- Cut at Branch Collars: Prune just outside the branch collar to promote proper healing.
- Remove Dead or Diseased Wood First: Focus on removing problematic branches before shaping the tree.
- Avoid Over-Pruning: Never remove more than 25% of a tree’s canopy in a single season.
Know Your Tree Species
Different species have different pruning needs and tolerances. Research or consult an arborist to create a pruning schedule tailored to your trees.
When Is Autumn Pruning Acceptable?
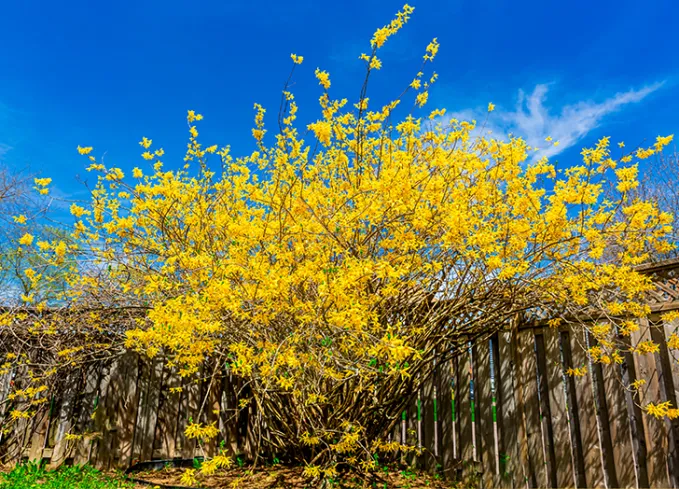
Not all trees are sensitive to autumn pruning. Some trees and shrubs actually benefit from late-season pruning, especially those that flower on new growth, such as butterfly bush or certain types of roses.
Additionally, dead, damaged, or diseased branches should be removed immediately, regardless of season, to prevent hazards or further decay.
Conclusion

While autumn is a beautiful and seemingly convenient time to prune trees, it is critical to avoid pruning certain species during this season. Trees like maples, oaks, birches, walnuts, and pines have specific vulnerabilities that make autumn pruning risky, potentially leading to disease, pest infestation, delayed healing, and winter damage.
Understanding the biological rhythms of your trees and respecting their natural cycles will ensure their health, safety, and longevity. For most trees, late winter to early spring remains the safest and most effective time for pruning.
For gardeners, landscapers, and tree enthusiasts alike, the mantra is clear: Know your trees, respect the seasons, and prune wisely. By doing so, you protect your landscape investments and enjoy the beauty and benefits of healthy trees for many years to come.