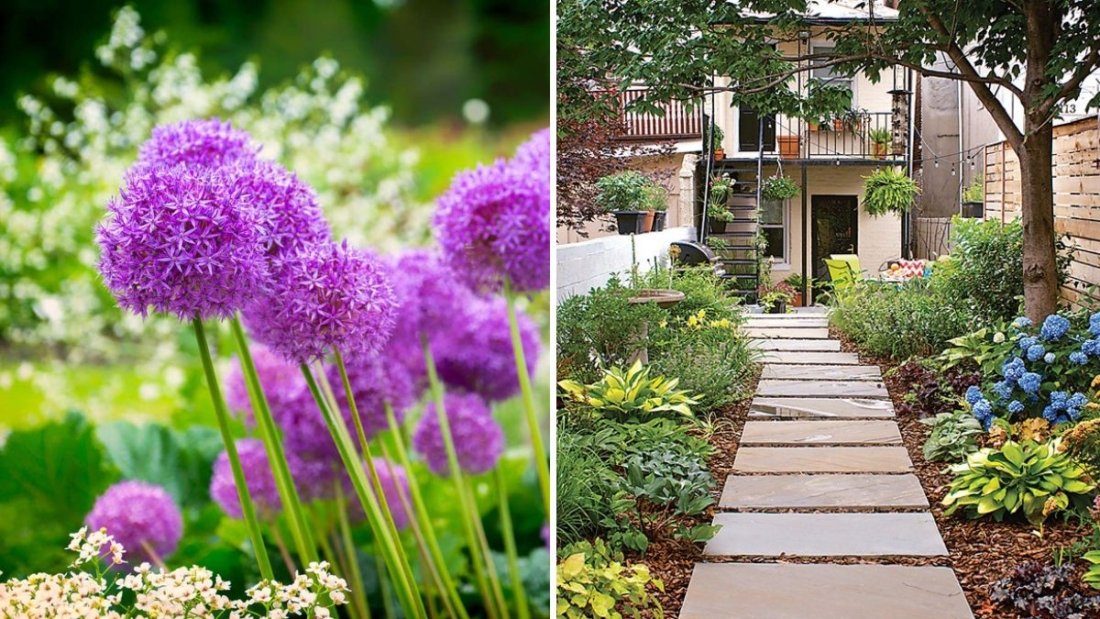
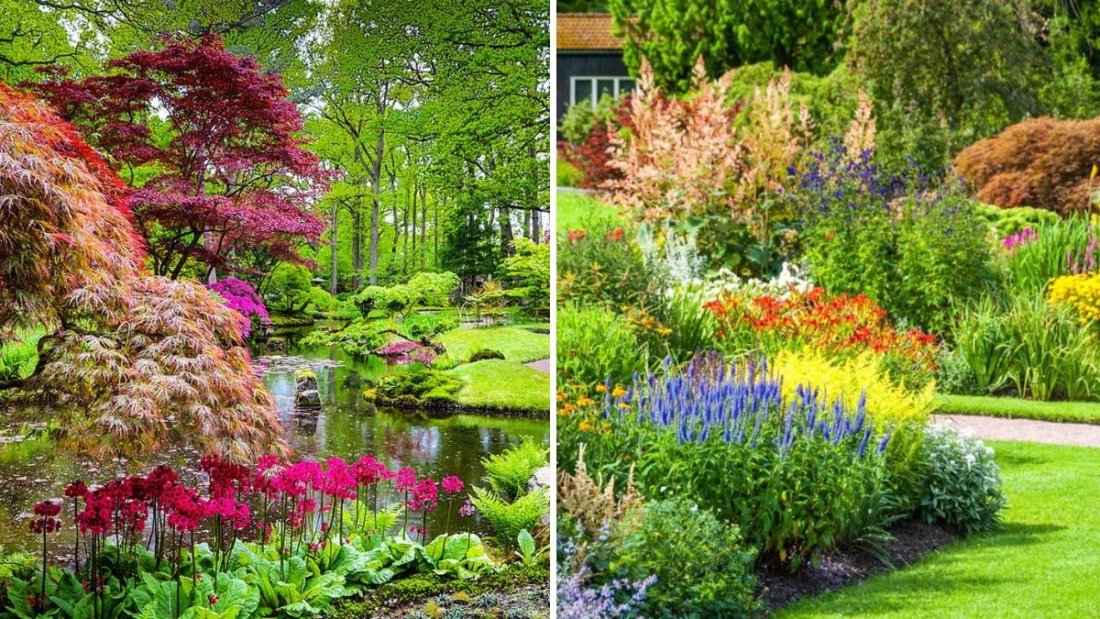
Annual flowers are the backbone of vibrant summer gardens, offering continuous color, fragrance, and texture throughout the season. Unlike perennials, annuals complete their life cycle in one growing season, which allows gardeners to select varieties with prolonged blooming periods. Choosing the right annuals ensures that your garden remains lively, cheerful, and full of color from early summer until the first frost.
This article explores five outstanding annual flowers that bloom nonstop all summer, along with planting tips, care practices, and design strategies for maximum aesthetic appeal.
1. Petunias (Petunia spp.)

Petunias are among the most popular summer annuals, known for vivid colors and abundant blooms.
Advantages
- Flowers in nearly every color, including bi-colored and striped varieties.
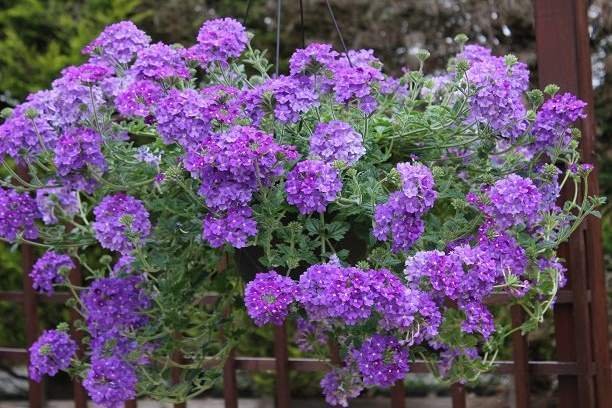
- Trailing types are perfect for hanging baskets or container gardens.
- Long blooming season, thriving in sunny locations.
Planting and Care
- Soil: Well-draining potting mix enriched with compost.
- Sunlight: Full sun (6–8 hours daily).
- Watering: Keep soil moist but avoid waterlogging.
- Fertilization: Use a balanced liquid fertilizer every 2–3 weeks to maintain continuous flowering.
- Maintenance: Deadhead regularly to encourage new blooms.
Petunias are ideal for creating a bold, colorful display throughout summer.
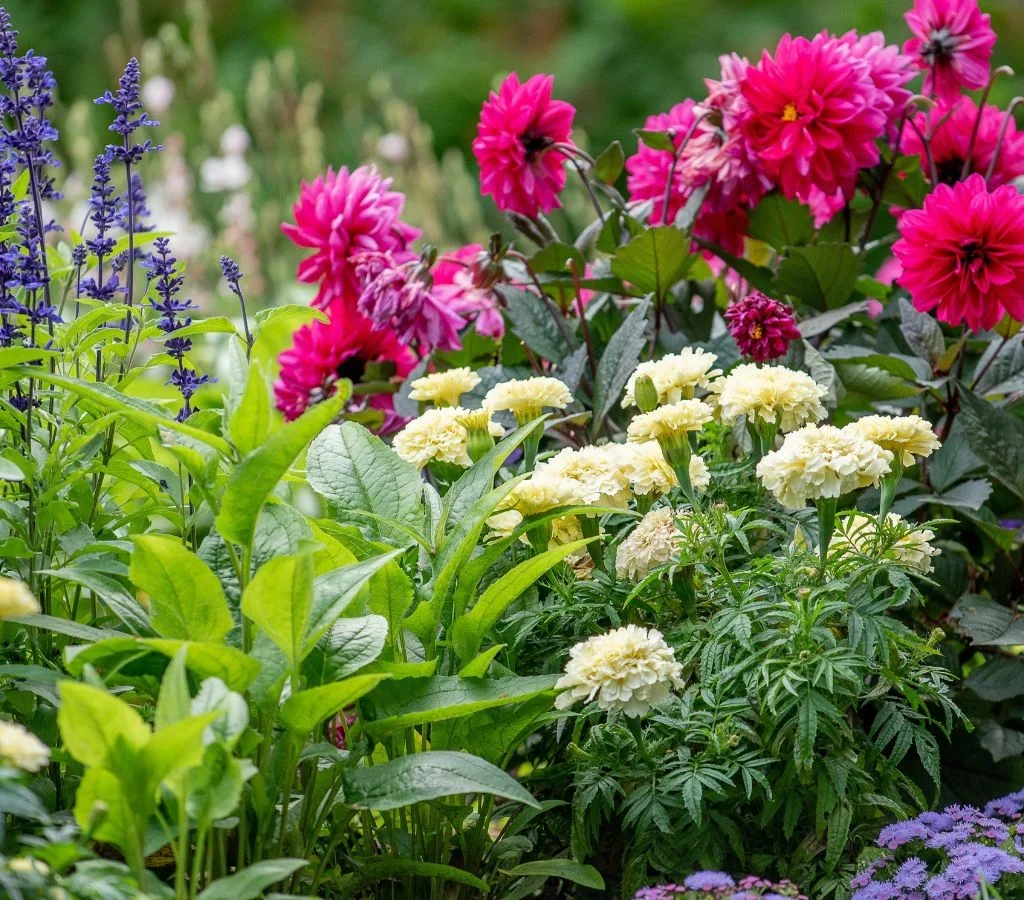
2. Marigolds (Tagetes spp.)

Marigolds are hardy, sun-loving annuals that produce nonstop blooms in yellow, orange, and red hues.
Advantages
- Tolerates heat and drought, making it perfect for summer gardens.
- Naturally repels pests, making it an excellent companion plant.
- Low-maintenance, with consistent flowering from early summer to fall.
Planting and Care
- Soil: Well-draining, fertile soil with organic matter.
- Sunlight: Full sun for vibrant blooms.
- Watering: Moderate watering; avoid soggy soil.
- Fertilization: Light application of slow-release fertilizer encourages continuous flowers.
- Deadheading: Remove faded blooms to stimulate new flowers.
Marigolds are perfect for borders, containers, and sunny garden beds.
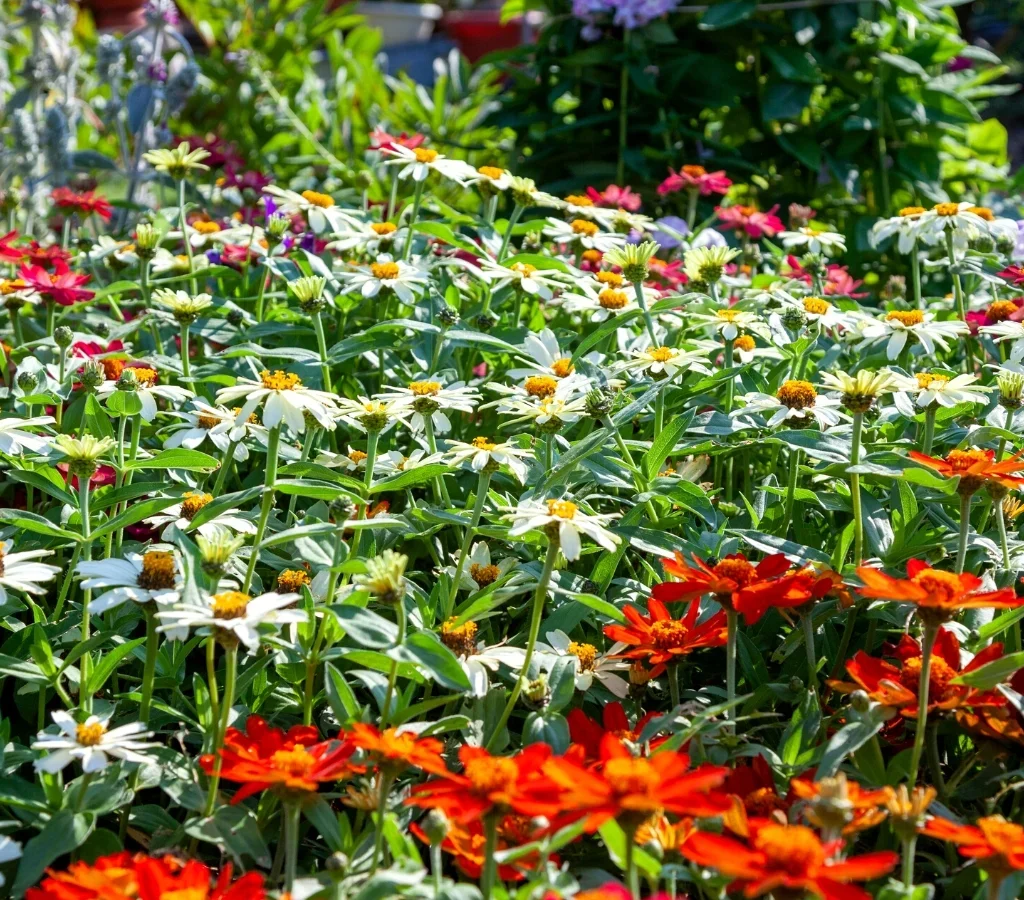
3. Zinnias (Zinnia elegans)
Zinnias are vibrant annuals celebrated for their long-lasting, bright flowers.
Benefits
- Wide range of colors: red, pink, orange, yellow, white, and multicolor.
- Disease-resistant and heat-tolerant, ideal for summer conditions.
- Compact and tall varieties suitable for beds, borders, and containers.
Planting and Care
- Soil: Fertile, well-draining soil enriched with compost.
- Sunlight: Full sun to ensure prolific flowering.
- Watering: Water at the base to prevent fungal diseases.
- Fertilization: Use balanced liquid fertilizer every 3–4 weeks.
- Pruning: Pinch back young plants to encourage bushier growth and more blooms.
Zinnias are perfect for cut flower arrangements and continuous garden color.
4. Cosmos (Cosmos bipinnatus)
Cosmos are tall, airy annuals that produce delicate, daisy-like flowers all summer.
Advantages
- Long flowering season with minimal maintenance.
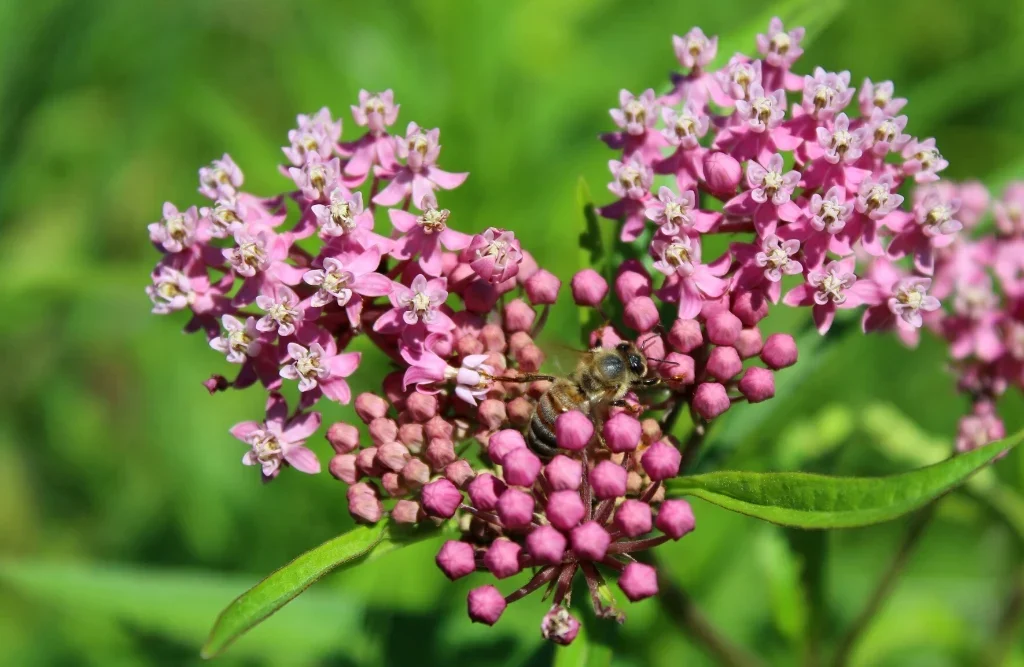
- Attracts pollinators like bees and butterflies.
- Tolerates poor soil and heat, making it ideal for low-maintenance summer gardening.
Planting and Care
- Soil: Well-draining soil; does not require high fertility.
- Sunlight: Full sun (at least 6 hours daily).
- Watering: Moderate watering; drought-tolerant once established.
- Fertilization: Light feeding with balanced fertilizer encourages continuous blooming.
- Pruning: Deadhead regularly to promote new flowers and prevent seed formation from reducing blooms.
Cosmos are ideal for adding height and a whimsical feel to summer gardens.
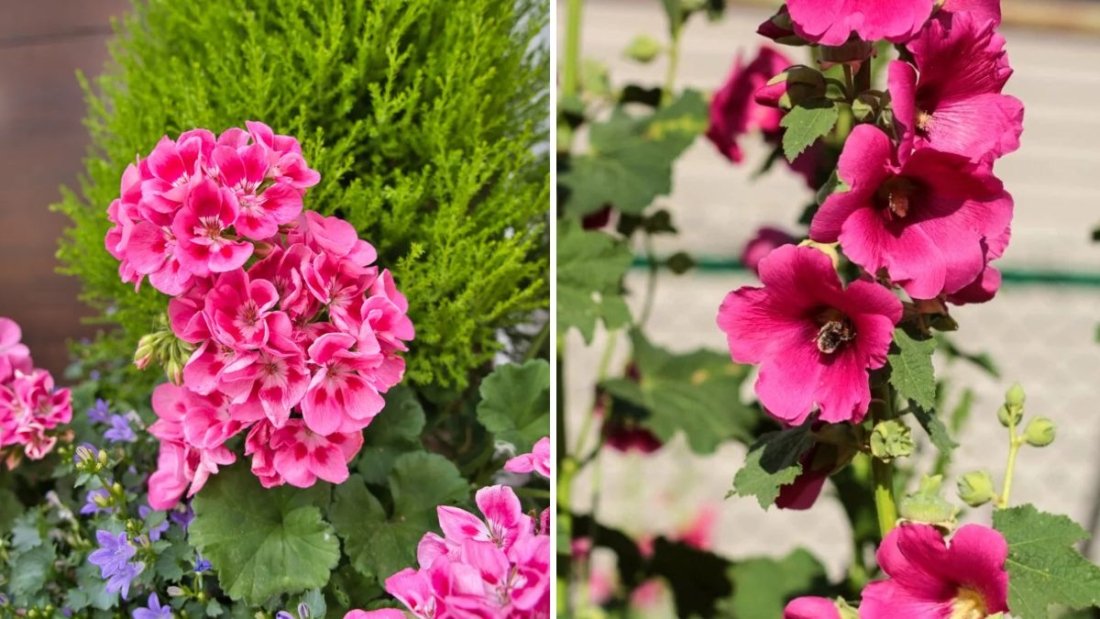
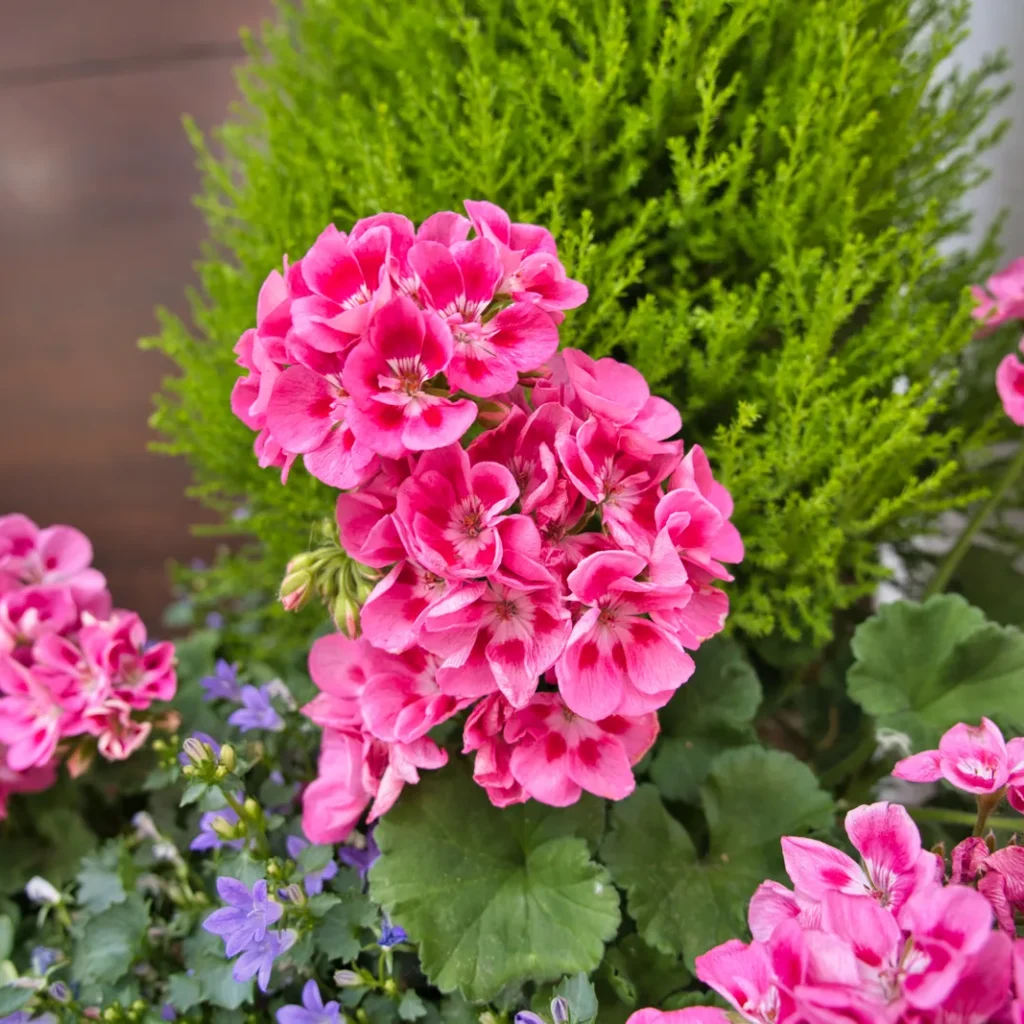
5. Geraniums (Pelargonium spp.)
Geraniums are classic summer annuals prized for vivid flowers and lush foliage.
Benefits
- Available in red, pink, white, and purple shades.
- Performs well in containers, window boxes, and hanging baskets.
- Continuous flowering with proper care throughout the summer season.
Planting and Care
- Soil: Well-draining potting soil with compost.
- Sunlight: Full sun, but tolerate partial shade.
- Watering: Moderate; allow soil to dry slightly between waterings.
- Fertilization: Use liquid fertilizer every 2–3 weeks to maintain vibrant blooms.
- Maintenance: Remove faded flowers and trim leggy stems to encourage new growth.
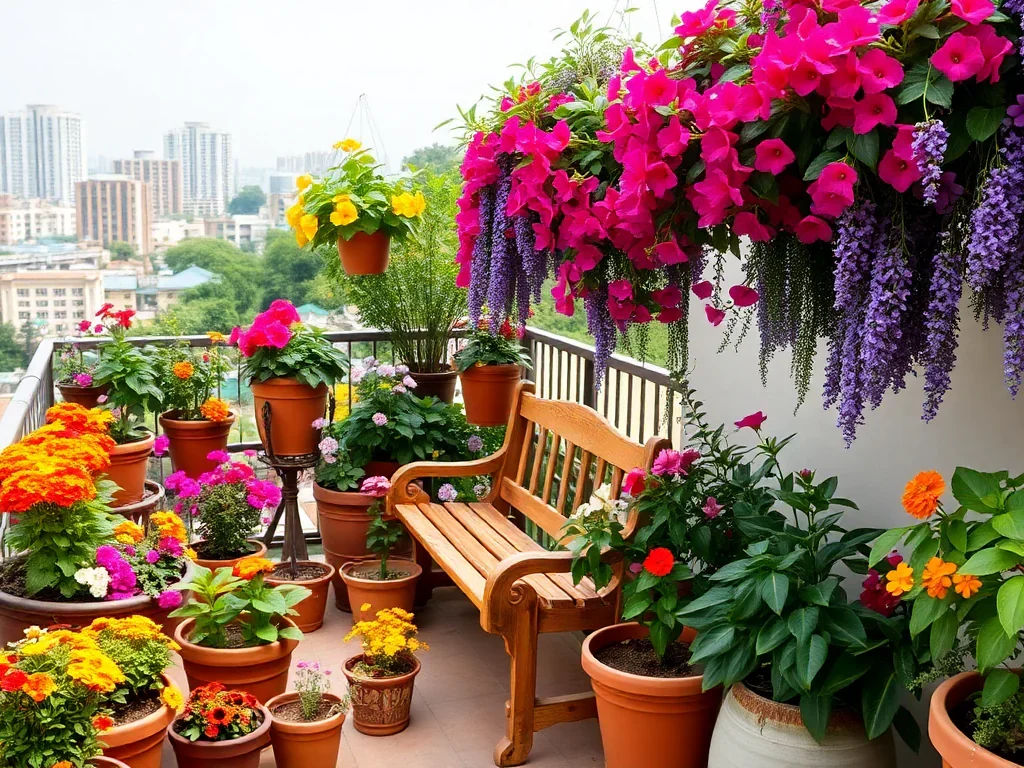
Geraniums provide a long-lasting, vibrant splash of color ideal for urban and container gardens.
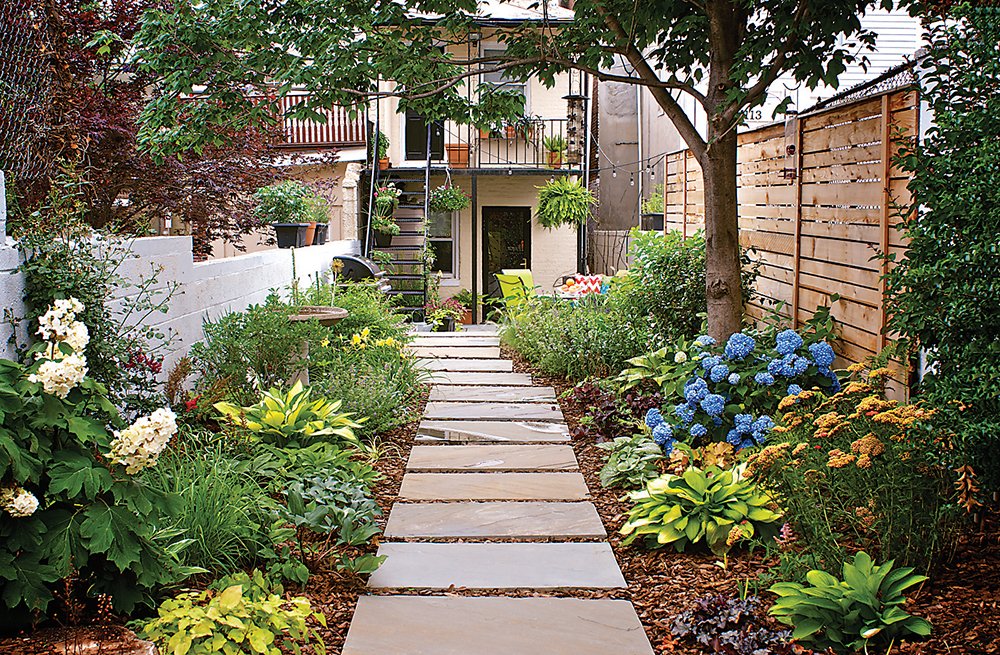
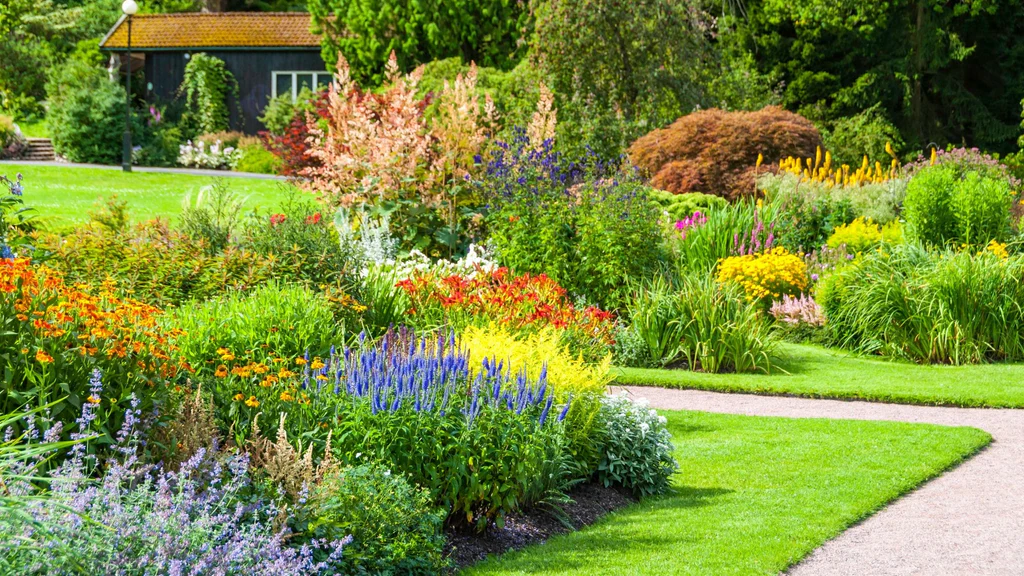
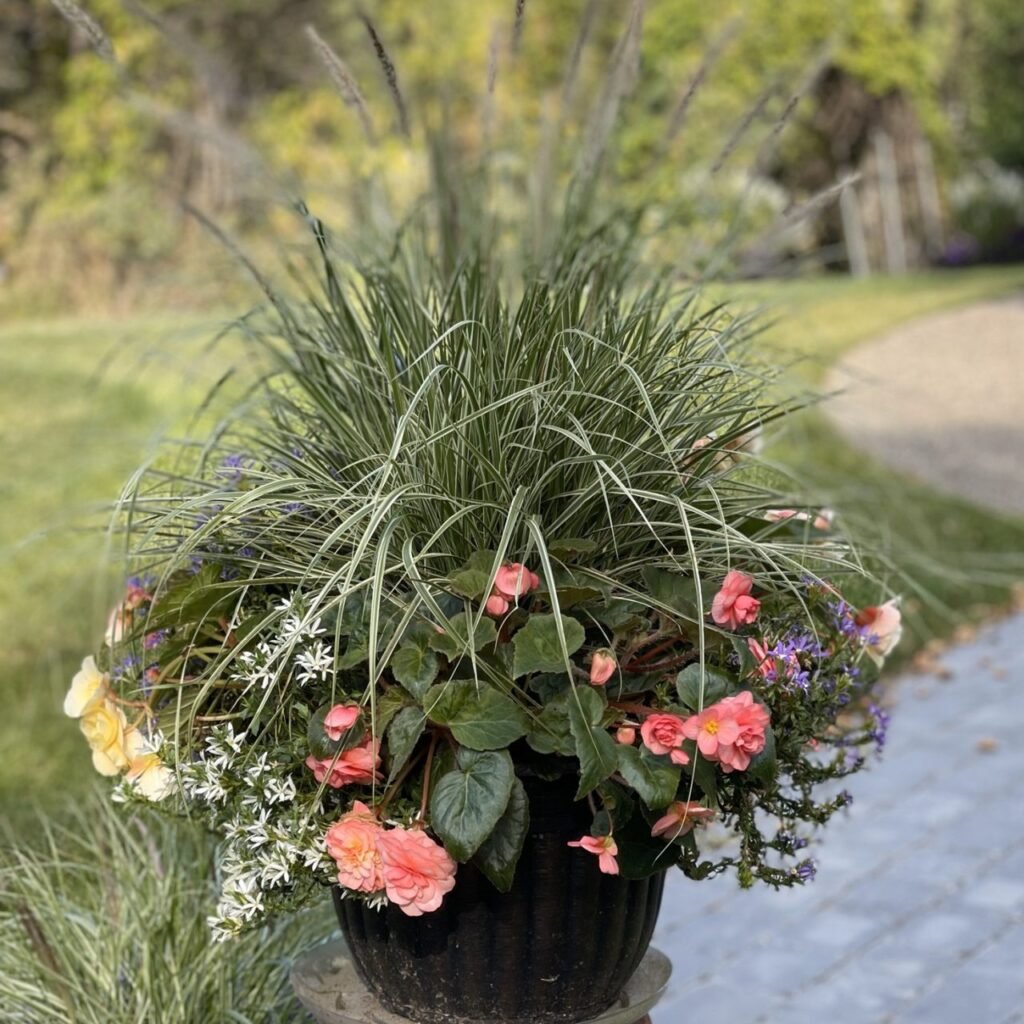
Design and Planting Strategies for Continuous Color
- Layering Plants: Mix tall, mid-height, and trailing annuals for depth and dimension.
- Color Coordination: Choose complementary or contrasting colors for visual appeal.
- Container Selection: Use large containers or window boxes to accommodate multiple plants.
- Succession Planting: Plant additional seedlings mid-summer to maintain color as older plants fade.
- Spacing: Provide adequate space to allow airflow, reduce disease risk, and encourage uniform growth.
Strategic design ensures that your summer garden remains colorful and attractive throughout the season.
Maintenance Tips for Nonstop Summer Blooms
- Regular Deadheading: Removes spent blooms, stimulating new flowering cycles.
- Consistent Fertilization: Keeps plants healthy and flowers vibrant.
- Water Management: Maintain even soil moisture; mulch containers to retain water.
- Pest Monitoring: Check regularly for aphids, spider mites, and whiteflies.
- Disease Prevention: Avoid wetting leaves during watering and provide proper spacing for airflow.
Routine maintenance ensures vibrant, nonstop blooms throughout the summer months.
Seasonal Considerations
- Early Summer: Focus on planting, fertilizing, and establishing plants.
- Mid-Summer: Deadhead flowers, monitor watering, and check for pests.
- Late Summer: Consider succession planting to replace fading blooms.
- Autumn: Collect seeds for next year’s planting or remove spent plants to prepare soil.
Adapting care to seasonal needs maximizes bloom duration and garden vitality.
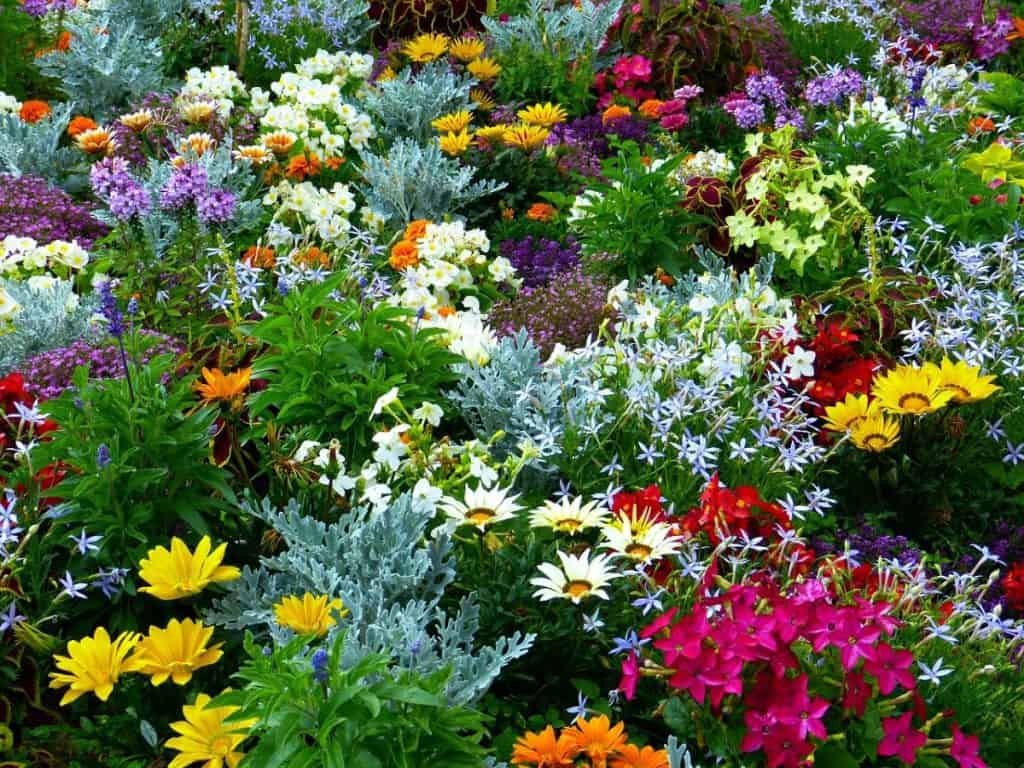
Benefits of Nonstop Summer Annuals
- Continuous Color: Keeps garden vibrant and visually appealing.
- Pollinator Attraction: Flowers support bees, butterflies, and other beneficial insects.
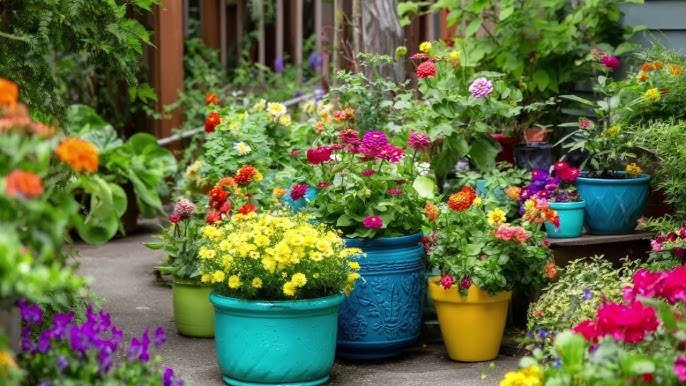
- Garden Flexibility: Annuals allow rotation and experimentation each year.
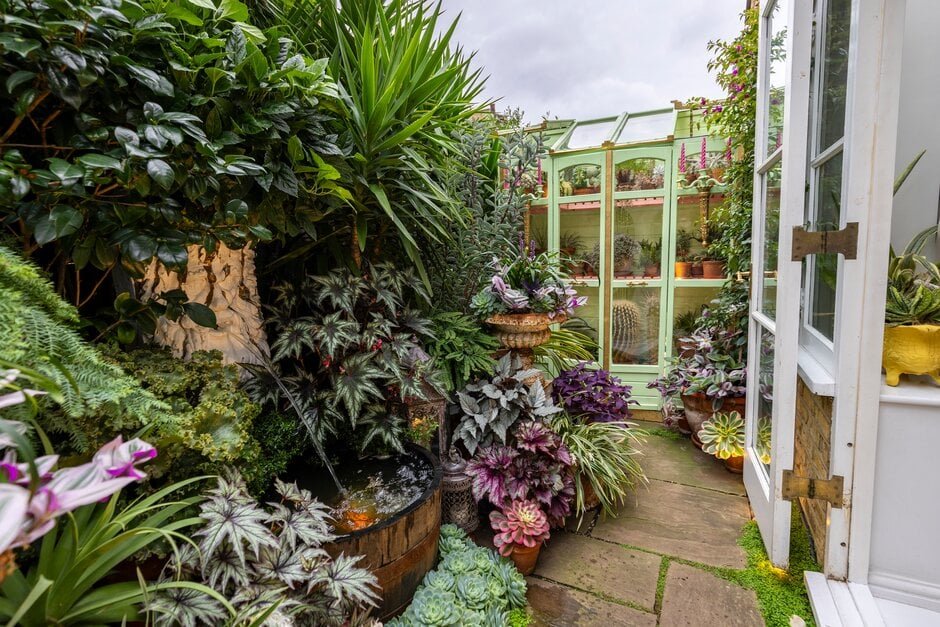
- Container Gardening: Perfect for urban spaces, balconies, and patios.
- Low Maintenance Options: Many summer annuals tolerate heat, drought, and varying soil conditions.
Nonstop annuals provide a reliable way to maintain color, texture, and vitality in summer gardens.
Conclusion
Growing annual flowers that bloom nonstop throughout summer requires careful plant selection, proper soil preparation, sunlight, watering, and routine maintenance. Petunias, marigolds, zinnias, cosmos, and geraniums are exceptional choices for continuous flowering, offering vivid color, easy care, and adaptability to various garden spaces, including containers and balconies.
By implementing deadheading, fertilization, pest management, and strategic design, gardeners can enjoy a summer garden that remains lush, vibrant, and alive from early June to late September, creating a rewarding and visually stunning outdoor space.