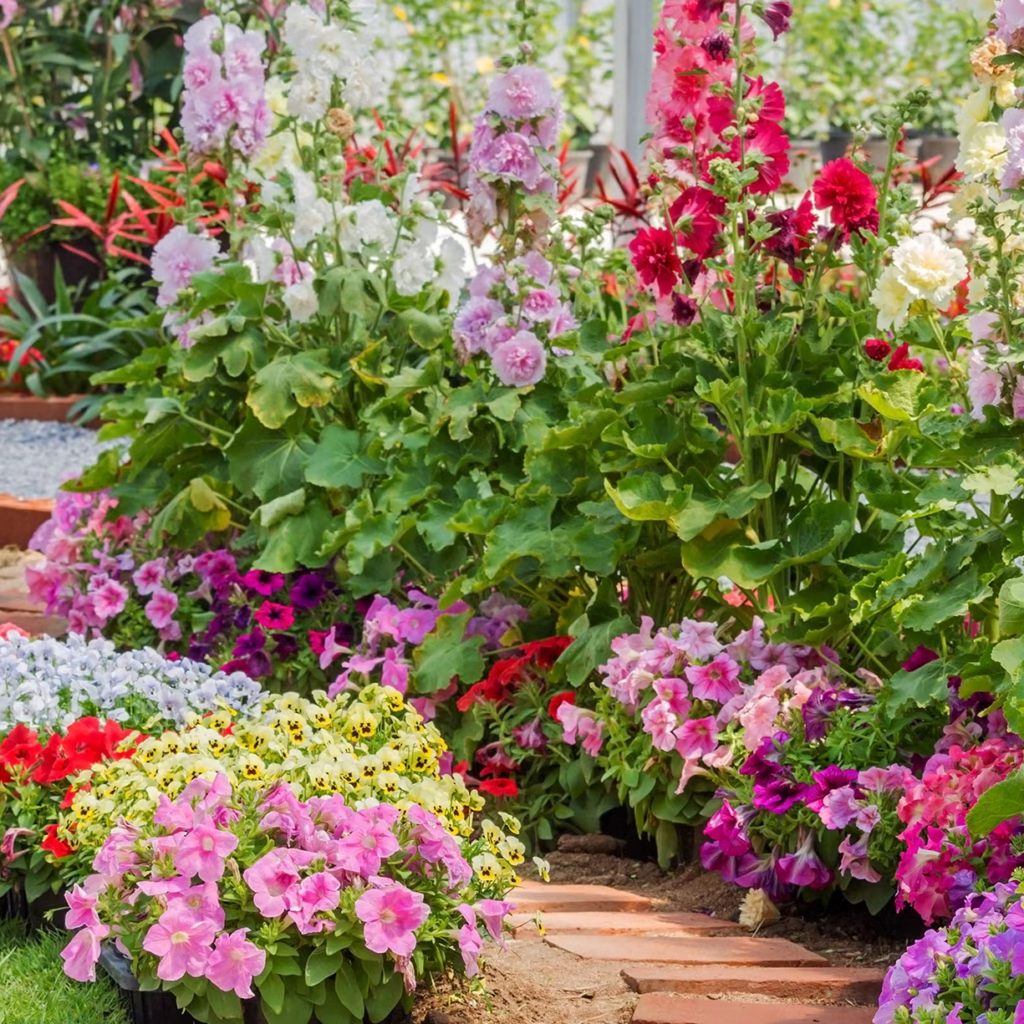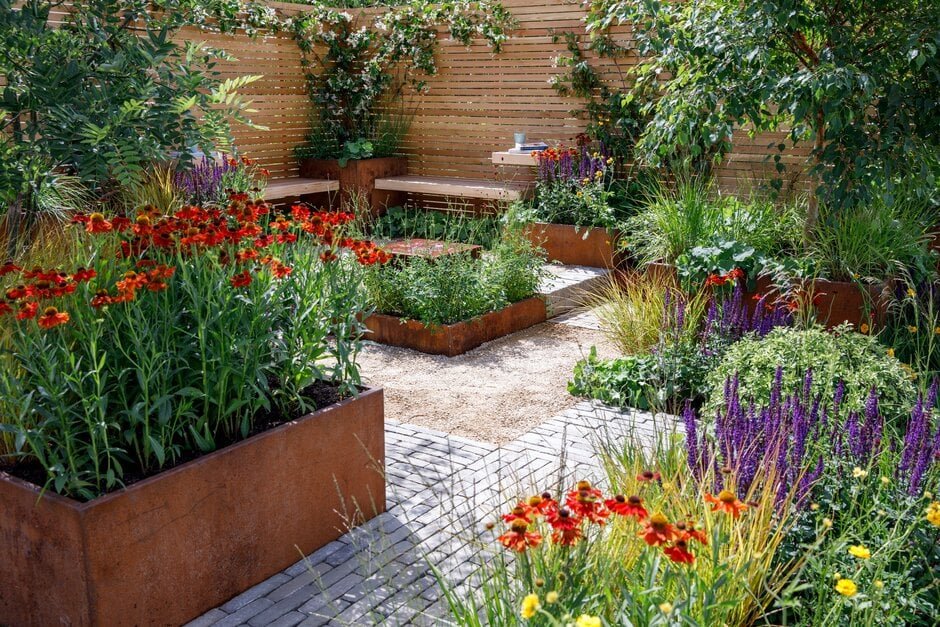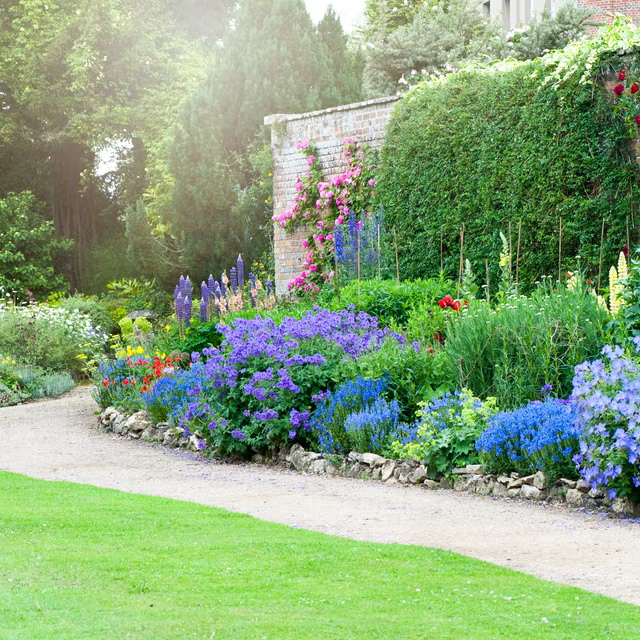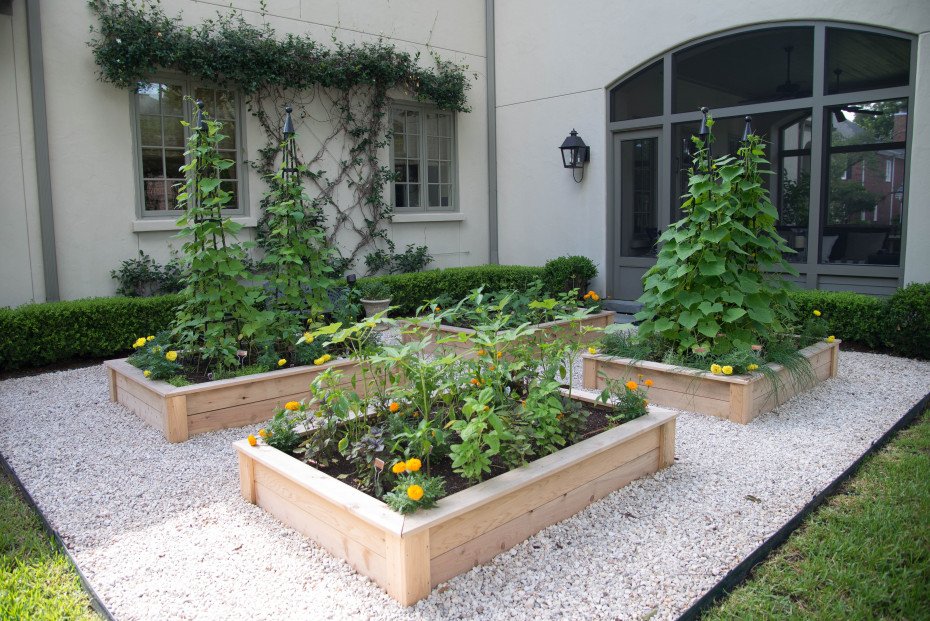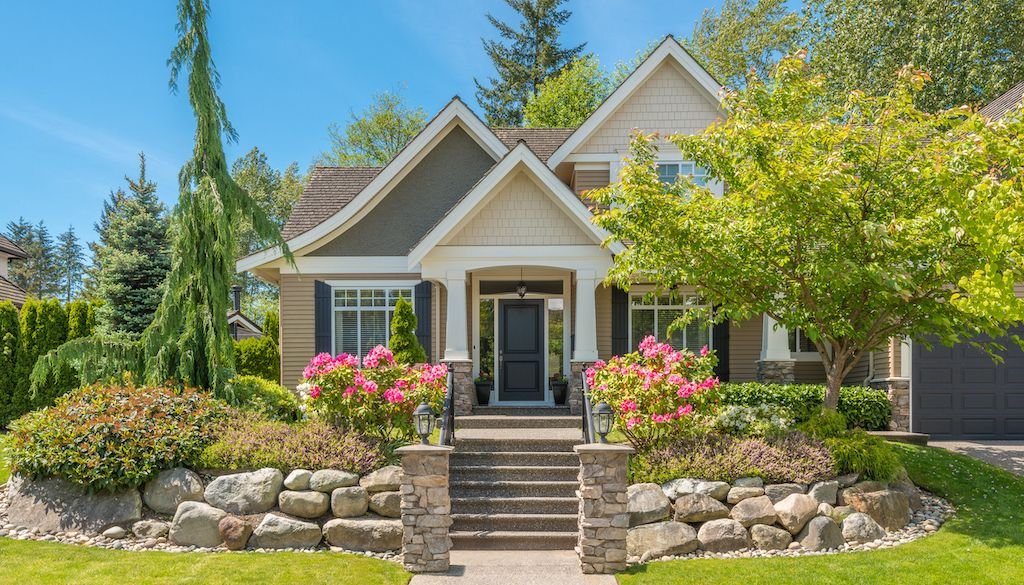
A well-designed garden is more than just bursts of seasonal flowers. While annuals and perennials bring vibrant colors in spring and summer, a truly balanced garden needs year-round structure—plants that provide form, texture, and greenery through every season. This is where shrubs step in.
Shrubs serve as the backbone of a garden, offering permanence, shape, and continuity. With the right mix, they can provide not only structure but also seasonal interest, fragrance, berries, or even wildlife habitat. Whether you have a small courtyard, a suburban backyard, or a sprawling estate, shrubs are essential for keeping your garden alive and beautiful all year long.
Let’s explore some of the top shrubs for year-round structure, complete with details on their features, growing needs, and how to use them in your landscape.
Why Shrubs Are Essential for Garden Design
Before diving into the list, it’s worth understanding why shrubs hold such a critical role in garden planning:
- Structure and Shape: Shrubs create form and framework, guiding the eye and anchoring the design.
- Seasonal Interest: Many shrubs offer flowers, berries, or colorful foliage at different times of the year.
- Low Maintenance: Once established, shrubs require less upkeep than annuals or perennials.
- Wildlife Benefits: Birds and pollinators use shrubs for food, nesting, and shelter.
- Year-Round Beauty: Evergreen shrubs in particular ensure your garden never looks bare, even in winter.
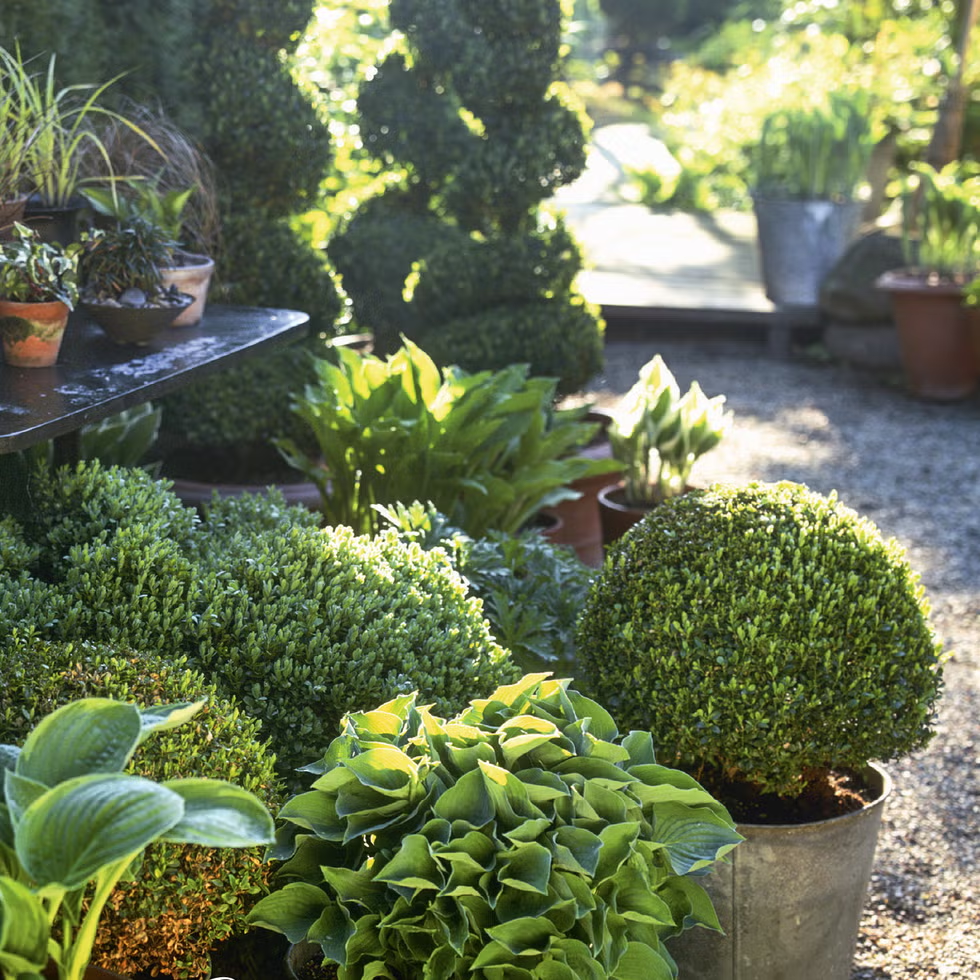
1. Boxwood (Buxus sempervirens)
Why It’s Great for Structure
Boxwood has been a staple of formal gardens for centuries, known for its dense, evergreen foliage that responds beautifully to pruning. Its ability to be shaped into neat hedges, spheres, or intricate topiaries makes it a versatile option.
Features
- Evergreen foliage: Glossy green leaves all year.
- Growth: Slow-growing, typically 2–4 feet tall but can be larger.
- Hardiness Zones: 5–9.
Best Uses
- Low borders for pathways.
- Topiary accents for formal gardens.
- Foundation planting near entrances.
2. Holly (Ilex spp.)
Why It’s Great for Structure
Holly shrubs bring year-round structure with their glossy evergreen leaves and, in many varieties, bright red berries that add winter interest.
Features
- Evergreen foliage with spiny or smooth leaves depending on the species.
- Berries: Female plants produce berries if a male pollinator is nearby.
- Hardiness Zones: 5–9 (varies by species).
Best Uses
- Tall hedges or privacy screens.
- Winter focal points with colorful berries.
- Attracting birds in colder months.
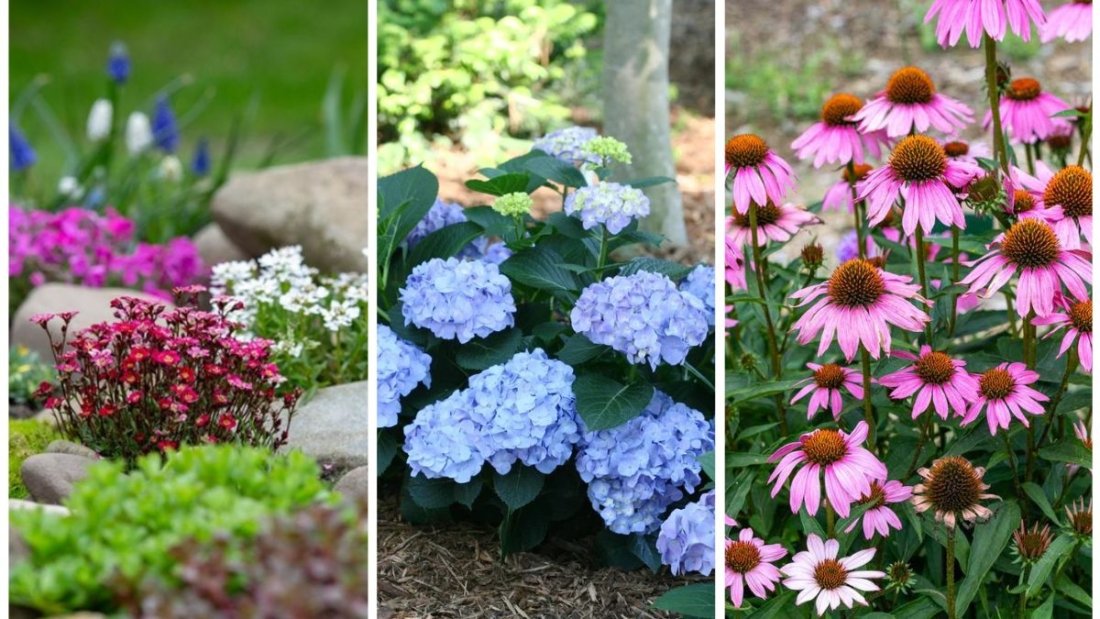
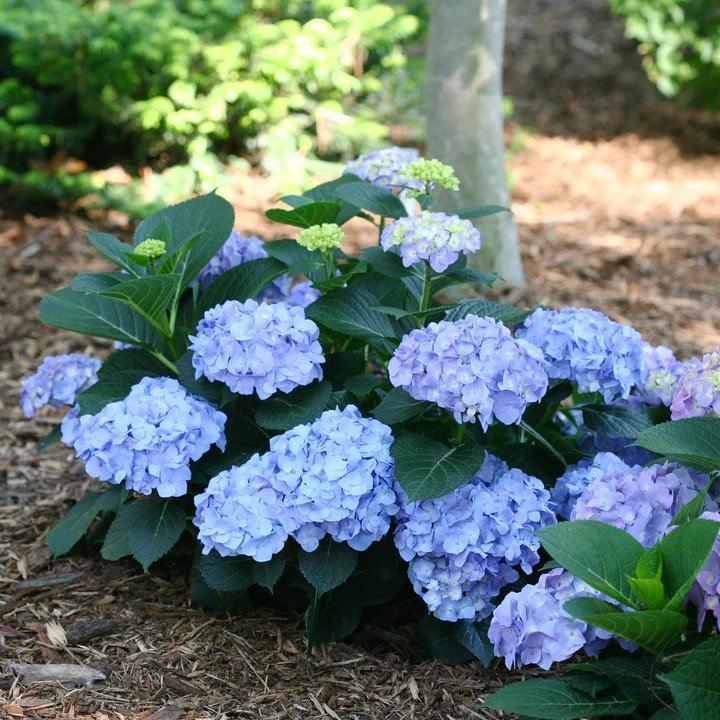
3. Hydrangea (Hydrangea macrophylla and others)
Why It’s Great for Structure
Hydrangeas may lose their leaves in winter, but their large, dramatic flower heads and sturdy framework provide interest through summer and fall. The dried blooms often linger into the colder months, adding texture.
Features
- Flowers: Big clusters in shades of pink, blue, white, or purple depending on soil pH.
- Growth: 3–6 feet tall, depending on variety.
- Hardiness Zones: 3–9.
Best Uses
- Mid-border shrubs for color and structure.
- Foundation planting for dramatic curb appeal.
- Cutting gardens for fresh or dried arrangements.
4. Rhododendron and Azalea (Rhododendron spp.)
Why It’s Great for Structure
These evergreen (or semi-evergreen) shrubs shine in spring with spectacular blooms, but their leathery leaves also provide greenery year-round.
Features
- Flowers: Large clusters of pink, red, purple, or white in spring.
- Foliage: Evergreen in many varieties, providing structure through winter.
- Hardiness Zones: 4–9 (varies by type).
Best Uses
- Woodland gardens or shaded borders.
- Focal points when in bloom.
- Group plantings for dramatic spring color.
5. Winterberry (Ilex verticillata)
Why It’s Great for Structure
Unlike evergreen hollies, winterberry is a deciduous shrub, but it shines in winter with its bright red berries clinging to bare branches long after leaves have dropped.
Features
- Berries: Brilliant red fruits persist into winter.
- Growth: 6–10 feet tall.
- Hardiness Zones: 3–9.
Best Uses
- Winter focal points in garden beds.
- Naturalized plantings to support birds.
- Mixing with evergreens for seasonal variety.
6. Juniper (Juniperus spp.)
Why It’s Great for Structure
Junipers offer evergreen structure in a wide range of forms, from low groundcovers to tall columnar varieties. Their needle-like foliage provides unique texture.
Features
- Evergreen foliage: Colors range from deep green to silvery blue.
- Growth: Varies greatly by species (1 foot groundcover to 20 feet shrubs).
- Hardiness Zones: 3–9.
Best Uses
- Erosion control on slopes.
- Year-round privacy screens.
- Adding texture with unusual foliage color.
7. Witch Hazel (Hamamelis spp.)
Why It’s Great for Structure
Witch hazel is a standout for its unique, fragrant, ribbon-like flowers that bloom in late winter when little else is in flower. Its open branching form adds structural elegance.
Features
- Flowers: Yellow, orange, or red blooms in late winter/early spring.
- Foliage: Green leaves turn yellow in fall.
- Hardiness Zones: 3–9.
Best Uses
- Winter focal points near walkways.
- Mixed shrub borders for multi-season interest.
- Background plants that support seasonal flowers.
8. Camellia (Camellia japonica and Camellia sasanqua)
Why It’s Great for Structure
Camellias offer glossy evergreen leaves year-round and stunning blooms in late fall, winter, or early spring when few other plants flower.
Features
- Flowers: Red, pink, or white, often with ruffled petals.
- Foliage: Shiny, evergreen leaves.
- Hardiness Zones: 7–10.
Best Uses
- Shady garden corners.
- As specimen shrubs for winter blooms.
- Foundation planting for elegance.
9. Spirea (Spiraea spp.)
Why It’s Great for Structure
Spireas are low-maintenance shrubs that provide spring and summer flowers and attractive foliage, with some varieties offering vibrant fall colors.
Features
- Flowers: Clusters of pink, white, or purple in spring/summer.
- Growth: Compact, usually 2–4 feet tall.
- Hardiness Zones: 4–9.
Best Uses
- Low borders or edging shrubs.
- Mass plantings for easy color.
- Pollinator-friendly gardens.
10. Mahonia (Mahonia aquifolium and others)
Why It’s Great for Structure
Mahonia adds dramatic evergreen structure with its spiky foliage and clusters of yellow flowers in winter, followed by blue berries in spring.
Features
- Evergreen foliage: Leathery, holly-like leaves.
- Flowers: Bright yellow, often fragrant.
- Hardiness Zones: 5–9.
Best Uses
- Shady spots in woodland gardens.
- Winter interest near pathways.
- Naturalizing under trees.
Tips for Designing With Shrubs
- Mix Evergreens and Deciduous Shrubs
Evergreens provide backbone structure, while deciduous shrubs add seasonal drama. - Layer Heights for Depth
Place taller shrubs in the back and shorter varieties in front for a tiered effect. - Choose Multi-Season Interest
Shrubs that offer flowers, fall color, berries, and evergreen foliage maximize value. - Consider Maintenance
Some shrubs require regular pruning (like boxwood), while others thrive with minimal care. - Think About Wildlife
Berry-producing shrubs like holly or winterberry feed birds, while flowering shrubs attract pollinators.
Conclusion
Shrubs are the unsung heroes of garden design, providing structure, continuity, and seasonal interest that keep your landscape beautiful all year long. From the timeless elegance of boxwood to the vibrant winter berries of holly and winterberry, or the fragrant blooms of witch hazel and camellia, there’s a shrub for every garden style and climate.
By carefully selecting a mix of evergreen and deciduous shrubs, you can create a garden that looks alive and inviting—even in the depths of winter. Invest in shrubs, and you’re not just planting for one season—you’re designing a year-round masterpiece.