How To Prepare Your Garden Beds for Late-Season Planting

How To Prepare Your Garden Beds for Late-Season Planting

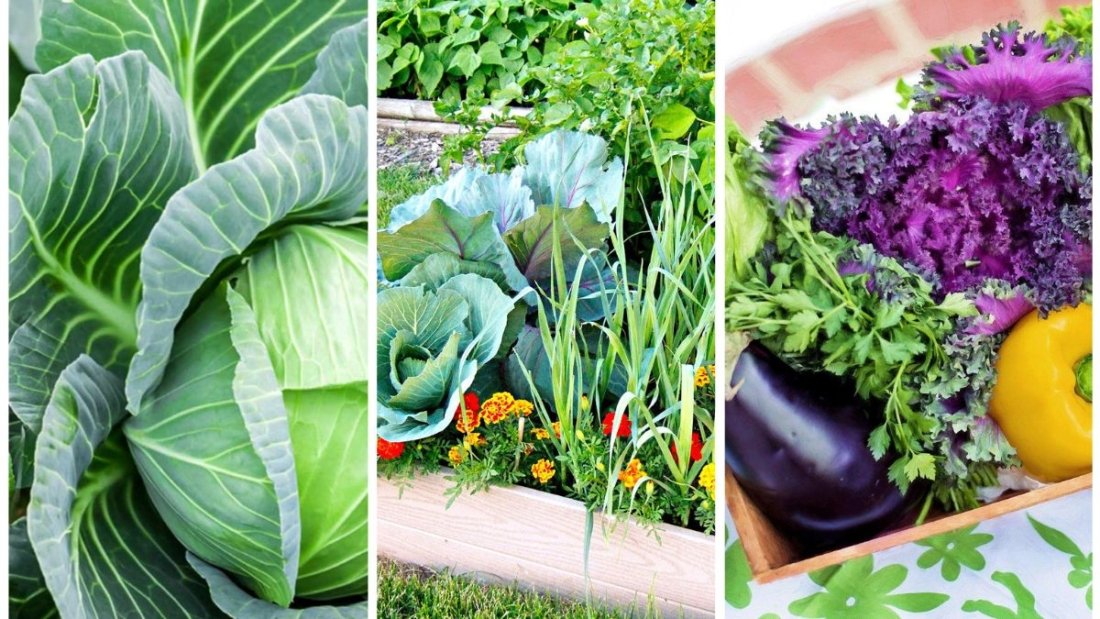
As summer fades and fall approaches, many gardeners assume that their growing season is over. However, late-season planting offers a wonderful opportunity to extend your harvest, take advantage of cooler temperatures, and enjoy fresh, homegrown vegetables, herbs, and flowers well into late autumn and even early winter. The key to success lies in properly preparing your garden beds. Preparing garden beds for late-season planting ensures healthy plants, strong root systems, and maximum productivity before the first frost. This article provides a detailed guide on how to prepare your garden beds for late-season planting, including soil preparation, planting strategies, and care tips.


Why Late-Season Planting Matters

Late-season planting is not just a way to fill empty garden beds; it provides numerous benefits:

  1. Extended Harvest: Cool-weather crops and hardy plants can continue producing for weeks or even months after summer crops have finished.
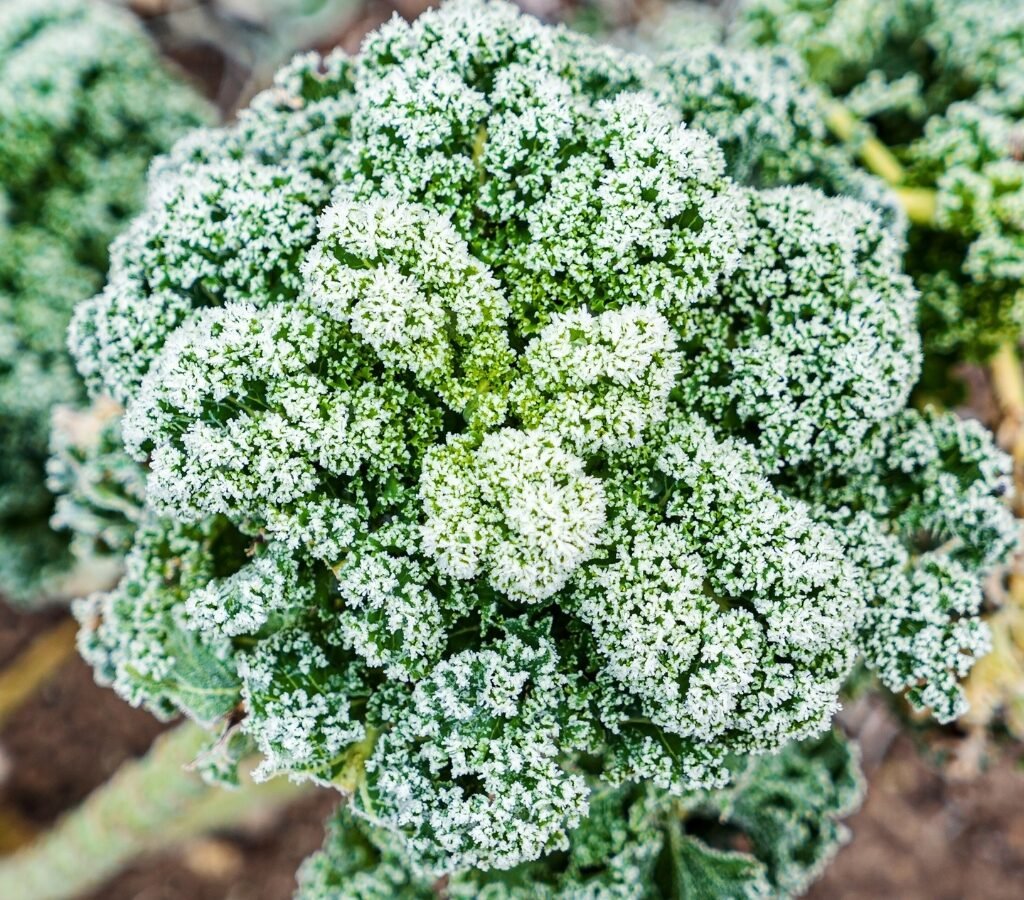
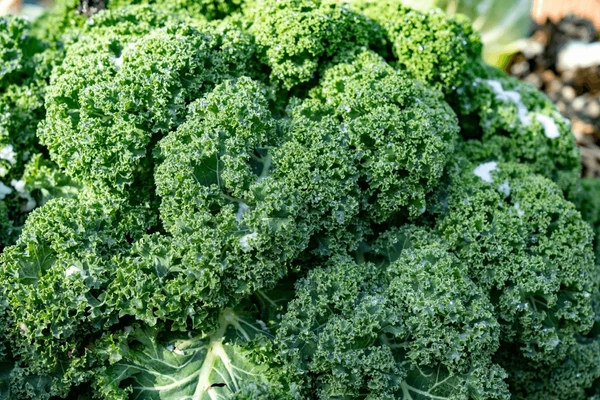
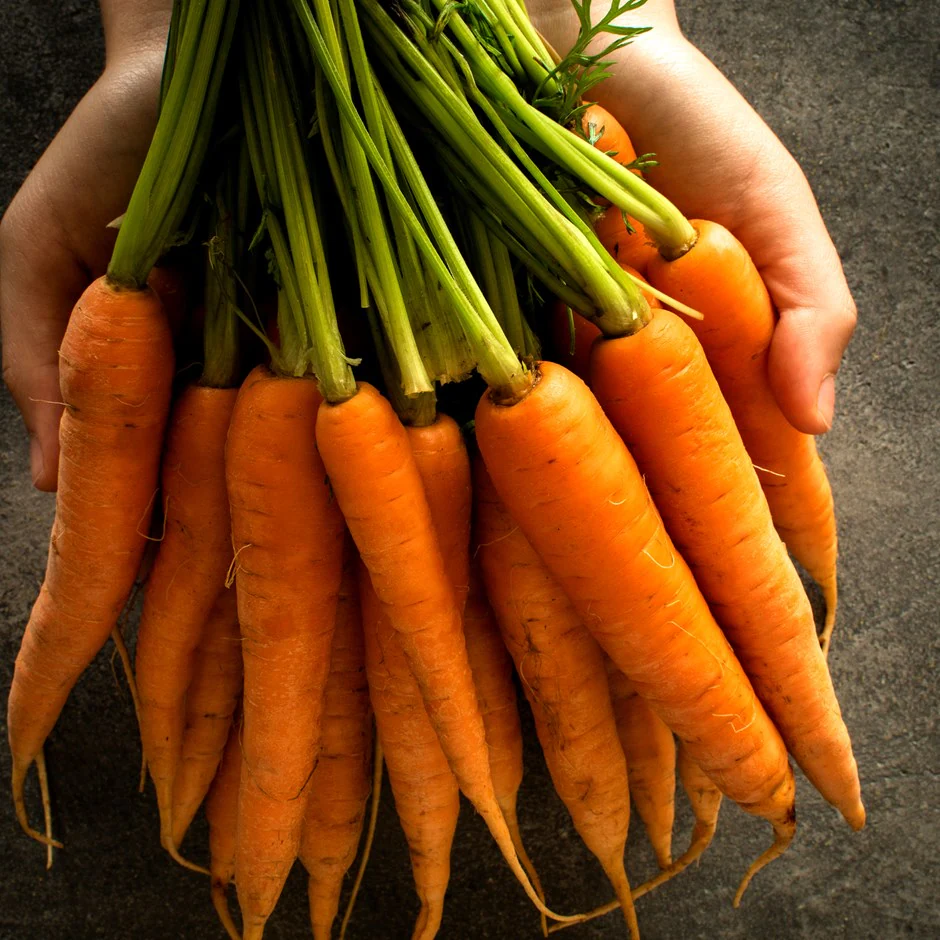
  2. Optimal Growing Conditions: Cooler temperatures reduce plant stress, prevent heat-related damage, and often enhance flavor in vegetables like kale and carrots.
  3. Efficient Use of Garden Space: Late-season planting maximizes garden productivity and prevents beds from sitting idle.
  4. Reduced Pest Problems: Many pests are less active in cooler weather, reducing the risk of infestations.

Proper preparation ensures that plants have the best conditions to thrive and produce a successful late-season harvest.


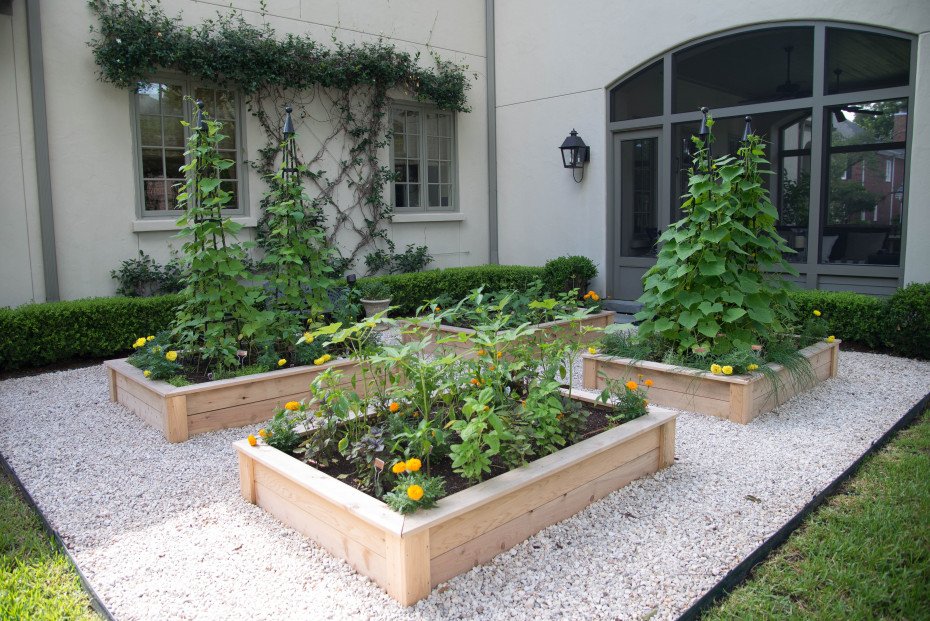
Step 1: Clear and Clean Your Garden Beds

Before planting, it is crucial to remove any remnants of summer crops, weeds, and debris. This reduces disease risk and creates a clean environment for new plants.

Tips for Cleaning:

  • Remove Dead or Dying Plants: Pull out spent vegetables, herbs, or flowers. Compost healthy plant material and discard diseased plants to prevent pathogens from spreading.
  • Weed Thoroughly: Late-season weeds compete for nutrients, water, and sunlight. Remove them by hand or with a hoe, making sure to get the roots.
  • Rake and Level: After clearing, rake the soil to remove stones and create a level planting surface. This makes planting seeds or seedlings easier and promotes uniform growth.

Step 2: Improve Soil Fertility

Soil fertility is the backbone of a productive garden bed. Late-season crops require nutrient-rich soil to establish strong roots and sustain growth in cooler weather.

Steps to Improve Soil:

  • Add Organic Matter: Incorporate compost, well-rotted manure, or leaf mold into the soil. This improves structure, fertility, and moisture retention.
  • Test Soil pH: Most vegetables prefer slightly acidic to neutral soil (pH 6.0–7.0). Use a home test kit and amend soil with lime to raise pH or sulfur to lower pH if necessary.
  • Fertilize Appropriately: Use a balanced, slow-release fertilizer to supply essential nutrients without promoting excessive leafy growth that could be vulnerable to frost.

By enriching the soil, you create a fertile foundation that supports robust late-season growth.


Step 3: Loosen and Aerate the Soil

Compacted soil inhibits root growth, water infiltration, and nutrient absorption. Loosening and aerating your garden beds is critical for late-season planting success.

Methods:

  • Double Digging: For small beds, remove the top 8–12 inches of soil, loosen the subsoil, and return the topsoil.
  • Tilling or Forking: In larger beds, lightly till or use a garden fork to break up compacted soil without disturbing existing beneficial microorganisms.
  • Add Amendments: Mix in sand or perlite if your soil is heavy clay to improve drainage, or add organic matter to sandy soil to retain moisture.

Aerated soil encourages strong root systems and ensures your late-season crops can establish quickly before cold weather sets in.


Step 4: Plan for Frost Protection

Late-season planting often coincides with the approach of frost. Protecting your crops ensures they survive longer and produce a healthy harvest.

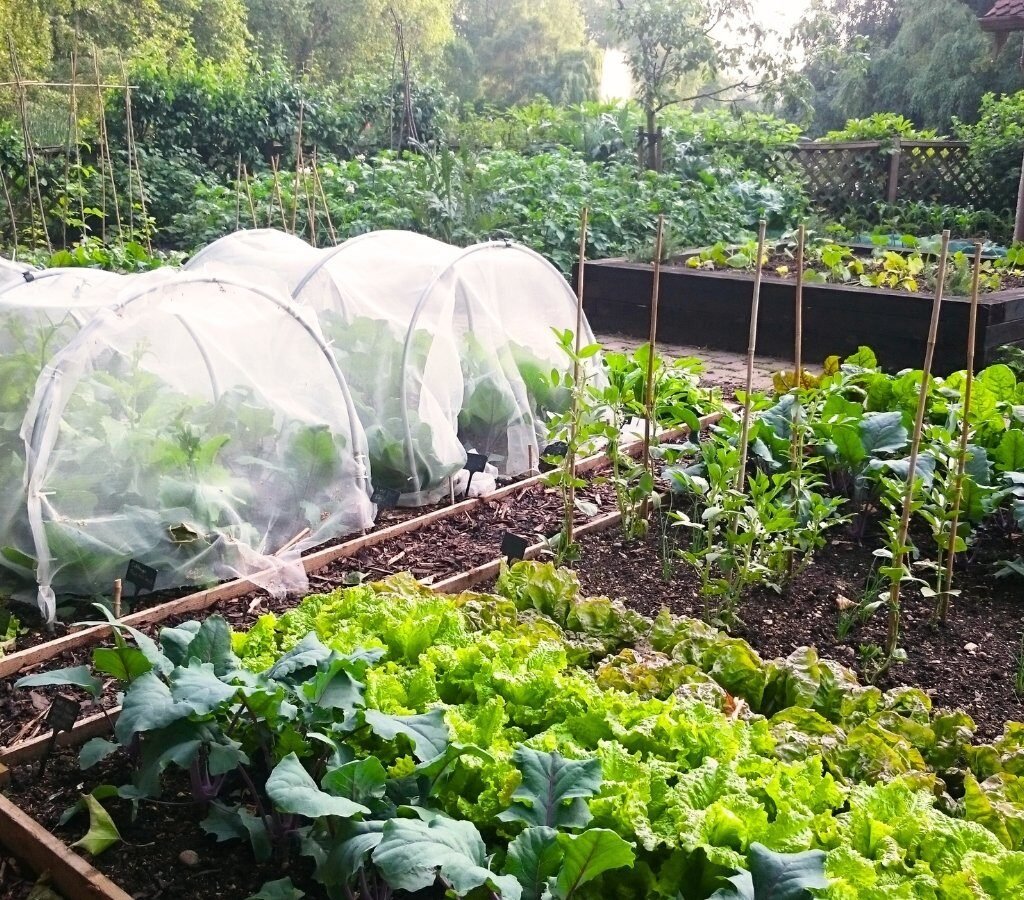
Frost Protection Strategies:

  • Row Covers: Lightweight fabric row covers trap heat and protect plants from frost without blocking sunlight.
  • Cloches and Cold Frames: Individual plants or small beds can be shielded using cloches or cold frames to extend the growing season.
  • Mulching: Apply a 2–3 inch layer of straw, shredded leaves, or compost around plants to insulate roots and moderate soil temperature.
  • Container Gardening: Growing frost-sensitive plants in pots allows you to move them indoors or to a sheltered location when temperatures drop.

Step 5: Choose the Right Crops for Late-Season Planting

Not all plants thrive in cooler temperatures, so select crops suited for late-season growth. Some excellent options include:

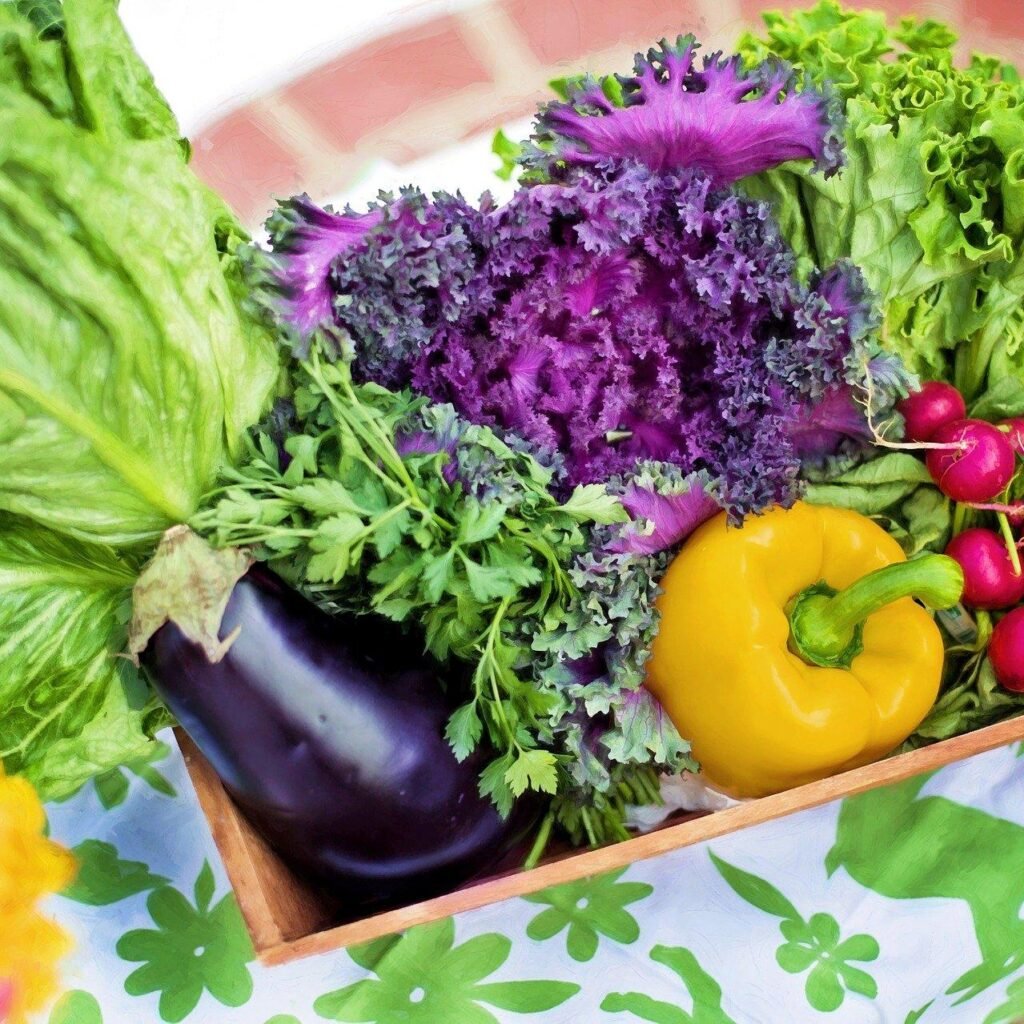
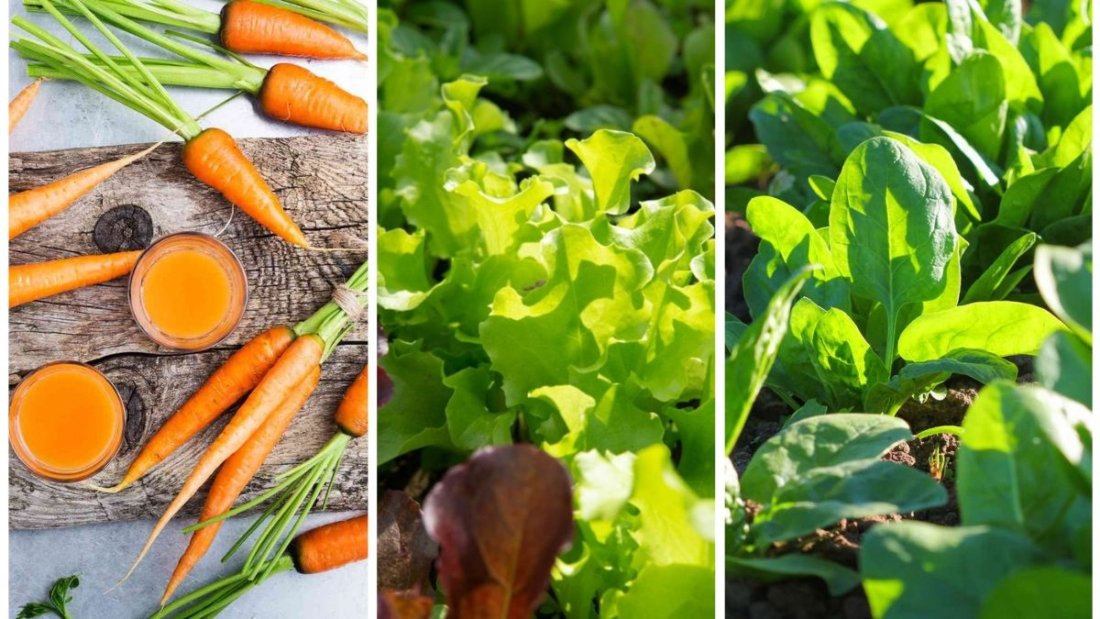
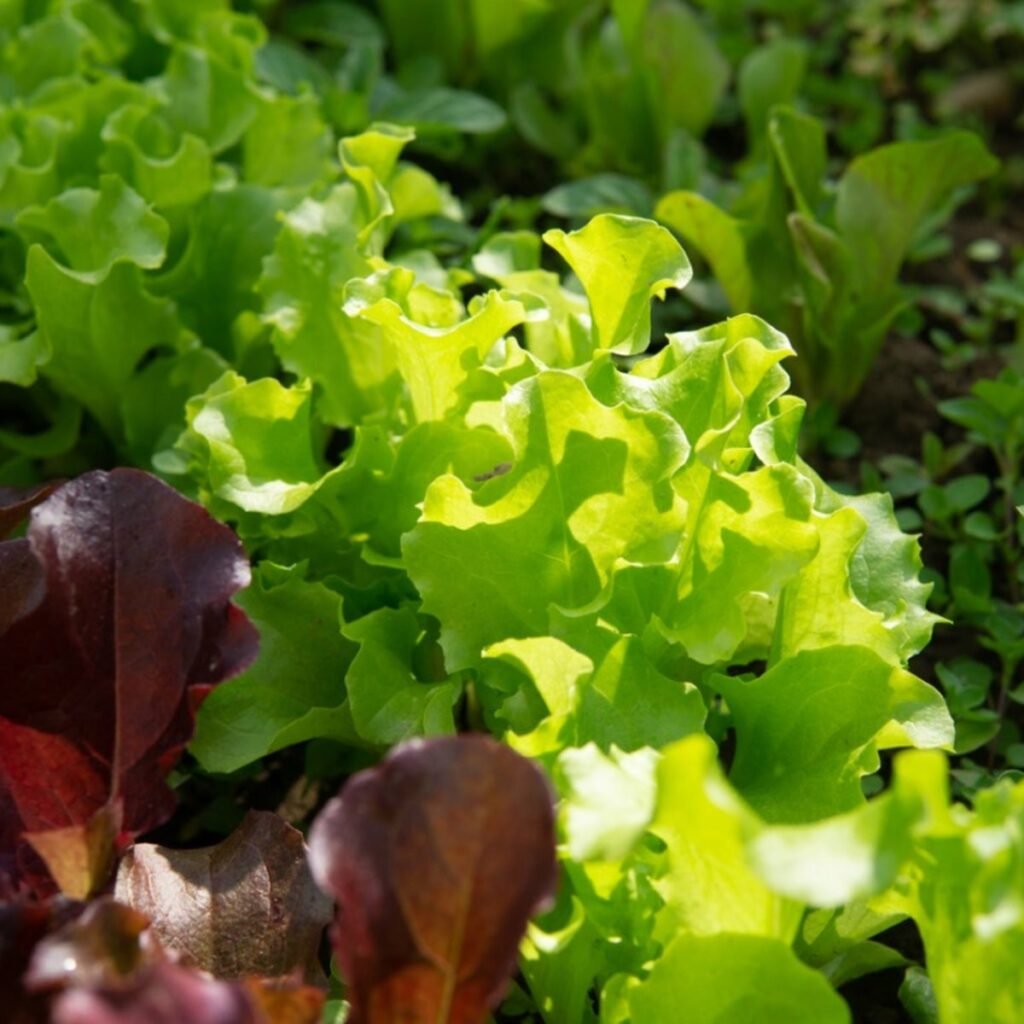
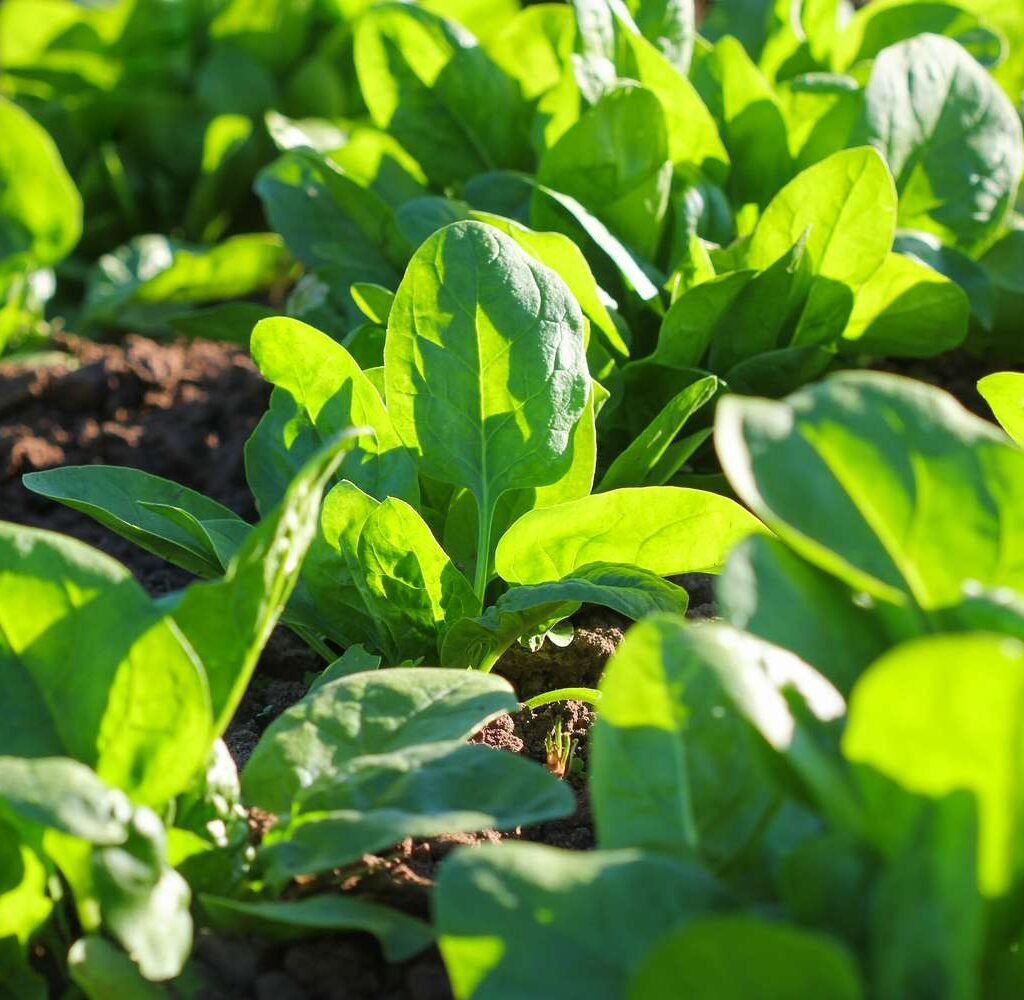
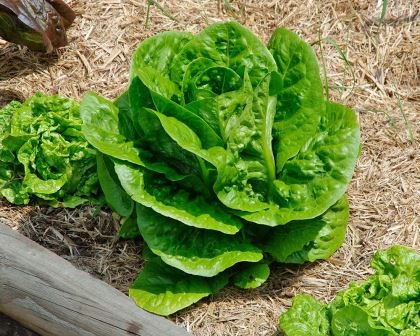
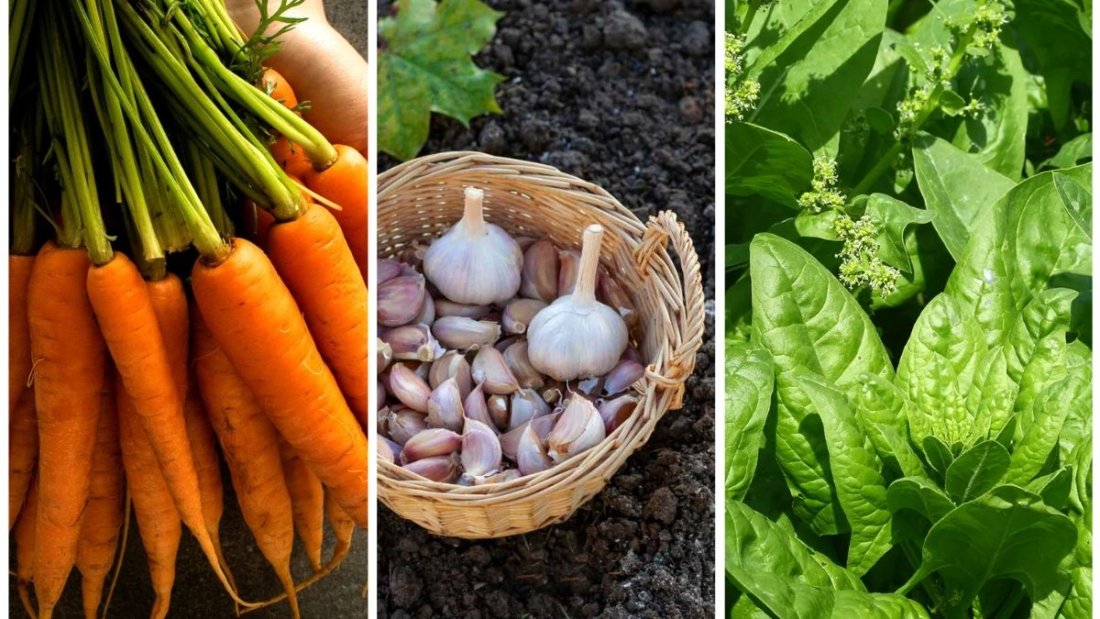
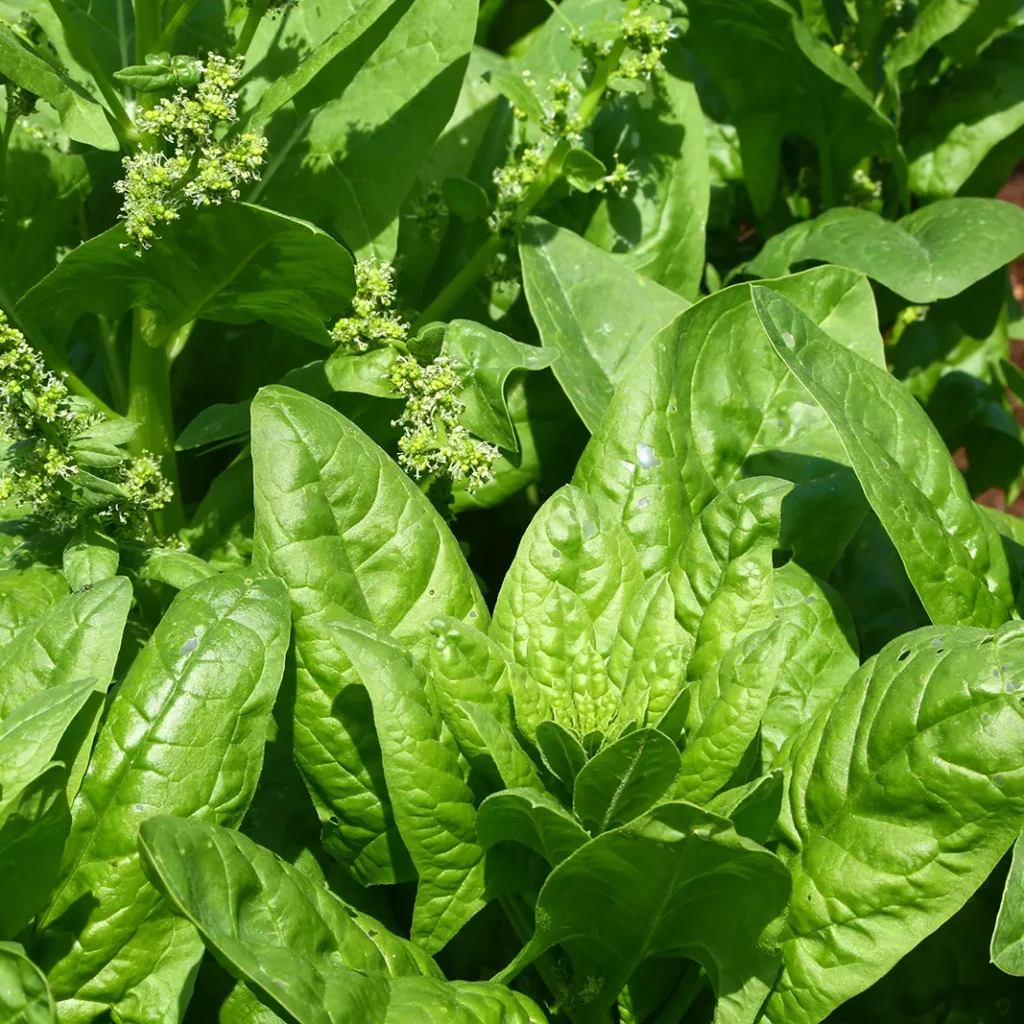
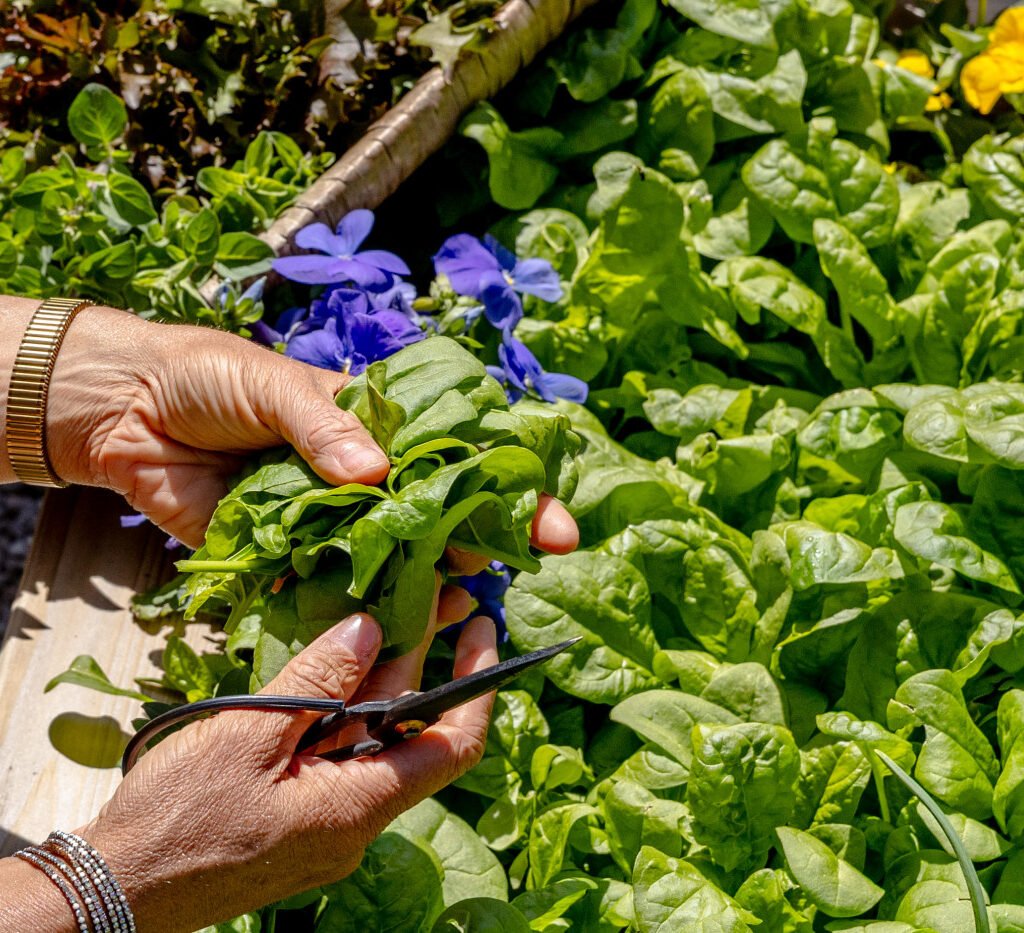
  • Leafy Greens: Kale, spinach, arugula, and lettuce grow quickly in cooler weather and are often sweeter after frost.
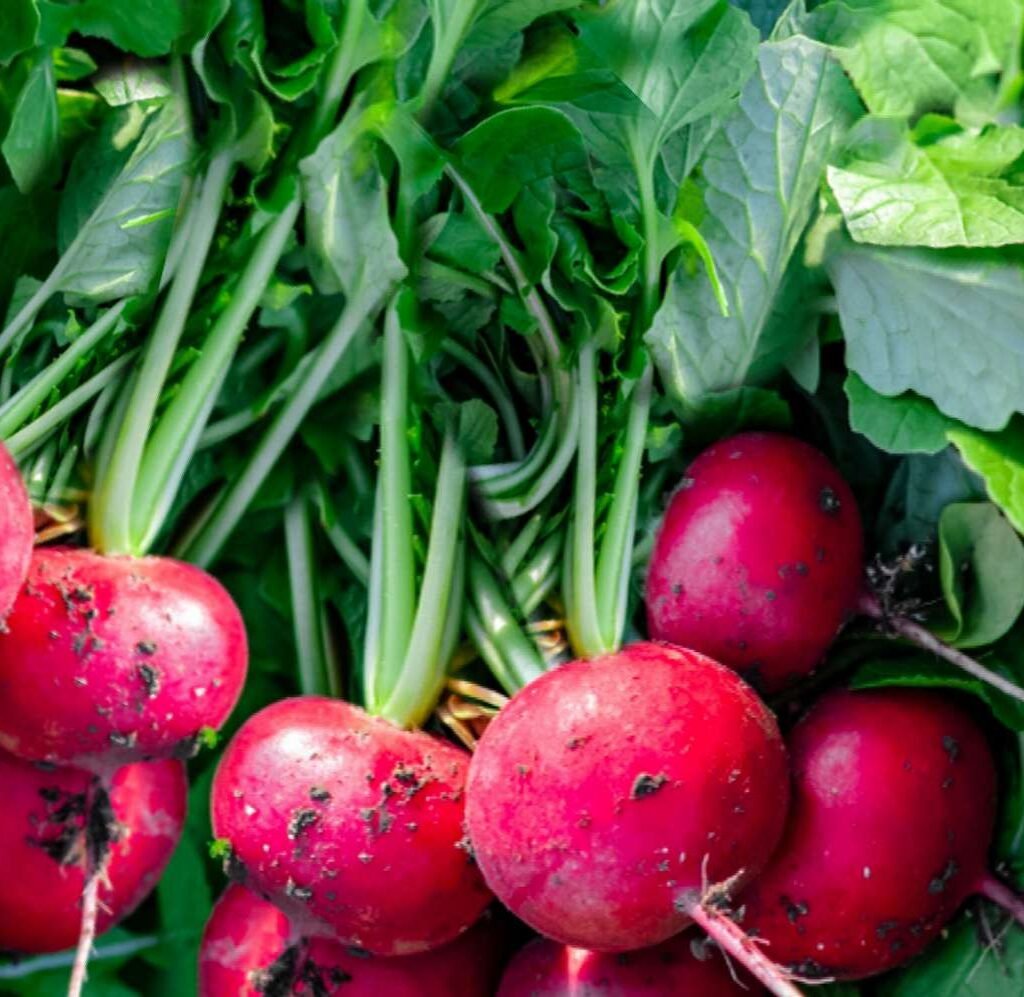
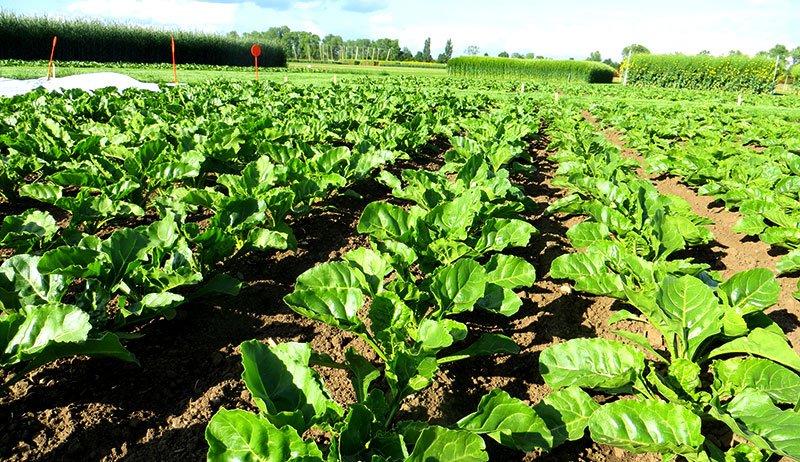
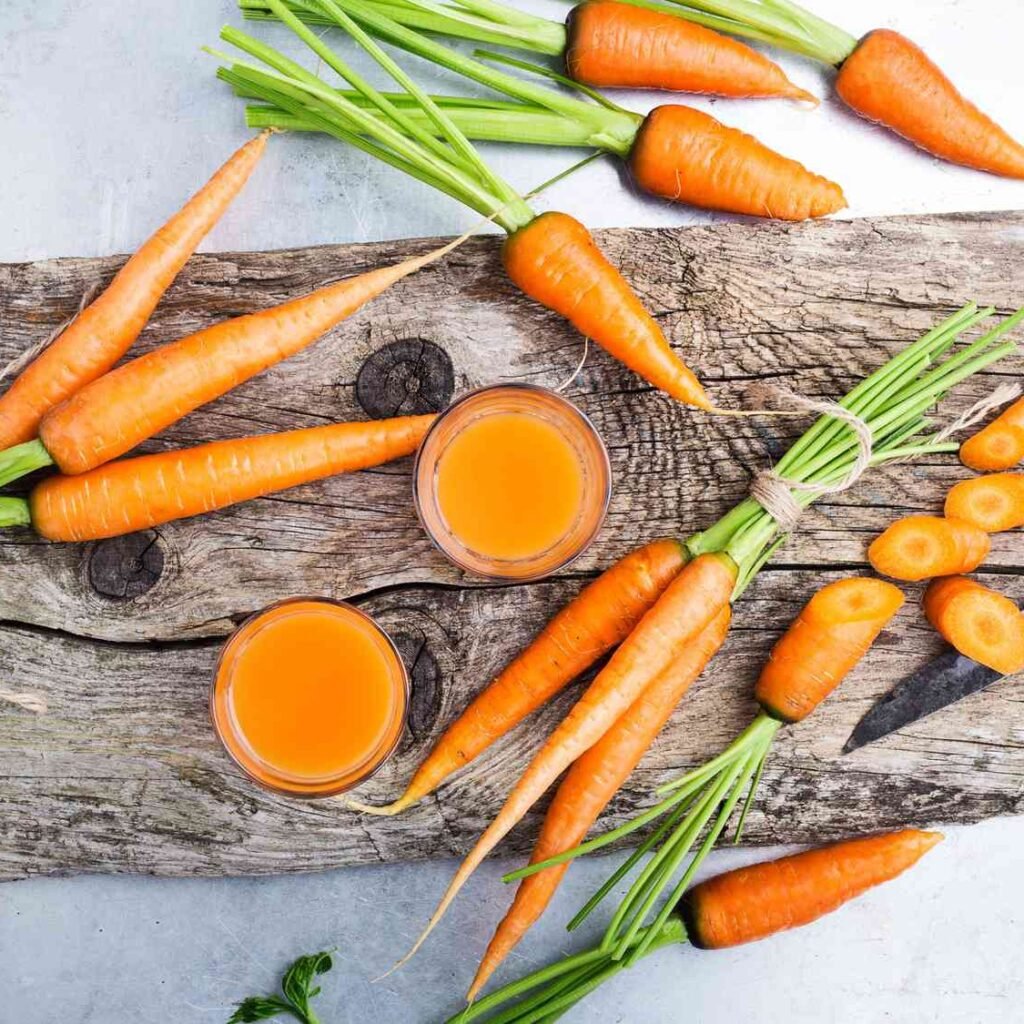
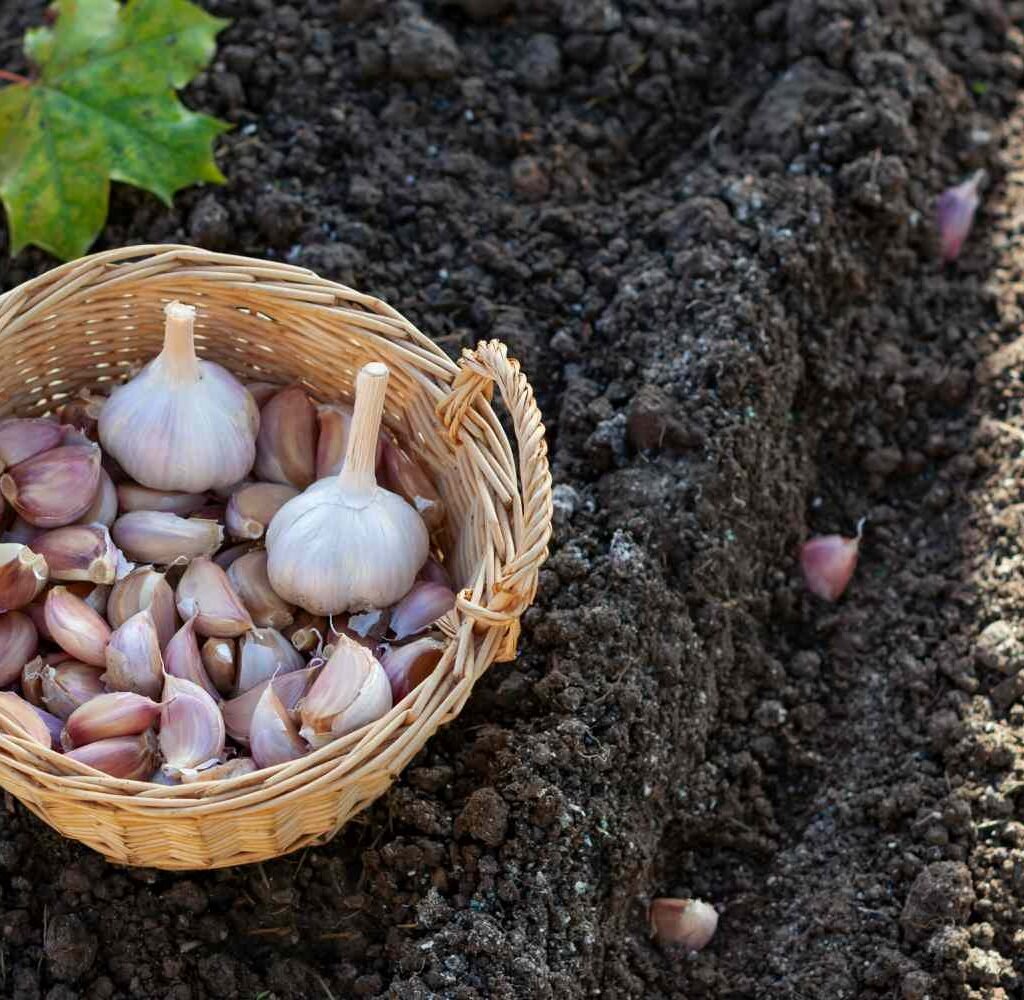
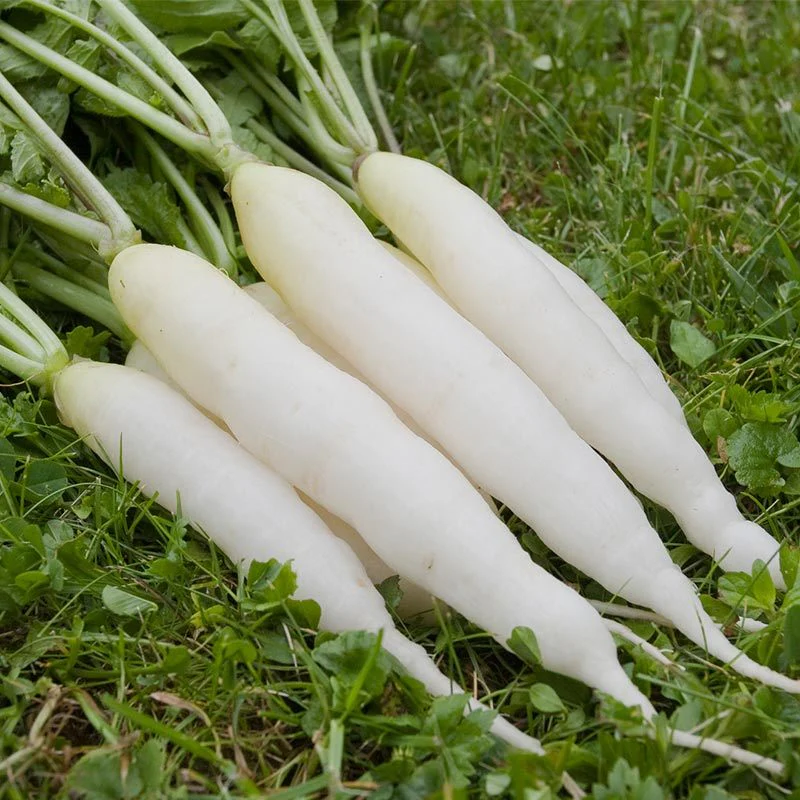
  • Root Vegetables: Carrots, radishes, and beets develop excellent flavor and store well in cold soil.
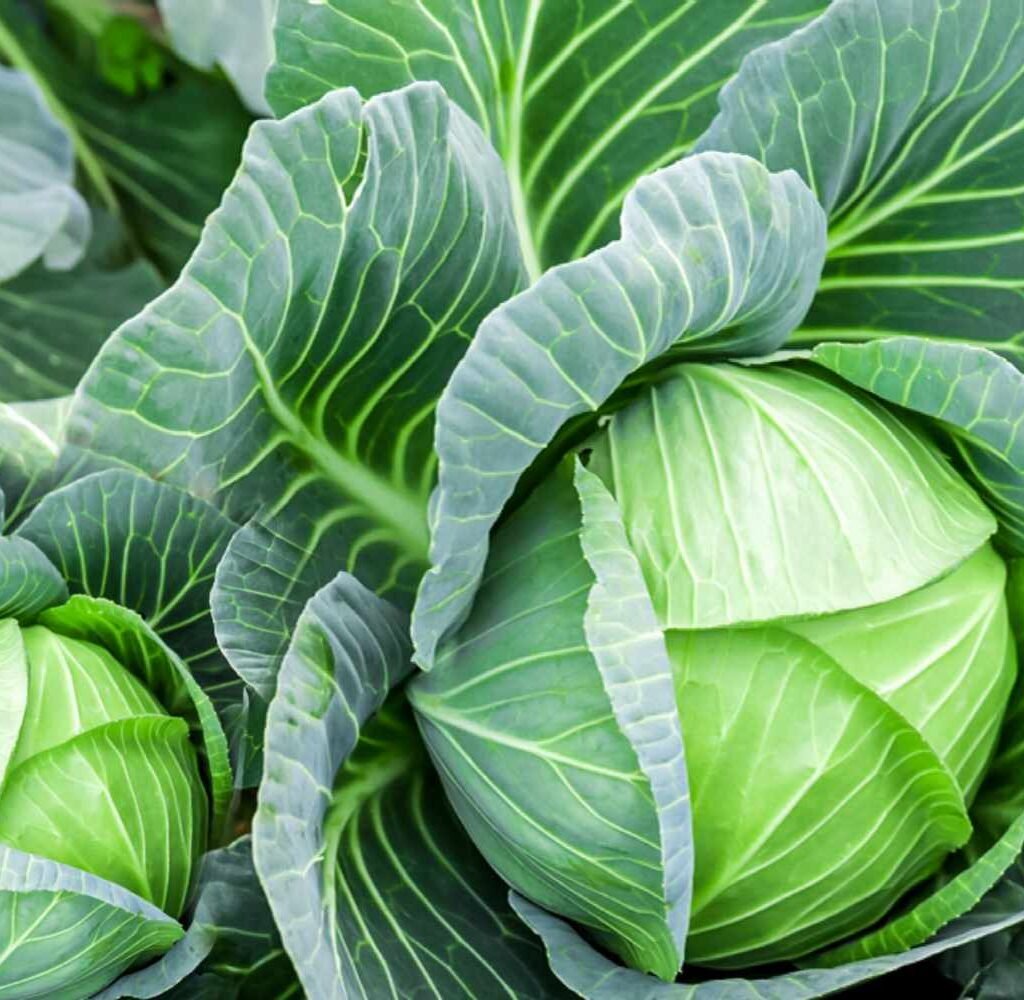
  • Cabbage Family: Broccoli, cauliflower, and Brussels sprouts are cold-hardy and productive in fall gardens.
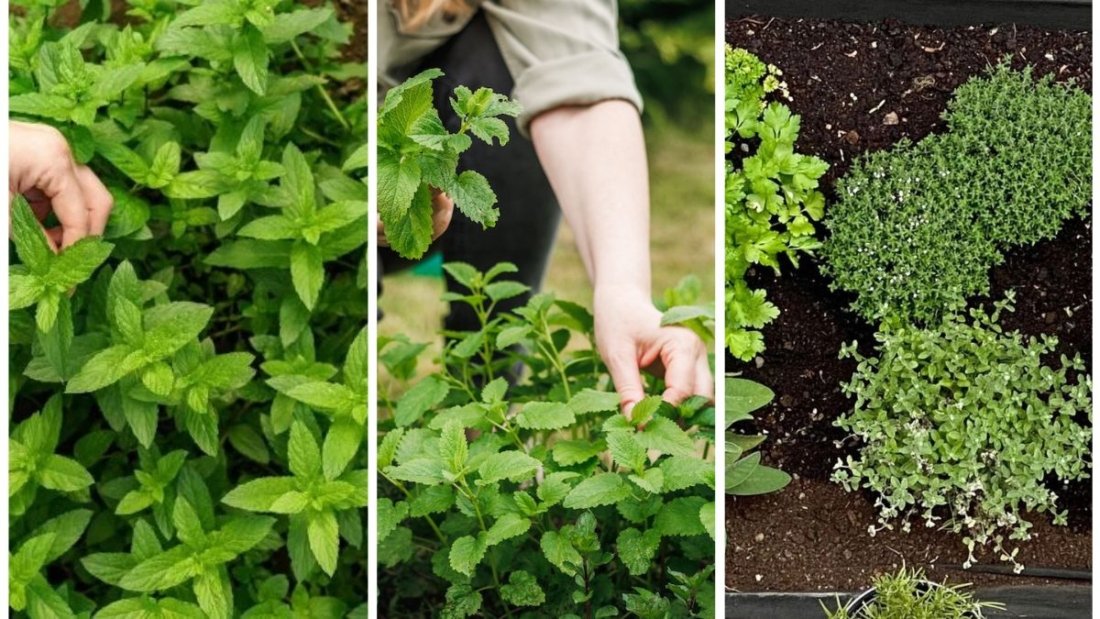
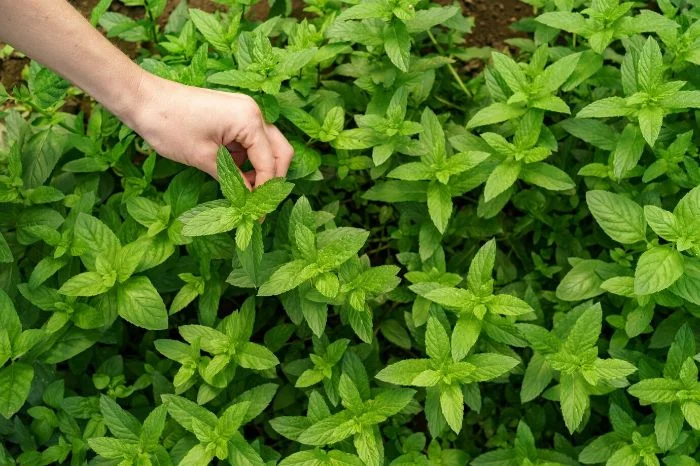
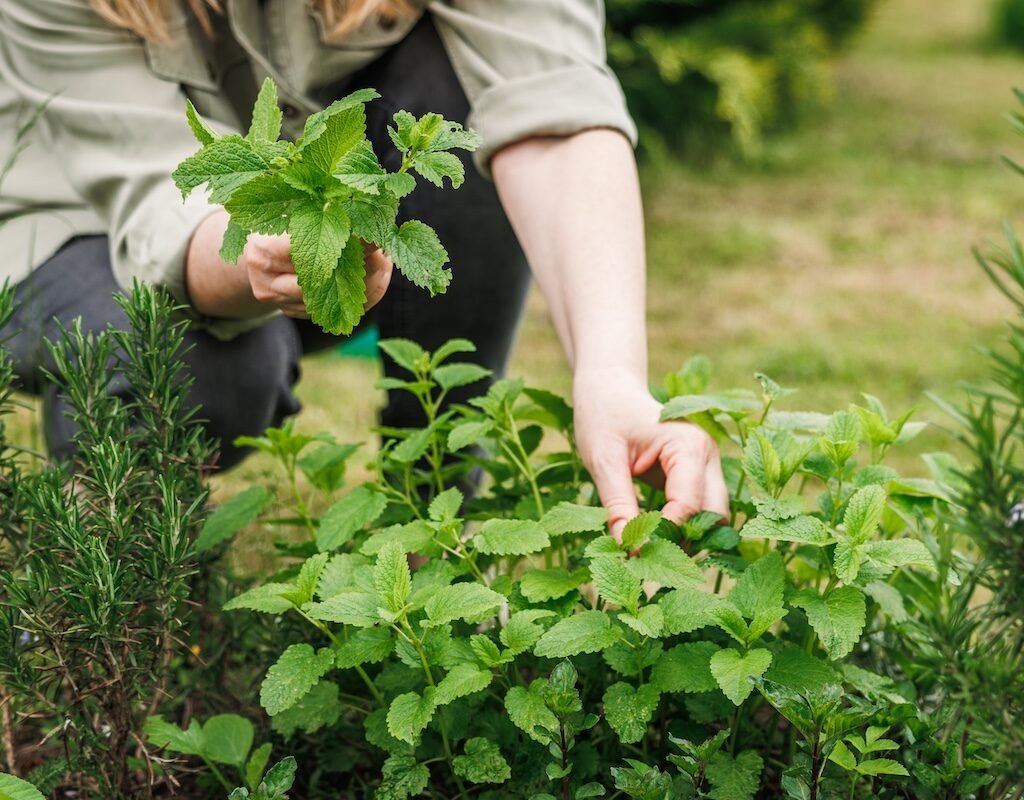
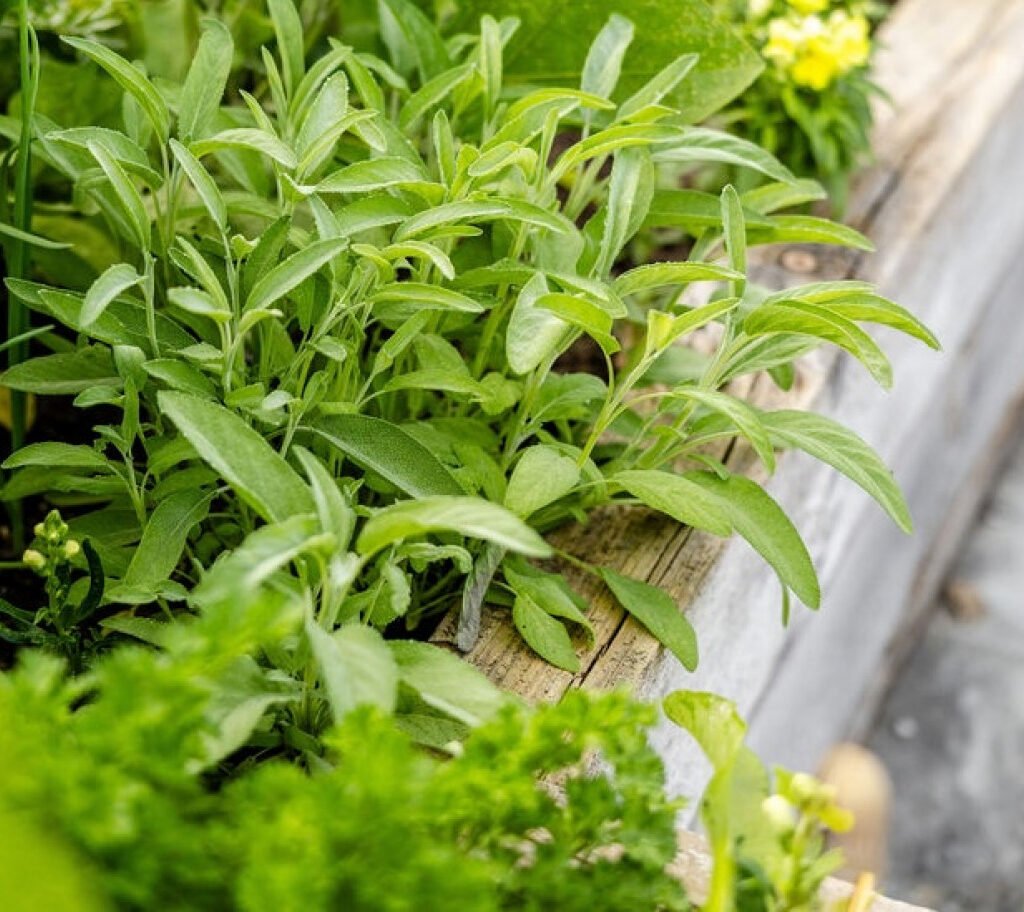
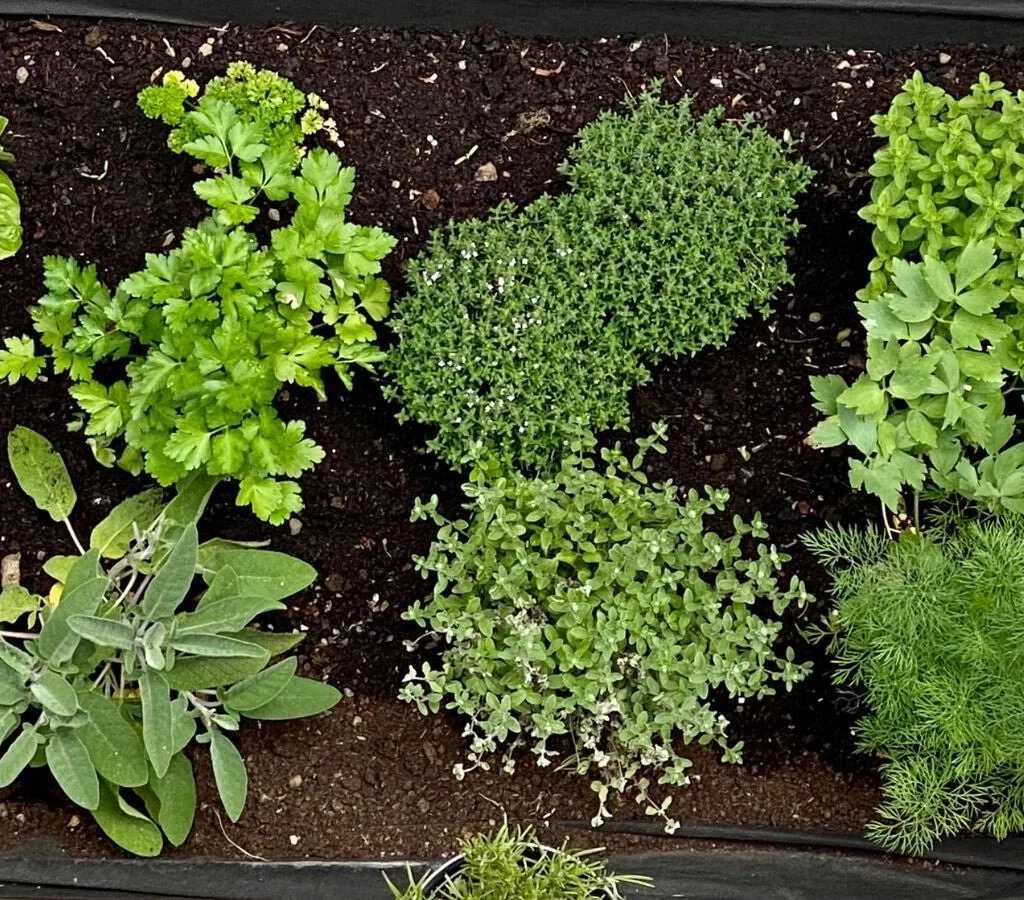
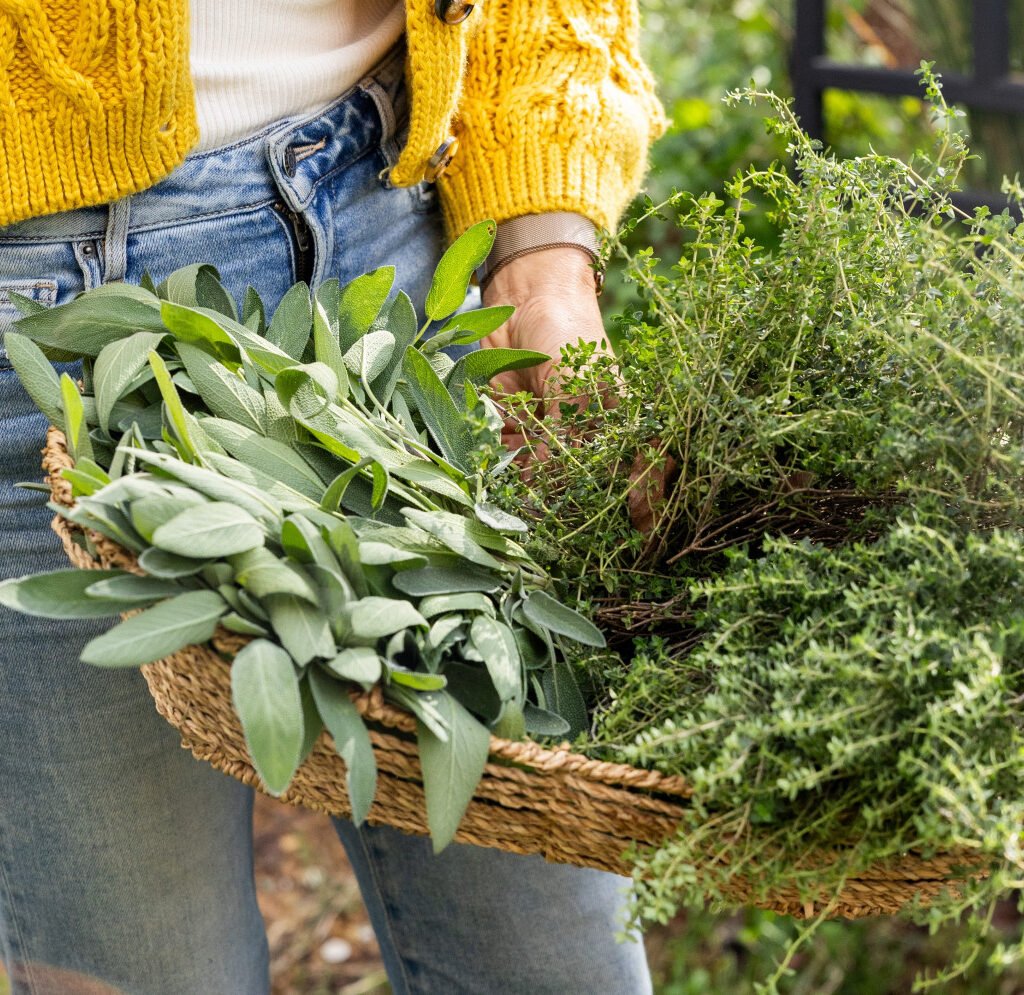
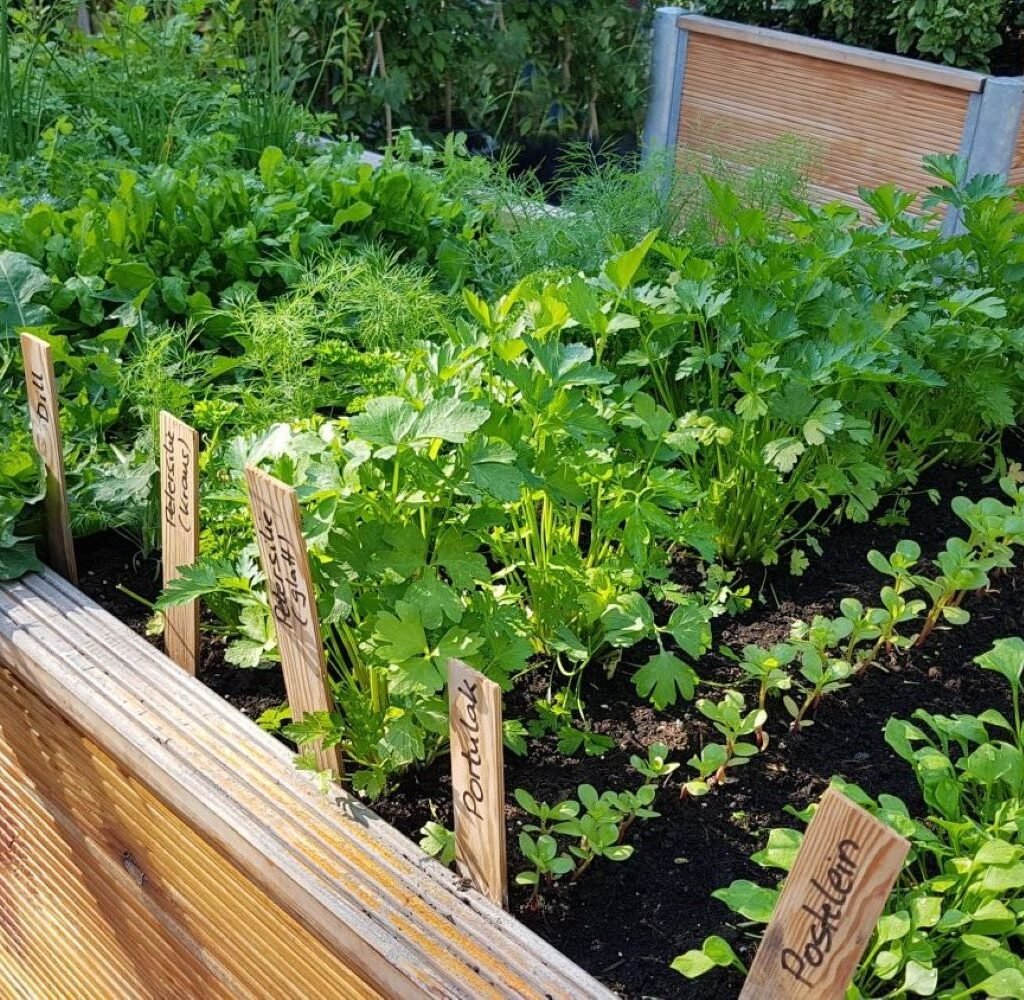
  • Herbs: Parsley, cilantro, chives, and thyme tolerate cool weather and provide fresh flavors for winter cooking.

Selecting the right crops maximizes your garden’s productivity and ensures a successful late-season harvest.


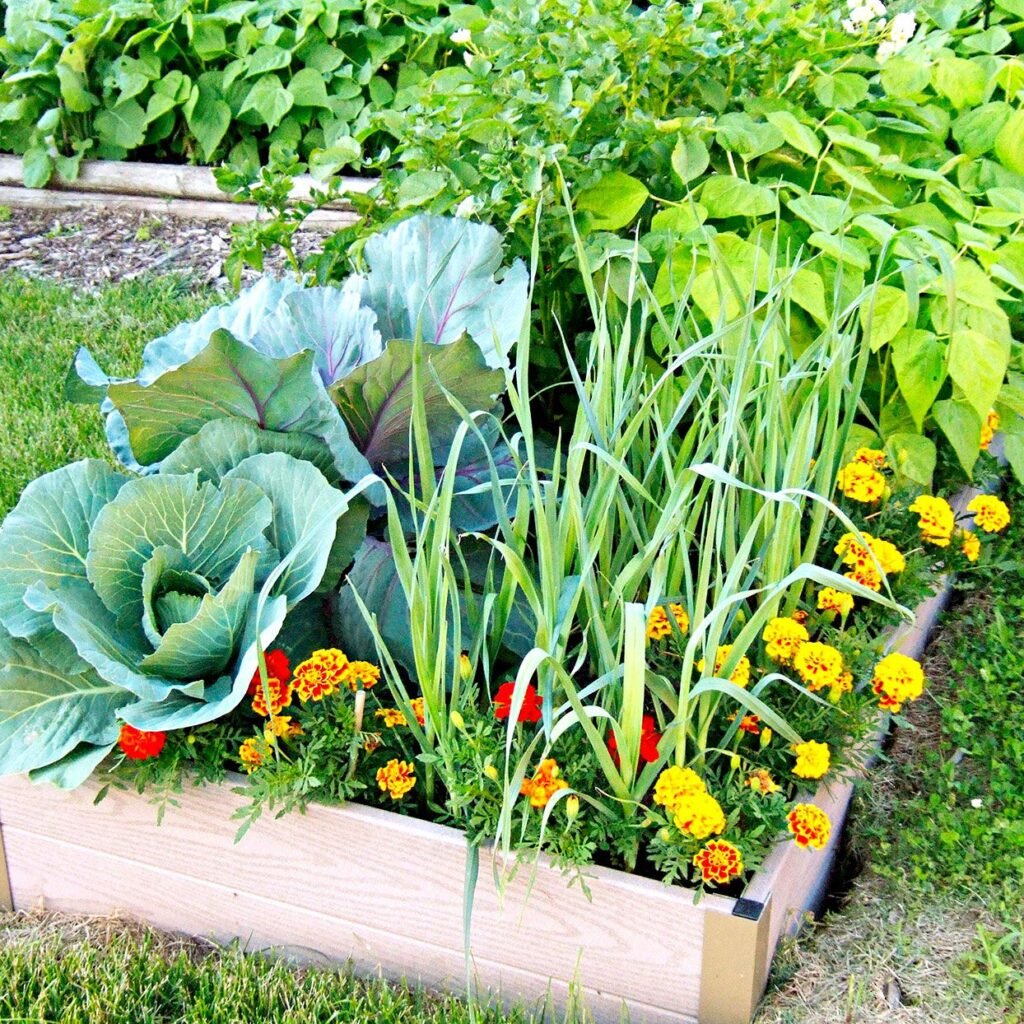
Step 6: Plan Your Planting Layout

A well-organized garden layout enhances plant growth and simplifies maintenance. Consider these tips:

  • Succession Planting: Stagger sowing dates to ensure continuous harvest throughout fall.
  • Companion Planting: Pair compatible crops to improve growth and deter pests. For example, plant chives near carrots to repel insects.
  • Crop Rotation: Avoid planting the same plant family in the same bed repeatedly to prevent soil-borne diseases and nutrient depletion.

A thoughtful layout helps crops mature evenly and reduces problems caused by overcrowding or nutrient competition.


Step 7: Watering and Care

Even in cooler weather, consistent watering is essential for late-season crops.

Watering Tips:

  • Maintain Moisture: Keep soil evenly moist but not waterlogged.
  • Water Early: Water in the morning to allow foliage to dry before nightfall, reducing disease risk.
  • Mulch for Moisture Retention: Mulching helps reduce evaporation and insulates soil from temperature fluctuations.

Additional Care:

  • Monitor Pests: While cooler weather reduces most pests, slugs and aphids can still be problematic. Use organic methods like neem oil, diatomaceous earth, or handpicking.
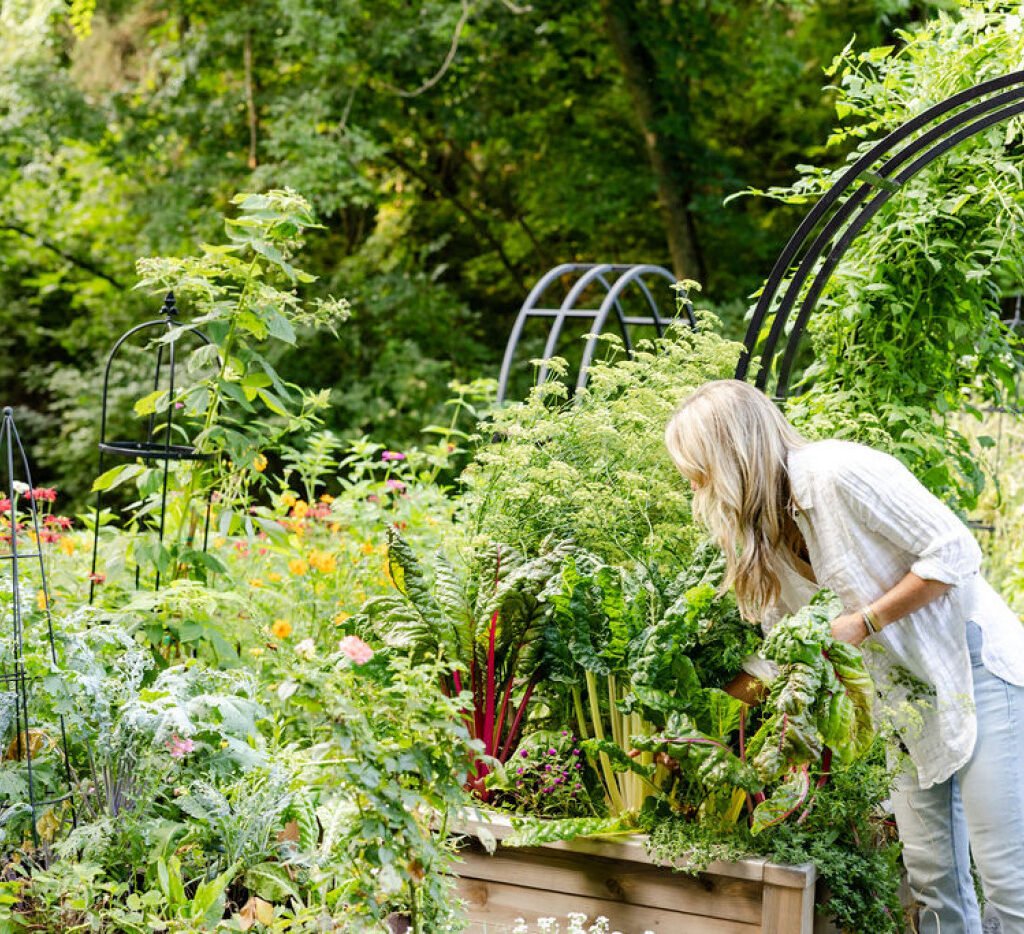
  • Prune and Harvest: Regularly harvest leaves, roots, and other edible parts to encourage continued growth and prevent overcrowding.

Step 8: Extend the Season with Protective Measures

Late-season gardening can be extended further with simple techniques:

  • Hoop Houses or Tunnels: Cover beds with hoop structures to trap warmth and shield crops from frost.
  • Cloches and Cold Frames: Mini greenhouses for individual plants protect tender crops.
  • Bring Containers Indoors: Move sensitive potted plants inside or into a greenhouse during freezing nights.

These strategies allow you to enjoy fresh produce well into late fall and early winter.


Conclusion

Preparing your garden beds for late-season planting is essential to ensure a productive harvest despite cooler temperatures and shorter days. By clearing and cleaning beds, improving soil fertility, loosening the soil, planning for frost protection, selecting suitable crops, and organizing your planting layout, you create optimal conditions for growth. Proper watering, pest management, and seasonal protective measures further enhance your garden’s success.

Late-season gardening allows you to maximize garden space, extend the harvest, and enjoy fresh, flavorful vegetables and herbs when many other crops have finished producing. With thoughtful preparation and attention to detail, your garden can thrive even as temperatures drop, providing healthy, homegrown produce well into late fall and early winter.

Preparing garden beds for late-season planting is not just about extending the growing season—it’s about creating a resilient, productive, and beautiful garden that continues to nourish and delight throughout the colder months.

The Best Vegetables for Frost-Tolerant Gardening

The Best Vegetables for Frost-Tolerant Gardening

Gardening through frost can be challenging, but with the right selection of vegetables, you can enjoy a productive harvest even in cold weather. Frost-tolerant crops are designed to withstand low temperatures, and in many cases, they even become sweeter and more flavorful after exposure to frost. Frost-tolerant gardening not only extends the growing season but also ensures that fresh, homegrown vegetables are available well into late fall and early winter. This article explores the best vegetables for frost-tolerant gardening, along with planting tips, care instructions, and harvesting strategies to help gardeners succeed in cooler climates.


Why Frost-Tolerant Gardening Matters

Frost-tolerant gardening provides several advantages:

  1. Extended Growing Season: Choosing frost-tolerant crops allows gardeners to continue harvesting even after the first frost.
  2. Enhanced Flavor: Some vegetables, like kale and carrots, convert starches into sugars when exposed to cold, producing a sweeter, more concentrated taste.
  3. Reduced Pest Pressure: Frost reduces the activity of many common garden pests, lowering the need for chemical interventions.
  4. Efficient Use of Space: Fall and winter gardening maximize the use of garden beds and containers that would otherwise be dormant.

By understanding which crops can handle frost and how to care for them, gardeners can achieve healthy, resilient plants and a bountiful harvest even in cooler months.


1. Kale (Brassica oleracea var. sabellica)

Kale is a hardy, frost-tolerant leafy green that thrives in cool weather. It is packed with vitamins A, C, and K, antioxidants, and fiber, making it both nutritious and versatile in the kitchen. Kale’s flavor actually improves after exposure to frost, as cold temperatures reduce bitterness and enhance natural sweetness.

Planting Tips:

  • Soil: Plant kale in well-draining, fertile soil with added compost.
  • Spacing: Sow seeds 1/2 inch deep; thin seedlings to 12–18 inches apart.
  • Sunlight: Full sun is ideal, but partial shade is tolerated.
  • Watering: Maintain consistent moisture without overwatering. Mulching protects roots from frost.

Varieties: ‘Winterbor’, ‘Dwarf Blue Curled’, and ‘Lacinato’ (Dinosaur Kale) are particularly suitable for frost-prone gardens.


2. Brussels Sprouts (Brassica oleracea var. gemmifera)

Brussels sprouts are excellent for frost-tolerant gardening. These mini-cabbage vegetables develop their best flavor when exposed to cold, as frost converts some of their starches into sugars. Brussels sprouts are also highly nutritious, containing vitamins C and K, folate, and fiber.

Planting Tips:

  • Soil: Use fertile, well-draining soil enriched with compost or organic matter.
  • Spacing: Transplant seedlings 18–24 inches apart in rows 24–36 inches apart.
  • Sunlight: Full sun is necessary for optimal growth.
  • Watering: Keep soil evenly moist to promote compact, firm sprouts.

Varieties: ‘Jade Cross’, ‘Diablo’, and ‘Long Island Improved’ are reliable frost-tolerant options.


3. Carrots (Daucus carota subsp. sativus)

Carrots are root vegetables that thrive in cool weather. Exposure to frost increases their sweetness by converting stored starches into sugars. Carrots are also versatile and nutrient-rich, containing beta-carotene, vitamin A, and fiber.

Planting Tips:

  • Soil: Loose, sandy, well-draining soil promotes straight roots and prevents splitting.
  • Spacing: Sow seeds 1/4 inch deep; thin seedlings to 2–3 inches apart.
  • Sunlight: Full sun is ideal; partial shade is acceptable in warmer regions.
  • Watering: Maintain consistent moisture. Mulching helps retain warmth and prevent freezing.

Varieties: ‘Danvers 126’, ‘Nantes’, and ‘Chantenay’ perform well in frost-prone gardens.


4. Spinach (Spinacia oleracea)

Spinach is one of the fastest-growing, frost-tolerant leafy greens. It can survive temperatures down to 20°F (-6°C) and continues producing tender leaves throughout late fall. Spinach is rich in iron, calcium, and vitamins A and C, making it a nutritious addition to winter diets.

Planting Tips:

  • Soil: Fertile, well-draining soil enriched with compost is ideal.
  • Spacing: Sow seeds 1/2 inch deep and thin seedlings to 3–4 inches apart.
  • Sunlight: Full sun is ideal, but partial shade can prevent bolting.
  • Watering: Keep soil moist; mulch protects roots from cold.

Varieties: ‘Bloomsdale’, ‘Giant Winter’, and ‘Regal’ are cold-hardy and perfect for frost-prone areas.


5. Cabbage (Brassica oleracea var. capitata)

Cabbage is another frost-tolerant vegetable that thrives in cooler conditions. Like Brussels sprouts, cabbage develops sweeter flavors after frost exposure and is packed with vitamins C and K, fiber, and antioxidants.

Planting Tips:

  • Soil: Fertile, well-draining soil with added organic matter is essential.
  • Spacing: Transplant seedlings 12–24 inches apart depending on variety.
  • Sunlight: Full sun is preferred for large, compact heads.
  • Watering: Keep soil consistently moist to prevent splitting and support head formation.

Varieties: ‘Savoy’, ‘January King’, and ‘Stonehead’ are ideal for frost-tolerant gardening.


Tips for Successful Frost-Tolerant Gardening

  1. Timing: Plant frost-tolerant crops several weeks before the expected first frost to allow them to establish roots.
  2. Mulching: Apply organic mulch to insulate soil and protect root systems from sudden temperature drops.
  3. Row Covers: Use lightweight row covers or cloches to extend the growing season and shield young plants from frost damage.
  4. Succession Planting: Planting crops in intervals ensures continuous harvest even during colder months.
  5. Pest Management: While frost reduces most pest activity, slugs and aphids may still appear. Use organic controls as needed.
  6. Harvesting: Pick leaves, roots, or heads promptly, as overexposure to frost can damage tender parts.

Benefits of Frost-Tolerant Gardening

  • Extended Harvest: Continue growing fresh vegetables after traditional summer crops have finished.
  • Enhanced Flavor: Frost converts starches to sugars, improving taste in many vegetables.
  • Nutritional Value: Cool-season crops are packed with vitamins, minerals, and antioxidants.
  • Low Pest Pressure: Cold weather reduces common garden pests.
  • Sustainable Gardening: Maximizes garden productivity year-round and reduces reliance on store-bought produce.

Conclusion

Frost-tolerant gardening is an effective way to extend your growing season and enjoy fresh, nutritious vegetables even in colder months. Kale, Brussels sprouts, carrots, spinach, and cabbage are among the best options for frost-tolerant gardens. By selecting appropriate varieties, preparing soil properly, and providing protective measures such as mulching and row covers, gardeners can achieve a bountiful, flavorful harvest despite frosty conditions.

Understanding the needs of frost-tolerant crops and giving them the right care allows for a productive and resilient garden. With careful planning, frost-prone months can become an opportunity rather than a limitation, providing fresh, homegrown vegetables to enjoy well into late fall and early winter.

Frost-tolerant gardening not only maximizes your garden’s potential but also brings the satisfaction of harvesting healthy, flavorful produce throughout the colder seasons. By embracing cold-weather crops, gardeners can cultivate a garden that thrives even when temperatures drop, ensuring a continuous supply of fresh vegetables year-round.

5 Crops That Thrive in Cooler Temperatures

5 Crops That Thrive in Cooler Temperatures

Gardening isn’t only for warm, sunny days. Many crops are specially adapted to grow in cooler temperatures, making them ideal for fall, winter, and early spring planting. These cool-weather crops are often more flavorful after exposure to frost, and they can provide a steady harvest when other plants begin to slow down. Understanding which crops thrive in cooler conditions—and how to care for them—can help gardeners maximize their productivity year-round. This article explores five exceptional crops suited for cooler temperatures, complete with detailed planting tips, care instructions, and harvesting advice.


1. Kale (Brassica oleracea var. sabellica)

Kale is a highly nutritious leafy green, packed with vitamins A, C, and K, along with antioxidants and fiber. One of the best cool-weather crops, kale actually tastes sweeter after exposure to frost. Its cold tolerance allows it to survive temperatures as low as 20°F (-6°C), making it a perfect choice for fall and winter gardens.

Planting Tips:

  • Soil: Kale prefers well-draining, fertile soil enriched with compost. The soil pH should be slightly acidic to neutral (6.0–7.0).
  • Spacing: Sow seeds 1/2 inch deep and thin seedlings to 12–18 inches apart to allow room for leaf development.
  • Sunlight: Full sun is ideal, though partial shade is tolerated, especially in warmer climates.
  • Watering: Keep the soil consistently moist, but avoid waterlogging to prevent root rot.

Varieties for Cool Weather: ‘Winterbor’, ‘Dwarf Blue Curled’, and ‘Lacinato’ (Dinosaur Kale) are particularly hardy and well-suited for late-season planting.


2. Broccoli (Brassica oleracea var. italica)

Broccoli is a versatile vegetable that thrives in cooler temperatures. Like kale, it develops a sweeter flavor after frost exposure, and it is highly nutritious, containing vitamin C, fiber, and antioxidants. Fall-planted broccoli often produces larger heads and a longer harvest period than spring-planted crops.

Planting Tips:

  • Soil: Broccoli prefers fertile, well-draining soil rich in organic matter. Add compost or aged manure before planting.
  • Spacing: Transplant seedlings 18–24 inches apart in rows 24–36 inches apart.
  • Sunlight: Full sun is essential for optimal head development.
  • Watering: Keep the soil evenly moist; consistent watering ensures tender, compact heads.

Varieties for Cool Seasons: ‘Calabrese’, ‘Waltham 29’, and ‘Green Magic’ are excellent choices for fall or early winter planting.


3. Carrots (Daucus carota subsp. sativus)

Carrots are root vegetables that benefit greatly from cooler temperatures. When exposed to frost, the sugar content in carrots increases, producing sweeter, more flavorful roots. Cooler soil temperatures also reduce the risk of bolting (premature flowering) and pest infestations.

Planting Tips:

  • Soil: Loose, sandy, well-draining soil is crucial for straight, uniform roots. Avoid heavy clay or rocky soil.
  • Spacing: Sow seeds 1/4 inch deep in rows 12–18 inches apart; thin seedlings to 2–3 inches apart.
  • Sunlight: Full sun is preferred, but partial shade is tolerated in warmer regions.
  • Watering: Maintain consistent moisture to ensure smooth, tender roots. Mulching helps retain soil moisture and protect roots from frost.

Varieties for Cooler Seasons: ‘Danvers 126’, ‘Nantes’, and ‘Chantenay’ perform exceptionally well in cooler climates.


4. Spinach (Spinacia oleracea)

Spinach is a fast-growing leafy green that flourishes in cool weather. Its tender, nutrient-rich leaves are packed with vitamins and minerals, and it can be harvested multiple times with proper care. Spinach is frost-tolerant and can survive temperatures down to 20°F (-6°C), making it a reliable crop for fall and winter planting.

Planting Tips:

  • Soil: Spinach prefers fertile, well-draining soil enriched with compost or organic matter.
  • Spacing: Sow seeds 1/2 inch deep and thin seedlings to 3–4 inches apart.
  • Sunlight: Full sun is ideal, but spinach tolerates partial shade.
  • Watering: Keep soil consistently moist. Mulching reduces water evaporation and protects roots from cold.

Varieties for Cool Seasons: ‘Bloomsdale’, ‘Giant Winter’, and ‘Regal’ are hardy, fast-growing varieties suitable for late-season planting.


5. Lettuce (Lactuca sativa)

Lettuce is one of the most adaptable leafy greens and thrives in cooler temperatures. It grows quickly, allowing for frequent harvests, and frost-tolerant varieties can continue producing throughout fall and into early winter. Lettuce is highly versatile, perfect for fresh salads, sandwiches, and wraps.

Planting Tips:

  • Soil: Use fertile, well-draining soil enriched with compost. Lettuce prefers slightly acidic to neutral soil (pH 6.0–7.0).
  • Spacing: Sow seeds 1/4 inch deep; thin seedlings to 6–12 inches apart depending on the variety.
  • Sunlight: Full sun is preferred, but partial shade helps prevent bolting in mild fall climates.
  • Watering: Maintain consistent moisture; avoid letting soil dry out to prevent bitterness.

Varieties for Cool Weather: ‘Winter Density’, ‘Rouge d’Hiver’, and ‘Buttercrunch’ are excellent for late-season planting.


General Tips for Growing Cool-Weather Crops

  1. Timing: Planting time is critical. Aim to sow seeds or transplant seedlings 6–8 weeks before the first expected frost for optimal growth.
  2. Soil Preparation: Enrich soil with organic matter and ensure good drainage to support healthy root systems.
  3. Mulching: Apply a layer of mulch to protect roots from temperature fluctuations, conserve moisture, and suppress weeds.
  4. Frost Protection: Use row covers, cloches, or cold frames to extend the growing season and protect tender plants from frost damage.
  5. Succession Planting: Stagger sowing in intervals to ensure a continuous harvest throughout the fall and early winter.
  6. Pest Management: While cooler temperatures reduce many pests, watch for slugs, aphids, and fungal diseases. Organic remedies such as neem oil, diatomaceous earth, or companion planting can help control issues.

Benefits of Growing Cool-Weather Crops

  • Enhanced Flavor: Many cool-weather crops develop sweeter, more concentrated flavors when exposed to frost.
  • Nutritional Value: Crops like kale, spinach, and broccoli are packed with vitamins, minerals, and antioxidants.
  • Extended Harvest: Cooler climates allow for gardening beyond the traditional summer season, providing fresh produce when other crops slow down.
  • Pest Reduction: Many common summer pests become less active in cool weather, reducing the need for chemical interventions.

Conclusion

Growing crops in cooler temperatures opens up opportunities for a productive fall and winter garden. Kale, broccoli, carrots, spinach, and lettuce are ideal for these conditions, offering a combination of hardiness, flavor, and nutritional value. By selecting appropriate varieties, preparing soil properly, and providing consistent care, gardeners can enjoy fresh, homegrown vegetables long after the summer heat has faded.

Cool-weather gardening is not only practical but also highly rewarding. It allows gardeners to extend their growing season, experience the satisfaction of harvesting nutrient-rich produce, and create a beautiful, productive garden during months that might otherwise be considered dormant. With thoughtful planning and attention to detail, your fall and winter garden can thrive, providing fresh, delicious vegetables for months to come.

How To Start a Fall Herb Garden This Month

How To Start a Fall Herb Garden This Month

As the air turns crisp and the days grow shorter, many gardeners believe that planting season is over. However, fall is an excellent time to start an herb garden. Cooler temperatures reduce stress on plants, and many herbs thrive in the mild conditions of autumn. Whether you’re growing herbs for cooking, tea, or medicinal purposes, starting a fall herb garden this month can provide fresh, flavorful greens throughout the season and into winter with proper care. This guide will walk you through everything you need to know to successfully start a fall herb garden, from selecting the right herbs to planting, care, and harvesting tips.


Why Start a Fall Herb Garden?

Fall gardening has several advantages over summer planting:

  1. Cooler Temperatures: Many herbs prefer moderate temperatures, and fall avoids the extreme heat that can cause bolting or stress.
  2. Extended Growing Season: With proper care and protective measures, herbs planted in fall can continue producing into late winter.
  3. Reduced Pests: Cooler weather reduces common summer pests, meaning healthier, less-stressed plants.
  4. Homegrown Flavor: Fresh herbs harvested from your garden taste far superior to store-bought options and enhance your fall and winter recipes.

Starting a fall herb garden is also ideal for gardeners with limited space. Even small containers on a balcony or windowsill can yield a generous supply of herbs.


Choosing the Right Herbs for Fall

Not all herbs thrive in cooler weather, so selecting the right varieties is essential. Here are some excellent choices for fall planting:

1. Parsley (Petroselinum crispum)

Parsley is a hardy herb that grows well in cooler temperatures. It provides a continuous harvest of vibrant green leaves and is versatile in soups, salads, and sauces.

  • Planting Tips: Sow seeds 1/4 inch deep in fertile, well-draining soil. Thin seedlings to 6–8 inches apart.
  • Care: Keep soil moist but not waterlogged. Mulching helps protect roots from cooler temperatures.

2. Cilantro (Coriandrum sativum)

Cilantro loves the cool weather of fall and produces flavorful leaves for garnishes and cooking. Its fast-growing nature means you can start harvesting in a few weeks.

  • Planting Tips: Sow seeds directly in the garden or containers, 1/4–1/2 inch deep. Space plants about 6–8 inches apart.
  • Care: Provide partial sun in warmer regions to prevent bolting. Water regularly for tender leaves.

3. Thyme (Thymus vulgaris)

Thyme is a hardy perennial that thrives in cooler months. Its aromatic leaves enhance soups, roasted dishes, and teas.

  • Planting Tips: Plant cuttings or transplants in well-draining soil with full sun exposure. Space plants 12–18 inches apart.
  • Care: Water sparingly once established, as thyme prefers slightly dry conditions. Mulch lightly to retain soil warmth.

4. Chives (Allium schoenoprasum)

Chives are a cold-tolerant perennial herb that adds a mild onion flavor to salads, soups, and omelets. They are easy to grow in both containers and garden beds.

  • Planting Tips: Sow seeds 1/4 inch deep or divide established clumps. Space plants 8–12 inches apart.
  • Care: Keep soil moist and provide at least 4–6 hours of sunlight per day. Harvest regularly to encourage new growth.

5. Rosemary (Rosmarinus officinalis)

Rosemary is a woody perennial that thrives in cool fall conditions if protected from heavy frost. It is perfect for seasoning roasted vegetables, meats, and bread.

  • Planting Tips: Plant young rosemary plants in well-draining soil, preferably in containers for easier frost protection.
  • Care: Provide full sun and avoid overwatering. Mulch around the base to maintain root temperature.

6. Mint (Mentha spp.)

Mint grows vigorously in cooler weather and is ideal for teas, desserts, and savory dishes. It’s best grown in containers to prevent it from taking over garden beds.

  • Planting Tips: Plant mint cuttings or small plants in pots with well-draining soil. Keep pots in a partially shaded area during hot spells.
  • Care: Water regularly, but avoid waterlogging. Trim frequently to encourage bushy growth.

Preparing Your Garden for Fall Planting

Proper preparation ensures your fall herb garden thrives. Here’s how to get started:

  1. Choose the Right Location: Herbs need at least 4–6 hours of sunlight per day. For cooler fall weather, south-facing spots are ideal to maximize sunlight. Containers can be moved to optimize light exposure.
  2. Prepare the Soil: Use well-draining, fertile soil enriched with compost. Herbs generally prefer slightly alkaline to neutral soil, though specific requirements vary.
  3. Plan for Frost Protection: As temperatures drop, use row covers, cloches, or cold frames to protect young plants from frost. Containers can be moved indoors or to sheltered areas during extreme cold.
  4. Select Containers (if needed): For small spaces, pots, raised beds, and window boxes work well. Ensure containers have adequate drainage holes to prevent root rot.

Planting Techniques

  • Direct Sowing: Fast-growing herbs like parsley, cilantro, and chives can be directly sown into the garden or containers.
  • Transplants: Slow-growing or perennial herbs like rosemary, thyme, and sage benefit from transplanting established seedlings.
  • Spacing: Give each plant enough space to grow without overcrowding, which promotes airflow and reduces disease risk.
  • Watering: Herbs need consistent moisture but avoid overwatering, which can lead to root rot. Water early in the day to allow foliage to dry before nightfall.

Maintaining Your Fall Herb Garden

  1. Mulching: Apply a layer of organic mulch to protect roots from fluctuating temperatures and retain soil moisture.
  2. Pruning: Regularly trim herbs like mint, thyme, and rosemary to promote bushier growth and prevent woody stems.
  3. Pest Control: Cooler temperatures reduce most pests, but watch for aphids, slugs, and fungal issues. Use organic solutions like neem oil or diatomaceous earth if needed.
  4. Fertilization: Use balanced, slow-release fertilizers or compost tea to support growth without promoting excessive leafy growth that may be prone to frost damage.

Harvesting Your Herbs

Harvesting at the right time ensures maximum flavor and continued growth:

  • Leaves: Pick leaves from tender shoots before flowers appear for the best flavor. Regular harvesting encourages new growth.
  • Perennials: Herbs like thyme, rosemary, and chives can be harvested repeatedly throughout the fall.
  • Storage: Use fresh herbs immediately, or dry, freeze, or preserve them in oil or vinegar for winter use.

Tips for Extending the Growing Season

  • Indoor Transition: Some herbs like parsley and basil can be moved indoors near sunny windows when frost threatens.
  • Companion Planting: Planting herbs near vegetables can enhance flavor and deter pests. For example, chives near tomatoes or cilantro near peppers.
  • Succession Planting: Planting in intervals ensures a continuous harvest throughout the season.

Conclusion

Starting a fall herb garden this month is an excellent way to extend your gardening season, enjoy fresh flavors, and prepare for winter cooking. By selecting the right cold-tolerant herbs, preparing your soil, and following proper care techniques, you can create a productive and attractive garden that continues to thrive in cooler temperatures.

Parsley, cilantro, thyme, chives, rosemary, and mint are ideal choices for fall planting, offering a combination of ease, flavor, and cold resilience. With thoughtful planning, attention to soil and sunlight, and careful harvesting, your fall herb garden can provide fresh, homegrown herbs for months to come.

Fall gardening is not just about extending the harvest; it’s about cultivating a space that nourishes the body and soul. So grab your seeds, prepare your garden beds or containers, and enjoy the rewarding experience of a flourishing fall herb garden this month.

6 Late-Season Vegetables You Can Plant in October

6 Late-Season Vegetables You Can Plant in October

As the warm days of summer gradually fade and the crisp breeze of autumn sets in, many gardeners mistakenly believe it’s too late to plant anything new. However, October is a golden month for late-season gardening. The cooler temperatures, shorter days, and moderate soil conditions create the perfect environment for certain vegetables to thrive before the first frost. Whether you are an experienced gardener or a beginner looking to extend your harvest season, planting late-season vegetables in October can provide fresh, nutritious produce well into late fall and early winter. This article explores six vegetables ideally suited for October planting, along with tips to maximize yield and ensure a successful harvest.


1. Spinach (Spinacia oleracea)

Spinach is one of the easiest leafy greens to grow in cooler weather. Known for its tender, nutrient-rich leaves, spinach thrives in the mild temperatures of autumn and can even survive light frosts. Planting spinach in October allows the leaves to mature quickly, providing a steady supply for salads, soups, and sautés.

Planting Tips:

  • Soil: Spinach prefers well-draining, fertile soil rich in organic matter. Incorporating compost improves soil structure and fertility.
  • Spacing: Sow seeds 1/2 inch deep and 2 inches apart. Thin seedlings to 4–6 inches apart to allow proper leaf development.
  • Sunlight: Full sun is ideal, but spinach tolerates partial shade in warmer regions.
  • Watering: Keep the soil consistently moist but not waterlogged. Mulching helps retain soil moisture and protect roots from early frosts.

Spinach varieties like ‘Bloomsdale’ or ‘Giant Winter’ are excellent for fall planting, as they are cold-hardy and fast-growing.


2. Garlic (Allium sativum)

October is the perfect time to plant garlic for a summer harvest. Garlic requires a period of cold weather to develop bulbs, making fall planting essential in most climates. By planting in October, bulbs have time to establish roots before winter, ensuring larger, more flavorful cloves by mid-summer.

Planting Tips:

  • Soil: Loose, well-draining soil with a neutral pH works best. Enriching the soil with compost or well-rotted manure boosts growth.
  • Cloves: Plant individual cloves upright, 2 inches deep and 4–6 inches apart.
  • Sunlight: Garlic thrives in full sun.
  • Care: Water moderately during root development. Once the ground freezes, mulch heavily with straw to protect cloves from extreme cold.

Hardneck varieties, like ‘Rocambole,’ are ideal for colder regions, while softneck types like ‘Silverskin’ grow well in milder climates.


3. Kale (Brassica oleracea var. sabellica)

Kale is another cold-hardy green that tastes sweeter after exposure to frost. Rich in vitamins A, C, and K, kale is highly versatile and can be used in salads, smoothies, and cooked dishes. Its robust leaves withstand cold temperatures, making October the perfect planting time.

Planting Tips:

  • Soil: Fertile, well-draining soil with added compost ensures healthy growth.
  • Spacing: Sow seeds 1/2 inch deep and 12–18 inches apart for mature plants.
  • Sunlight: Full sun is preferred, but kale tolerates partial shade.
  • Watering: Maintain even moisture; mulching helps preserve soil warmth and moisture.

Varieties such as ‘Winterbor’ or ‘Lacinato’ (Dinosaur Kale) perform exceptionally well in late-season planting.


4. Radishes (Raphanus sativus)

Radishes are fast-growing root vegetables that thrive in cool weather. They can be harvested in as little as 3–4 weeks, making them an ideal crop for October planting. Their crisp, peppery roots add flavor to salads, sandwiches, and slaws.

Planting Tips:

  • Soil: Light, well-draining soil enriched with compost promotes uniform root development. Avoid overly rich soil, which may cause roots to split.
  • Spacing: Sow seeds 1/2 inch deep and 1 inch apart; thin to 2 inches apart.
  • Sunlight: Full sun to partial shade is optimal.
  • Watering: Keep the soil moist to prevent radishes from becoming tough or woody.

Varieties like ‘Cherry Belle’ and ‘French Breakfast’ are particularly suited for late-season planting and quick harvests.


5. Carrots (Daucus carota subsp. sativus)

Carrots can be planted in October to take advantage of cooler soil temperatures, which enhance their sweetness. Late-season carrots develop a rich flavor as the plant converts starches into sugars to withstand cold.

Planting Tips:

  • Soil: Loose, sandy soil is ideal for straight, uniform roots. Avoid compacted or rocky soil.
  • Spacing: Sow seeds 1/4 inch deep in rows 12–18 inches apart; thin seedlings to 2–3 inches apart.
  • Sunlight: Full sun is best, but partial shade is acceptable.
  • Watering: Maintain consistent moisture for tender roots; mulch to prevent soil freezing.

Long varieties like ‘Danvers 126’ or ‘Nantes’ are excellent choices for late-season planting and cold tolerance.


6. Lettuce (Lactuca sativa)

Lettuce is highly adaptable and grows quickly in cooler temperatures, making it perfect for October planting. The crisp, flavorful leaves are ideal for fresh salads and sandwiches, and some varieties can survive light frosts.

Planting Tips:

  • Soil: Fertile, well-draining soil with added compost ensures healthy leaf growth.
  • Spacing: Sow seeds 1/4 inch deep; thin seedlings to 6–12 inches apart depending on the variety.
  • Sunlight: Lettuce prefers full sun but tolerates partial shade, especially in warmer regions.
  • Watering: Keep soil evenly moist; frequent light watering helps prevent bitterness.

Consider cold-tolerant varieties like ‘Winter Density,’ ‘Rouge d’Hiver,’ or ‘Buttercrunch’ for a reliable late-season harvest.


Tips for Successful October Planting

  1. Use Row Covers: Lightweight fabric row covers protect young seedlings from early frosts and extend the growing season.
  2. Mulch Strategically: Organic mulches like straw or shredded leaves help maintain soil warmth and moisture.
  3. Succession Planting: Plant crops in intervals to ensure a continuous harvest throughout fall.
  4. Monitor Pests: Cooler weather reduces many pests, but some like slugs and aphids can still cause damage. Use organic controls as needed.
  5. Harvest Early: Pick vegetables promptly as they mature to avoid frost damage and encourage continued growth.

Conclusion

Planting vegetables in October is not only possible but highly rewarding. By selecting the right crops, preparing the soil properly, and providing appropriate care, gardeners can enjoy fresh, nutrient-rich produce well into late fall and early winter. Spinach, garlic, kale, radishes, carrots, and lettuce are excellent choices for late-season planting, offering a combination of fast growth, frost tolerance, and delicious flavor. With careful planning, your October garden can continue to thrive, providing healthy, homegrown vegetables even as the days grow shorter and colder.

Late-season gardening is a wonderful way to maximize your harvest, make efficient use of garden space, and enjoy the satisfaction of fresh produce during the cooler months. So grab your seeds, prepare your soil, and embrace the joys of fall gardening.

How To Design A Fall Garden With Stunning Color Layers

How To Design A Fall Garden With Stunning Color Layers

Fall is a magical season for gardens, offering a rich palette of warm colors, textures, and natural beauty. Unlike spring and summer, when flowers dominate, fall gardens rely on thoughtful layering, diverse foliage, and seasonal blooms to create visual interest. Designing a fall garden with stunning color layers requires planning, creativity, and an understanding of plants that thrive in autumn conditions. By strategically combining textures, heights, and colors, you can create a garden that captivates and maintains beauty long after summer ends.

1. Understanding the Basics of Fall Color

Before planting, it’s essential to understand what gives a fall garden its unique charm. Fall color comes from three primary sources: foliage, flowers, and ornamental features like berries and seed heads.

  • Foliage: Many trees, shrubs, and perennials change color in fall. Shades of red, orange, yellow, and burgundy can create a vibrant tapestry. Maples, oaks, and dogwoods are classic examples of trees that transform dramatically in autumn. Shrubs like burning bush (Euonymus alatus) and barberry provide intense red foliage, while Japanese maple adds elegance with delicate, lace-like leaves.
  • Flowers: Some late-blooming perennials and annuals extend the color season. Chrysanthemums, asters, sedum, and ornamental kale provide deep purples, pinks, and rich reds.
  • Ornamental Features: Don’t overlook berries, seed heads, and grasses. Holly and beautyberry shrubs add pops of color, while ornamental grasses like switchgrass and fountain grass add texture and movement.

Understanding these elements allows you to layer plants for maximum visual impact.


2. Plan Your Garden Layers

A stunning fall garden depends on layering plants to create depth, movement, and contrast. Layers provide structure and allow each plant to shine. Consider the following layering techniques:

  • Height Layering: Place taller trees and shrubs at the back or center, mid-height perennials in the middle, and low-growing ground covers in the front. This arrangement ensures that all plants are visible and creates a sense of fullness. For example, a backdrop of golden maple trees with burgundy barberry in the middle and purple asters in the foreground is both dramatic and harmonious.
  • Color Layering: Combine colors strategically. Warm shades like red, orange, and yellow evoke energy, while cooler shades like purple and deep green add contrast. Pairing complementary colors, such as golden foliage with deep purple flowers, creates striking visual effects.
  • Texture Layering: Mix textures for added depth. Large, bold leaves of hostas can contrast beautifully with delicate grasses or feathery ferns. Rough barked shrubs combined with smooth-leaved plants provide tactile interest and visual variety.
  • Seasonal Transition Layering: Include plants with staggered peak color times to ensure continuous visual interest throughout fall. Early-turning maples, mid-season asters, and late-blooming mums keep your garden vibrant from September through November.

By combining height, color, and texture, your fall garden becomes multidimensional, dynamic, and visually captivating.


3. Choose the Right Plants for Fall Layers

Selecting the right plants is key to achieving stunning color layers. Here’s a guide to plant selection by layer:

Tall Layer (Trees and Large Shrubs)

  • Maple (Acer spp.): Brilliant reds and oranges.
  • Oak (Quercus spp.): Deep rusts and browns.
  • Dogwood (Cornus spp.): Striking red berries and fall foliage.
  • Burning Bush (Euonymus alatus): Vibrant red leaves that intensify in late fall.

Mid Layer (Shrubs and Perennials)

  • Hydrangea: Some varieties transition from green to deep burgundy.
  • Asters: Purple and pink flowers that bloom late in fall.
  • Sedum (Autumn Joy): Rich pinks and rusty reds, perfect for late-season interest.
  • Ornamental Kale and Cabbage: Bold foliage with rich colors and textures.

Low Layer (Ground Covers and Borders)

  • Heuchera (Coral Bells): Vibrant foliage ranging from deep burgundy to bright lime.
  • Pansies and Violas: Late-blooming flowers in purples, yellows, and oranges.
  • Creeping Jenny (Lysimachia nummularia): Golden foliage that spreads along borders.
  • Moss and ornamental grasses: Adds subtle color and texture variation.

4. Incorporate Colorful Accents and Focal Points

While plants provide the foundation of your fall garden, accents and focal points elevate its visual impact. Consider adding:

  • Decorative Containers: Pots filled with chrysanthemums, ornamental kale, or grasses placed strategically on patios, steps, or along pathways provide bursts of color.
  • Pathways: Curved stone or brick paths draw the eye and lead visitors through the colorful layers of your garden. Edging plants like low boxwoods or creeping thyme enhance definition.
  • Garden Ornaments: Seasonal decorations, like pumpkins or gourds, can complement your color palette naturally. A rustic bench framed by autumn blooms creates an inviting focal point.
  • Lighting: Solar or low-voltage landscape lights accentuate the warm tones of foliage and flowers during evening hours, creating a magical effect.

5. Consider Seasonal Maintenance and Color Longevity

A well-designed fall garden requires some maintenance to keep colors vibrant. By planning for seasonal changes, you ensure lasting beauty throughout autumn:

  • Deadheading: Remove spent flowers from perennials like asters and chrysanthemums to encourage continuous bloom.
  • Mulching: Apply a layer of mulch around plants to retain moisture and provide a contrasting backdrop that makes colors pop.
  • Pruning: Trim dead or overcrowded branches to maintain shape and allow sunlight to reach lower layers.
  • Watering: Although fall is generally cooler, ensure that shrubs and perennials receive adequate water, especially new plantings.
  • Plant Protection: Some tender perennials or ornamental plants may need light frost protection or temporary covers during early cold snaps.

Regular maintenance preserves the visual harmony and ensures that color layers remain vivid through the fall season.


6. Design with Color Progression in Mind

One of the most effective ways to create a stunning fall garden is by designing with color progression. This technique involves arranging plants so that colors transition naturally from one area to another. For example:

  • Start with golden-yellow foliage near the entrance.
  • Transition to deep oranges and reds in the mid-garden.
  • End with purple and burgundy tones near focal points like benches or fountains.

This gradient effect mimics the natural changes of fall and creates a cohesive, flowing aesthetic that feels intentional and dynamic.


7. Use Ornamental Grasses for Movement and Texture

Ornamental grasses are often overlooked but play a crucial role in fall gardens. They provide height, movement, and texture, enhancing layered designs. Some popular choices include:

  • Fountain Grass (Pennisetum alopecuroides): Soft, feathery plumes with reddish hues.
  • Switchgrass (Panicum virgatum): Stiff vertical blades that turn gold or orange.
  • Blue Fescue (Festuca glauca): Adds a subtle blue-gray tone and fine texture.

Grasses move with the wind, adding dynamic interest that complements static shrubs and perennials.


Conclusion

Designing a fall garden with stunning color layers is both an art and a science. By combining foliage, flowers, and ornamental features, and layering them strategically by height, color, and texture, you can create a garden that is visually compelling throughout the autumn months. With careful plant selection, thoughtful focal points, and seasonal maintenance, even a small garden can become a rich tapestry of fall colors.

Whether your goal is to enhance curb appeal, provide a peaceful retreat, or impress visitors, these design strategies allow you to embrace the beauty of fall fully. By planning for progression, contrast, and texture, you transform your outdoor space into an autumn paradise that is vibrant, harmonious, and full of seasonal charm.

What To Do If Neighbor’s Pesticides Drift Into Your Yard

What To Do If Neighbor’s Pesticides Drift Into Your Yard

Pesticides are commonly used to protect crops, gardens, and lawns from pests and diseases. However, when these chemicals drift beyond the intended area, they can affect neighboring properties, damaging plants, harming pets, or posing health risks. If your neighbor’s pesticide application drifts into your yard, it can be a stressful situation. Knowing what to do helps you protect your property, maintain good relations, and navigate legal and practical concerns.

This article explores practical steps, communication strategies, legal considerations, and preventive measures to deal with pesticide drift effectively.


Understanding Pesticide Drift

Pesticide drift occurs when chemicals applied to one property travel through air, water, or soil to another property. Drift can happen during spraying, spreading, or even from vaporization. Factors that contribute include:

  • Wind: Strong or gusty winds can carry chemicals beyond the intended area.
  • Spray Method: Mist, fog, or high-pressure sprays can easily move off-target.
  • Topography: Slopes, valleys, or proximity to water sources can increase drift risk.
  • Volatility: Some pesticides release vapors that can travel further than liquid sprays.

Impact of Drift: Drifted pesticides can harm garden plants, flowers, lawns, vegetables, pollinators, pets, and even humans if exposure is significant. Early recognition is key to minimizing damage.


Step 1: Document the Damage

Before approaching your neighbor or authorities, gather evidence to support your claim.

How to Document Pesticide Drift:

  1. Photograph Damaged Plants – Capture close-ups and wide shots showing the affected area.
  2. Record Dates and Times – Note when you first noticed the drift and when your neighbor applied pesticides.
  3. Weather Conditions – Include wind direction, speed, and temperature if possible.
  4. Collect Samples – If safe, keep affected leaves, flowers, or soil samples for analysis.
  5. Check for Other Evidence – Note symptoms in pets or wildlife, which may indicate pesticide exposure.

Tip: Proper documentation strengthens your position in discussions or claims and helps authorities assess the situation.


Step 2: Approach Your Neighbor Calmly

Many pesticide drift incidents are unintentional. Addressing the situation diplomatically can prevent conflict and encourage cooperation.

Best Practices:

  • Be Polite and Non-Confrontational: Use “I” statements instead of blaming, e.g., “I noticed some of your pesticide drifted into my garden and affected my plants.”
  • Provide Evidence: Show photos and document the timing to illustrate the issue objectively.
  • Discuss Solutions: Ask if they can modify their application method, spray at different times, or provide compensation for damage.
  • Maintain a Friendly Tone: Focus on mutual benefit, such as preventing future drift for both parties.

Tip: Avoid aggressive confrontation—it often escalates tension rather than solving the problem.


Step 3: Minimize Damage Immediately

While resolving the issue with your neighbor, take steps to reduce harm to your plants, soil, and pets.

Immediate Actions:

  1. Rinse Plants – Gently wash leaves and flowers with water to remove pesticide residues.
  2. Prune Damaged Foliage – Remove leaves or stems showing severe damage to prevent disease or stress.
  3. Move Sensitive Plants – If possible, relocate potted or delicate plants away from the affected area.
  4. Protect Pets and Children – Keep them indoors or away from treated areas until it’s safe.
  5. Monitor Soil – Some chemicals can linger in soil; consider testing if vegetables or edible plants were exposed.

Tip: Early intervention increases the likelihood of recovery for affected plants.


Step 4: Know Your Legal Rights

Understanding your legal options is crucial if the drift causes significant damage or your neighbor refuses to cooperate. Laws vary by region, but some common principles apply:

  • Right to a Safe Property: Property owners generally have the right to expect their land to be free from harmful chemicals from neighbors.
  • Reporting to Authorities: Contact your local agricultural extension office, environmental protection agency, or pesticide regulatory body. They can investigate and document violations.
  • Insurance Claims: Check if your homeowner’s insurance covers damage from pesticide drift.
  • Legal Action: As a last resort, you may pursue compensation through small claims or civil court. Consult a lawyer for guidance.

Tip: Documenting everything carefully is essential if legal or regulatory action becomes necessary.


Step 5: Prevent Future Drift

Once you’ve addressed the immediate incident, consider steps to prevent recurrence:

Practical Preventive Measures:

  1. Install Physical Barriers – Tall hedges, fences, or trellises can act as windbreaks and reduce drift.
  2. Coordinate Spray Timing – Ask your neighbor to avoid spraying on windy days or during high-traffic hours.
  3. Select Appropriate Pesticides – Encourage less volatile or lower-drift products if possible.
  4. Buffer Zones – Plant shrubs, ground covers, or grass strips along property lines to absorb or slow chemical movement.
  5. Communication – Maintain ongoing dialogue with neighbors about lawn and garden care to anticipate potential issues.

Tip: Proactive measures often prevent disputes and create a safer, healthier environment for everyone.


Step 6: Consider Organic or Protective Measures

For gardeners concerned about repeated pesticide drift, additional protective steps can reduce risk:

  • Protective Covers: Use row covers or garden nets to shield vegetables and flowers during neighbor spray times.
  • Raised Beds: Elevating plants in containers or raised beds can minimize contact with drifted chemicals.
  • Soil Amendments: Organic matter can sometimes help bind certain chemicals, reducing their effect on plants.
  • Buffer Plantings: Fast-growing hedges or shrubs act as living barriers to intercept drifting spray.

Benefits: These measures protect your plants while keeping your garden functional and attractive.


Step 7: Educate and Build Cooperation

Long-term solutions often rely on education and mutual understanding. Many neighbors are unaware of the effects of pesticide drift.

Steps to Promote Awareness:

  • Share articles or guidelines on proper pesticide application and drift prevention.
  • Discuss eco-friendly alternatives such as organic sprays, biological pest control, or integrated pest management (IPM).
  • Offer to coordinate application schedules to minimize exposure.

Tip: Approaching the issue as a cooperative effort often leads to better compliance and preserves neighborly relations.


Additional Considerations

  • Document All Communication: Keep records of conversations, emails, or letters regarding drift issues.
  • Monitor Recovery: Keep track of how plants recover over time; this may be useful for insurance or regulatory reporting.
  • Consult Professionals: For severe drift affecting crops or valuable plants, consider an arborist, horticulturist, or environmental consultant.

Conclusion

Pesticide drift from a neighbor’s property can be frustrating and potentially harmful, but handling the situation strategically makes all the difference. By documenting the issue, approaching your neighbor calmly, taking immediate protective measures, understanding legal rights, and implementing preventative strategies, you can protect your property while maintaining positive relationships.

The key is a combination of communication, practical intervention, and proactive planning. Whether it’s washing affected plants, installing buffers, or collaborating on safer spraying practices, these steps ensure your garden remains healthy, productive, and safe.

Dealing with pesticide drift is not just about protecting your plants—it’s about fostering a responsible, cooperative, and informed gardening community. With careful action, you can turn a potentially contentious situation into a learning opportunity for both you and your neighbor, ensuring everyone benefits from a safer and greener environment.

Why Raised Beds Make Gardening So Much Easier

Why Raised Beds Make Gardening So Much Easier

Gardening is one of the most rewarding hobbies you can pursue, offering benefits that range from fresh produce to stress relief. But ask any experienced gardener, and they’ll tell you—not all garden setups are created equal.

One method that continues to grow in popularity among beginners and seasoned green thumbs alike is raised bed gardening. Why? Because it simply makes everything easier.

From better soil control to fewer weeds and less strain on your back, raised beds offer a long list of advantages that can transform the way you garden. In this article, we’ll explore the science, structure, and simplicity behind raised bed gardening, and why this method has become a favorite among modern gardeners.


What Are Raised Beds?

A raised bed is essentially a garden bed that is elevated above the natural ground level. It’s usually contained within a frame made of wood, stone, metal, or other materials, and filled with a curated mix of soil and compost.

Raised beds can vary in size and height depending on your needs. Some are as low as 6 inches, while others are tall enough to eliminate bending entirely.


1. Better Soil Control = Better Plant Growth

One of the biggest advantages of raised bed gardening is the ability to control your soil quality.

In traditional in-ground gardening, you’re stuck with whatever soil nature has given you—which may be clay-heavy, sandy, rocky, or lacking in nutrients. Raised beds allow you to create a customized soil mix that’s perfect for the plants you’re growing.

Benefits of Soil Control:

  • Improved drainage: Raised beds prevent water from pooling, reducing the risk of root rot.
  • Soil warmth: The soil in raised beds warms up faster in the spring, allowing for an earlier start to planting.
  • Nutrient density: You can add compost, worm castings, and organic matter to supercharge your growing medium.
  • Fewer toxins: If you live in an urban area or on previously developed land, raised beds help isolate your plants from potentially contaminated native soil.

Ideal Soil Mix for Raised Beds:

  • 50% topsoil
  • 30% compost
  • 20% aerators like perlite, vermiculite, or coarse sand

This rich, loose blend promotes strong root development and higher yields.


2. Fewer Weeds and Easier Weed Management

Weeding is one of the most dreaded chores in gardening. Raised beds make this task significantly easier for two key reasons:

A. Less Weed Seed Exposure

When you fill your raised bed with fresh, high-quality soil and compost, you avoid much of the weed seed bank that lives in the ground. Fewer weed seeds = fewer weeds.

B. Easier Maintenance

The defined edges and smaller surface area make it easier to spot and pull weeds before they spread. Plus, adding a layer of mulch on top (like straw, bark, or leaf mold) helps smother weeds and retain moisture.

You can also lay weed-blocking fabric at the bottom of the raised bed during installation to further reduce weed intrusion from below.


3. Better Accessibility = Less Strain on Your Body

Traditional ground-level gardens require a lot of bending, kneeling, and squatting—movements that can be tough on your back, knees, and joints, especially as you get older.

Raised beds bring the garden up to a more comfortable height, which:

  • Reduces back strain
  • Makes planting, weeding, and harvesting easier
  • Is wheelchair-friendly when built at appropriate height

In fact, raised bed gardening is often recommended for:

  • Elderly gardeners
  • People with mobility challenges
  • Those recovering from injury or surgery

Even a 12–18 inch tall raised bed can make a huge difference in comfort.


4. Improved Drainage and Water Control

Drainage is critical in gardening. Plants need water, but they don’t want to sit in soggy soil. Poor drainage leads to root rot, fungus, and disease.

Raised beds are naturally excellent at draining excess water. Since they’re elevated and not compacted by foot traffic, water can flow freely through the soil.

Tips to Maximize Drainage:

  • Use loose, organic-rich soil
  • Avoid walking on the soil inside the bed
  • If needed, drill holes in the bottom or use gravel layers

At the same time, raised beds retain moisture better when mulched correctly, making watering more efficient.


5. Extended Growing Season

Because raised beds warm up faster in the spring and drain better after snow or rain, you can often start planting earlier than you would in the ground.

In some regions, raised beds can extend the growing season by several weeks, giving you an edge for cool-season crops like lettuce, spinach, and carrots.

Additionally, the contained design allows for easy use of:

  • Row covers
  • Cold frames
  • Mini hoop houses
    These additions can protect plants from frost, wind, and pests—giving you even more control over your garden’s microclimate.

6. Space Efficiency and Higher Yields

Raised beds encourage intensive planting methods, such as square-foot gardening, which helps maximize production in small spaces.

Benefits include:

  • Tighter plant spacing = fewer weeds
  • Denser planting = better use of water and nutrients
  • Optimized design = easier access from all sides (no stepping in the bed!)

A 4×8 foot raised bed can feed a family of four with seasonal vegetables throughout spring, summer, and fall when managed properly.


7. Pest Control Made Easier

Raised beds don’t eliminate pests entirely, but they make them easier to manage.

Advantages:

  • Barrier from burrowing pests like gophers or moles (use wire mesh at the base)
  • Easier to install fencing or netting for rabbits, deer, or birds
  • Visual access helps you spot insect infestations sooner
  • You can easily cover crops with floating row covers or cloches

By elevating your plants, you reduce the chances of random ground pests reaching them unnoticed.


8. Tidy, Organized Appearance

A well-maintained raised bed garden looks structured and intentional, which is especially appealing in urban or suburban settings. It enhances curb appeal and can even add value to your property.

Aesthetic Benefits:

  • Clean lines and defined spaces
  • Easier to maintain symmetry and design
  • Great for showcasing edible landscapes or ornamental plants

Raised beds can also be customized with trellises, arches, or decorative edging to create a visually stunning garden that doubles as a design feature.


9. Customizable for Any Location or Climate

Whether you’re working with clay soil, rocky terrain, or limited space, raised beds are versatile and adaptable.

You can build them:

  • On top of poor soil
  • In small patios or balconies (with container beds)
  • With materials suited for your climate (e.g., rot-resistant cedar for wet areas, galvanized steel for dry zones)

Raised beds also allow for crop rotation, companion planting, and vertical gardening, making them a flexible choice for any gardener.


Summary: Why Raised Beds Make Gardening Easier

BenefitHow It Helps
Better soil controlBoosts plant health and yields
Weed reductionSaves time and labor
Easier on the bodyReduces physical strain
Improved drainagePrevents root rot and overwatering
Longer growing seasonMore harvests per year
Space efficiencyIdeal for small or urban gardens
Easier pest controlProtects crops and simplifies defense
Cleaner designEnhances beauty and structure
CustomizationAdapts to your environment and goals

Final Thoughts

Raised bed gardening isn’t just a trend—it’s a smart, efficient, and rewarding way to garden. Whether you’re growing flowers, vegetables, herbs, or all of the above, raised beds give you greater control, better results, and a more enjoyable experience.

By solving common gardening problems—like poor soil, weeds, and accessibility—raised beds empower both beginners and experts to grow more with less effort.

If you’re looking for a way to make gardening easier, more productive, and more beautiful, raised beds are the answer.