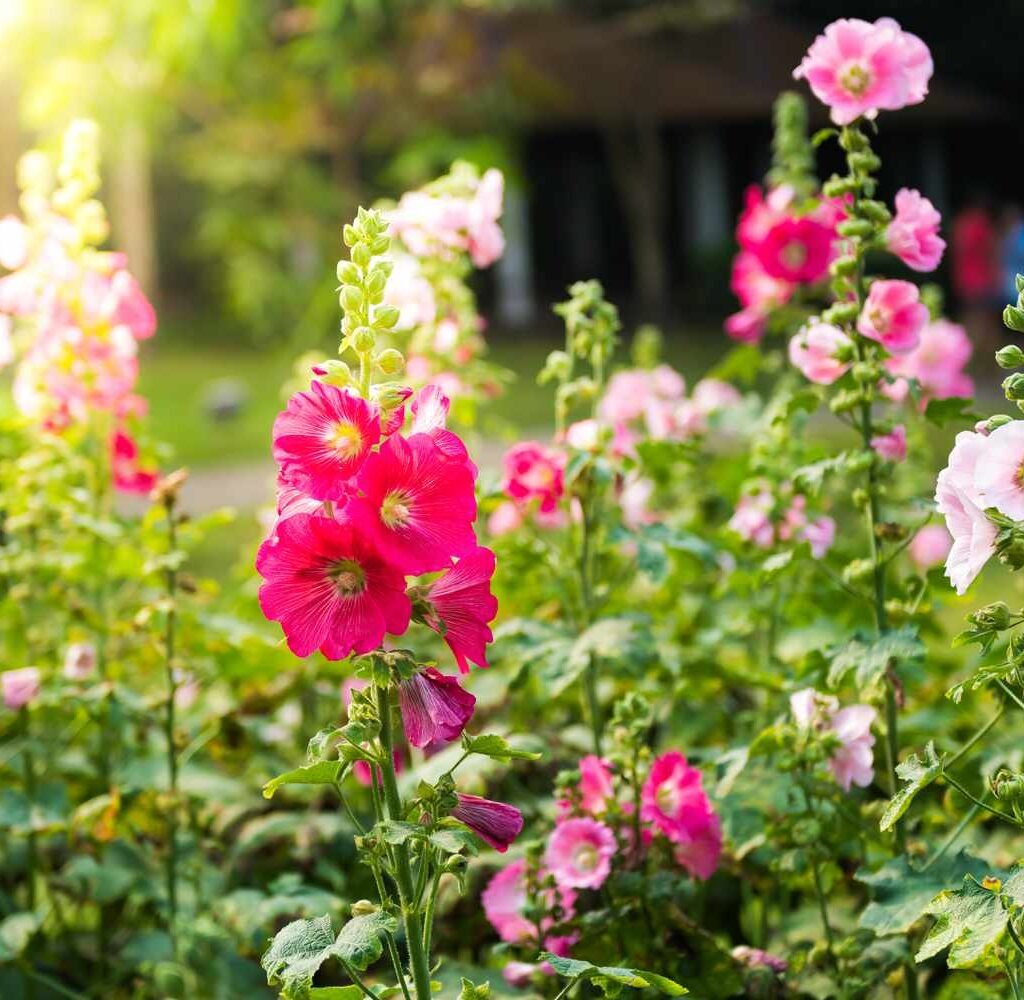
Zinnias (Zinnia elegans) are vibrant, easy-to-grow annual flowers that brighten gardens throughout summer and early autumn. Known for their bright, cheerful blooms in a wide range of colors, zinnias also attract pollinators like bees and butterflies, adding life and energy to any garden. One of the great joys of growing zinnias is the ability to save their seeds for the next growing season. Harvesting zinnia seeds before frost ensures healthy, viable seeds and allows gardeners to enjoy continuous blooms year after year. This article provides a comprehensive guide to collecting zinnia seeds, from timing and selection to drying, storage, and planting.
Why Collect Zinnia Seeds?
Saving zinnia seeds offers several advantages:
- Cost-Effective Gardening: Reduces the need to purchase new seeds annually.
- Sustainability: Supports eco-friendly practices and reduces waste.
- Preserve Favorite Varieties: Ensures you can replant specific colors, sizes, and bloom forms.
- Better Adaptation: Seeds from your garden are naturally adapted to local soil, climate, and conditions.
- Educational Opportunity: Offers insight into plant reproduction, seed development, and gardening cycles.
Step 1: Selecting the Right Zinnia Plants
The quality of harvested seeds depends on the parent plants:
Traits to Look For:
- Healthy Plants: Choose flowers that are vibrant, disease-free, and have strong stems.
- Open-Pollinated Varieties: Only open-pollinated or heirloom zinnias produce seeds that are true to type. Hybrid varieties may not retain parent characteristics.
- Full-Bloom Flowers: Seeds from mature, fully developed flowers are more likely to be viable.
Tip: Observe your zinnia garden throughout the season and select the best-performing plants for seed saving.
Step 2: Understanding Zinnia Seed Development
Knowing when seeds are ready is critical for successful collection:
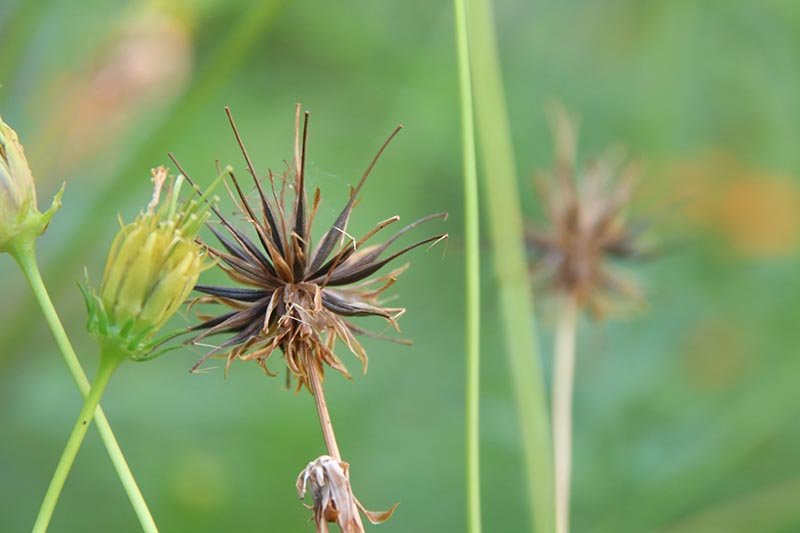
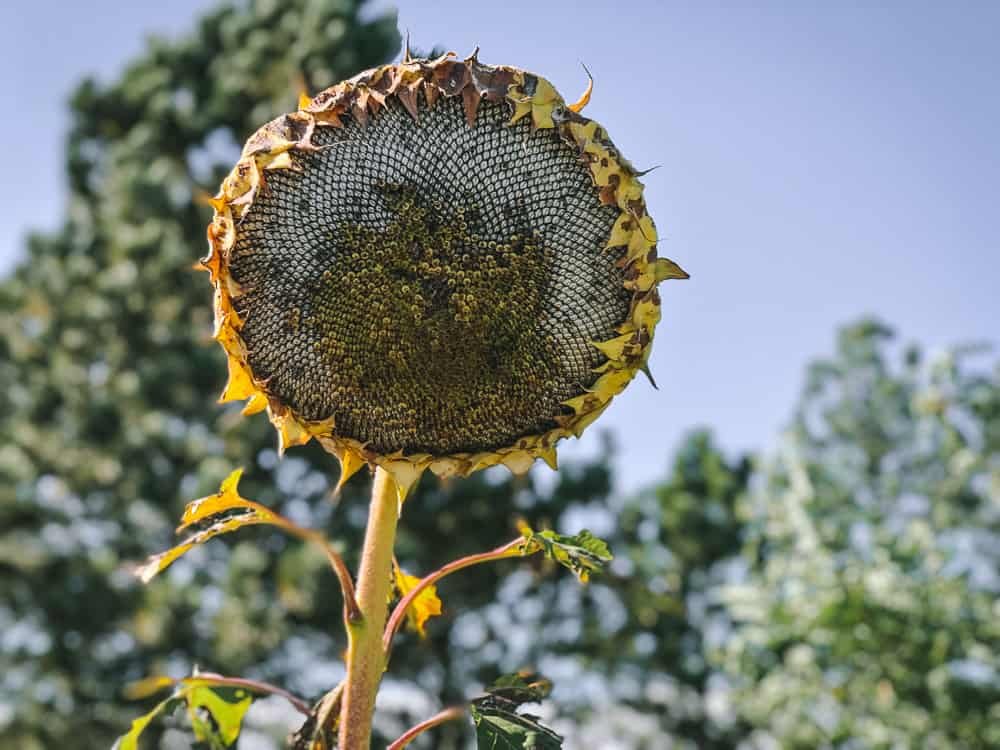
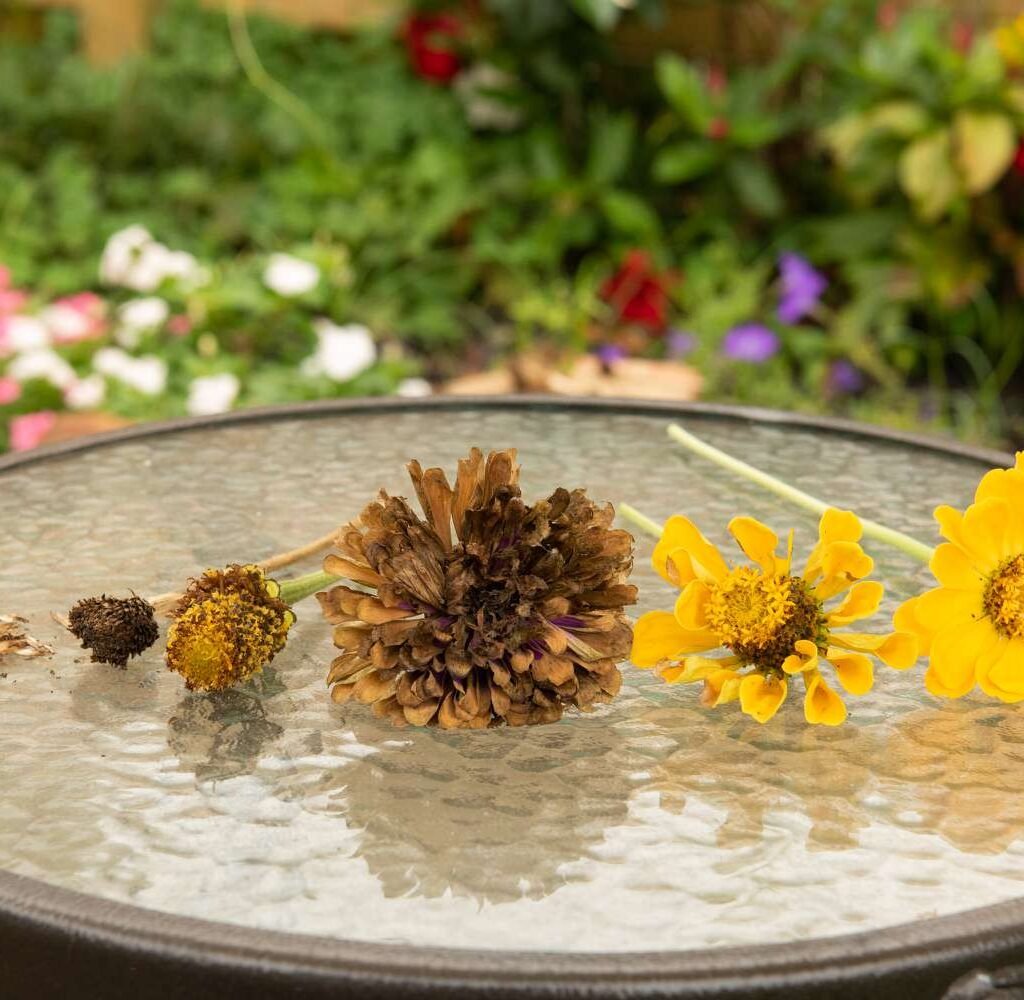
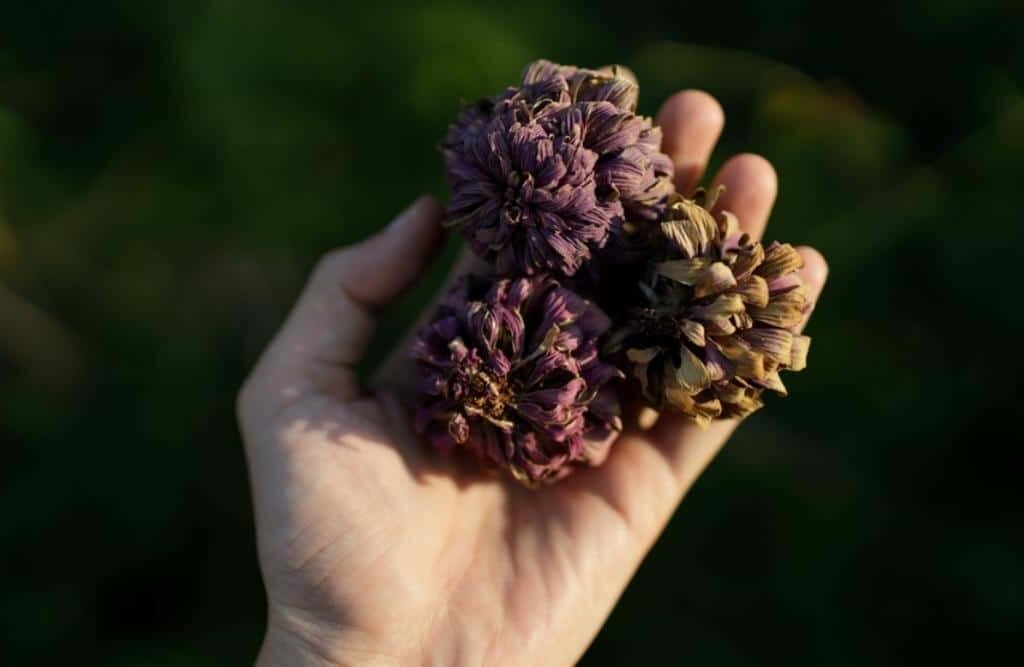
Seed Maturity Signs:
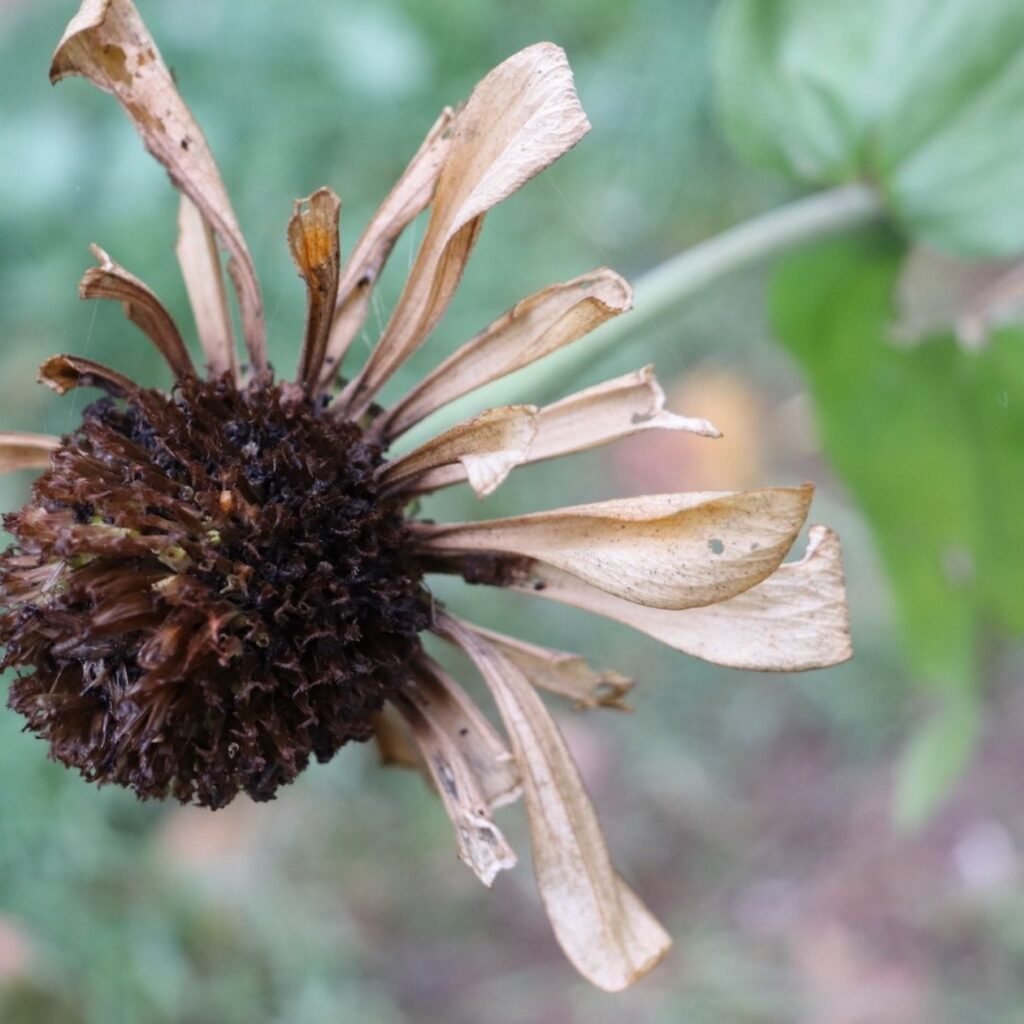
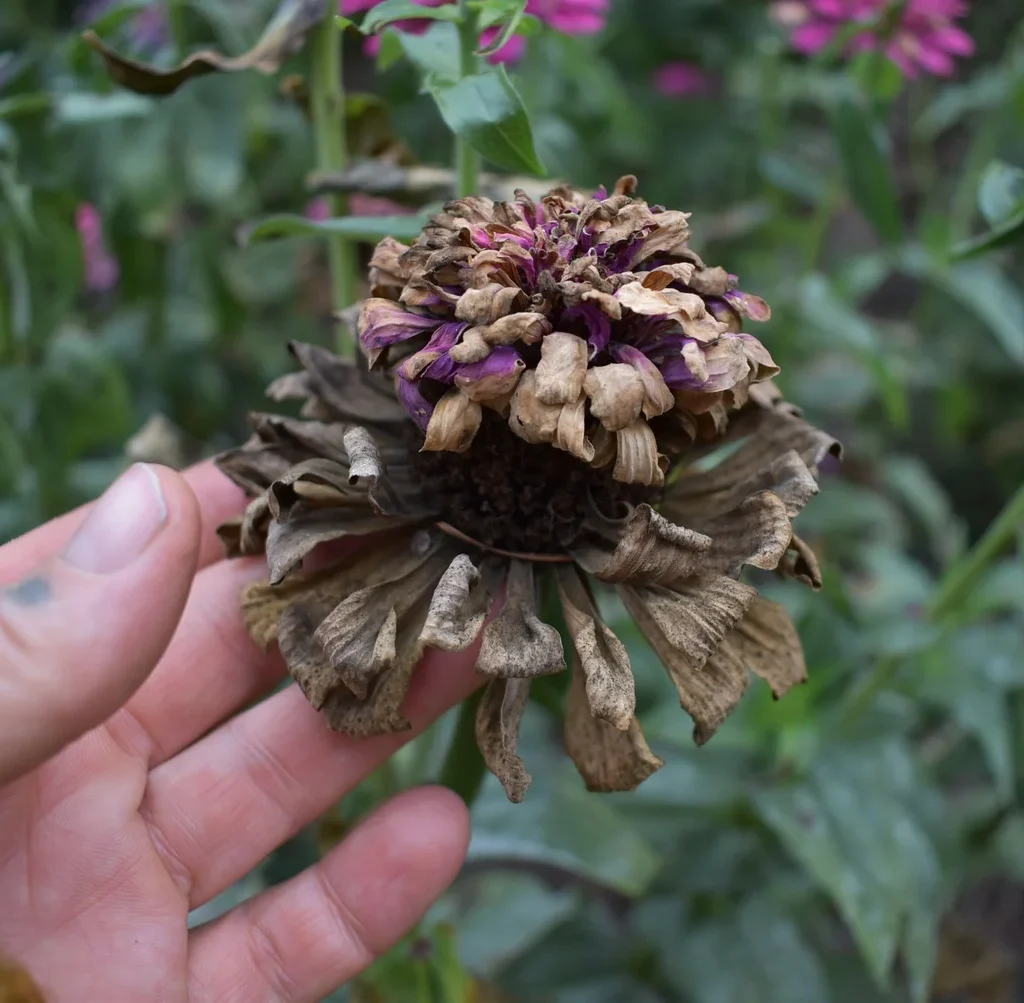
- Petals Wilt and Fall: Once the flower petals drop naturally, seeds begin maturing.
- Brown and Dry Seed Heads: The central flower disk turns brown and dry.
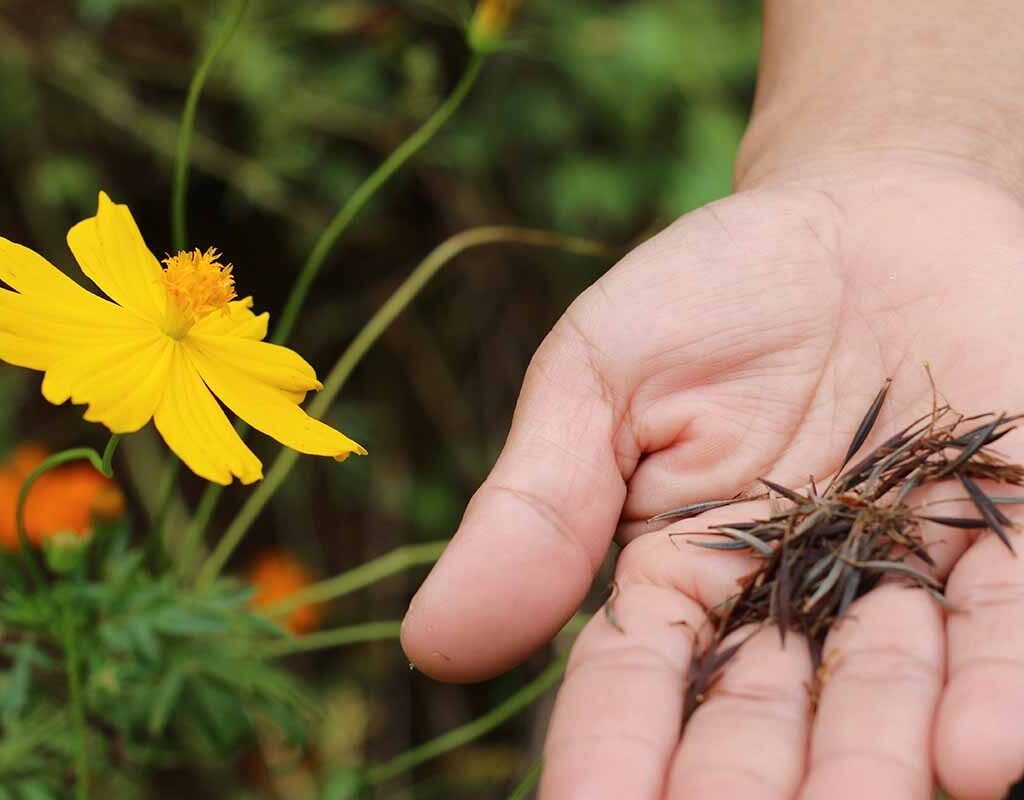
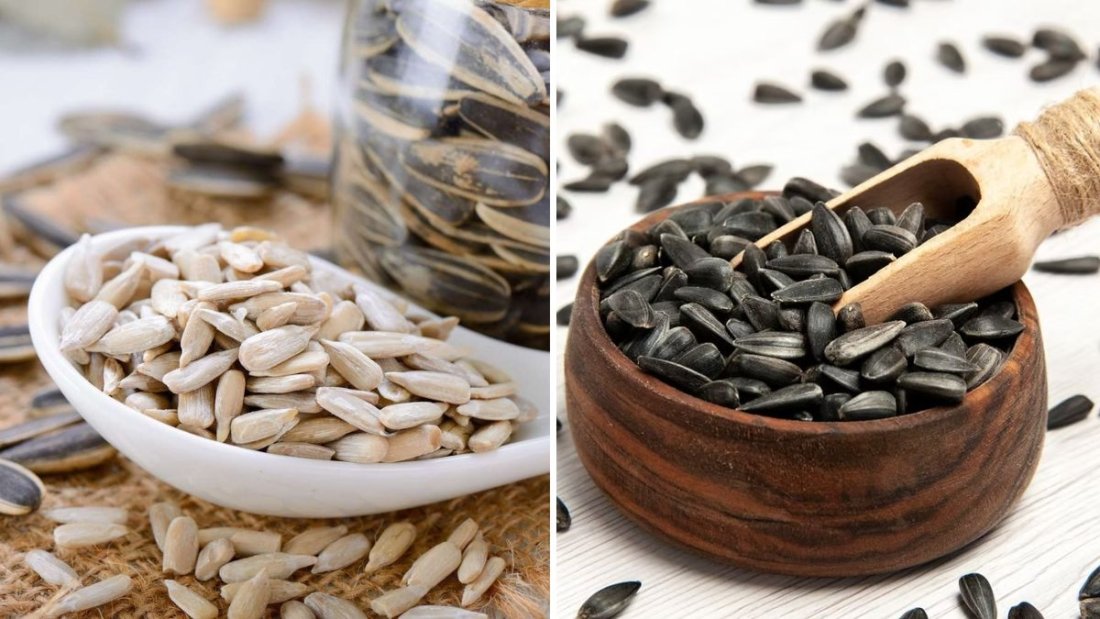
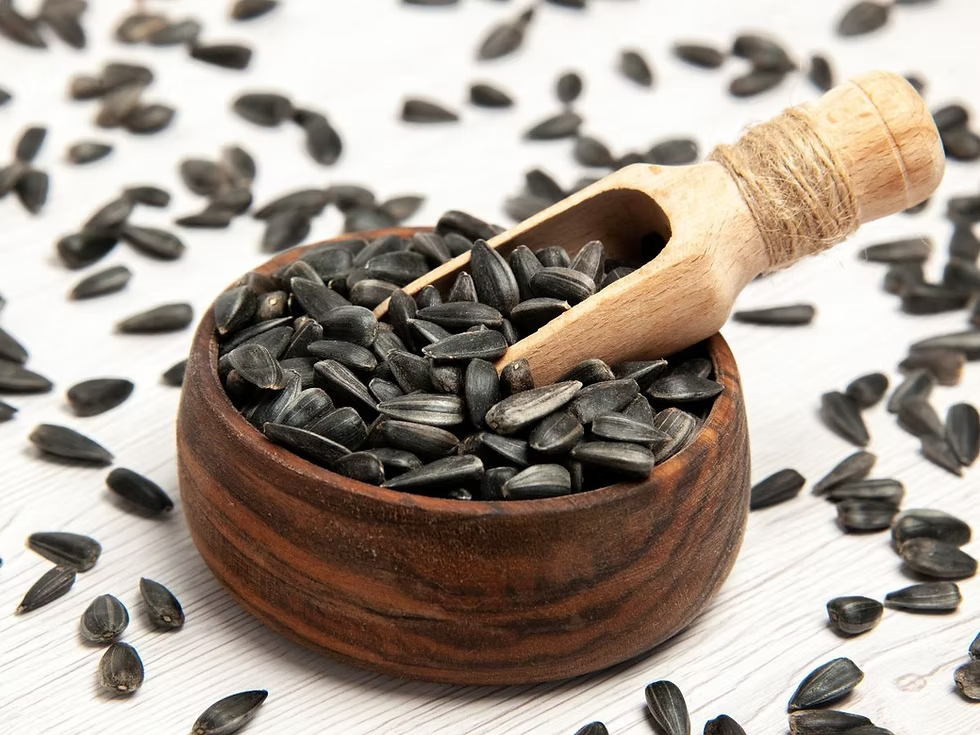
- Firm, Dark Seeds: Mature seeds are typically gray, brown, or black, firm to the touch, and slightly elongated.
Timing:
- Harvest seeds before the first hard frost, which can damage mature seeds.
- In most regions, this occurs in late autumn, after most blooms have fully matured.
Step 3: Preparing for Seed Collection
Gather the necessary tools and materials before harvesting:
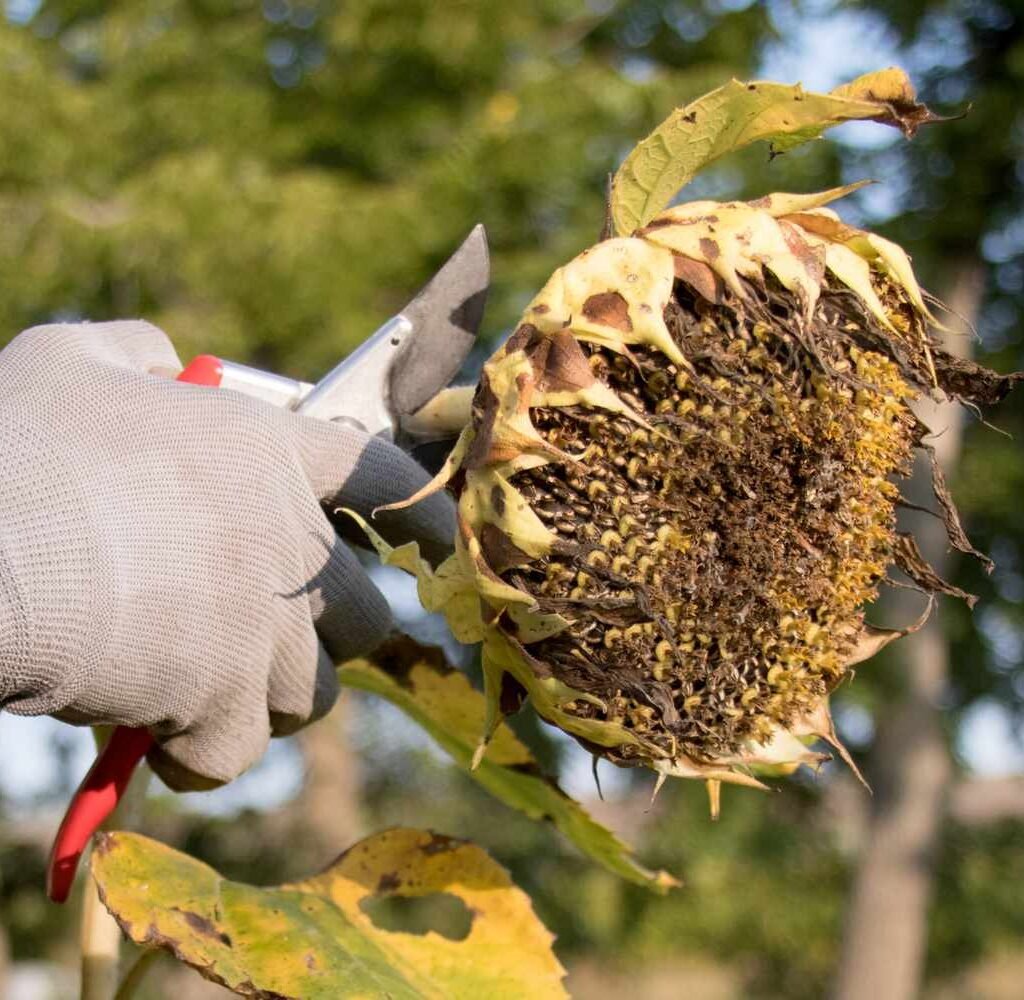
- Scissors or garden shears: To cut flower heads cleanly.
- Paper bags or containers: To hold seed heads without crushing seeds.
- Gloves (optional): Protect your hands from rough stems.
- Drying space: Well-ventilated area for air drying seeds.
Tip: Avoid harvesting when the flower heads are wet, as moisture can cause mold during drying.
Step 4: Harvesting Zinnia Seeds
Proper handling is essential to prevent seed damage:
Step 1: Cut the Seed Heads
- Cut the flower head with 2–3 inches of stem attached.
- Handle gently to prevent seeds from falling prematurely.
Step 2: Protect Seeds During Collection
- Place seed heads in a paper bag or container to avoid spillage.
- Label the containers if collecting seeds from multiple varieties.
Step 5: Drying Zinnia Seeds
Drying is crucial to ensure seed viability:
Air Drying:
- Tie small bundles of seed heads with string and hang upside down in a dark, dry, and ventilated area.
- Drying usually takes 1–2 weeks, depending on humidity.
Alternative Drying:
- Spread seed heads on a tray lined with paper towels in a well-ventilated room.
- Avoid direct sunlight to prevent seed degradation.
Tip: Seeds are fully dry when they can be easily removed from the seed head without sticking or feeling soft.
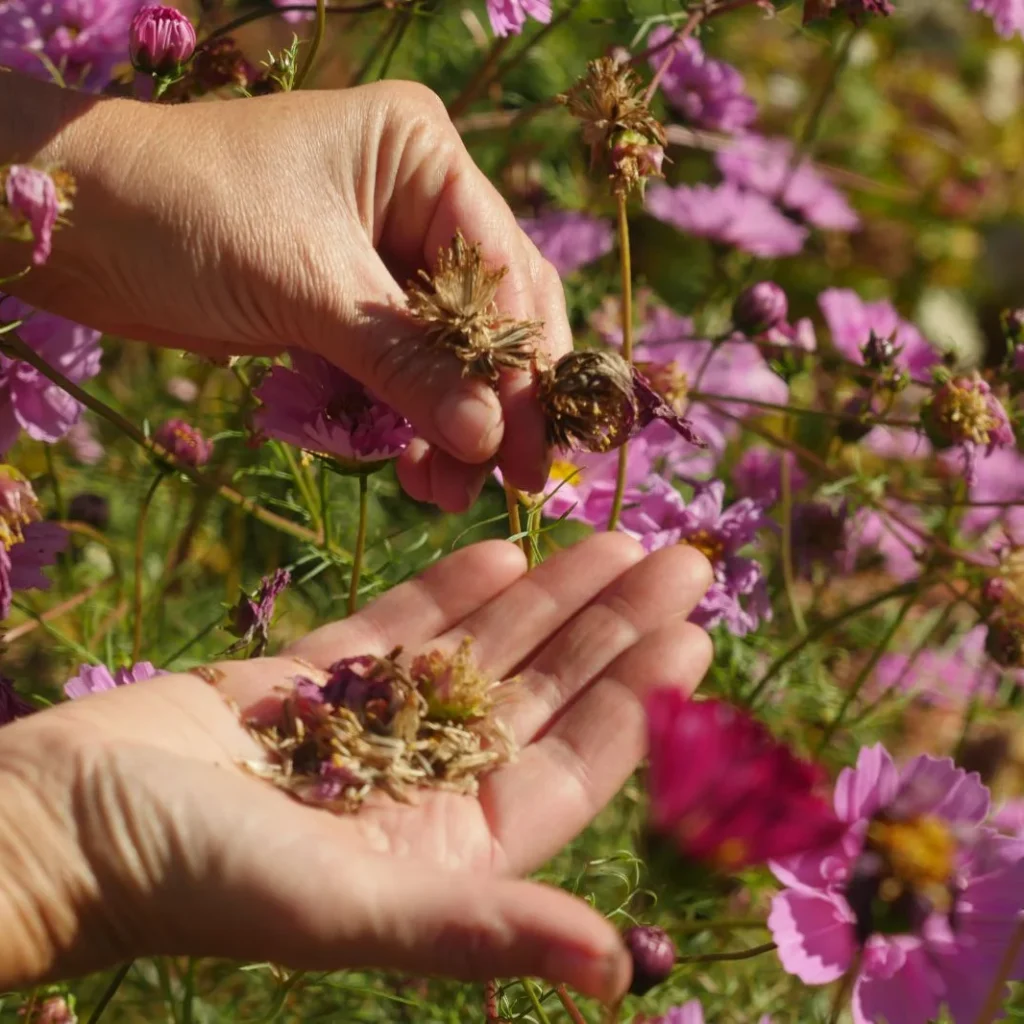
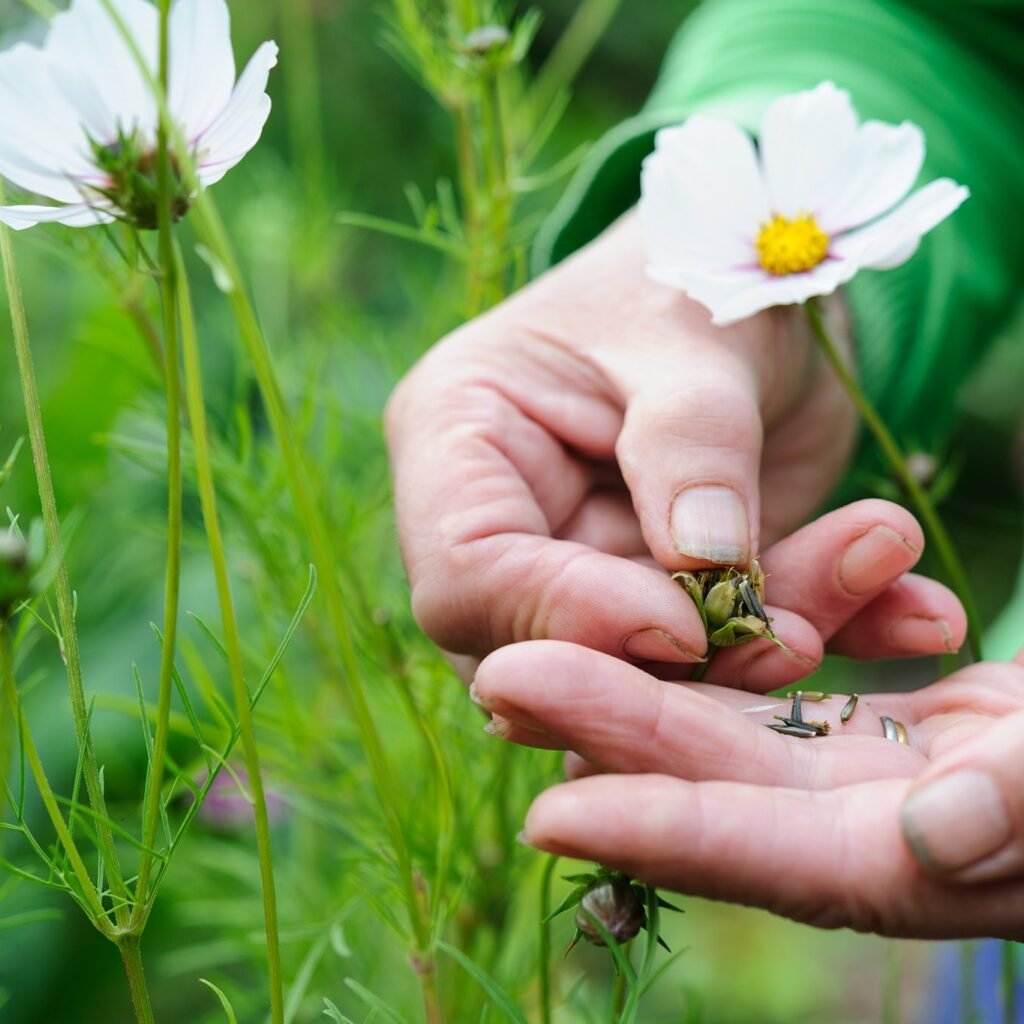
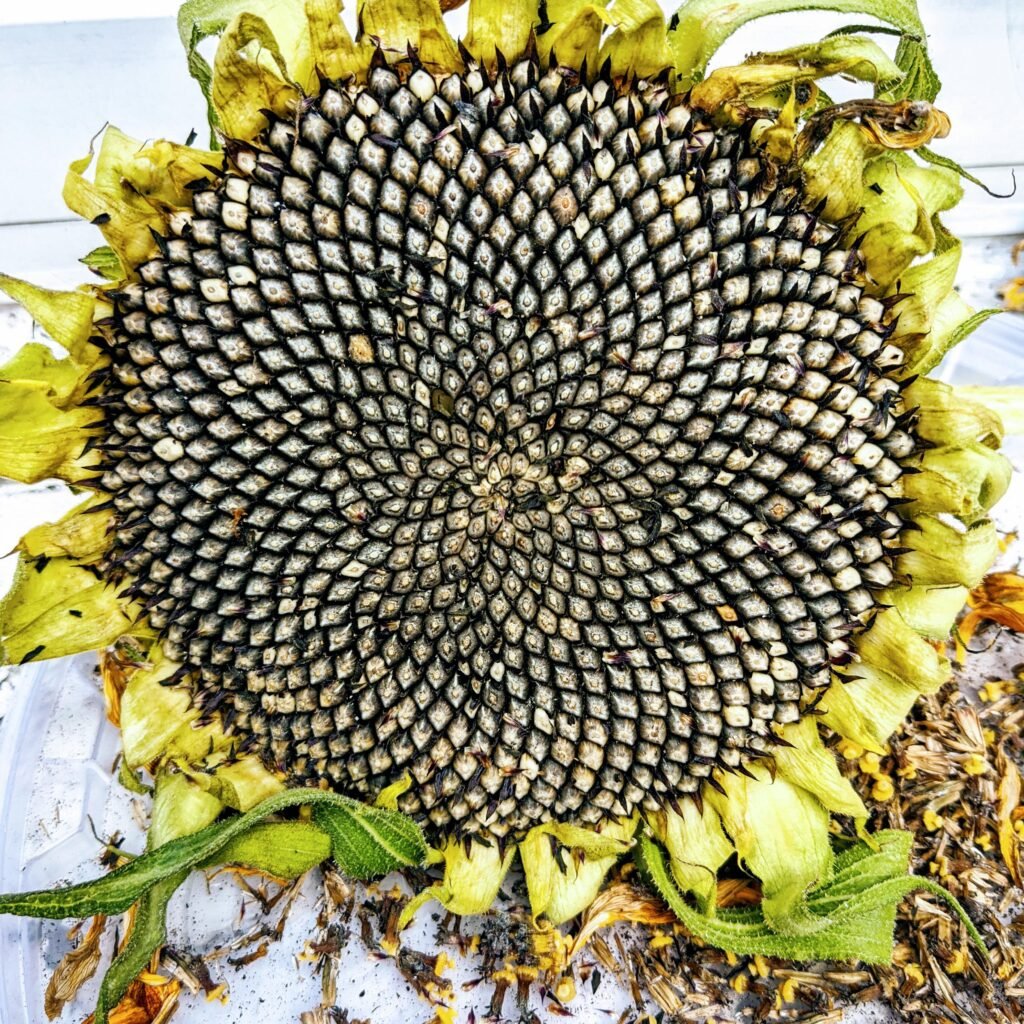
Step 6: Extracting Zinnia Seeds
Once seed heads are dry:
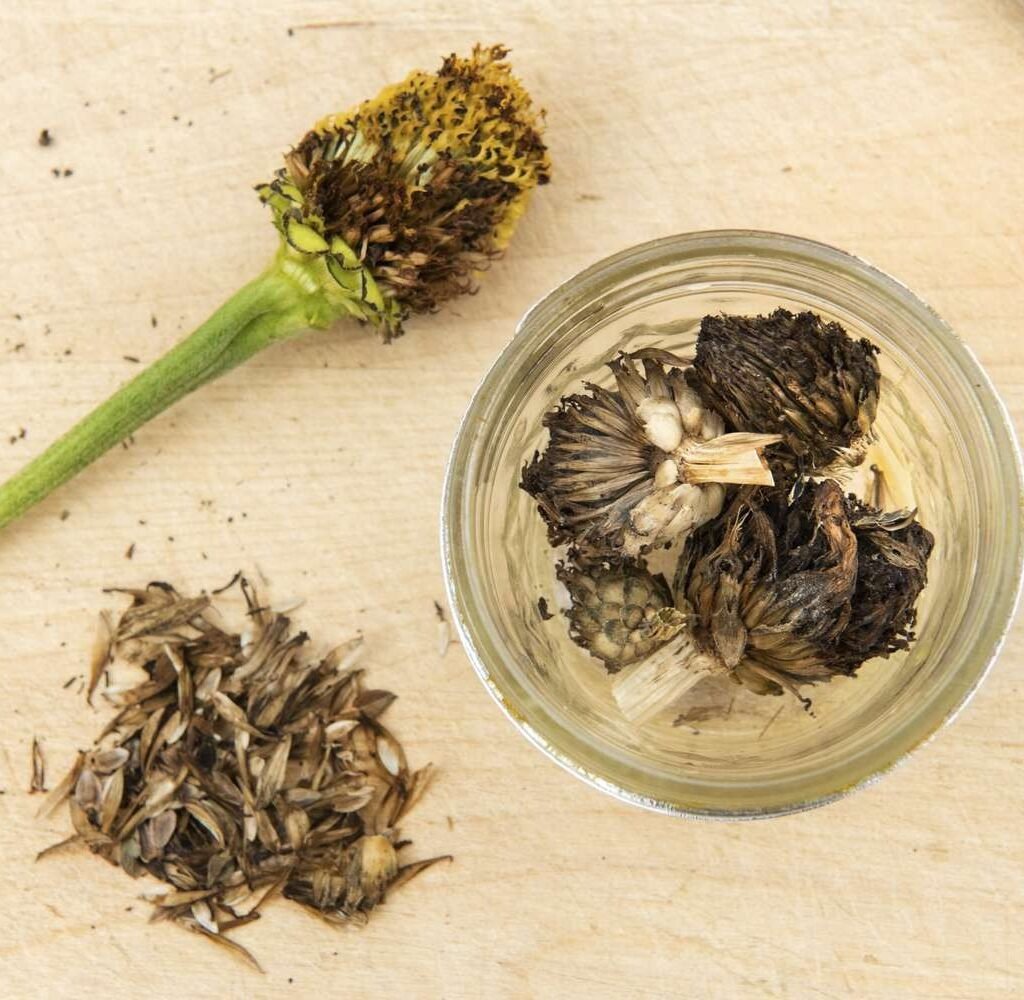
- Rub the seed head gently between your fingers to release the seeds.
- Separate seeds from chaff using a sieve or by lightly blowing away debris.
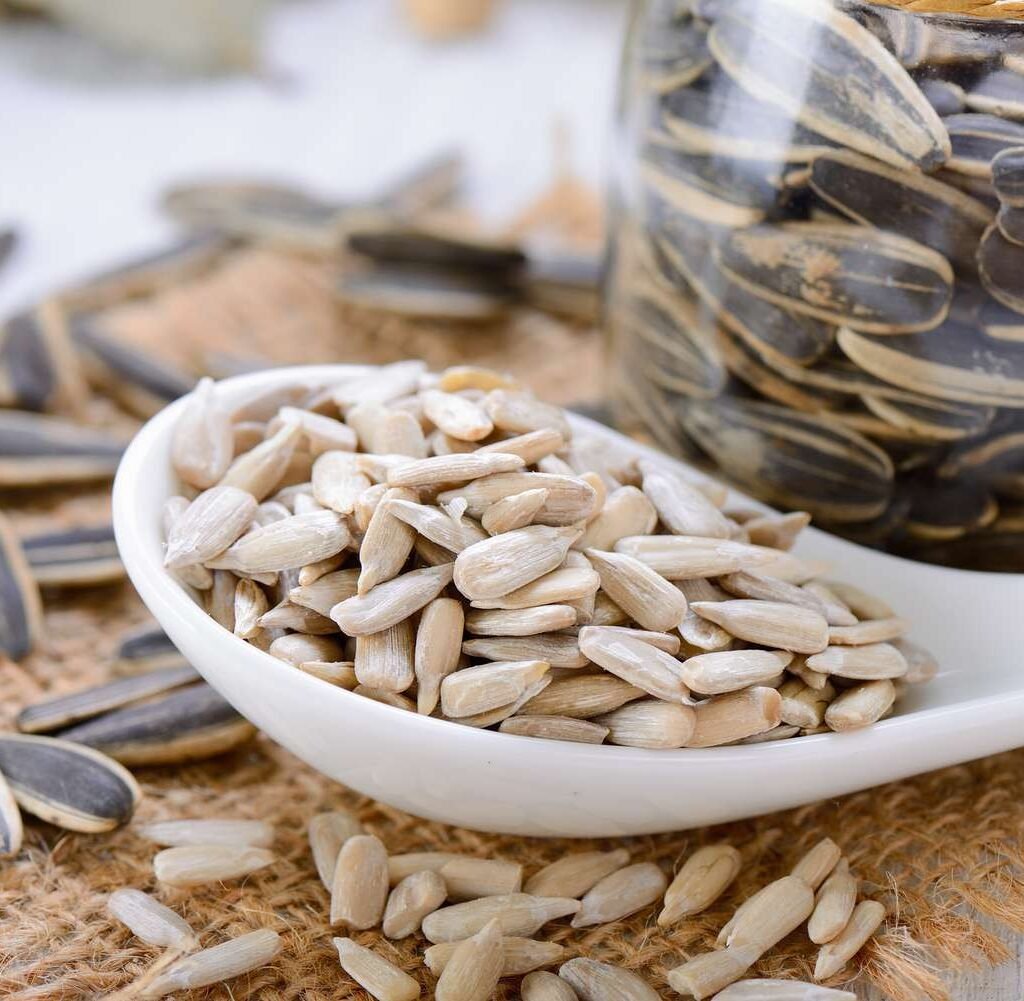
- Inspect seeds and discard any that are shriveled, broken, or moldy.
Seed Anatomy: Zinnia seeds are elongated, slightly flat, and typically striped with black and gray or brown tones.
Step 7: Storing Zinnia Seeds
Proper storage ensures seeds remain viable until planting season:
Storage Containers:
- Paper envelopes
- Small glass jars with airtight lids
- Cloth bags for short-term storage
Storage Conditions:
- Cool, dry, and dark environment
- Avoid humidity to prevent mold or early sprouting
- Label containers with variety and collection date
Tip: Zinnia seeds can remain viable for 2–3 years when stored properly, though germination rates are highest within the first two years.
Step 8: Preparing Zinnia Seeds for Spring Planting
Before planting in the next growing season:
- Optional pre-soak seeds in lukewarm water for a few hours to improve germination.
- Inspect seeds and remove any damaged or shriveled seeds.
- Start seeds indoors 4–6 weeks before the last frost or sow directly outdoors after the danger of frost has passed.
Planting Tips:
- Sow seeds ¼ inch deep in well-draining soil.
- Space seedlings 6–12 inches apart depending on variety.
- Provide full sun for optimal growth and flower production.
- Water gently to avoid dislodging seeds, and keep soil consistently moist until germination.
Step 9: Tips for Continuous Zinnia Seed Saving
- Grow Multiple Varieties: Ensures a range of colors and bloom types.
- Isolate Varieties: Prevent cross-pollination to maintain true-to-type seeds.
- Select the Best Plants: Save seeds only from strong, disease-free flowers.
- Track Seed Sources: Keep notes on bloom color, growth habit, and seed quality.
- Stagger Planting: Start seeds at intervals for a continuous bloom season and extended seed production.
Advantages of Harvesting Zinnia Seeds Before Frost
- Ensures Seed Viability: Protects seeds from frost damage.
- Cost-Effective Gardening: Provides seeds for the next season without additional expense.
- Variety Preservation: Maintains favorite colors, sizes, and forms.
- Sustainable Gardening: Supports eco-friendly and self-sufficient practices.
- Encourages Continuous Blooming: Seeds from well-maintained plants produce strong, vibrant flowers.
Conclusion
Collecting zinnia seeds before frost arrives is a simple yet highly rewarding practice that allows gardeners to enjoy an endless supply of colorful blooms year after year. By selecting healthy plants, identifying mature seeds, harvesting carefully, drying properly, and storing seeds under optimal conditions, gardeners can ensure seed viability and maintain favorite zinnia varieties. Proper seed saving not only supports sustainable gardening but also reduces costs, preserves unique flower traits, and enhances garden planning. With careful attention and patience, zinnias can provide continuous beauty, pollinator support, and vibrant color in gardens season after season, ensuring your landscape remains cheerful even after the first frost.