Gardening through frost can be challenging, but with the right selection of vegetables, you can enjoy a productive harvest even in cold weather. Frost-tolerant crops are designed to withstand low temperatures, and in many cases, they even become sweeter and more flavorful after exposure to frost. Frost-tolerant gardening not only extends the growing season but also ensures that fresh, homegrown vegetables are available well into late fall and early winter. This article explores the best vegetables for frost-tolerant gardening, along with planting tips, care instructions, and harvesting strategies to help gardeners succeed in cooler climates.
Why Frost-Tolerant Gardening Matters
Frost-tolerant gardening provides several advantages:
- Extended Growing Season: Choosing frost-tolerant crops allows gardeners to continue harvesting even after the first frost.
- Enhanced Flavor: Some vegetables, like kale and carrots, convert starches into sugars when exposed to cold, producing a sweeter, more concentrated taste.
- Reduced Pest Pressure: Frost reduces the activity of many common garden pests, lowering the need for chemical interventions.
- Efficient Use of Space: Fall and winter gardening maximize the use of garden beds and containers that would otherwise be dormant.
By understanding which crops can handle frost and how to care for them, gardeners can achieve healthy, resilient plants and a bountiful harvest even in cooler months.
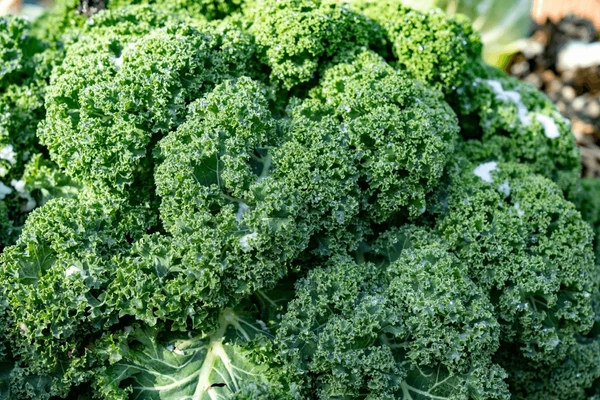
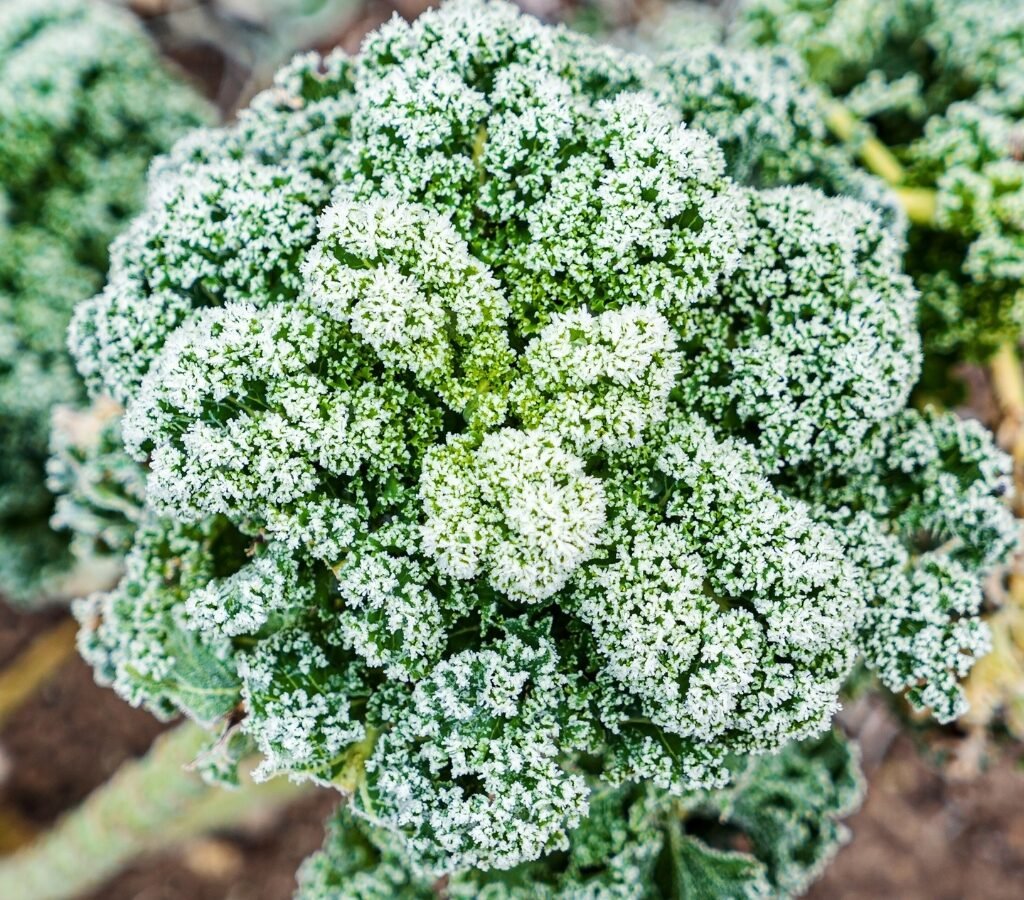
1. Kale (Brassica oleracea var. sabellica)
Kale is a hardy, frost-tolerant leafy green that thrives in cool weather. It is packed with vitamins A, C, and K, antioxidants, and fiber, making it both nutritious and versatile in the kitchen. Kale’s flavor actually improves after exposure to frost, as cold temperatures reduce bitterness and enhance natural sweetness.
Planting Tips:
- Soil: Plant kale in well-draining, fertile soil with added compost.
- Spacing: Sow seeds 1/2 inch deep; thin seedlings to 12–18 inches apart.
- Sunlight: Full sun is ideal, but partial shade is tolerated.
- Watering: Maintain consistent moisture without overwatering. Mulching protects roots from frost.
Varieties: ‘Winterbor’, ‘Dwarf Blue Curled’, and ‘Lacinato’ (Dinosaur Kale) are particularly suitable for frost-prone gardens.
2. Brussels Sprouts (Brassica oleracea var. gemmifera)
Brussels sprouts are excellent for frost-tolerant gardening. These mini-cabbage vegetables develop their best flavor when exposed to cold, as frost converts some of their starches into sugars. Brussels sprouts are also highly nutritious, containing vitamins C and K, folate, and fiber.
Planting Tips:
- Soil: Use fertile, well-draining soil enriched with compost or organic matter.
- Spacing: Transplant seedlings 18–24 inches apart in rows 24–36 inches apart.
- Sunlight: Full sun is necessary for optimal growth.
- Watering: Keep soil evenly moist to promote compact, firm sprouts.
Varieties: ‘Jade Cross’, ‘Diablo’, and ‘Long Island Improved’ are reliable frost-tolerant options.
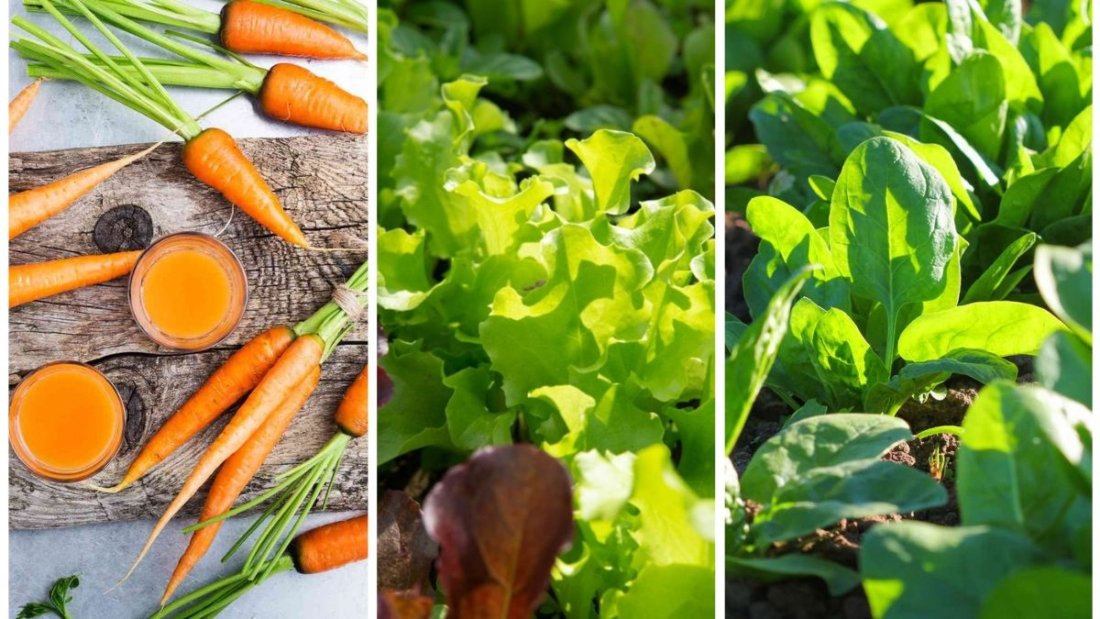
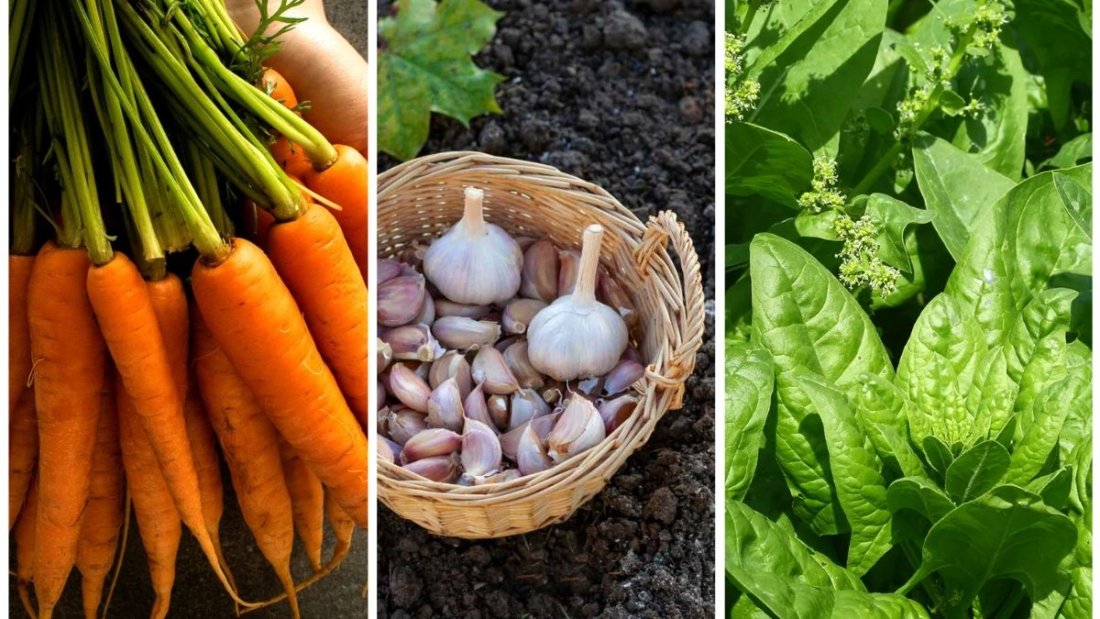
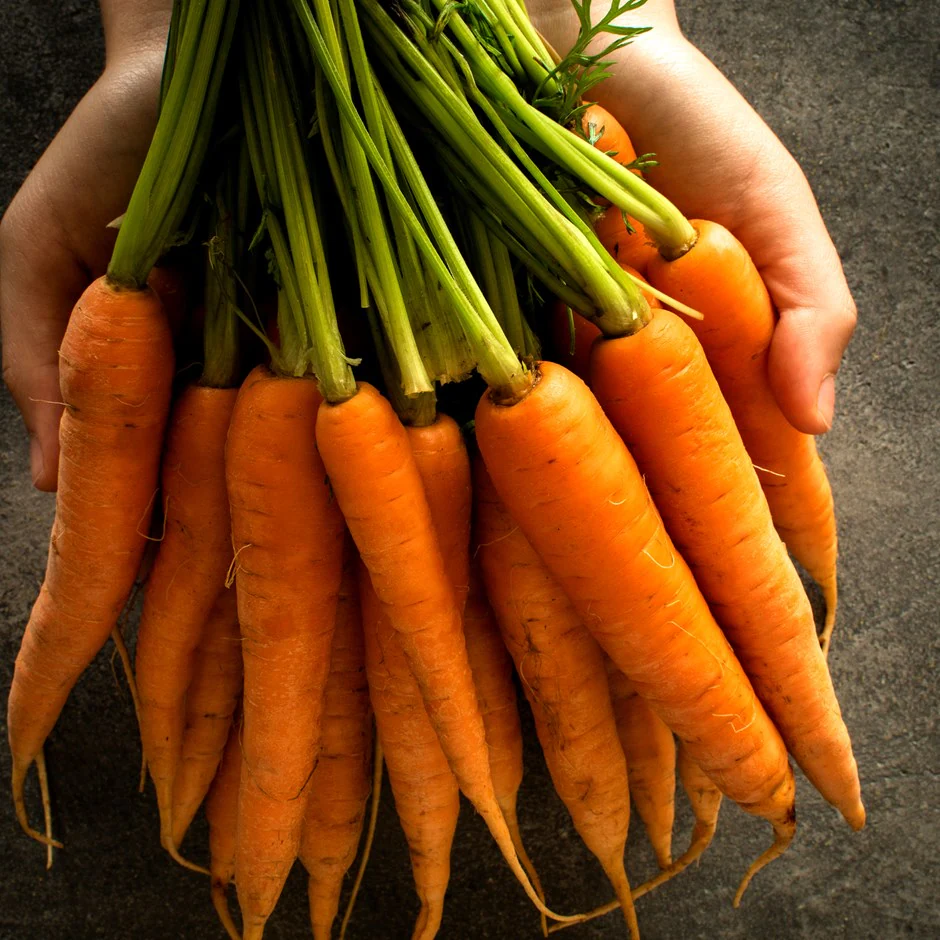
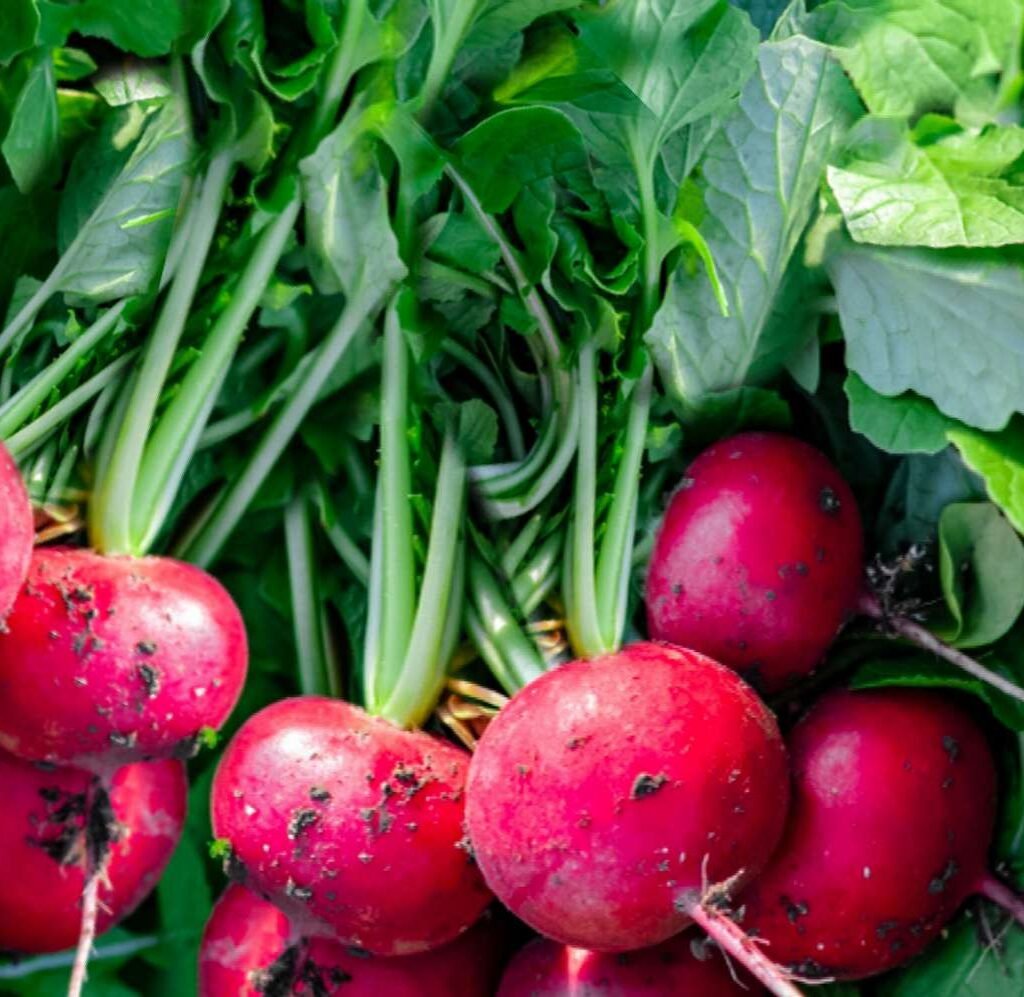
3. Carrots (Daucus carota subsp. sativus)
Carrots are root vegetables that thrive in cool weather. Exposure to frost increases their sweetness by converting stored starches into sugars. Carrots are also versatile and nutrient-rich, containing beta-carotene, vitamin A, and fiber.
Planting Tips:
- Soil: Loose, sandy, well-draining soil promotes straight roots and prevents splitting.
- Spacing: Sow seeds 1/4 inch deep; thin seedlings to 2–3 inches apart.
- Sunlight: Full sun is ideal; partial shade is acceptable in warmer regions.
- Watering: Maintain consistent moisture. Mulching helps retain warmth and prevent freezing.
Varieties: ‘Danvers 126’, ‘Nantes’, and ‘Chantenay’ perform well in frost-prone gardens.
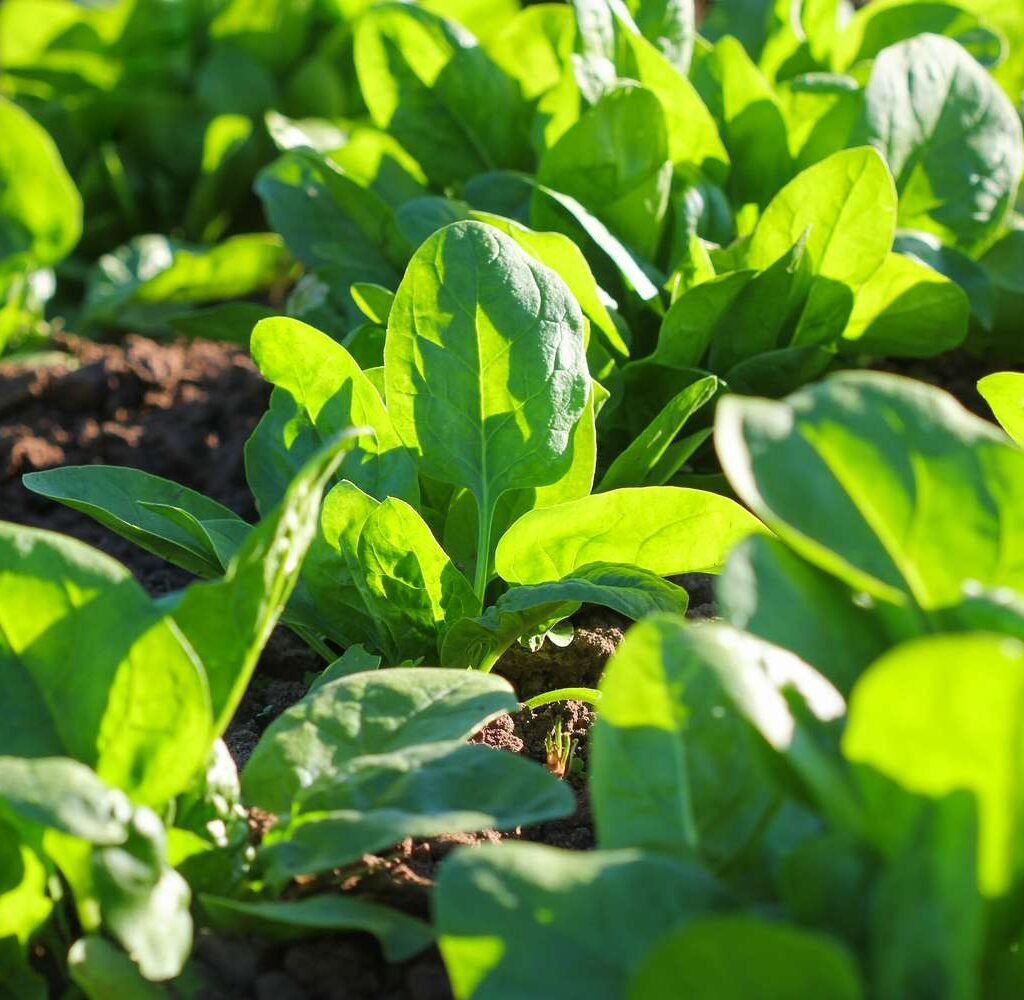
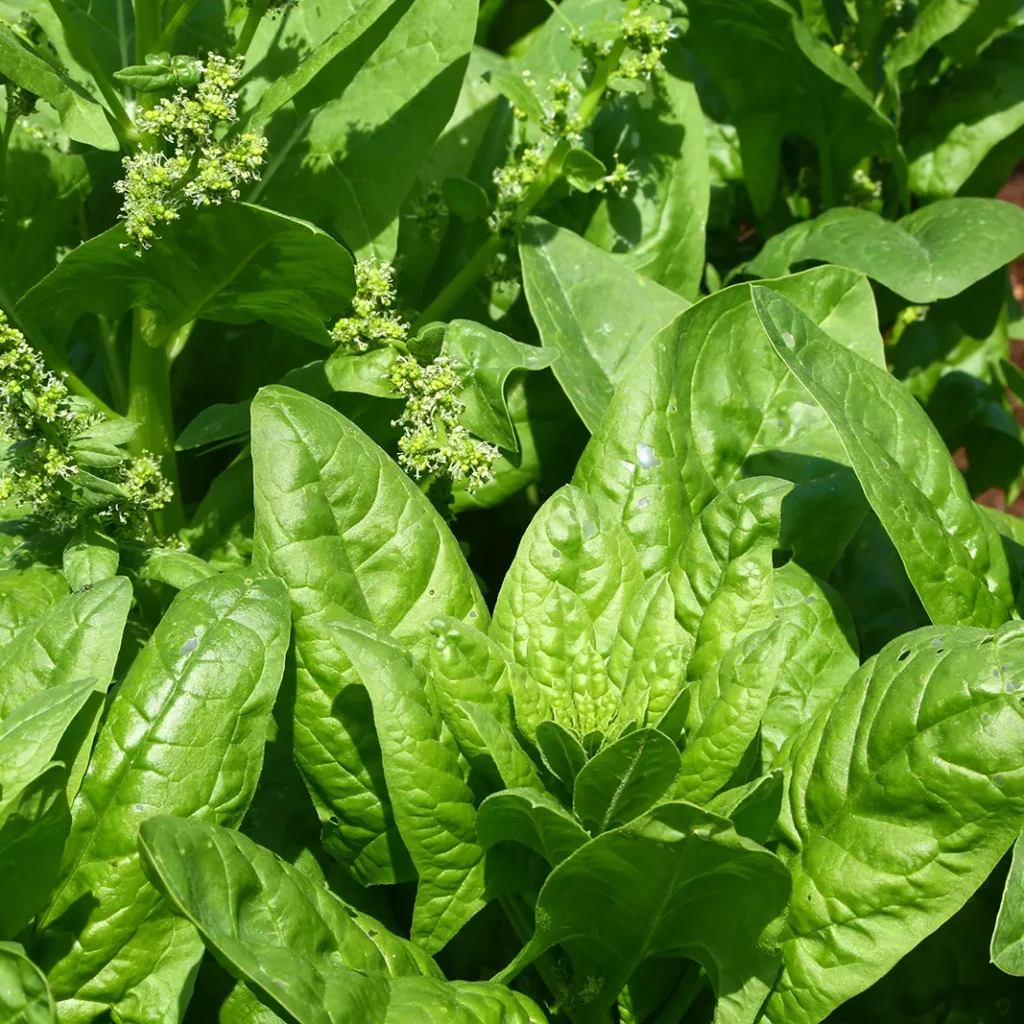
4. Spinach (Spinacia oleracea)
Spinach is one of the fastest-growing, frost-tolerant leafy greens. It can survive temperatures down to 20°F (-6°C) and continues producing tender leaves throughout late fall. Spinach is rich in iron, calcium, and vitamins A and C, making it a nutritious addition to winter diets.
Planting Tips:
- Soil: Fertile, well-draining soil enriched with compost is ideal.
- Spacing: Sow seeds 1/2 inch deep and thin seedlings to 3–4 inches apart.
- Sunlight: Full sun is ideal, but partial shade can prevent bolting.
- Watering: Keep soil moist; mulch protects roots from cold.
Varieties: ‘Bloomsdale’, ‘Giant Winter’, and ‘Regal’ are cold-hardy and perfect for frost-prone areas.
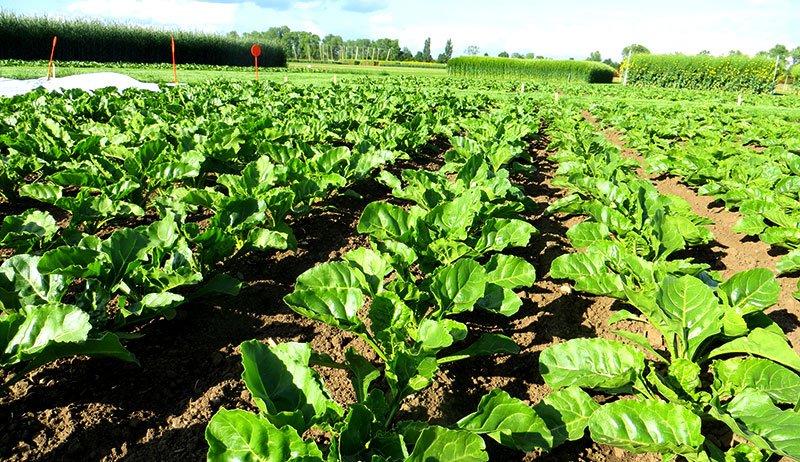
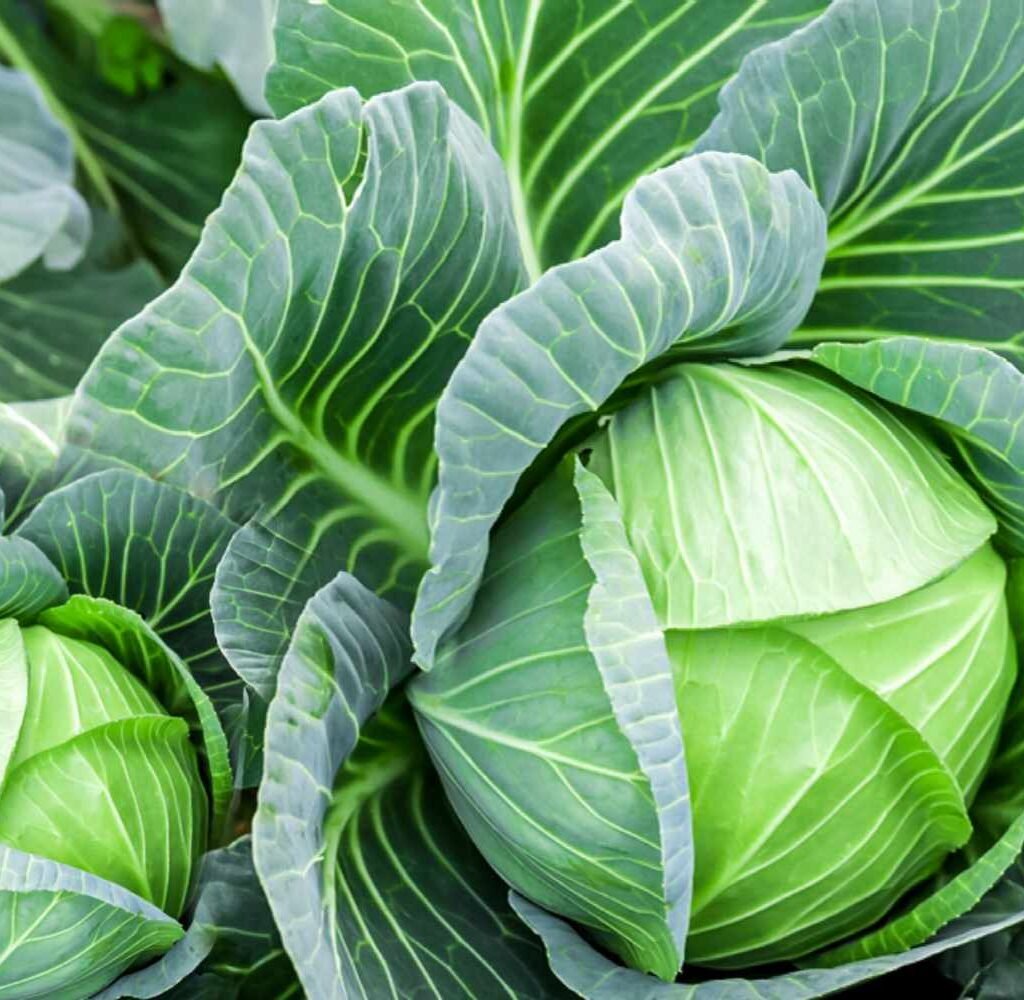
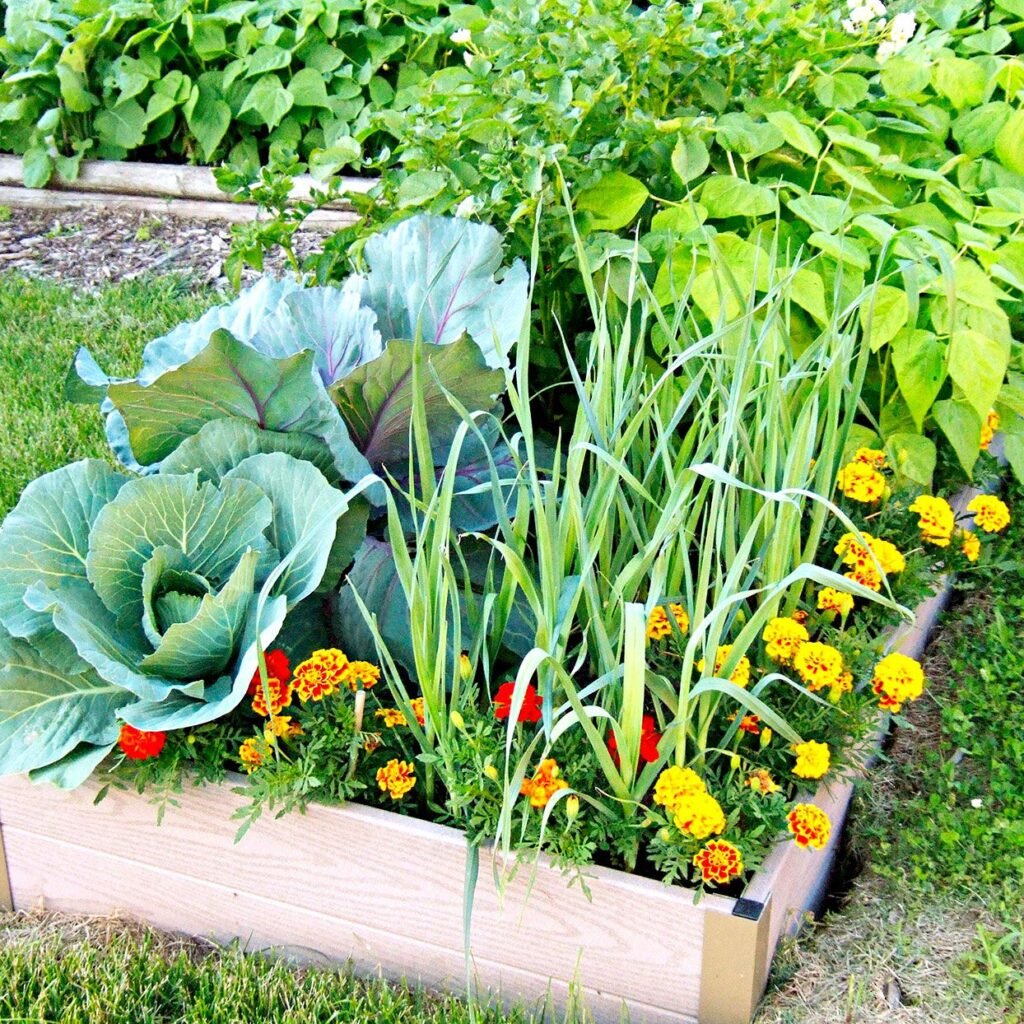
5. Cabbage (Brassica oleracea var. capitata)
Cabbage is another frost-tolerant vegetable that thrives in cooler conditions. Like Brussels sprouts, cabbage develops sweeter flavors after frost exposure and is packed with vitamins C and K, fiber, and antioxidants.
Planting Tips:
- Soil: Fertile, well-draining soil with added organic matter is essential.
- Spacing: Transplant seedlings 12–24 inches apart depending on variety.
- Sunlight: Full sun is preferred for large, compact heads.
- Watering: Keep soil consistently moist to prevent splitting and support head formation.
Varieties: ‘Savoy’, ‘January King’, and ‘Stonehead’ are ideal for frost-tolerant gardening.
Tips for Successful Frost-Tolerant Gardening
- Timing: Plant frost-tolerant crops several weeks before the expected first frost to allow them to establish roots.
- Mulching: Apply organic mulch to insulate soil and protect root systems from sudden temperature drops.
- Row Covers: Use lightweight row covers or cloches to extend the growing season and shield young plants from frost damage.
- Succession Planting: Planting crops in intervals ensures continuous harvest even during colder months.
- Pest Management: While frost reduces most pest activity, slugs and aphids may still appear. Use organic controls as needed.
- Harvesting: Pick leaves, roots, or heads promptly, as overexposure to frost can damage tender parts.
Benefits of Frost-Tolerant Gardening
- Extended Harvest: Continue growing fresh vegetables after traditional summer crops have finished.
- Enhanced Flavor: Frost converts starches to sugars, improving taste in many vegetables.
- Nutritional Value: Cool-season crops are packed with vitamins, minerals, and antioxidants.
- Low Pest Pressure: Cold weather reduces common garden pests.
- Sustainable Gardening: Maximizes garden productivity year-round and reduces reliance on store-bought produce.
Conclusion
Frost-tolerant gardening is an effective way to extend your growing season and enjoy fresh, nutritious vegetables even in colder months. Kale, Brussels sprouts, carrots, spinach, and cabbage are among the best options for frost-tolerant gardens. By selecting appropriate varieties, preparing soil properly, and providing protective measures such as mulching and row covers, gardeners can achieve a bountiful, flavorful harvest despite frosty conditions.
Understanding the needs of frost-tolerant crops and giving them the right care allows for a productive and resilient garden. With careful planning, frost-prone months can become an opportunity rather than a limitation, providing fresh, homegrown vegetables to enjoy well into late fall and early winter.
Frost-tolerant gardening not only maximizes your garden’s potential but also brings the satisfaction of harvesting healthy, flavorful produce throughout the colder seasons. By embracing cold-weather crops, gardeners can cultivate a garden that thrives even when temperatures drop, ensuring a continuous supply of fresh vegetables year-round.