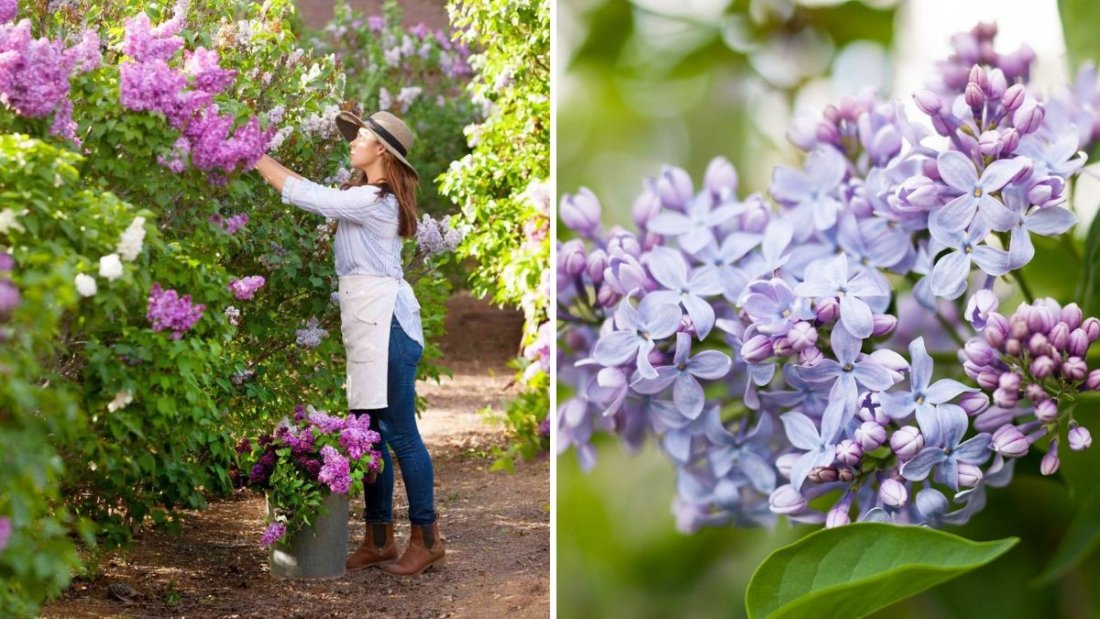
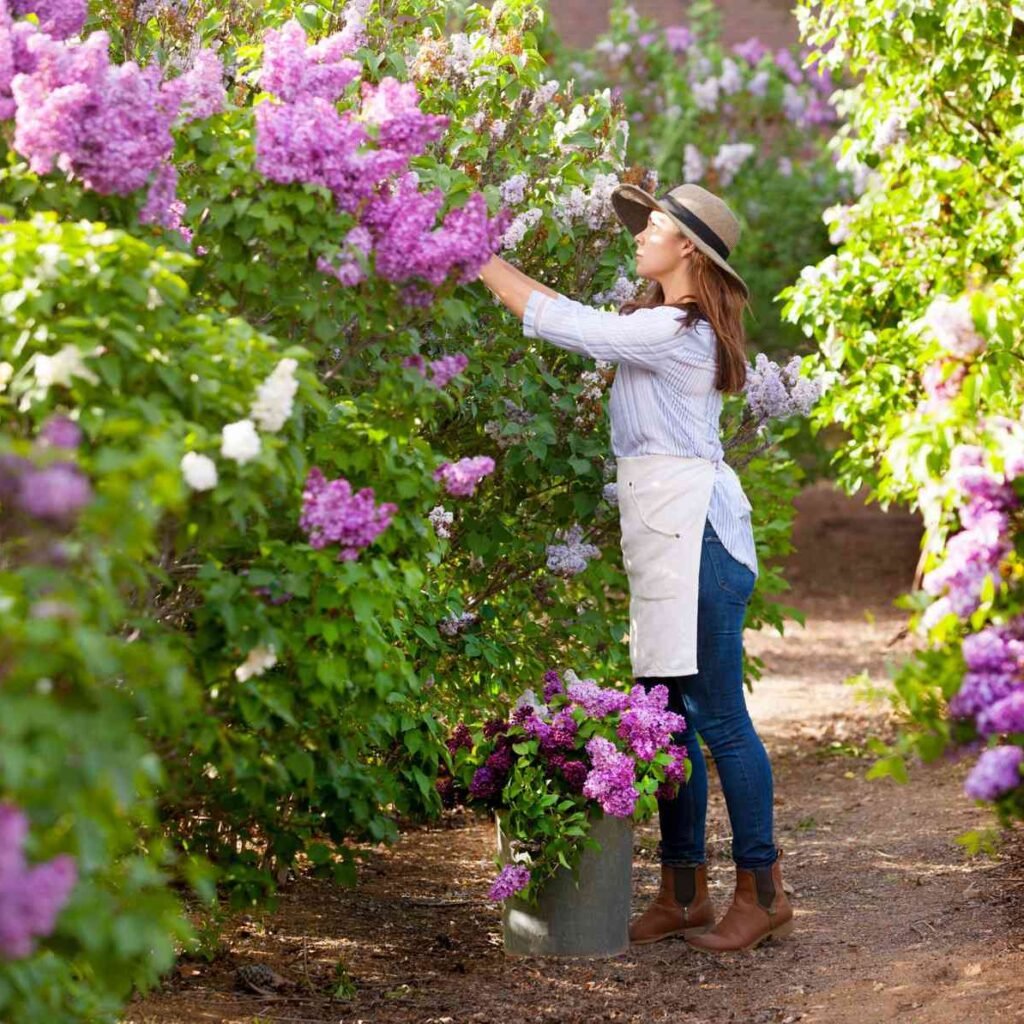
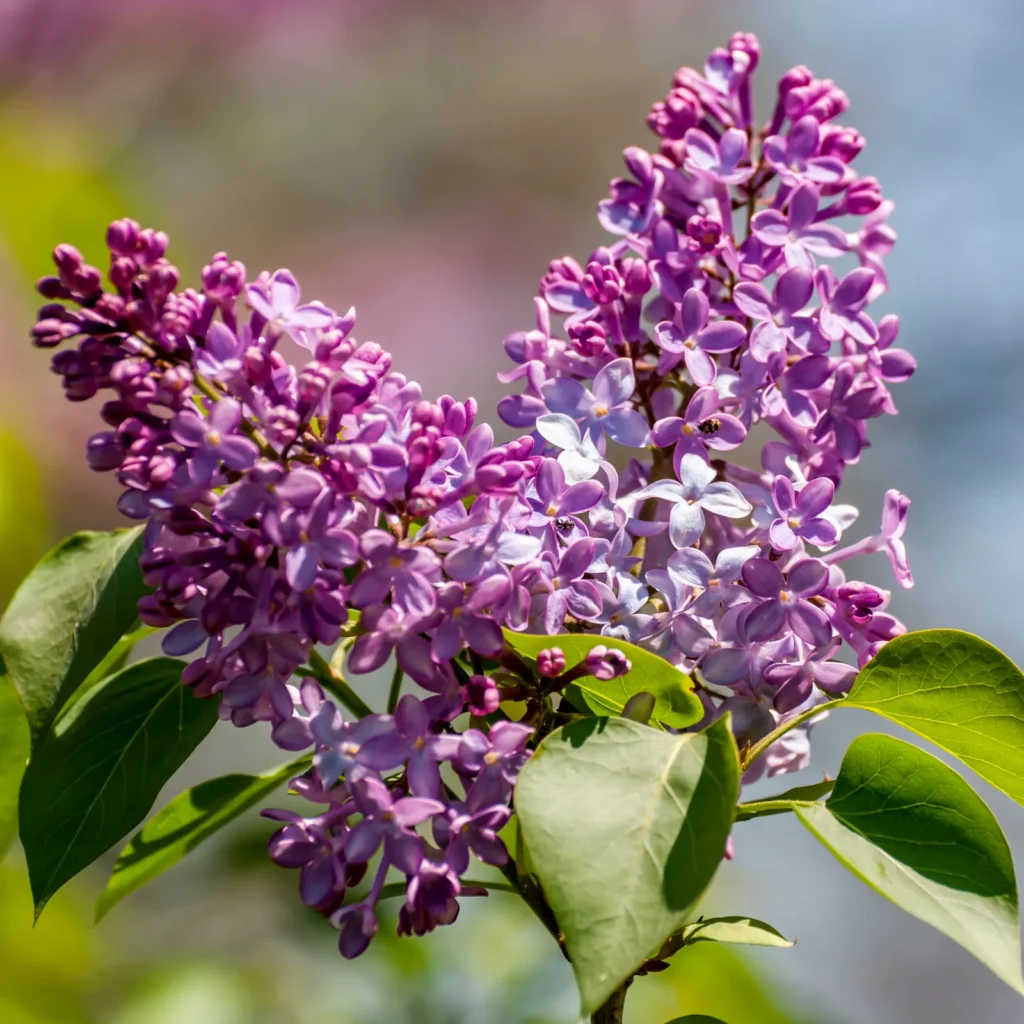
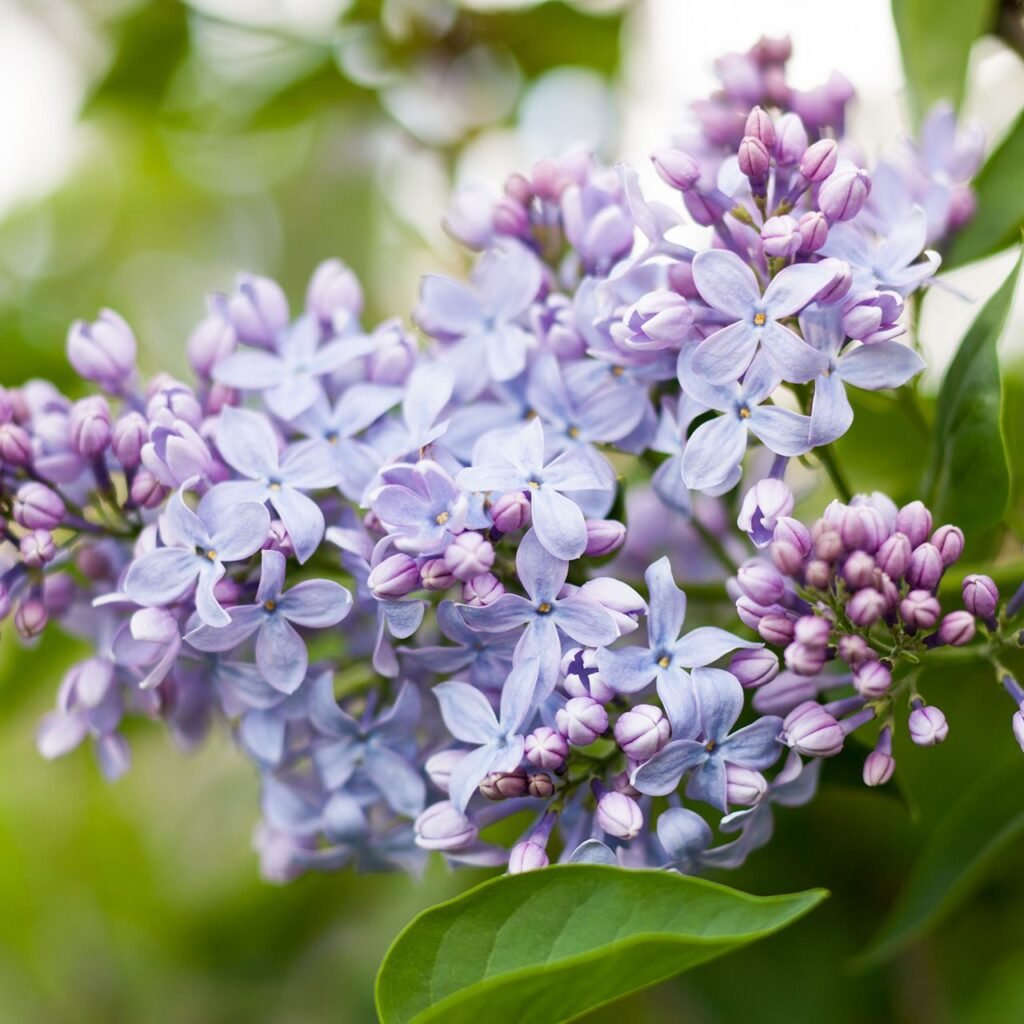
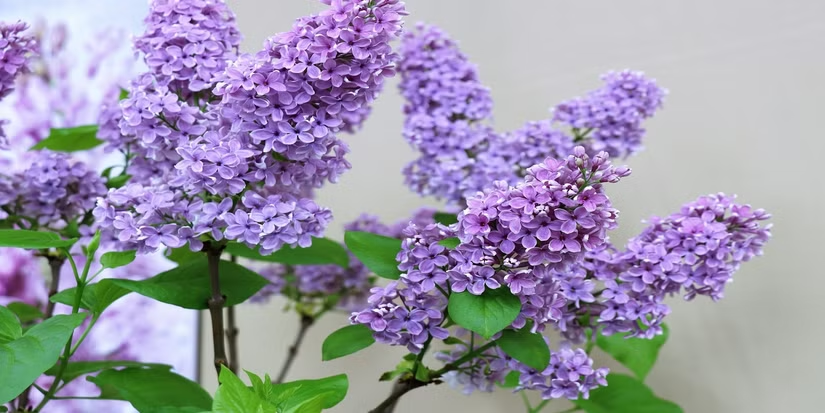
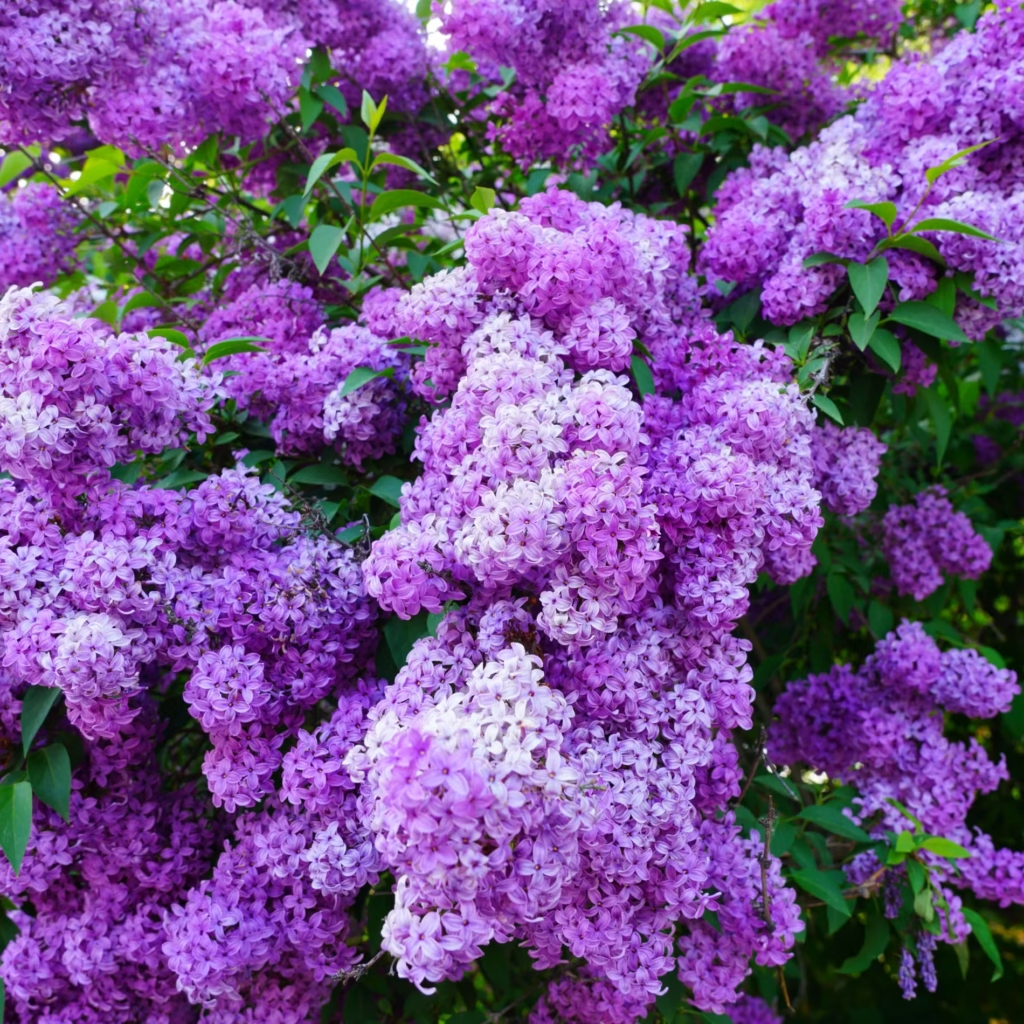
Lilacs (Syringa spp.) are beloved for their fragrant blooms, rich purple hues, and early spring charm. They herald the arrival of warmer weather and bring both visual and aromatic delight to any garden. While lilacs are stunning on their own, their impact multiplies when paired with complementary companion flowers. Carefully selected companions can enhance color contrasts, extend the blooming season, attract pollinators, and create a lush, harmonious garden landscape.
In this article, we’ll explore six flowers that pair beautifully with lilacs, why they work well together, and tips for designing a vibrant, colorful garden.
Why Companion Planting Enhances Lilacs
Companion planting is the practice of placing plants together that support each other’s growth, aesthetic appeal, and pest resistance. When paired thoughtfully with lilacs:
- Colorful blooms create stunning visual contrasts and layered textures.
- Plants with staggered bloom times extend the season of interest in the garden.
- Companion flowers attract pollinators like bees and butterflies, boosting lilac health.
- Certain companions can improve soil health or deter pests naturally, reducing maintenance.
Lilacs prefer well-drained soil, full sun, and moderate watering, so the best companion flowers share these conditions.
1. Peonies (Paeonia spp.)
Peonies are elegant, lush perennials that bloom in late spring, perfectly following the lilac bloom.
Why They Pair Well With Lilacs:
- Their large, showy blooms contrast beautifully with lilac clusters.
- Both thrive in full sun and well-drained soil, making care straightforward.
- Peonies’ subtle fragrance complements lilacs’ sweet aroma, enhancing the sensory experience.
Planting Tips:
- Space peonies at least 3 feet from lilac bushes to allow room for airflow.
- Choose colors that harmonize or contrast, such as soft pinks against lilac purples.
- Mulch lightly to retain moisture and prevent weeds.
Expert Insight: The combination of tall lilac shrubs and robust peonies creates a layered, romantic garden feel that is visually and aromatically captivating.
2. Daffodils (Narcissus spp.)
Daffodils are cheerful spring bulbs that bloom early, often before lilacs, providing a seamless color transition in the garden.
Why They Pair Well With Lilacs:
- Their bright yellow blooms contrast vividly with lilacs’ purple, white, or pink shades.
- Daffodils’ foliage fills in the garden bed before lilac leaves emerge, creating continuous visual interest.
- They are naturally pest-resistant and deer-proof, making them low-maintenance companions.
Planting Tips:
- Plant daffodil bulbs in clusters at the base or in front of lilac bushes.
- Combine tall and dwarf daffodils to create depth.
- Avoid overwatering bulbs during the dormant season.
Expert Insight: Daffodils not only add early-season color but also act as a natural understory for emerging lilac leaves, enhancing garden fullness.
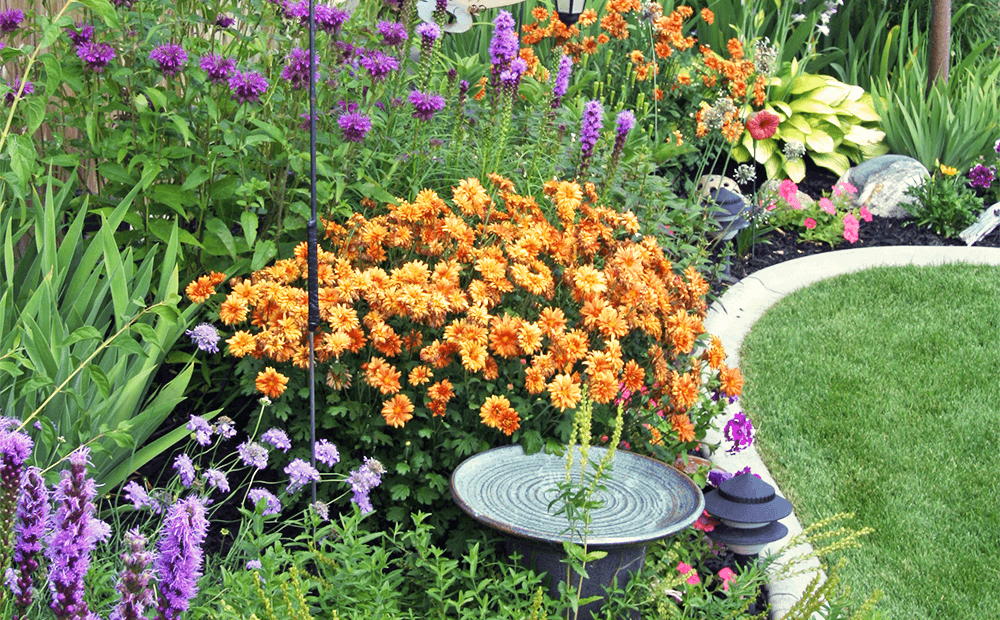
3. Daylilies (Hemerocallis spp.)
Daylilies are hardy perennials with vibrant blooms that emerge after lilacs finish flowering, extending garden interest into summer.
Why They Pair Well With Lilacs:
- Provide continuous color in the garden once lilacs have finished blooming.
- Their grassy foliage creates a textural contrast to lilacs’ bushy structure.
- Daylilies attract pollinators and butterflies, supporting overall garden health.
Planting Tips:
- Space daylilies around lilac borders to avoid overcrowding.
- Choose colors that complement lilacs’ purples, such as oranges, yellows, or reds.
- Deadhead spent blooms to encourage continued flowering throughout summer.
Expert Insight: Daylilies and lilacs together offer season-long appeal, transitioning the garden smoothly from spring to summer.
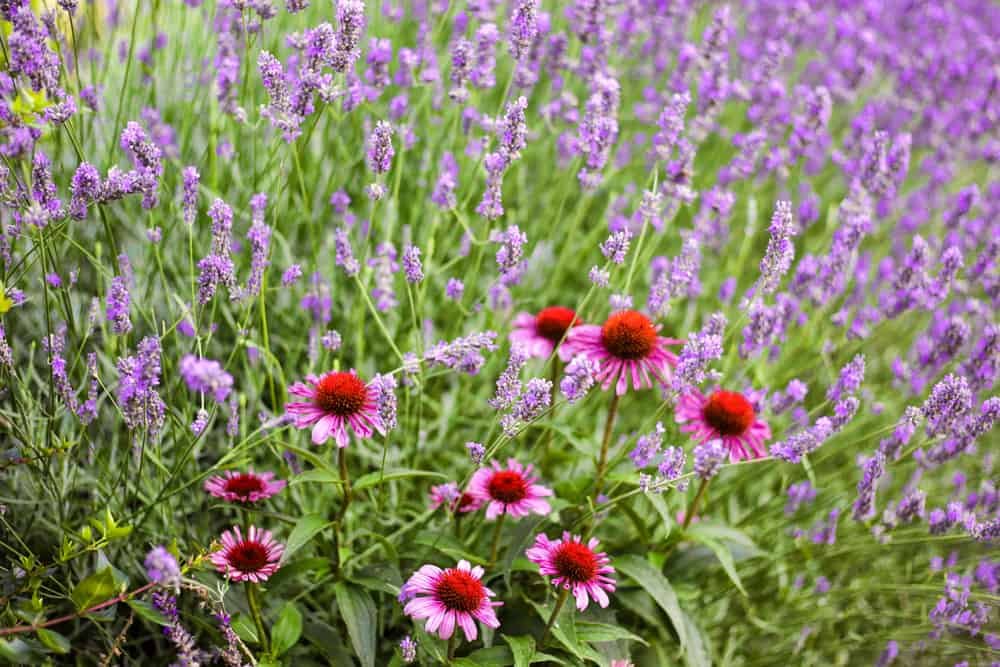
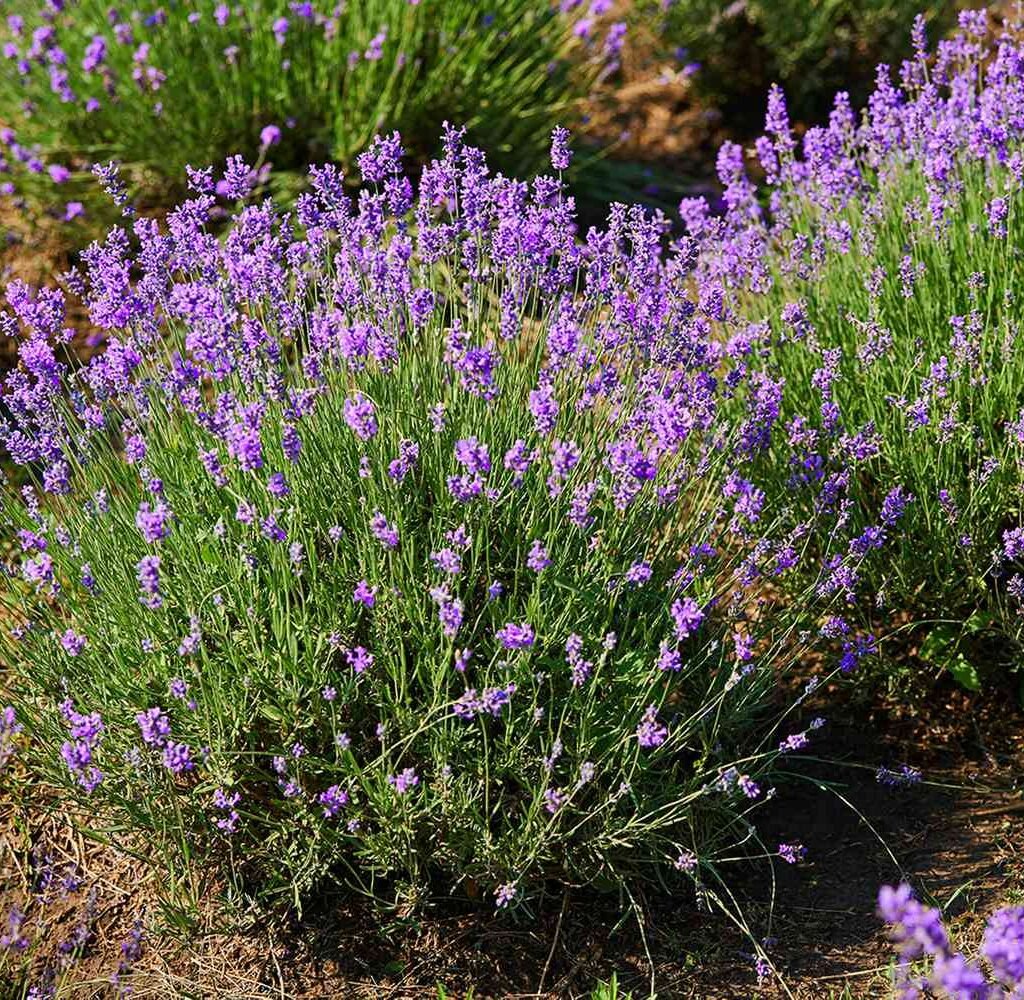
4. Salvia (Salvia spp.)
Salvia, or sage, is a perennial with spiky flowers and aromatic foliage, perfect for contrasting with lilacs.
Why They Pair Well With Lilacs:
- Spiky salvia blooms contrast with lilacs’ rounded clusters, adding dynamic visual texture.
- The purple, blue, or pink flowers complement lilac shades, creating color harmony.
- Salvia attracts bees, butterflies, and hummingbirds, enhancing pollination for all plants nearby.
Planting Tips:
- Plant salvia in front of lilac shrubs to create layered visual depth.
- Ensure full sun exposure and well-draining soil.
- Cut back after flowering to encourage rebloom.
Expert Insight: Salvia’s architectural form and pollinator-friendly blooms make it an ideal companion for both aesthetics and garden ecology.
5. Catmint (Nepeta spp.)
Catmint is a hardy, aromatic perennial that provides low-growing, long-lasting blooms.
Why They Pair Well With Lilacs:
- Low-growing habit makes catmint ideal for border planting around lilac bases.
- Its soft blue or lavender flowers complement lilacs’ tones while attracting beneficial insects.
- Aromatic foliage repels pests that may target lilacs.
Planting Tips:
- Plant catmint in clusters around lilac bases or along pathways.
- Prune lightly after flowering to maintain shape and encourage rebloom.
- Space plants sufficiently to allow airflow and prevent fungal issues.
Expert Insight: Catmint offers season-long color, pest protection, and a textured ground layer, enhancing lilac garden displays.
6. Columbines (Aquilegia spp.)
Columbines are delicate, perennial flowers with unique, spurred blooms that attract pollinators.
Why They Pair Well With Lilacs:
- Bloom slightly later than lilacs, providing extended spring interest.
- Their airy foliage contrasts nicely with dense lilac shrubs.
- Columbines attract bees and hummingbirds, supporting garden biodiversity.
Planting Tips:
- Plant columbines in partial shade areas near lilacs to avoid extreme sun.
- Use a mix of colors to complement lilac blooms.
- Allow natural seed spread for self-sustaining growth.
Expert Insight: Columbines add height variation, intricate flower shapes, and pollinator appeal, making lilac gardens more dynamic.
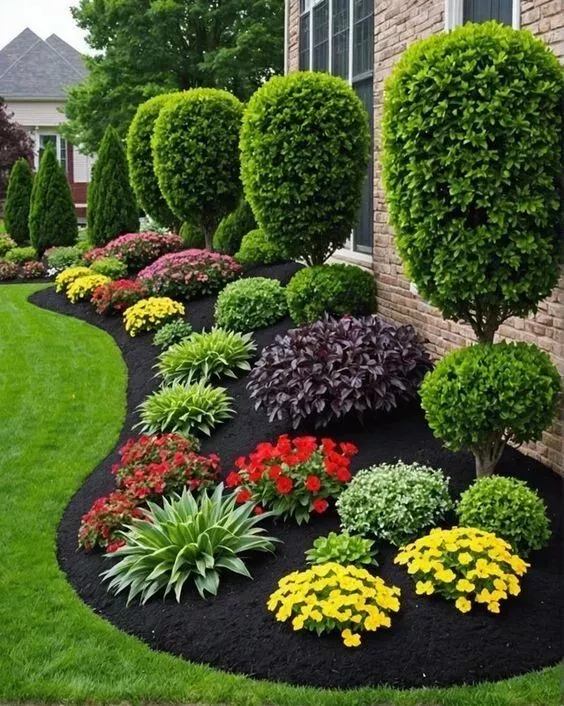
Tips for Designing a Lilac Companion Garden
- Sunlight: Most lilac companions thrive in full sun to partial shade, matching lilacs’ needs.
- Soil: Ensure well-drained soil, enriched with organic matter for healthy blooms.
- Spacing: Leave enough room for air circulation to prevent fungal diseases.
- Color Planning: Mix early, mid, and late bloomers for season-long interest and visual contrast.
- Mulching: Apply organic mulch around lilac and companion roots to retain moisture and suppress weeds.
- Maintenance: Deadhead spent flowers, prune shrubs, and remove debris to maintain healthy growth and appearance.
Benefits of Pairing Flowers with Lilacs
- Extended Bloom Season: Companions ensure continuous color from early spring through summer.
- Pollinator Support: Bees, butterflies, and hummingbirds thrive, enhancing the entire garden ecosystem.
- Visual Harmony: Contrasting textures, heights, and colors create layered, professional-looking beds.
- Pest and Disease Management: Some companions repel pests or attract beneficial insects.
- Low-Maintenance Gardening: Drought-tolerant and hardy companion plants reduce watering and care needs.
Conclusion
Lilacs are a stunning centerpiece in any spring garden, but their charm is amplified when paired with thoughtful companion flowers. Peonies, daffodils, daylilies, salvia, catmint, and columbines provide complementary colors, textures, extended blooms, and pollinator support, creating a vibrant, harmonious garden environment.
By designing a garden that considers bloom timing, sunlight, soil conditions, and plant height, gardeners can enjoy a long-lasting display of color, fragrance, and biodiversity. These six companion flowers ensure that lilacs are not only admired for their beauty and fragrance but also form part of a thriving, eco-friendly garden that delights all the senses.