When most people think of spiders, they picture webs in corners of their homes or fearsome bites. However, in the context of your yard, spiders are not villains—they are unsung heroes. These eight-legged predators play a critical role in maintaining a balanced garden ecosystem, naturally controlling pests, supporting biodiversity, and even contributing to the overall health of your plants.
This article delves into the benefits of spiders in your yard, explains why they should be welcomed, and provides practical tips for fostering a spider-friendly environment that enhances your garden’s productivity and sustainability.
Understanding Spiders in the Yard
Spiders belong to the class Arachnida, which distinguishes them from insects by their eight legs, two main body segments, and lack of wings. Most garden spiders are harmless to humans and are vital predators of insects that would otherwise damage plants.
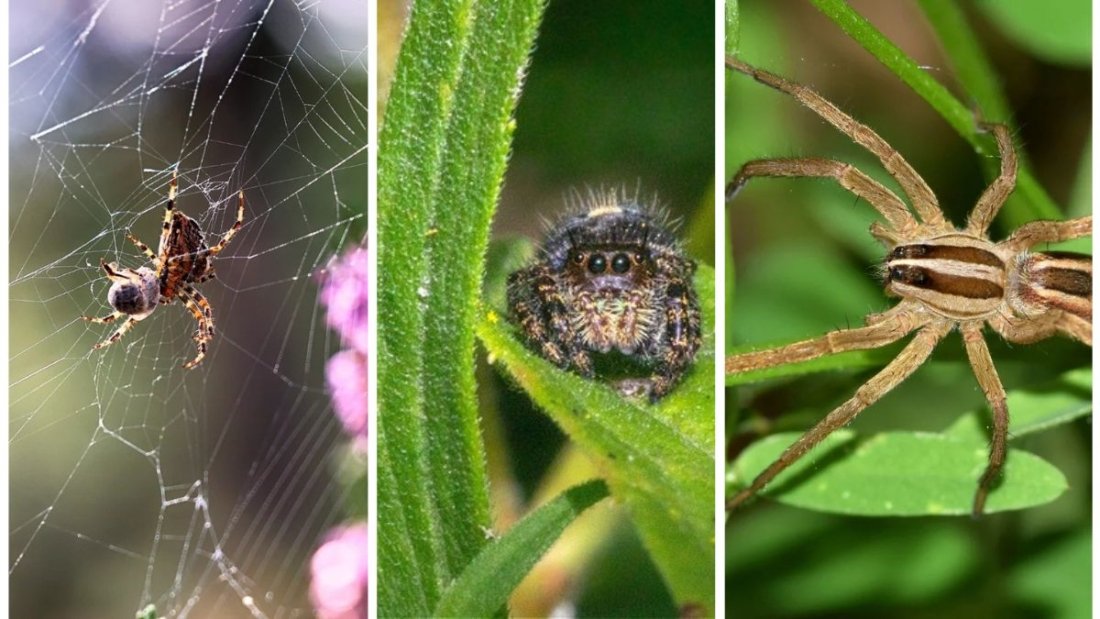
Common Garden Spiders
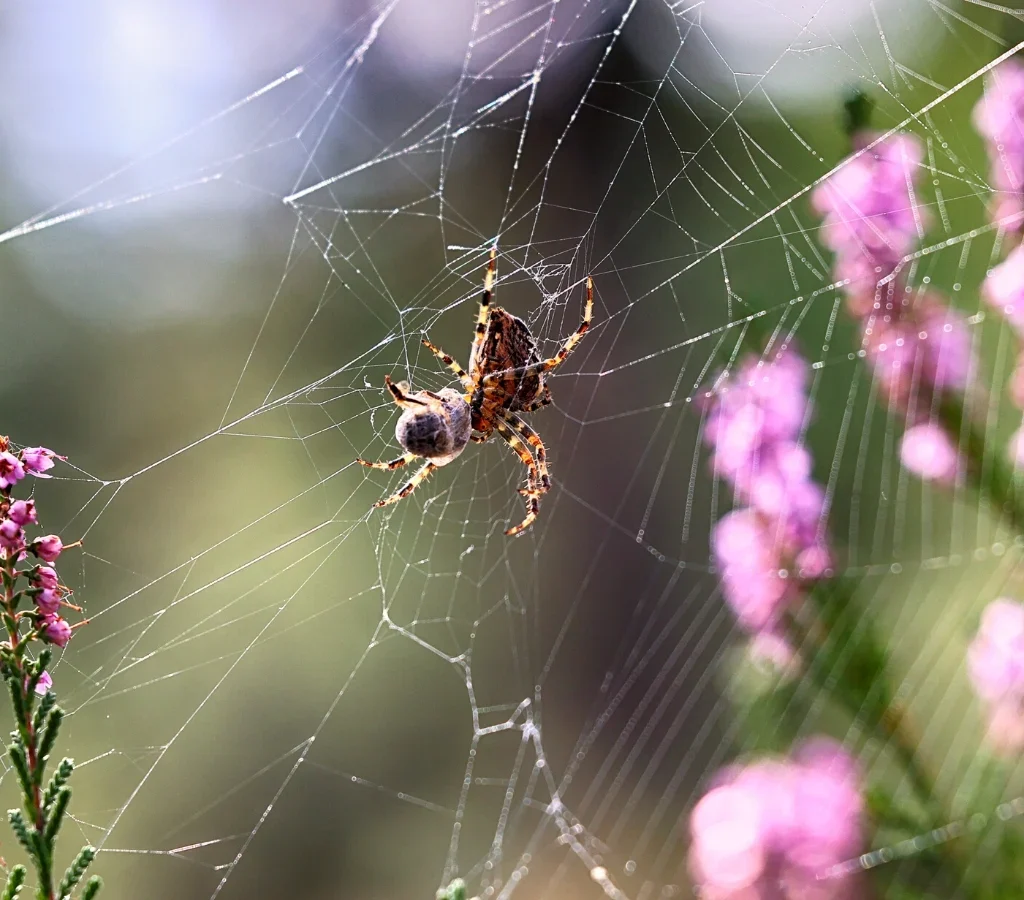
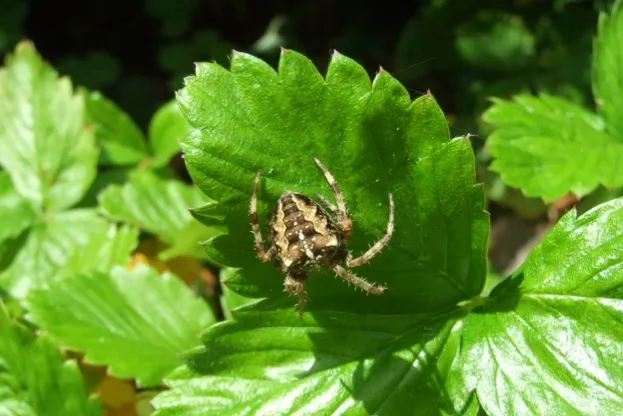
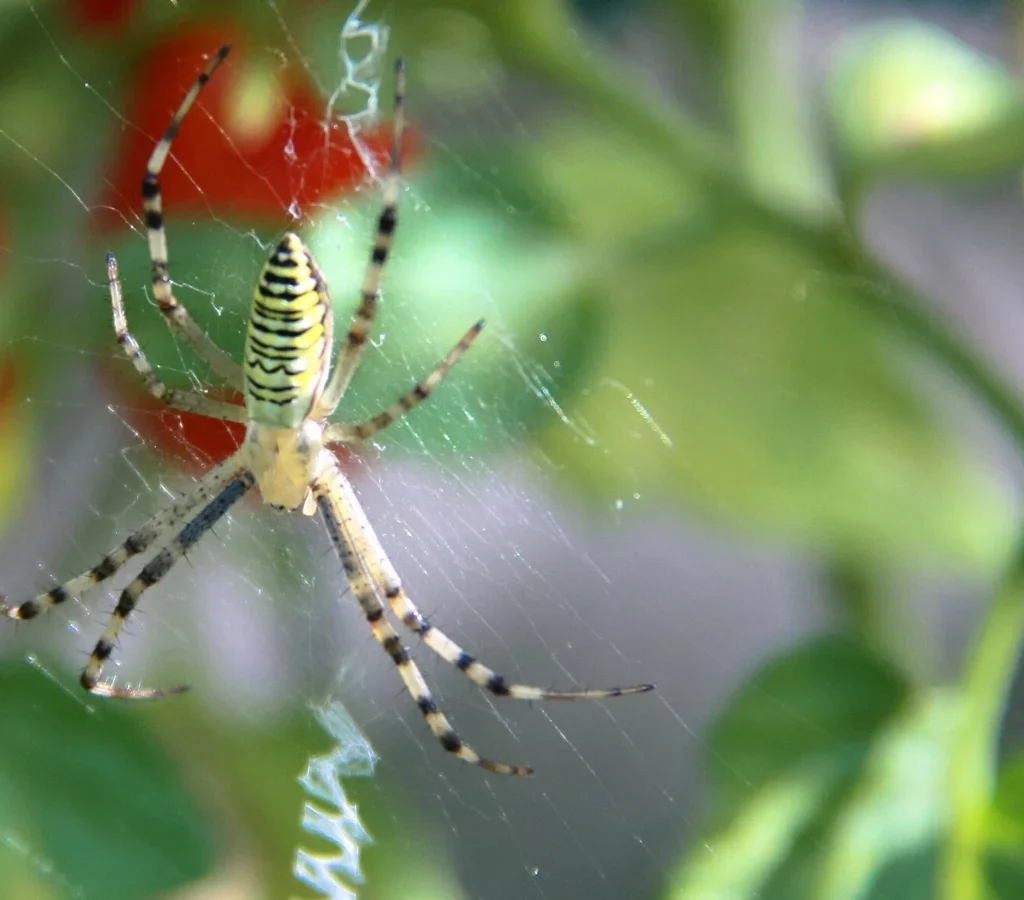
- Orb-Weaving Spiders: Known for their large, circular webs, these spiders trap flying insects such as flies, mosquitoes, and moths.
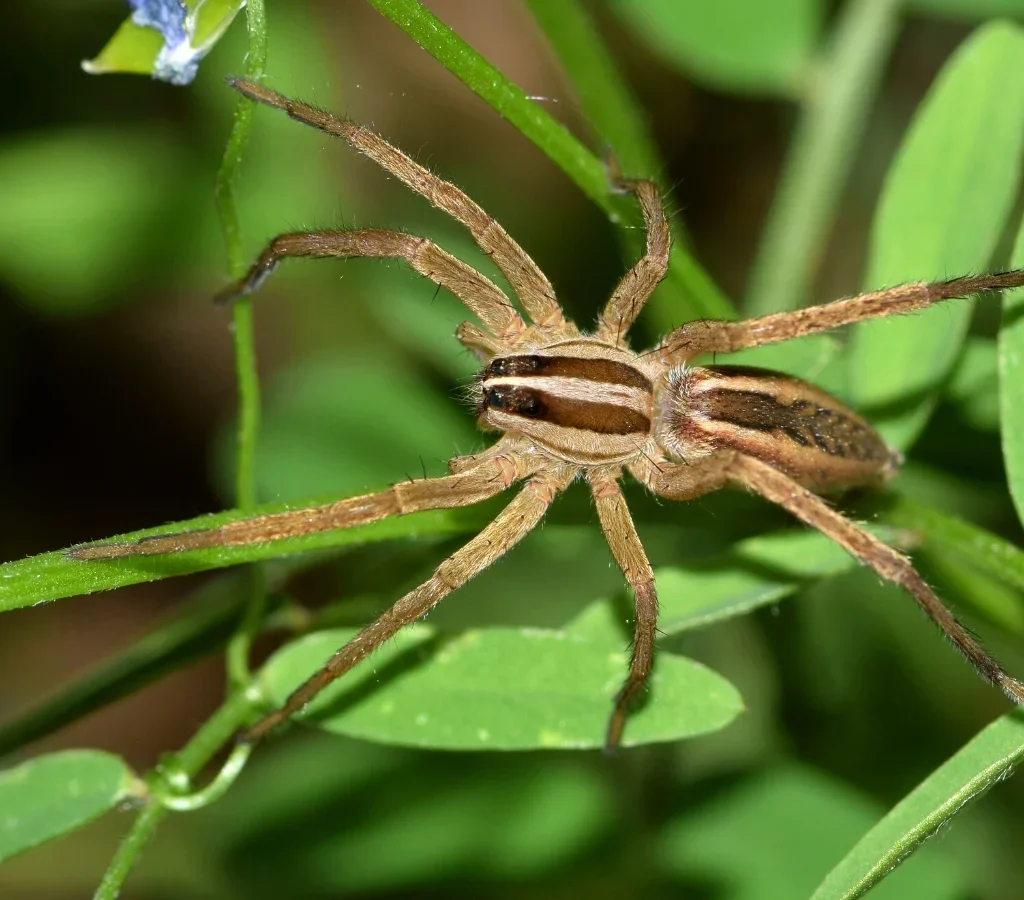
- Wolf Spiders: Ground-dwelling hunters that actively chase insects, controlling populations of beetles, crickets, and caterpillars.
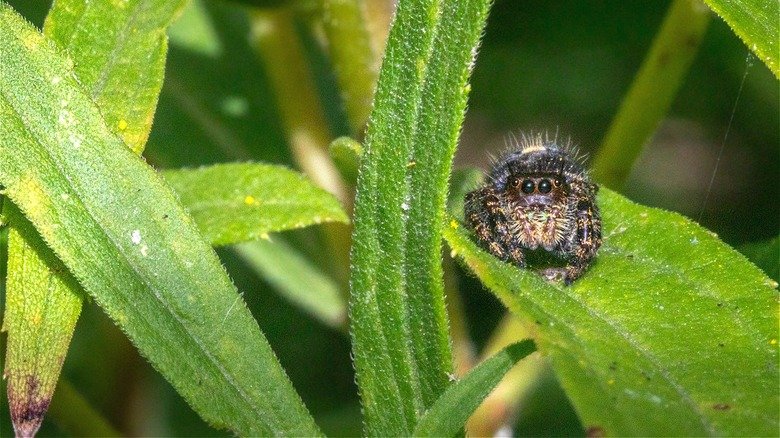
- Jumping Spiders: Agile hunters that rely on keen vision to pounce on prey, feeding primarily on small insects.
- Funnel-Web Spiders: Build funnel-shaped webs where they ambush insects, particularly active at night.
Recognizing these species can help gardeners appreciate the diverse ways spiders contribute to a healthy yard.
1. Natural Pest Control
Perhaps the most significant benefit of spiders is their role as natural pest control agents:
- Insect Predators: Spiders consume a wide range of insects, including aphids, caterpillars, mosquitoes, and flies—many of which are harmful to plants.
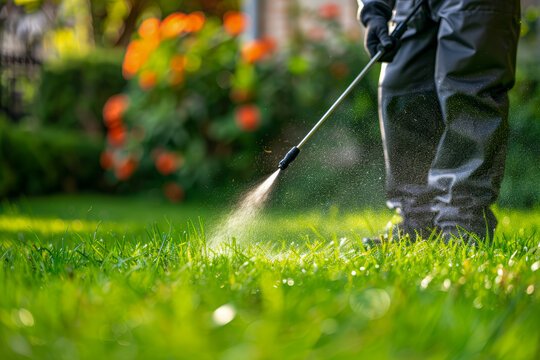
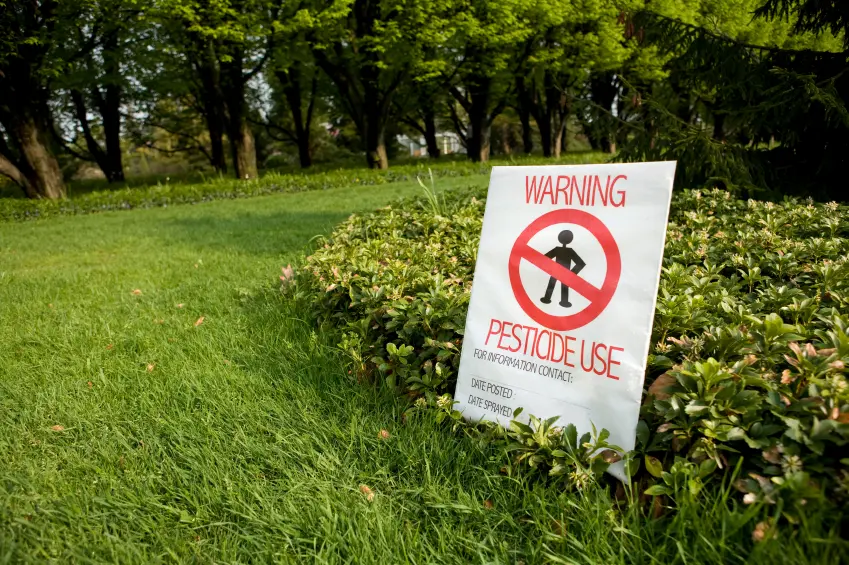
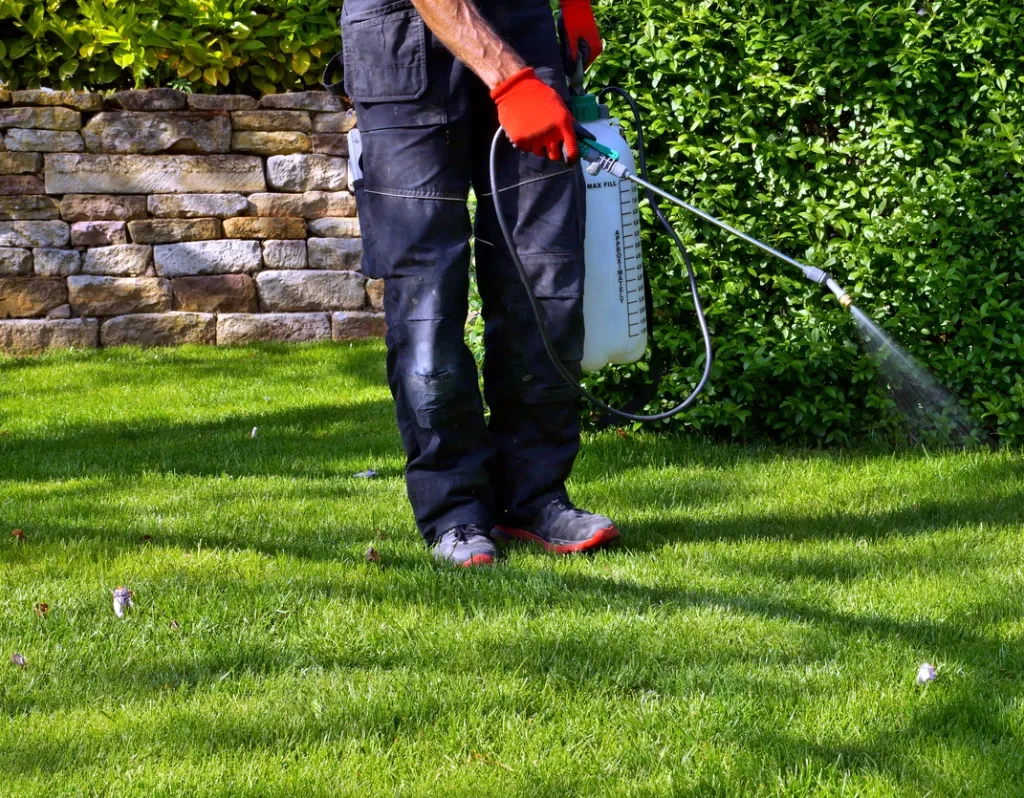
- Reduces Chemical Use: By controlling pests naturally, spiders reduce the need for chemical insecticides that can harm beneficial insects, soil microorganisms, and the surrounding environment.
- Continuous Protection: Unlike intermittent pesticide application, spiders hunt continuously, providing ongoing protection to your garden.
A single spider can consume hundreds of insects each season, making them highly efficient and cost-effective allies.
2. Support for Pollinators
While spiders prey on insects, they do not typically target pollinators such as bees and butterflies. Their presence indirectly benefits these essential species:
- Balancing Insect Populations: By controlling herbivorous pests, spiders protect flowers and leafy plants, ensuring that pollinators have access to healthy blooms.
- Creating Microhabitats: Spider webs attract small insects, which in turn attract birds and other wildlife, promoting a diverse ecosystem that supports pollinator activity.
Healthy pollinator populations are crucial for fruiting plants, vegetables, and flowers, making spiders valuable contributors to garden productivity.
3. Enhancing Biodiversity and Soil Health
Spiders play a key role in fostering a balanced ecosystem in your yard:
- Food Web Integration: Spiders are both predators and prey. Birds, lizards, and small mammals feed on spiders, creating a balanced food chain.
- Soil Protection: By reducing insect damage to plants, spiders help maintain plant health, which supports soil fertility through leaf litter and organic matter.
- Biodiversity Indicator: A healthy population of spiders often indicates a robust and balanced ecosystem, suggesting fewer chemical interventions and more natural resilience.
Encouraging spiders in your yard promotes biodiversity, creating a more resilient garden that can better withstand pest outbreaks.
4. Reducing Disease-Carrying Insects
Spiders are effective hunters of mosquitoes, gnats, and other insects that carry diseases:
- Mosquito Control: Orb-weaving and funnel-web spiders catch flying insects, helping to reduce mosquito populations in your yard.
- Disease Prevention: By limiting mosquito and fly numbers, spiders contribute to a healthier outdoor environment and reduce the risk of diseases such as West Nile virus.
Even a modest population of spiders can have a significant impact on the number of disease-carrying insects in your yard.
5. Low-Maintenance, Eco-Friendly Yard Allies
Spiders are self-sufficient and environmentally friendly:
- Self-Sustaining: They require no feeding or care and naturally regulate their populations based on prey availability.
- No Chemicals Needed: Spiders provide pest control without toxic pesticides or chemical runoff that can harm soil and water sources.
- Cost-Effective: Encouraging spiders is free and reduces the need for purchased insecticides.
By supporting spider populations, gardeners gain continuous protection for their plants with minimal effort or cost.
Encouraging Spiders in Your Yard
Creating a spider-friendly environment involves simple, natural practices:
1. Provide Shelter
- Leaf piles, mulch, and garden borders offer hiding spots for ground-dwelling spiders.
- Shrubs, tall grasses, and ornamental plants give web-building spiders anchor points for webs.
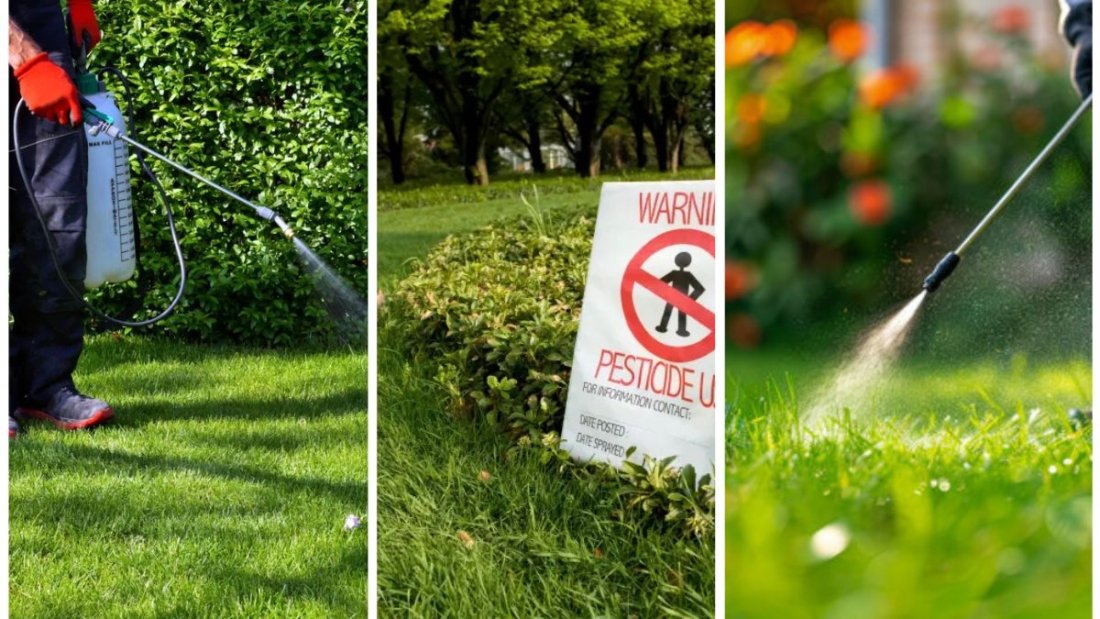
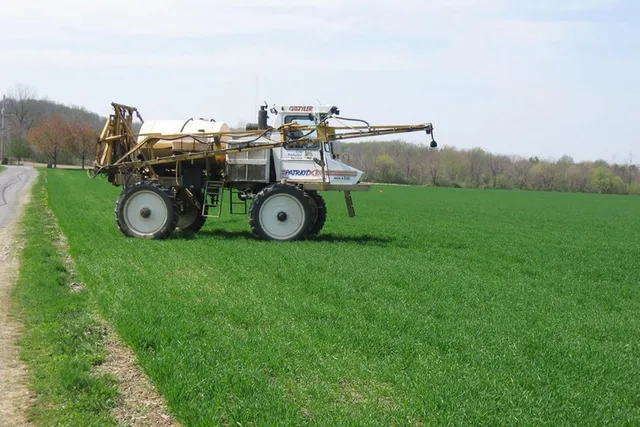
2. Reduce Pesticide Use
- Avoid broad-spectrum insecticides that can harm spiders.
- Use targeted or organic solutions when intervention is necessary.
3. Plant Diversity
- A mix of flowers, shrubs, and groundcover attracts diverse insect prey, supporting spider populations.
- Dense plantings encourage web construction and offer shelter.
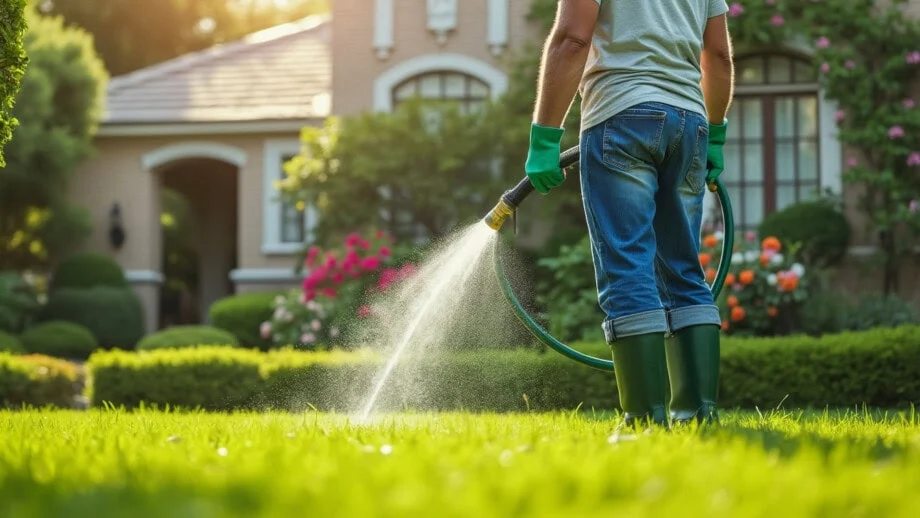
4. Water Sources
- Small birdbaths or garden ponds attract insects, providing a food source for spiders while maintaining garden hydration.
5. Educate and Tolerate
- Most garden spiders are harmless; avoid unnecessary removal.
- Understanding their ecological role fosters appreciation and reduces fear.
Addressing Common Concerns
Fear of Bites
- Most garden spiders are harmless to humans. Bites are rare and usually occur only if the spider feels threatened.
- Wearing gloves when gardening and avoiding direct handling of spiders prevents bites.
Web Management
- Webs can be unsightly in high-traffic areas, but strategic placement of plants and shrubs allows spiders to hunt without interfering with daily activities.
- Encourage webs in less-trafficked areas to maintain both aesthetics and pest control.
By addressing these concerns, gardeners can coexist with spiders safely and effectively.
Conclusion
Spiders are essential allies for any yard, providing natural pest control, supporting pollinators, enhancing biodiversity, reducing disease-carrying insects, and offering eco-friendly, low-maintenance benefits. Rather than viewing them as pests, gardeners should recognize spiders as valuable contributors to a thriving, balanced ecosystem.
Creating a spider-friendly environment involves providing shelter, minimizing pesticide use, encouraging plant diversity, and tolerating harmless webs. In doing so, you can reduce chemical interventions, improve plant health, and enjoy a lush, productive yard.
In essence, spiders are not the enemy—they are vital partners in cultivating a sustainable, vibrant, and pest-resistant garden. By appreciating their role, gardeners can foster a yard where plants, insects, and spiders coexist harmoniously, ultimately supporting a healthier, more resilient outdoor space.