Why Spiders Are Actually Great for Your Yard

Why Spiders Are Actually Great for Your Yard

When most people think of spiders, they picture webs in corners of their homes or fearsome bites. However, in the context of your yard, spiders are not villains—they are unsung heroes. These eight-legged predators play a critical role in maintaining a balanced garden ecosystem, naturally controlling pests, supporting biodiversity, and even contributing to the overall health of your plants.

This article delves into the benefits of spiders in your yard, explains why they should be welcomed, and provides practical tips for fostering a spider-friendly environment that enhances your garden’s productivity and sustainability.


Understanding Spiders in the Yard
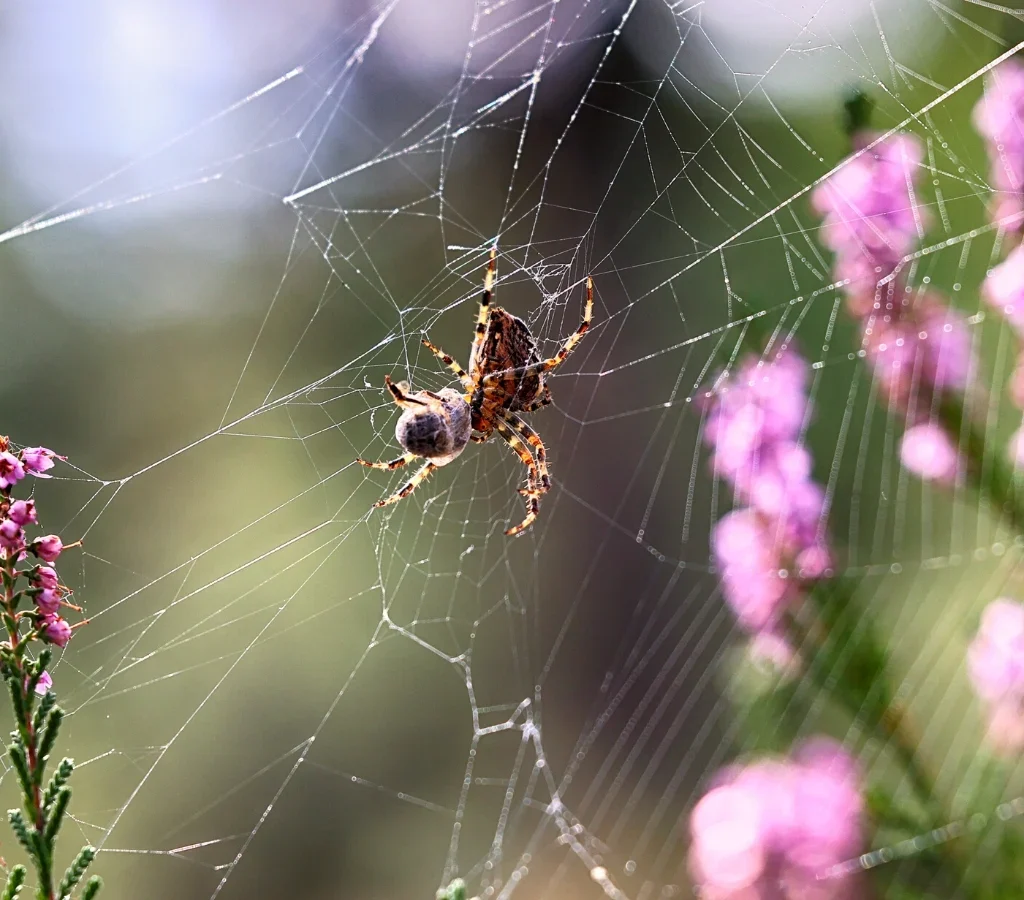
Spiders belong to the class Arachnida, which distinguishes them from insects by their eight legs, two main body segments, and lack of wings. Most garden spiders are harmless to humans and are vital predators of insects that would otherwise damage plants.

Common Garden Spiders

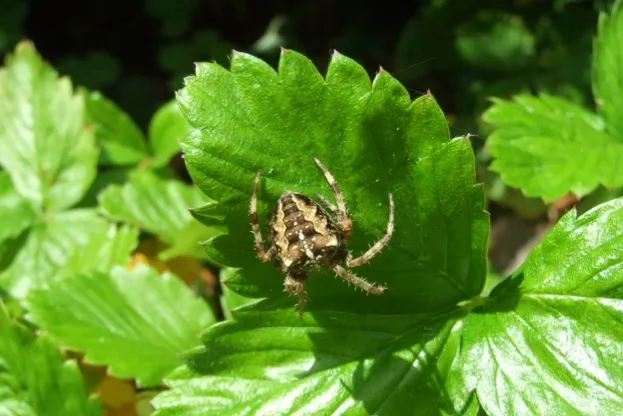
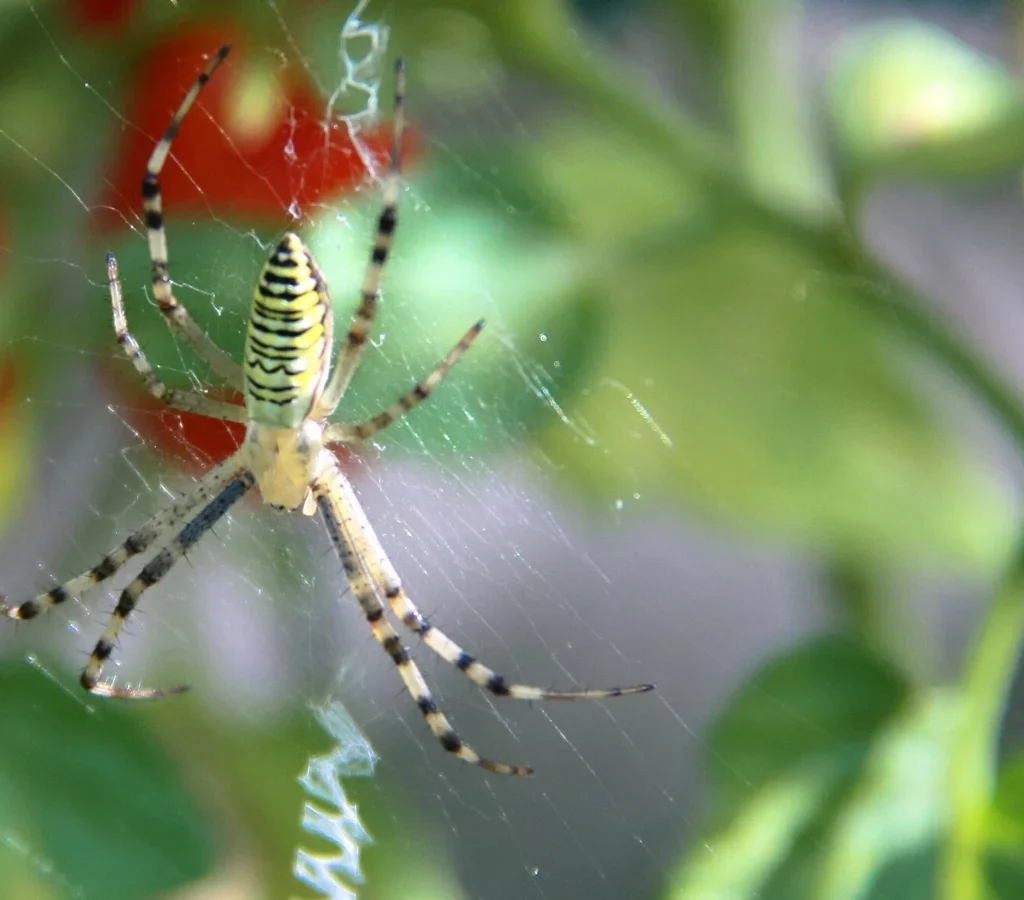
  • Orb-Weaving Spiders: Known for their large, circular webs, these spiders trap flying insects such as flies, mosquitoes, and moths.
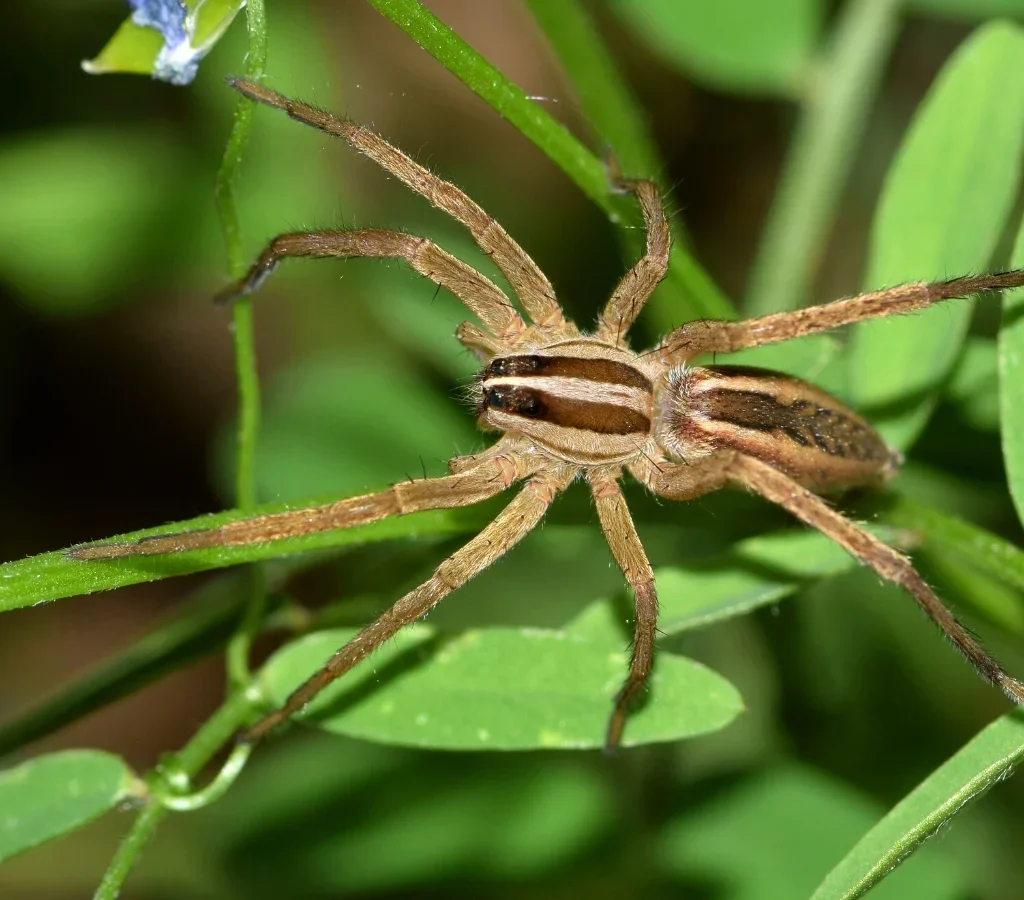
  • Wolf Spiders: Ground-dwelling hunters that actively chase insects, controlling populations of beetles, crickets, and caterpillars.
  • Jumping Spiders: Agile hunters that rely on keen vision to pounce on prey, feeding primarily on small insects.
  • Funnel-Web Spiders: Build funnel-shaped webs where they ambush insects, particularly active at night.

Recognizing these species can help gardeners appreciate the diverse ways spiders contribute to a healthy yard.


1. Natural Pest Control

Perhaps the most significant benefit of spiders is their role as natural pest control agents:

  • Insect Predators: Spiders consume a wide range of insects, including aphids, caterpillars, mosquitoes, and flies—many of which are harmful to plants.
  • Reduces Chemical Use: By controlling pests naturally, spiders reduce the need for chemical insecticides that can harm beneficial insects, soil microorganisms, and the surrounding environment.
  • Continuous Protection: Unlike intermittent pesticide application, spiders hunt continuously, providing ongoing protection to your garden.

A single spider can consume hundreds of insects each season, making them highly efficient and cost-effective allies.


2. Support for Pollinators

While spiders prey on insects, they do not typically target pollinators such as bees and butterflies. Their presence indirectly benefits these essential species:

  • Balancing Insect Populations: By controlling herbivorous pests, spiders protect flowers and leafy plants, ensuring that pollinators have access to healthy blooms.
  • Creating Microhabitats: Spider webs attract small insects, which in turn attract birds and other wildlife, promoting a diverse ecosystem that supports pollinator activity.

Healthy pollinator populations are crucial for fruiting plants, vegetables, and flowers, making spiders valuable contributors to garden productivity.


3. Enhancing Biodiversity and Soil Health
Spiders play a key role in fostering a balanced ecosystem in your yard:

  • Food Web Integration: Spiders are both predators and prey. Birds, lizards, and small mammals feed on spiders, creating a balanced food chain.
  • Soil Protection: By reducing insect damage to plants, spiders help maintain plant health, which supports soil fertility through leaf litter and organic matter.
  • Biodiversity Indicator: A healthy population of spiders often indicates a robust and balanced ecosystem, suggesting fewer chemical interventions and more natural resilience.

Encouraging spiders in your yard promotes biodiversity, creating a more resilient garden that can better withstand pest outbreaks.


4. Reducing Disease-Carrying Insects

Spiders are effective hunters of mosquitoes, gnats, and other insects that carry diseases:

  • Mosquito Control: Orb-weaving and funnel-web spiders catch flying insects, helping to reduce mosquito populations in your yard.
  • Disease Prevention: By limiting mosquito and fly numbers, spiders contribute to a healthier outdoor environment and reduce the risk of diseases such as West Nile virus.

Even a modest population of spiders can have a significant impact on the number of disease-carrying insects in your yard.


5. Low-Maintenance, Eco-Friendly Yard Allies
Spiders are self-sufficient and environmentally friendly:

  • Self-Sustaining: They require no feeding or care and naturally regulate their populations based on prey availability.
  • No Chemicals Needed: Spiders provide pest control without toxic pesticides or chemical runoff that can harm soil and water sources.
  • Cost-Effective: Encouraging spiders is free and reduces the need for purchased insecticides.

By supporting spider populations, gardeners gain continuous protection for their plants with minimal effort or cost.


Encouraging Spiders in Your Yard
Creating a spider-friendly environment involves simple, natural practices:

1. Provide Shelter

  • Leaf piles, mulch, and garden borders offer hiding spots for ground-dwelling spiders.
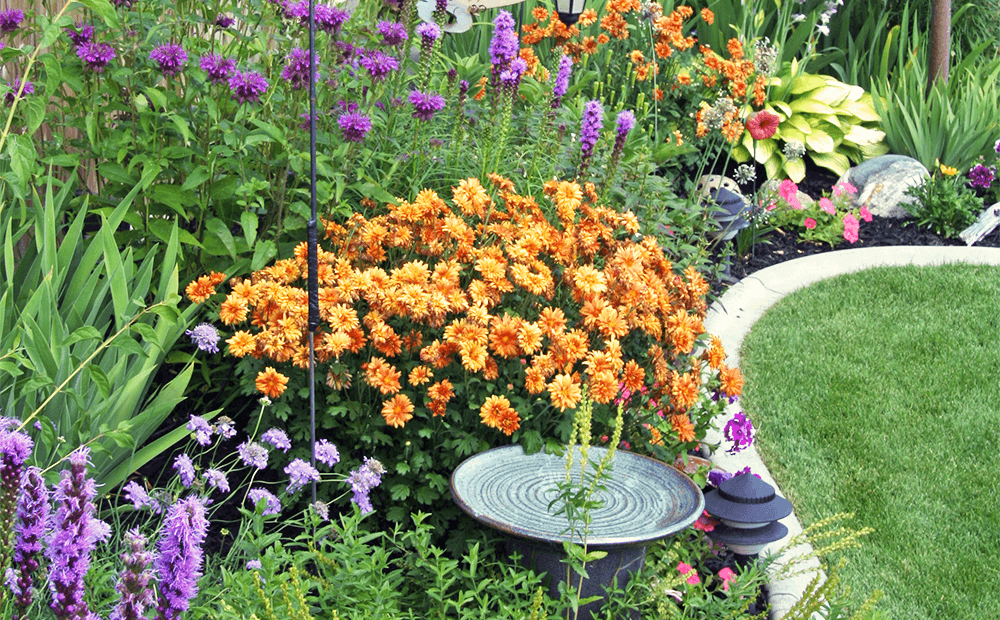
  • Shrubs, tall grasses, and ornamental plants give web-building spiders anchor points for webs.

2. Reduce Pesticide Use

  • Avoid broad-spectrum insecticides that can harm spiders.
  • Use targeted or organic solutions when intervention is necessary.

3. Plant Diversity

  • A mix of flowers, shrubs, and groundcover attracts diverse insect prey, supporting spider populations.
  • Dense plantings encourage web construction and offer shelter.

4. Water Sources

  • Small birdbaths or garden ponds attract insects, providing a food source for spiders while maintaining garden hydration.

5. Educate and Tolerate

  • Most garden spiders are harmless; avoid unnecessary removal.
  • Understanding their ecological role fosters appreciation and reduces fear.

Addressing Common Concerns

Fear of Bites

  • Most garden spiders are harmless to humans. Bites are rare and usually occur only if the spider feels threatened.
  • Wearing gloves when gardening and avoiding direct handling of spiders prevents bites.

Web Management

  • Webs can be unsightly in high-traffic areas, but strategic placement of plants and shrubs allows spiders to hunt without interfering with daily activities.
  • Encourage webs in less-trafficked areas to maintain both aesthetics and pest control.

By addressing these concerns, gardeners can coexist with spiders safely and effectively.


Conclusion

Spiders are essential allies for any yard, providing natural pest control, supporting pollinators, enhancing biodiversity, reducing disease-carrying insects, and offering eco-friendly, low-maintenance benefits. Rather than viewing them as pests, gardeners should recognize spiders as valuable contributors to a thriving, balanced ecosystem.

Creating a spider-friendly environment involves providing shelter, minimizing pesticide use, encouraging plant diversity, and tolerating harmless webs. In doing so, you can reduce chemical interventions, improve plant health, and enjoy a lush, productive yard.

In essence, spiders are not the enemy—they are vital partners in cultivating a sustainable, vibrant, and pest-resistant garden. By appreciating their role, gardeners can foster a yard where plants, insects, and spiders coexist harmoniously, ultimately supporting a healthier, more resilient outdoor space.

How to Protect Fall Vegetables from Hungry Birds

How to Protect Fall Vegetables from Hungry Birds

Autumn is a rewarding season for gardeners, offering a bountiful harvest of crisp lettuces, kale, broccoli, carrots, and other cool-season vegetables. However, along with the beauty of fall comes a persistent challenge: hungry birds. As natural seed and berry sources dwindle, birds turn to gardens, pecking at ripening vegetables and causing significant damage. For many gardeners, protecting their hard-earned produce without harming wildlife is a top priority.

This article provides a comprehensive guide on how to protect fall vegetables from birds, exploring effective, humane strategies and practical tips for maintaining a productive garden.


Understanding the Problem: Why Birds Target Fall Gardens

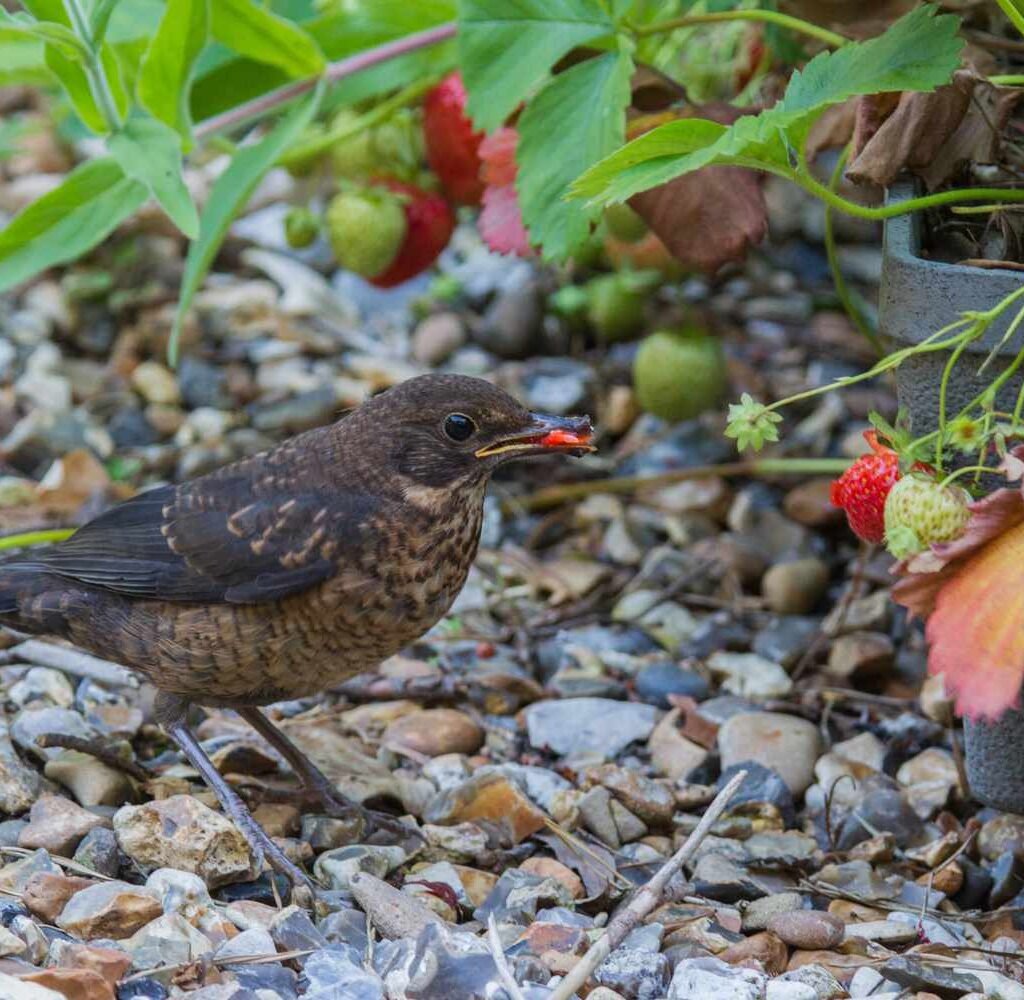
Birds, such as crows, sparrows, starlings, and finches, are opportunistic feeders. During fall, they increase their food intake to build fat reserves for migration or winter survival. Tender vegetables, leafy greens, and fruiting plants in gardens are easy and nutritious targets.

Signs of bird damage include:

  • Holes in leaves or vegetables
  • Missing fruit or vegetables
  • Peck marks on tomatoes, peppers, and cabbage
  • Scattered seeds from newly sown crops

By understanding bird behavior, gardeners can implement targeted strategies that effectively deter them while preserving the health of the garden ecosystem.


1. Physical Barriers: Netting and Covers

One of the most effective ways to protect fall vegetables is to create a physical barrier between birds and crops.

Methods

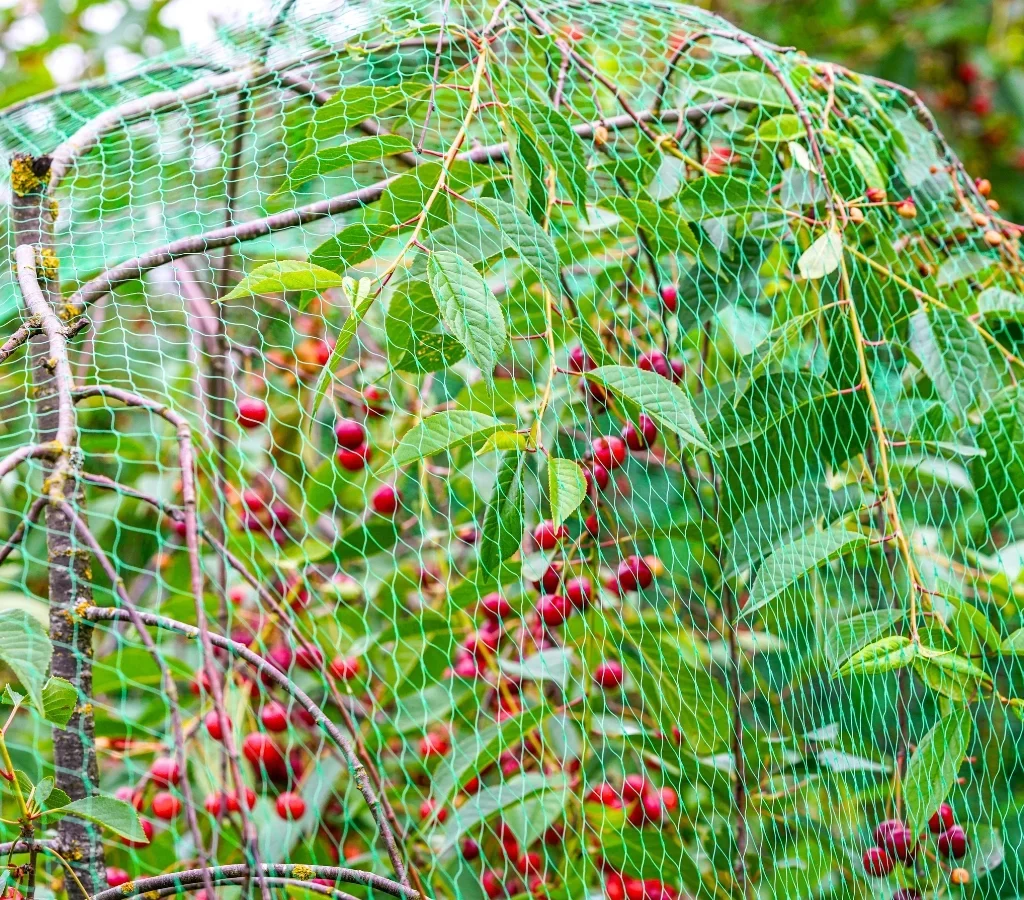
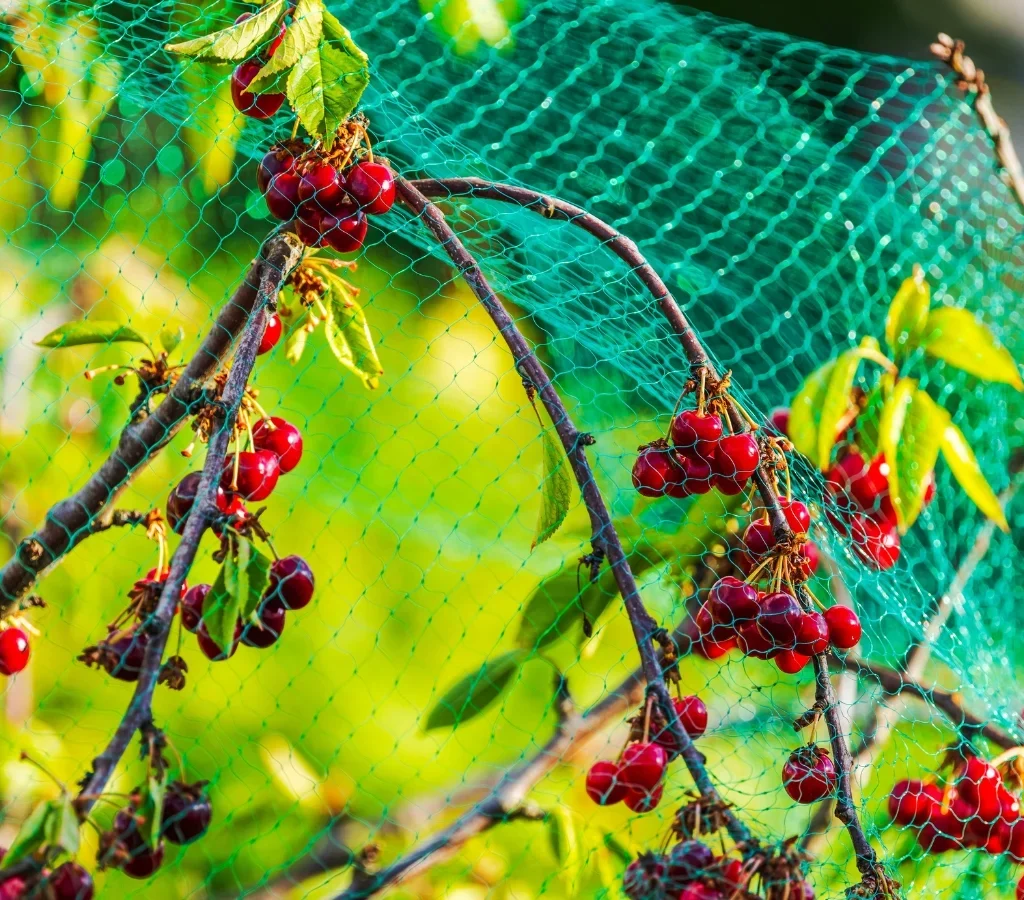
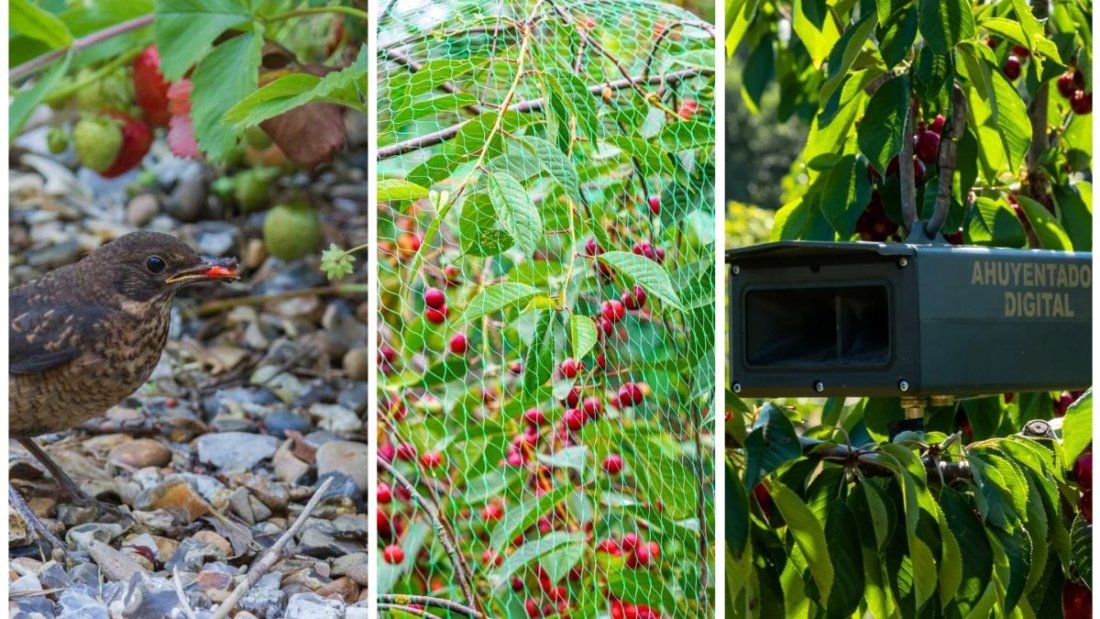
  • Garden Netting: Lightweight, bird-proof netting draped over plants prevents access. Secure edges with stakes or rocks to prevent birds from slipping underneath.
  • Floating Row Covers: Fine mesh row covers protect delicate vegetables like lettuce, spinach, and carrots without restricting sunlight or airflow.
  • Cloche or Mini-Greenhouses: Individual protective domes shield young seedlings from pecking birds.

Tips for Effective Use

  • Ensure the netting is taut and doesn’t rest directly on plants to avoid crushing them.
  • Regularly check for gaps, especially after wind or rain, as birds can exploit even small openings.
  • Remove covers periodically to allow pollinators access if necessary.

Physical barriers are highly effective, especially for leafy greens and small vegetables, providing direct, immediate protection.


2. Visual Deterrents

Birds are cautious and easily startled by unusual sights. Visual deterrents exploit this instinct to keep birds away from your garden.

Examples of Visual Deterrents

  • Reflective Objects: Aluminum foil strips, old CDs, or reflective tape fluttering in the wind create disorienting reflections.
  • Decoys: Plastic owls, hawks, or snakes placed near vegetable beds mimic predators. Rotate their position frequently to maintain effectiveness.
  • Scare Balloons: Brightly colored balloons with large eye patterns move with the wind, startling birds.

Implementation Tips

  • Combine multiple deterrents for stronger impact.
  • Change positions regularly; birds can become habituated to stationary objects.
  • Ensure deterrents do not damage plants or create hazards for children or pets.

Visual deterrents are cost-effective and low-maintenance, but they work best as part of a multi-layered approach.


3. Auditory Deterrents

Sound-based deterrents exploit birds’ sensitivity to sudden noises, discouraging them from visiting the garden.

Examples

  • Wind Chimes: Random clanging can scare smaller birds.
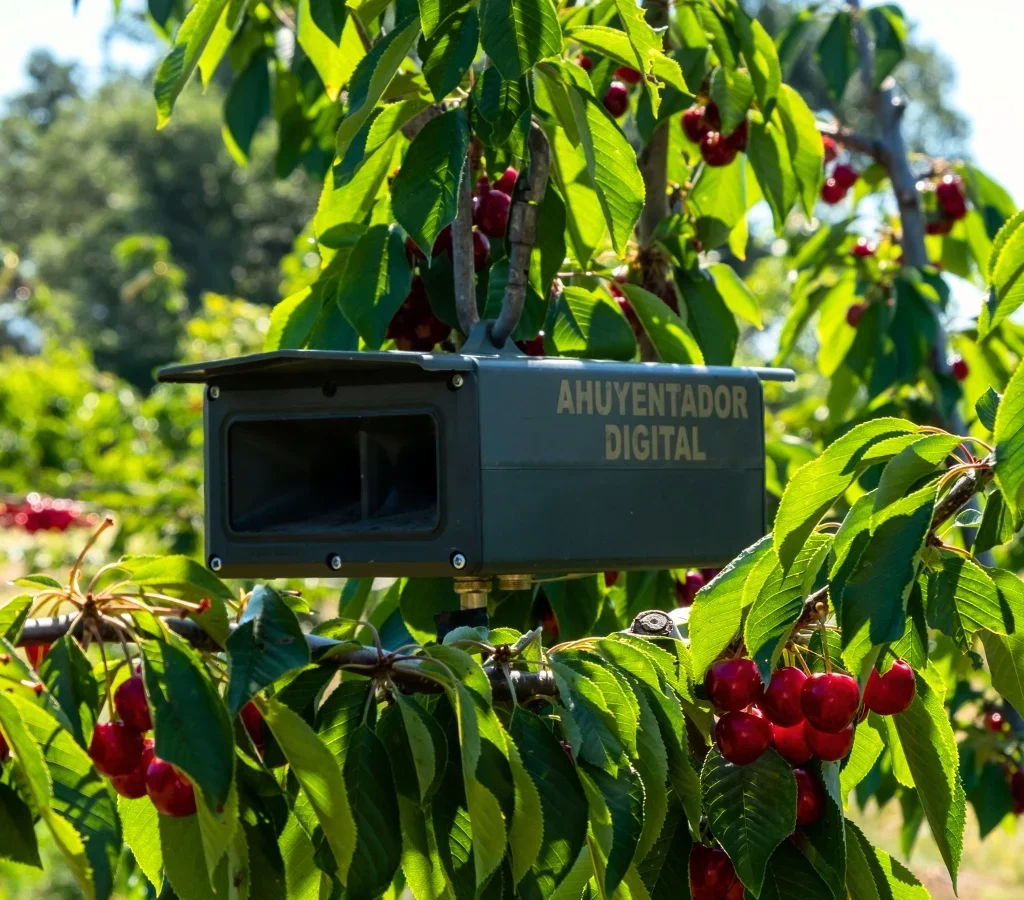
  • Ultrasonic Bird Repellers: Devices emit high-frequency sounds that birds perceive as distress signals.
  • Recorded Predator Calls: Play recordings of hawks or owls to mimic natural threats.

Tips for Success

  • Combine with visual deterrents for maximum effect.
  • Avoid constant noise exposure that may stress other wildlife or pets.
  • Rotate sounds or timing to prevent birds from adapting.

Auditory methods are particularly effective for larger, more persistent bird species.


4. Garden Layout and Planting Strategies

Modifying your garden design can reduce bird access and make plants less attractive.

Techniques

  • Dense Planting: Crowding plants together discourages birds from landing and feeding.
  • Companion Planting: Mix bird-repellent plants like marigolds, garlic, and chives near vulnerable vegetables.
  • Harvest Timing: Pick vegetables as soon as they ripen to limit exposure.
  • Barrier Plants: Plant tall grasses or shrubs around vegetable beds to act as natural hiding barriers for birds.

Thoughtful garden design reduces bird damage while maintaining an aesthetically pleasing and productive landscape.


5. Taste-Based and Homemade Repellents

Birds rely heavily on taste and smell. Using non-toxic, natural repellents can discourage them from feeding on vegetables without harming wildlife.

Examples

  • Capsaicin Sprays: Made from hot peppers and water, these sprays make leafy greens and fruit temporarily unpalatable to birds.
  • Garlic or Vinegar Solutions: Spray lightly on leaves to create a strong odor that birds dislike.
  • Commercial Organic Repellents: Available in garden stores, these use natural ingredients safe for plants and animals.

Application Tips

  • Reapply after rain or watering to maintain effectiveness.
  • Test on a small area first to ensure plants are not harmed.
  • Rotate repellents to prevent birds from becoming accustomed.

Taste-based repellents are ideal for sensitive vegetables like lettuce, spinach, and young seedlings.


Combining Strategies for Maximum Effect

Relying on a single method often provides only partial protection. Combining multiple strategies significantly increases success:

  • Use netting to physically block birds.
  • Add visual deterrents like reflective tape and decoys around the garden.
  • Rotate auditory deterrents to prevent habituation.
  • Implement garden layout strategies to reduce easy access.
  • Supplement with taste-based repellents for particularly vulnerable crops.

A multi-layered approach ensures that birds are consistently deterred without resorting to harmful chemicals.


Long-Term Considerations

Protecting fall vegetables from birds requires consistency and observation:

  • Inspect deterrents regularly to ensure they are in place and effective.
  • Adjust strategies as crops ripen and bird activity changes.
  • Maintain healthy garden conditions, including soil fertility and proper watering, as strong plants are more resilient against minor bird damage.
  • Consider seasonal changes; what works in fall may need adjustment in spring or summer.

By planning and combining natural solutions, gardeners can minimize crop loss while promoting a safe and healthy ecosystem.


Conclusion

Birds are a natural and important part of the environment, but they can pose a serious threat to fall vegetable gardens. Gardeners do not need to resort to harmful chemicals or drastic measures to protect their crops. By using a combination of physical barriers, visual and auditory deterrents, strategic garden planning, and natural taste-based repellents, it is possible to safeguard vegetables while coexisting with local wildlife.

A proactive, multi-layered approach ensures that your autumn harvest remains bountiful, vegetables reach peak ripeness, and your garden remains a thriving, environmentally friendly space. With the right strategies in place, fall vegetables can be protected effectively, allowing gardeners to enjoy both productivity and harmony with nature.


5 Natural Remedies to Keep Rabbits Out of Your Garden

5 Natural Remedies to Keep Rabbits Out of Your Garden

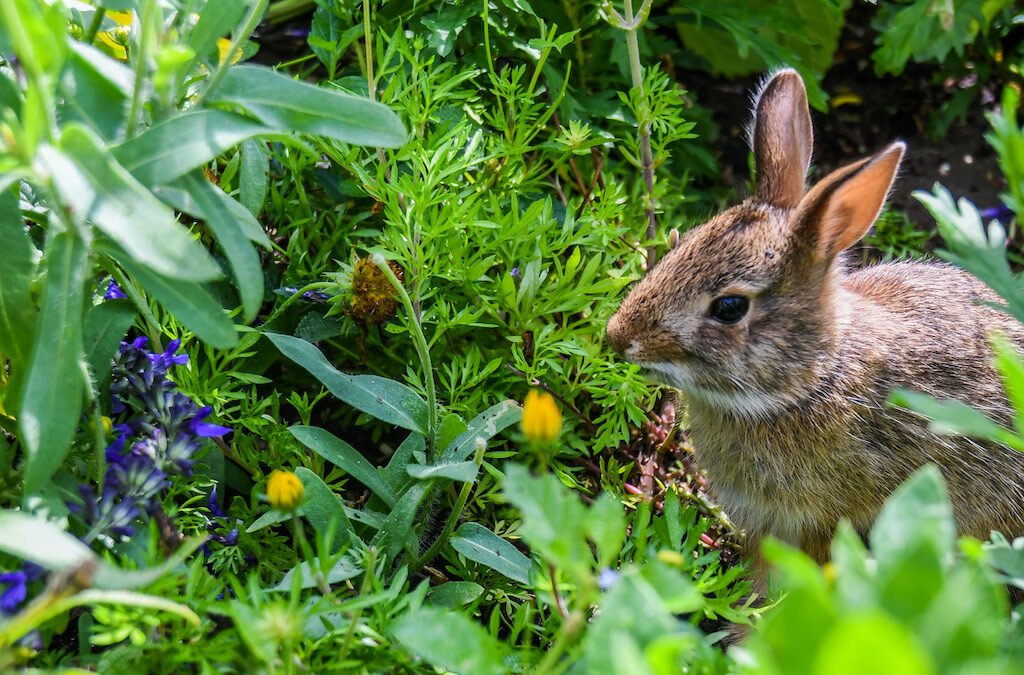
A flourishing garden is a source of pride and nourishment for many homeowners, but it also attracts unwelcome visitors. Among the most common culprits are rabbits, whose love of fresh greens can turn a thriving garden into a scene of devastation almost overnight. While chemical repellents are available, many gardeners prefer natural methods that are safe for plants, pets, and the environment.

This article explores five effective natural remedies to keep rabbits out of your garden, providing detailed strategies to protect your plants while maintaining an eco-friendly approach.


Understanding the Problem: Why Rabbits Target Gardens

Rabbits are herbivorous mammals with voracious appetites, particularly for tender shoots, leafy greens, and young seedlings. Autumn and spring are particularly problematic seasons: in spring, rabbits seek fresh new growth, and in autumn, they stock up before winter.

Signs of rabbit damage include:

  • Chewed stems at or near ground level
  • Missing or damaged vegetables and flowers
  • Tracks or droppings around garden beds

Knowing the behavior of rabbits helps gardeners apply remedies effectively and prevent recurring infestations.


1. Fencing: A Physical Barrier

How Fencing Works

Fencing is one of the most reliable ways to prevent rabbits from entering garden areas. A well-installed fence creates a physical barrier that rabbits cannot bypass.

Best Practices for Rabbit-Proof Fencing

  • Height: Use a fence at least 2–3 feet high; rabbits can jump short distances, so taller fencing is often more effective.
  • Burrowing Prevention: Rabbits dig, so bury the bottom of the fence 6–10 inches into the ground or use an L-shaped apron to prevent tunneling.
  • Material: Lightweight chicken wire or mesh with small openings (no larger than 1 inch) works well.
  • Gate Management: Ensure gates close tightly to avoid gaps that allow rabbits to slip through.

Benefits and Considerations

  • Fencing offers long-term protection and works for small and large gardens alike.
  • Initial setup requires effort and investment, but maintenance is minimal.
  • Combining fencing with other deterrents enhances effectiveness.

2. Companion Planting With Rabbit-Repellent Plants

Certain plants naturally repel rabbits due to their strong odors, bitter taste, or tough textures. Incorporating these plants into your garden creates a natural, chemical-free barrier.

Examples of Rabbit-Repellent Plants

  • Marigolds: Strong scent deters rabbits and other herbivores.
  • Lavender: Aromatic oils are unpleasant to rabbits.
  • Alliums (garlic, onions, chives): Pungent smell repels rabbits while enhancing garden biodiversity.
  • Daffodils: Toxic to rabbits and deer, making them a reliable border plant.

Implementation Tips

  • Plant rabbit-repellent species along garden perimeters or interspersed between vulnerable crops.
  • Combine with edible plants in patterns to create a “fragrant barrier” that rabbits avoid.
  • Maintain plant health; stressed or dying repellent plants may be less effective.

Companion planting not only deters rabbits but also enhances garden aesthetics and attracts beneficial insects.


3. Natural Repellents: Smells Rabbits Hate

Rabbits have a highly sensitive sense of smell, making odor-based deterrents highly effective. Several natural substances can be used safely in the garden:

Examples of Natural Repellents

  • Human Hair or Pet Fur: Place clumps near garden edges; rabbits associate human scent with danger.
  • Blood Meal or Bone Meal: Strong smell discourages browsing. Use sparingly and follow safety instructions.
  • Pepper-Based Sprays: A mix of crushed red pepper and water sprayed on leaves deters rabbits without harming plants.
  • Garlic or Onion Spray: Homemade sprays create an intense odor that rabbits avoid.

Application Tips

  • Apply repellents after rain or irrigation to maintain effectiveness.
  • Rotate scents periodically; rabbits may become accustomed to a single odor over time.
  • Test sprays on a small area first to ensure plants aren’t damaged.

Natural repellents are inexpensive, easy to apply, and safe for pets and wildlife.


4. Encourage Natural Predators

Predator presence is a powerful and sustainable way to control rabbit populations. Birds of prey, foxes, and even domestic pets can reduce rabbit activity in and around your garden.

Strategies to Attract or Encourage Predators

  • Birds of Prey: Install tall perches or nest boxes to attract hawks or owls.
  • Domestic Cats or Dogs: Supervised pets can patrol garden edges and discourage rabbits.
  • Ground Predators: Encouraging hedgehogs or certain snakes in the area can help maintain balance, though caution is needed to protect pets.

Benefits and Considerations

  • Natural predation is environmentally friendly and reduces the need for chemical deterrents.
  • Requires understanding local wildlife and ensuring safety for pets and children.
  • Works best as part of a comprehensive rabbit management plan, combined with fencing and repellents.

5. Garden Maintenance Practices

Proper garden management can reduce rabbit attraction and limit damage. By altering the environment, you make your garden less appealing to these small herbivores.

Key Practices

  • Clean Up Debris: Remove brush piles, tall grass, and other hiding spots where rabbits may nest.
  • Harvest Promptly: Remove ripe vegetables and fruits quickly; overripe produce attracts rabbits.
  • Use Raised Beds: Elevate planting areas to reduce access for small mammals.
  • Spacing and Companion Planting: Avoid dense planting that gives rabbits cover; intermixing repellents and edible plants improves protection.

These preventive measures are simple, cost-effective, and enhance overall garden health.


Combining Remedies for Maximum Effect

No single method guarantees total rabbit prevention. Combining multiple strategies produces the best results:

  • Physical barriers like fencing stop rabbits from entering.
  • Repellent plants and sprays make the garden less appealing.
  • Natural predators provide ongoing deterrence.
  • Garden maintenance removes nesting sites and reduces food availability.

A layered approach is sustainable, humane, and minimizes damage without relying on harmful chemicals.


Conclusion

Rabbits can be charming in the wild, but in your garden, they can be destructive pests. By using natural remedies—fencing, companion planting, odor-based repellents, predator encouragement, and proper garden maintenance—you can protect your plants safely and sustainably.

The key is to act proactively, combining methods to create a multi-layered defense that deters rabbits while enhancing the garden ecosystem. Over time, these strategies help establish a thriving garden that remains rabbit-free, healthy, and visually appealing throughout the growing seasons.

Embracing natural solutions not only safeguards your vegetables, flowers, and ornamental plants but also supports a balanced, eco-friendly approach to gardening—benefiting both you and the environment.

Why September Is The Perfect Month For Planting Garlic

Why September Is The Perfect Month For Planting Garlic

Garlic (Allium sativum) has been a beloved kitchen staple and medicinal herb for thousands of years. Known for its pungent flavor, immune-boosting properties, and countless culinary uses, garlic is also one of the easiest crops you can grow in your home garden. But timing is everything when it comes to planting garlic. While it’s possible to plant in both fall and spring, seasoned gardeners often agree: September is the perfect month to plant garlic.

This timing offers the ideal conditions for establishing strong, healthy bulbs that will reward you with large, flavorful harvests the following summer. Let’s dive into the reasons why September is the golden window for garlic planting, and how you can make the most of it.


1. Garlic Loves the Cool-Season Start

Garlic is a cool-season crop, which means it doesn’t thrive in hot summer soils. Planting in September allows the cloves to benefit from mild autumn weather and consistently cooler soil temperatures.

  • Root Development, Not Shoots: When you plant garlic in September, the cloves use the autumn months to grow strong root systems rather than sprouting too much top growth. This foundation is critical for the bulb to thrive during winter dormancy and surge into spring growth.
  • Winter Hardiness: Garlic planted early in the fall has time to settle in before the ground freezes. Well-established roots can handle the frost much better than cloves planted too late.

In short, September planting ensures your garlic gets a healthy head start before the challenges of winter set in.


2. The Magic of Cold Exposure

Garlic requires a period of cold weather, also known as vernalization, to trigger bulb formation. Without this cold treatment, garlic may grow but produce small or misshapen bulbs.

  • September Planting Advantage: By planting in September, you’re guaranteeing garlic experiences several months of natural cold exposure during the fall and winter.
  • Bigger Bulbs: The longer vernalization period encourages the cloves to split into multiple large segments, which results in bigger, more flavorful bulbs when harvested.
  • Reliable Harvest: Garlic planted in the fall matures earlier and more predictably the following summer compared to spring-planted garlic.

This chilling period is essential—and September planting locks it in naturally.


3. Garlic Grows Best With a Long Season

Unlike many garden crops, garlic takes its time. From planting to harvest, garlic typically needs 8–9 months to reach maturity. That’s another reason September is perfect.

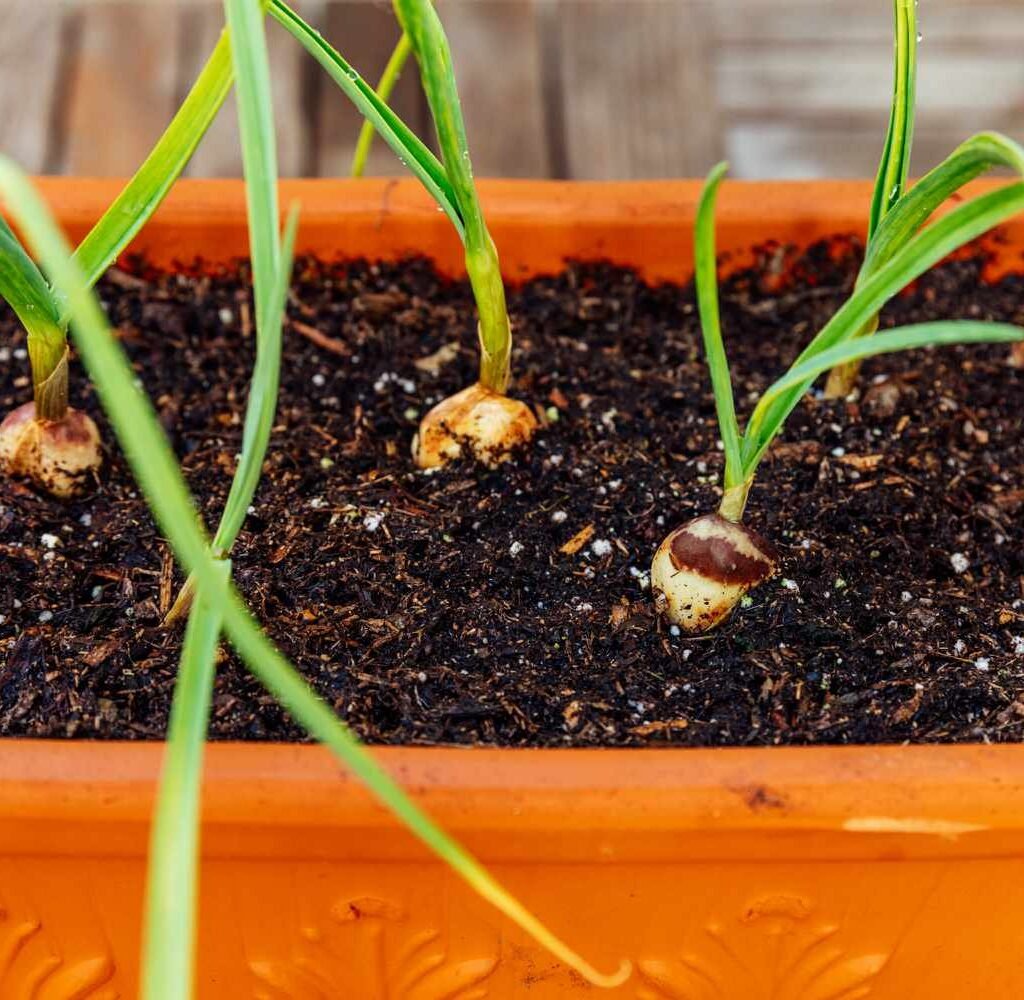
  • Time to Mature Fully: When planted in September, garlic has the luxury of a full growing season—from rooting in fall, overwintering in dormancy, then pushing out strong green shoots in spring, and finally forming large bulbs by midsummer.
  • Earlier Harvests: Garlic planted in September can usually be harvested by late June or early July, just as other summer crops are filling your garden beds.
  • Efficient Garden Use: Planting garlic in September keeps your garden productive year-round and gives you a crop to harvest before many summer vegetables are even close to finishing.

September sets the stage for maximum yields without competing heavily with summer crops.


4. September Offers the Right Soil Conditions

Soil plays a critical role in garlic’s success, and September often provides the perfect environment.

  • Warm but Cooling Soil: In September, soil is still warm enough to encourage root development but cooling down enough to discourage premature sprouting.
  • Moisture Balance: Fall rains and moderate temperatures ensure steady moisture without the extreme heat and dryness of summer.
  • Time for Soil Prep: September gives you the opportunity to enrich the soil before planting. Garlic thrives in loose, fertile, well-drained soil enriched with compost or organic matter.

By planting now, you’re working with nature instead of against it.


5. Pest and Disease Advantages

Planting garlic in September also reduces the risk of pest and disease problems.

  • Fewer Soil Pests: Many pests are less active in the cooler months, so your cloves have a chance to root undisturbed.
  • Weed Control: Garlic planted in September tends to outcompete weeds in spring thanks to its early start, reducing the need for constant weeding.
  • Healthier Plants: Strong, well-rooted garlic is naturally more resistant to disease and stress.

Your garlic crop stands a better chance of thriving when it gets an early, stress-free start in the fall.


6. Practical Benefits for Gardeners

Beyond plant science, planting garlic in September simply makes sense for the gardener.

  • Fits into Seasonal Rhythm: September is when most gardeners are winding down their summer crops and preparing beds for fall. Planting garlic at this time fits naturally into that schedule.
  • Easy Maintenance: Once planted, garlic requires minimal care during the winter months. You just mulch the bed and let nature take its course.
  • Rewarding Tradition: Many gardeners enjoy the ritual of planting garlic in fall as a way of “putting the garden to bed” for the season.

It’s a low-effort, high-reward crop that brings satisfaction long after other garden chores have ended.


How to Plant Garlic in September: Step-by-Step

If you’re ready to take advantage of September’s perfect conditions, here’s how to do it:

  1. Choose the Right Garlic Type
    • Hardneck garlic (better for cold climates, stronger flavor, produces scapes).
    • Softneck garlic (stores longer, more cloves per bulb, better for milder climates).
  2. Prepare the Soil
    • Loosen soil at least 8–10 inches deep.
    • Mix in compost or aged manure for fertility.
    • Ensure good drainage—garlic hates soggy soil.
  3. Break Bulbs Into Cloves
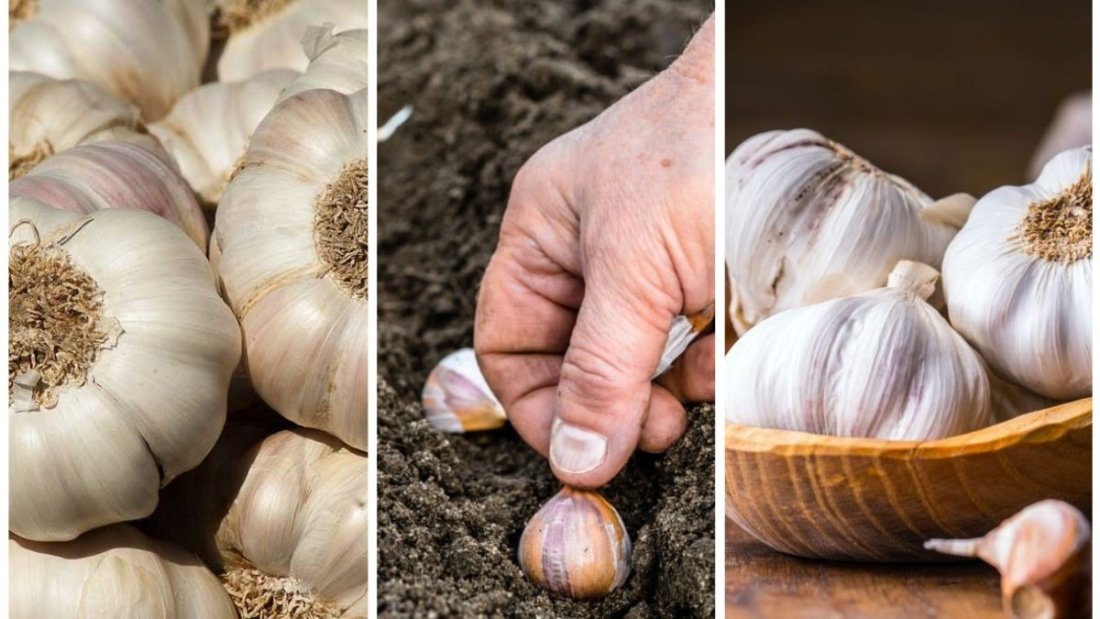
    • Just before planting, separate the bulb into individual cloves.
    • Keep the papery skin intact for protection.
  4. Plant Cloves
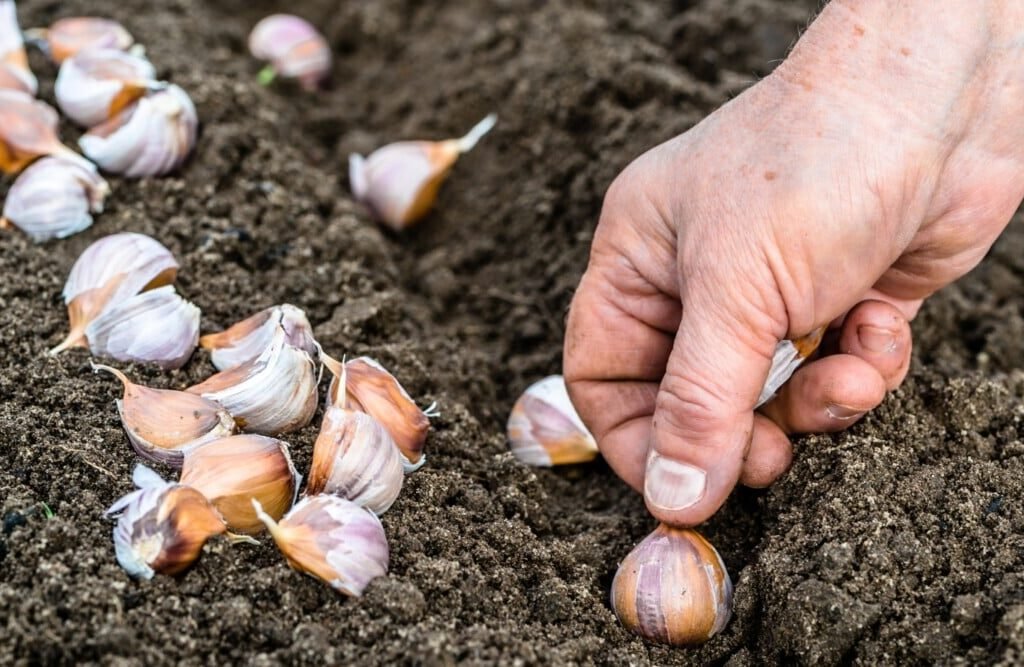
    • Place each clove pointed end up, 2 inches deep, 6 inches apart.
    • Rows should be about 12 inches apart.
  5. Mulch Generously
    • Cover with 3–4 inches of straw, shredded leaves, or compost.
    • Mulch insulates against cold and suppresses weeds.
  6. Water Lightly
    • Water well after planting to help roots establish.
    • Reduce watering once temperatures drop significantly.

By following these steps, you’ll set your garlic up for success and enjoy a bountiful harvest next summer.


Harvesting and Enjoying Your Garlic

If planted in September, your garlic will be ready by early summer the following year. Look for these signs:

  • Leaves turning yellow and beginning to dry (but still green at the tips).
  • Bulbs plump and well-formed when gently unearthed.

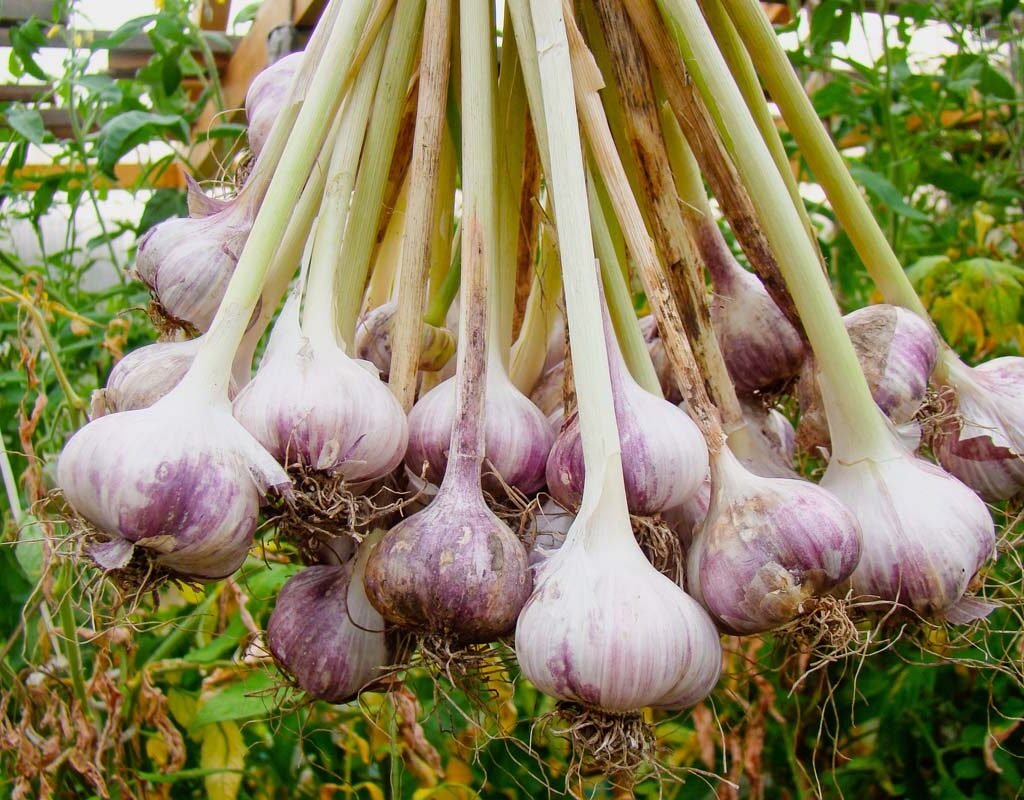
Harvest with care, cure in a dry, well-ventilated area, and store for months of delicious use in your kitchen.


Final Thoughts

Garlic may be simple to grow, but timing is the key to success. September is the perfect month for planting garlic because it gives your crop the cool start, cold exposure, long growing season, and strong foundation it needs to thrive. With minimal effort and a little patience, you’ll be rewarded with a harvest that not only enhances your cooking but also connects you to one of gardening’s oldest and most rewarding traditions.

So, as you prepare your fall garden, don’t forget to set aside a bed for garlic. By planting now, you’re investing in a harvest that will flavor your meals and strengthen your garden’s productivity well into next year.

5 Easy Fall Garden Projects to Do This Weekend

5 Easy Fall Garden Projects to Do This Weekend

Fall is one of the most beautiful times of the year, and it’s also a golden opportunity for gardeners. The crisp air, cooler temperatures, and colorful foliage create the perfect atmosphere for refreshing and preparing your garden. Many people assume gardening slows down after summer, but in reality, fall is one of the most productive seasons to invest time in your outdoor space.
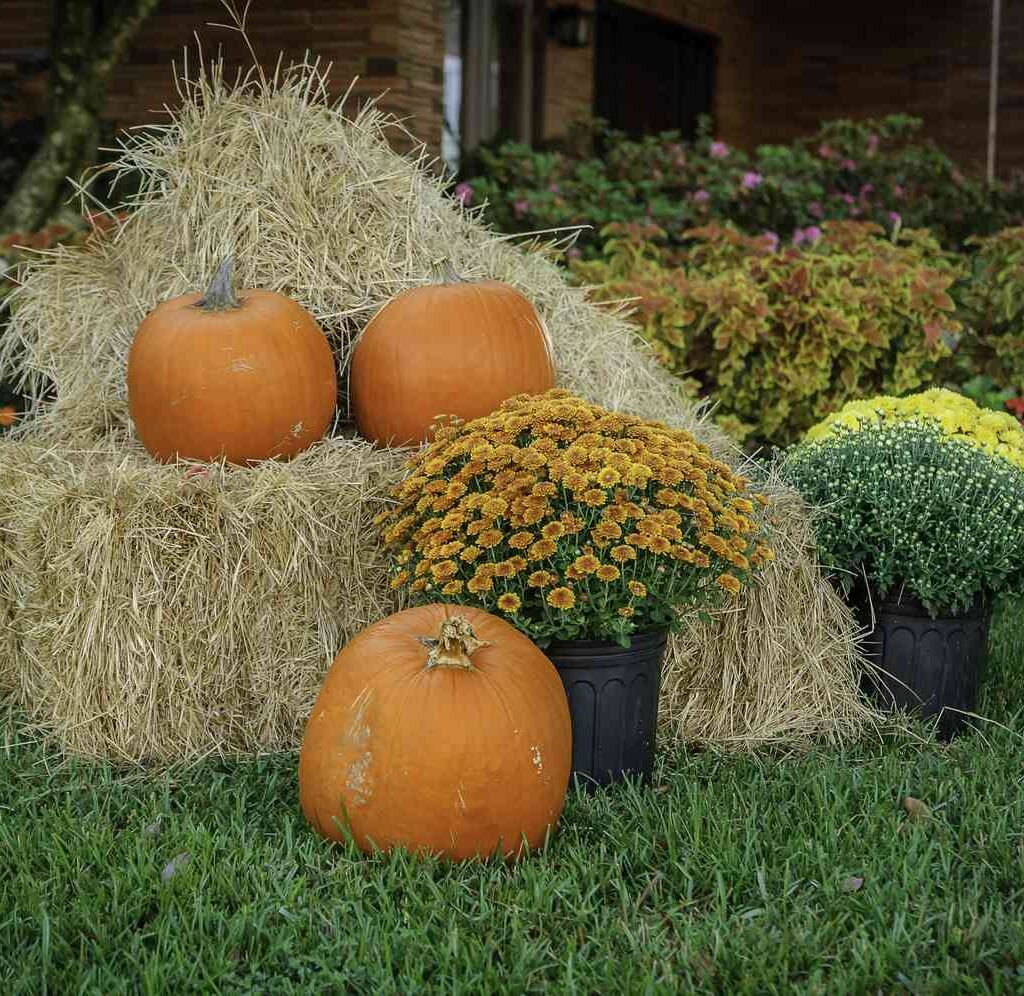
If you’re looking for simple yet rewarding tasks, you don’t need to spend weeks planning. In fact, with just a weekend, you can accomplish meaningful projects that will enhance your yard’s beauty now and prepare it for next year. This article highlights five easy fall garden projects you can do this weekend—all manageable, practical, and enjoyable.


Why Fall Gardening Projects Matter

Before diving into the projects, let’s understand why fall is such an ideal time:

  • Cooler weather is easier on both plants and gardeners. You can work longer without the stress of summer heat.
  • Fall projects set the stage for spring. Bulbs planted now bloom in spring, and soil prepared now yields healthier crops later.
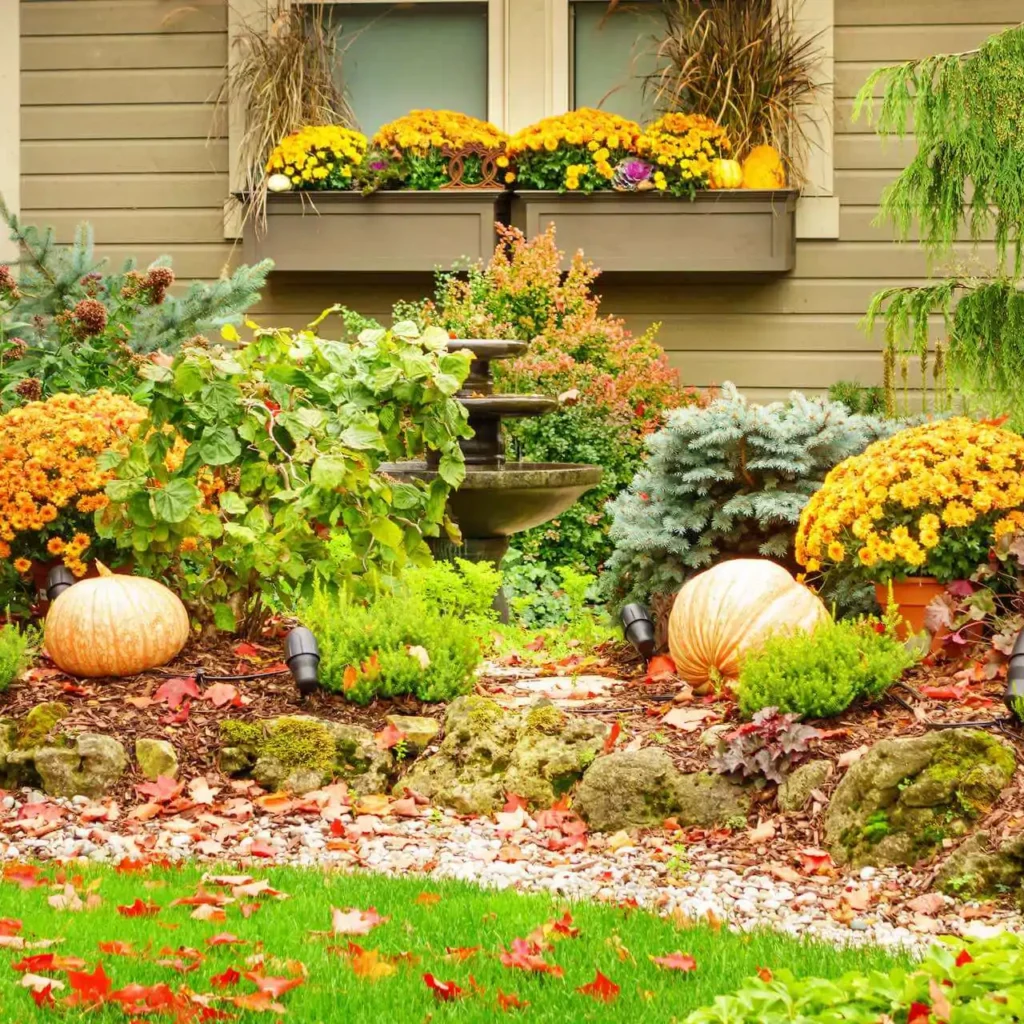
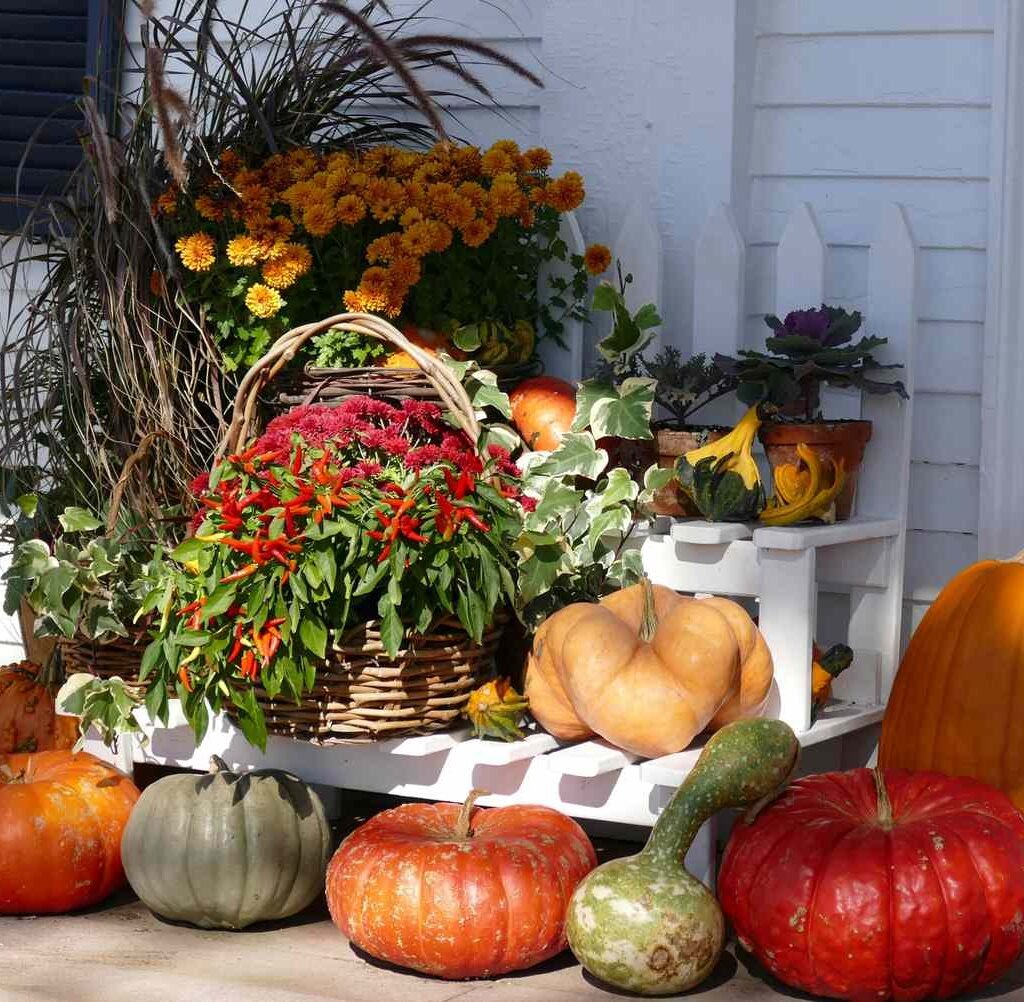
  • Autumn décor opportunities abound. From colorful mums to pumpkins, fall is perfect for adding seasonal charm to your garden.
  • Pests and weeds are reduced. Cooler weather slows them down, making gardening tasks easier.

Now let’s get into the projects you can start this weekend.


1. Plant Spring-Flowering Bulbs

Few things are more rewarding than seeing tulips, daffodils, or crocuses burst into bloom after a long winter. But those early-spring flowers only happen if you plant bulbs in the fall.

Why It’s Perfect for Fall

Bulbs require a period of cold dormancy to develop properly. By planting them in fall, you give them the chilling time they need to bloom beautifully in spring.

How to Do It This Weekend

  • Choose bulbs wisely: Select classic daffodils, tulips, hyacinths, or early bloomers like crocuses. For variety, mix early, mid, and late bloomers.
  • Prepare the soil: Loosen soil and add compost for better drainage. Bulbs dislike waterlogged conditions.
  • Plant correctly: Place bulbs two to three times as deep as their height, with the pointed side up. Space them generously.
  • Finish with mulch: Cover with a light layer of mulch to protect bulbs from temperature swings.

Extra Tip

Plant bulbs in clusters or drifts rather than straight rows. This creates a more natural, eye-catching spring display.


2. Refresh Garden Beds with Fall Flowers

Summer annuals may be fading, but fall flowers thrive in cooler weather and bring rich seasonal color. Adding them now ensures your garden continues to look lively even as leaves fall.

Top Choices for Fall Flowers

  • Chrysanthemums (Mums): Available in gold, orange, red, and purple—the epitome of fall color.
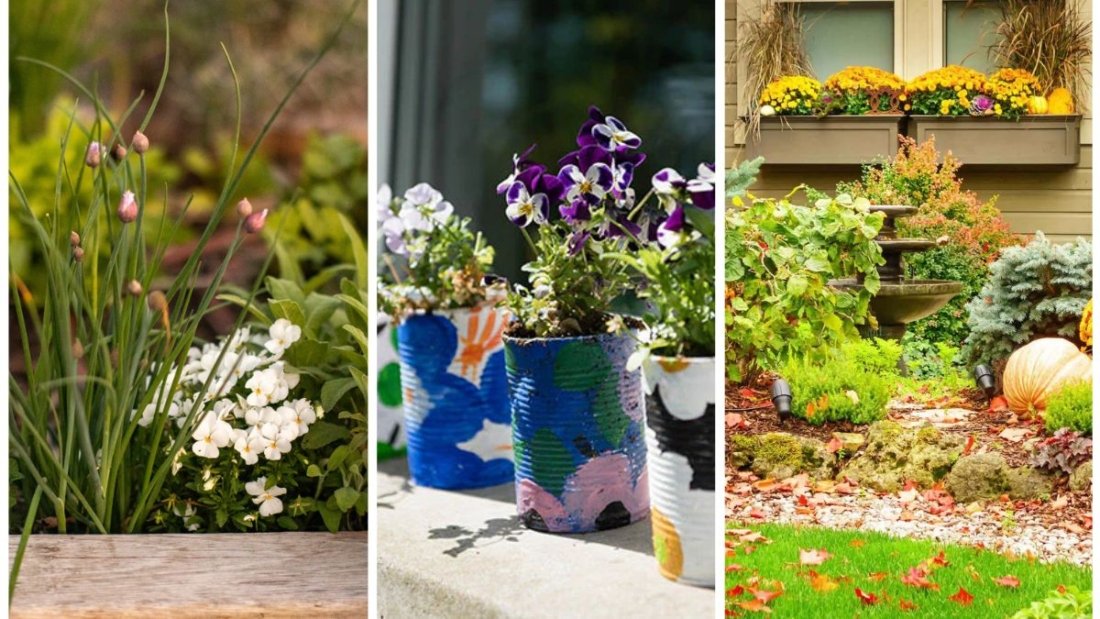
  • Pansies and Violas: Hardy blooms that survive light frosts.
  • Asters: Daisy-like flowers that attract pollinators in late fall.
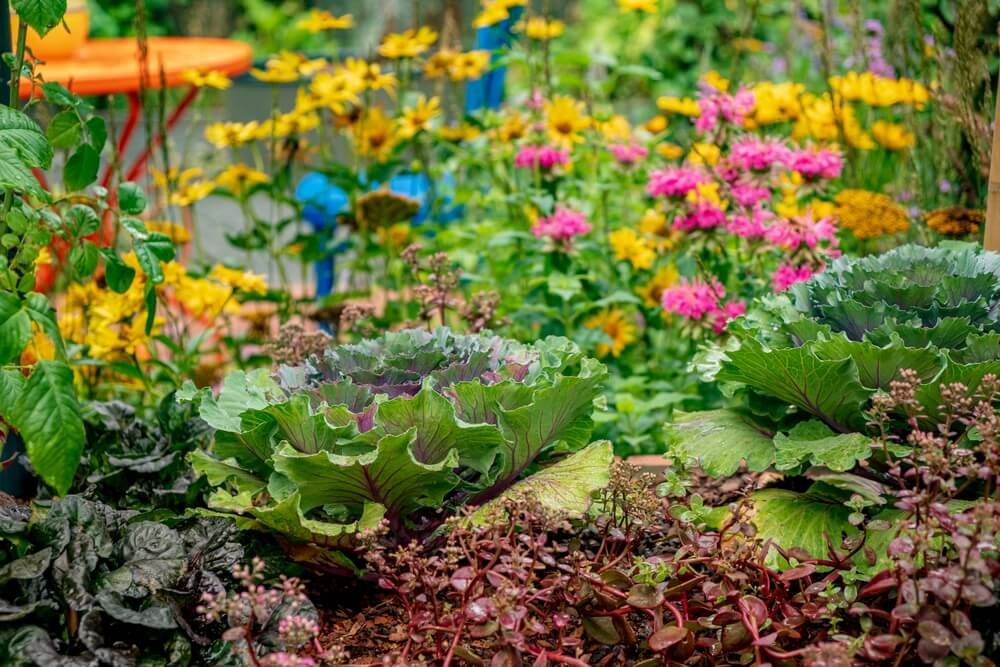
  • Ornamental kale and cabbage: Bold foliage that intensifies in color as the weather cools.

How to Do It This Weekend

  • Remove tired summer plants.
  • Add fresh compost or fertilizer to rejuvenate beds.
  • Plant fall flowers in groups for maximum impact.
  • Consider mixing flowers with pumpkins or gourds for a festive touch.

This project instantly brightens your yard and makes it feel welcoming through October and beyond.


3. Start a Compost Pile or Bin

Fall produces a natural abundance of composting materials—fallen leaves, garden clippings, and spent plants. Instead of bagging them for disposal, turn them into nutrient-rich compost that will benefit your garden next year.

Why Compost in Fall?

  • You have an abundance of organic material on hand.
  • Cooler weather reduces unpleasant odors.
  • Compost started in fall breaks down over winter, ready for spring use.

How to Do It This Weekend

  • Choose a spot: Select a corner of your yard for a compost pile, or purchase a compost bin.
  • Layer materials: Alternate “greens” (grass clippings, vegetable scraps) with “browns” (leaves, straw, shredded paper).
  • Keep it balanced: Aim for a ratio of about 2 parts browns to 1 part greens.
  • Maintain moisture: Compost should be damp like a wrung-out sponge.
  • Turn occasionally: Mixing helps speed up decomposition.

By next season, you’ll have rich, crumbly compost to nourish your plants naturally.


4. Prepare Raised Beds and Soil for Spring

Even if you’re finished harvesting summer crops, fall is the time to invest in your soil. Preparing raised beds now means you’ll be steps ahead when spring arrives.

Why Soil Prep Matters

Healthy soil is the foundation of a successful garden. Fall preparation gives nutrients time to settle, prevents erosion, and saves effort later.

How to Do It This Weekend

  • Clear out old crops: Remove dead plants and weeds. Compost healthy material; dispose of diseased matter.
  • Amend the soil: Add compost, aged manure, or organic fertilizer. Work it into the top few inches.
  • Plant cover crops: Sow rye, clover, or vetch to protect soil over winter and add nutrients when tilled in spring.
  • Mulch beds: Apply straw, shredded leaves, or bark mulch to prevent weed growth and soil erosion.

This project requires just a few hours but pays huge dividends when planting season returns.


5. Add Fall Garden Décor and Seasonal Touches

Gardens aren’t only about food and flowers—they’re also about creating beauty and atmosphere. Fall offers the perfect chance to add festive and cozy décor.

Ideas for Seasonal Charm

  • Pumpkins and gourds: Arrange them along walkways, steps, or beds.
  • Ornamental grasses: Plant tall grasses that sway gracefully in the breeze.
  • Lanterns and lights: Use solar lanterns or string lights to illuminate your garden as nights grow longer.
  • Hay bales and scarecrows: Add rustic, playful elements to highlight the season.

How to Do It This Weekend

Walk through your garden with an eye for focal points. Arrange seasonal elements where they’ll be most visible—near entrances, patios, or garden paths. This small effort creates a big impact, transforming your yard into a cozy autumn retreat.


Bonus Project: Plant Garlic for Next Year

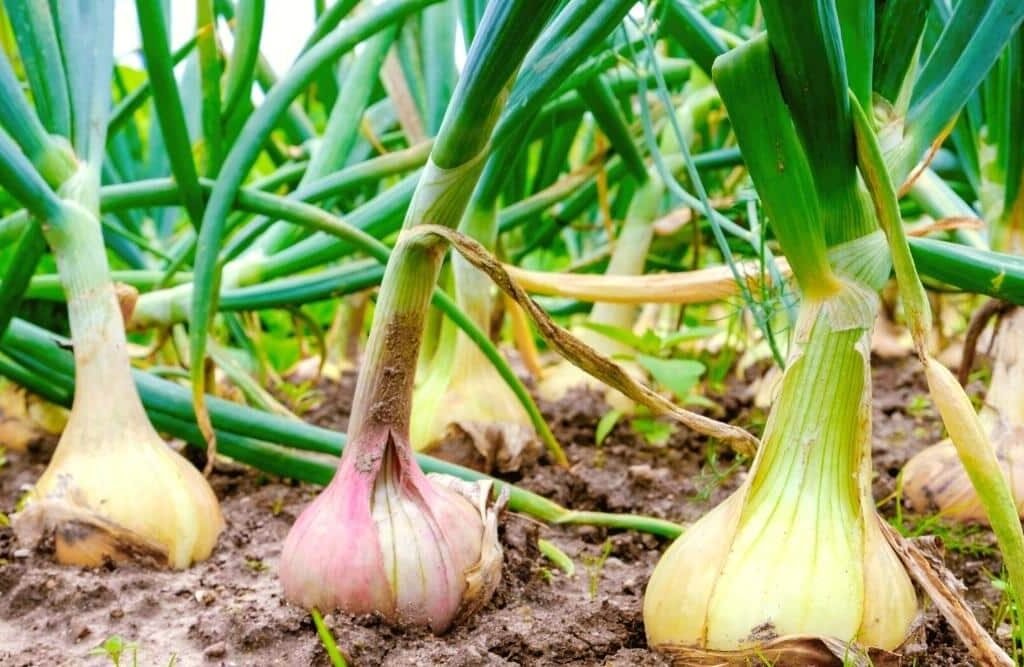
If you have extra time, plant garlic cloves this weekend. Garlic thrives when planted in fall, overwinters in the soil, and is ready for harvest the following summer. Simply separate cloves, plant them pointy side up, mulch heavily, and let nature do the rest.


Final Thoughts

Fall doesn’t mean the end of gardening—it means a new chapter full of opportunity. By tackling just a few projects this weekend—planting bulbs, refreshing flower beds, starting compost, preparing raised beds, and adding seasonal décor—you’ll keep your garden vibrant now and set it up for success in the months to come.

The best part? These projects are simple, don’t require a huge investment, and can all be completed in a single weekend. Whether you’re focused on beauty, productivity, or long-term health, your garden will thank you for the care you give it this fall.

So grab your gloves, rake, and a hot cup of cider—this weekend is the perfect time to make your fall garden shine.

How To Transition Your Summer Garden Into Fall

How to Transition Your Summer Garden Into Fall

As the days grow shorter and temperatures begin to cool, many gardeners assume the end of summer means the end of the gardening season. But in truth, fall offers an exciting opportunity to extend your harvests, refresh your flower beds, and prepare your garden for the colder months ahead. Transitioning your summer garden into fall is not just about tidying up fading blooms; it’s about rethinking your outdoor space to embrace autumn’s beauty while setting the stage for next year’s success.

This article will walk you through practical steps and strategies to smoothly transition your summer garden into fall, from soil preparation and crop rotation to fall flower planting and frost protection. By the end, you’ll see how fall gardening can be just as rewarding—if not more—than the height of summer.


Why Transitioning Matters

Shifting from summer to fall gardening is more than a seasonal cleanup; it’s a proactive step in maintaining your garden’s long-term health and productivity. Here’s why it’s important:

  • Maximize harvests: Many vegetables and herbs thrive in cooler weather, giving you fresh crops well into late fall.
  • Reduce pest and disease risks: Removing summer debris prevents overwintering pests and fungal infections.
  • Prepare for winter: By tending to soil and perennials now, you’ll reduce spring workload.
  • Enhance seasonal beauty: Fall flowers, ornamental grasses, and foliage plants add charm and color as trees change.

With this foundation, let’s dive into the practical steps.


Step 1: Evaluate and Clear Out Summer Crops

The first step in transitioning is to take stock of what’s thriving and what’s fading in your summer garden.

What to Do:

  • Remove spent plants: Pull out old tomato vines, bean plants, and other crops that have stopped producing. Compost healthy plant matter, but discard diseased material to prevent contamination.
  • Harvest what’s left: Gather the last of peppers, cucumbers, and zucchini before cold nights slow them down. Green tomatoes can be ripened indoors.
  • Cut back perennials: Trim herbs like basil, mint, and oregano to encourage one last flush of growth.

This step clears space for fall plantings and helps keep your garden tidy and disease-free.


Step 2: Refresh and Replenish the Soil

Summer crops are heavy feeders, often depleting soil nutrients. Before planting fall vegetables or flowers, replenish the soil.

Tips for Healthy Fall Soil:

  • Add compost: Spread a 2–3 inch layer of compost or well-rotted manure over garden beds to restore fertility.
  • Test pH: Cool-season crops like broccoli and kale prefer slightly acidic soil (pH 6.0–6.5). Adjust with lime or sulfur as needed.
  • Aerate: Loosen compacted soil with a garden fork to improve drainage and root growth.

Well-prepared soil is the backbone of a thriving fall garden.


Step 3: Choose the Right Fall Crops

Many vegetables actually prefer cooler conditions, making fall the perfect time to grow them.

Top Fall Vegetables:

  • Leafy greens: Kale, spinach, Swiss chard, and lettuce thrive in cooler temperatures and often become sweeter after frost.
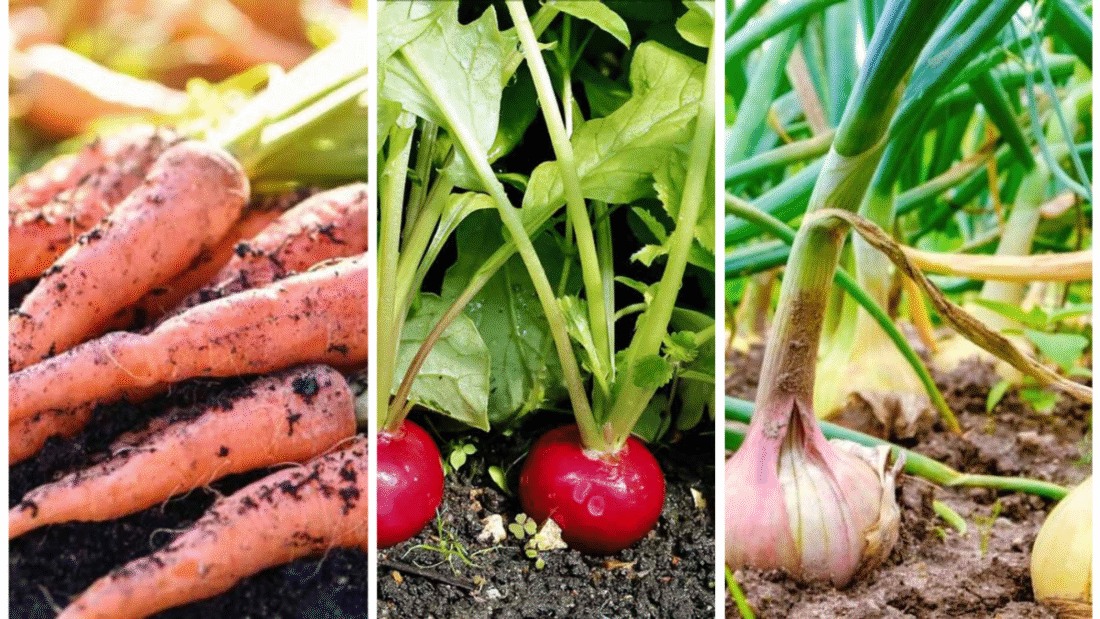
  • Root vegetables: Carrots, beets, radishes, and turnips store sugars in their roots, resulting in crisp, flavorful harvests.
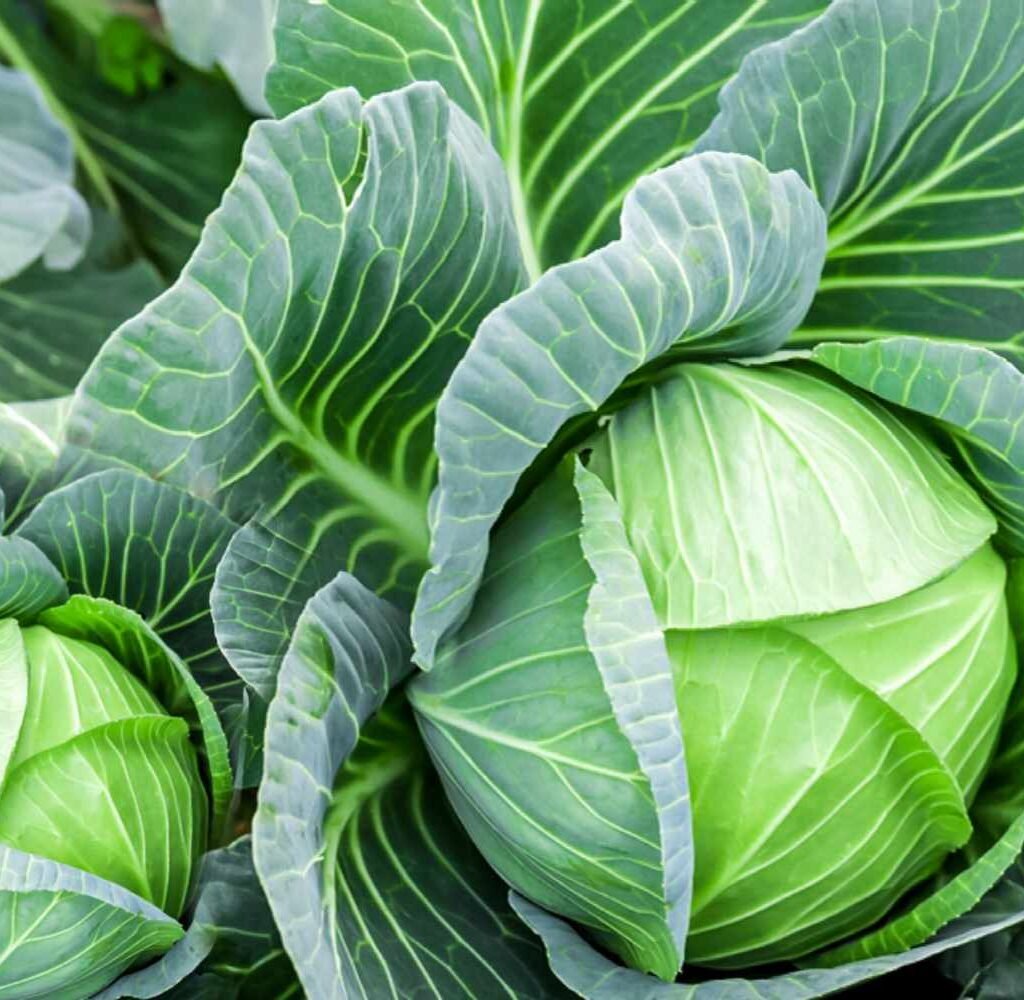
  • Brassicas: Broccoli, cabbage, cauliflower, and Brussels sprouts flourish in fall gardens and resist light frost.
  • Garlic: Fall planting ensures a summer harvest next year.

Timing Matters

Plant 6–8 weeks before your region’s first expected frost. For late crops, use cold frames, row covers, or cloches to extend the season.


Step 4: Incorporate Fall Flowers for Color

A fall garden doesn’t have to be only about vegetables. Adding seasonal flowers enhances beauty and attracts pollinators that benefit your crops.

Best Fall Flowers:

  • Chrysanthemums (Mums): Classic fall bloomers in shades of gold, bronze, and purple.
  • Pansies and Violas: Hardy and colorful, lasting through light frosts.
  • Asters: Daisy-like flowers that bloom into late October.
  • Ornamental kale and cabbage: Vibrant foliage plants that intensify in color as temperatures drop.

Plant these alongside pumpkins and ornamental grasses for a true autumn display.


Step 5: Mulch and Protect Against Frost

As October approaches, frost becomes a real threat. Protecting your garden ensures a longer harvest and healthier soil.

Frost Protection Strategies:

  • Mulch heavily: Apply straw, shredded leaves, or wood chips to insulate soil and protect roots.
  • Use row covers: Lightweight fabric row covers shield tender plants from cold nights.
  • Cold frames and hoop houses: These structures extend the growing season by weeks or even months.

Even a simple blanket over your plants during frost warnings can make a big difference.

Step 6: Care for Perennials and Bulbs

Perennials and bulbs require special attention in fall to ensure they survive winter and bloom beautifully in spring.

Tasks to Complete:

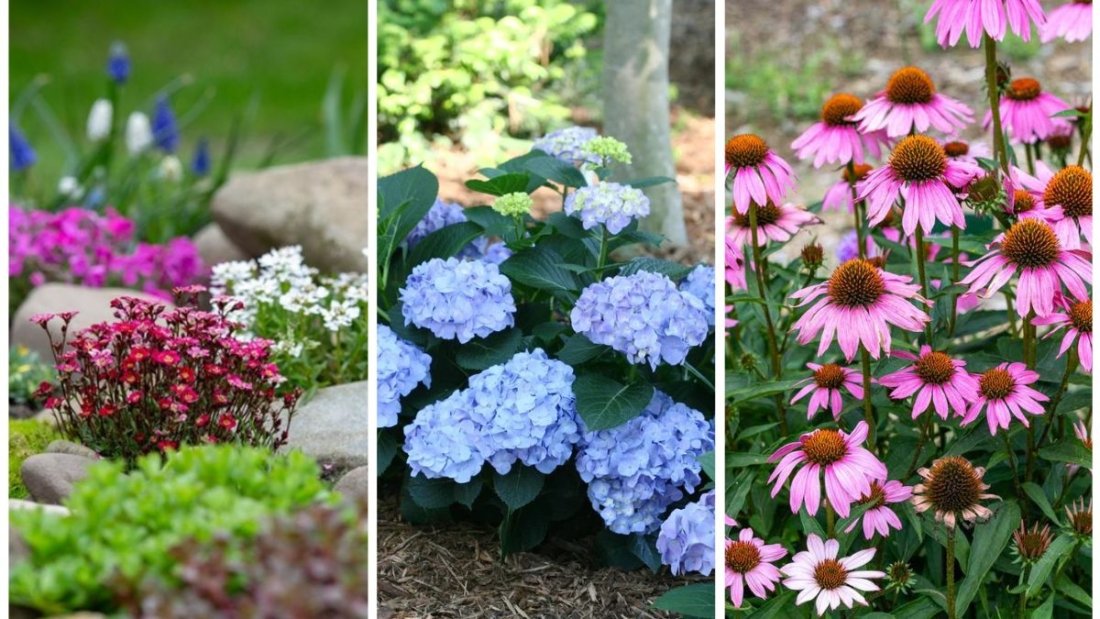
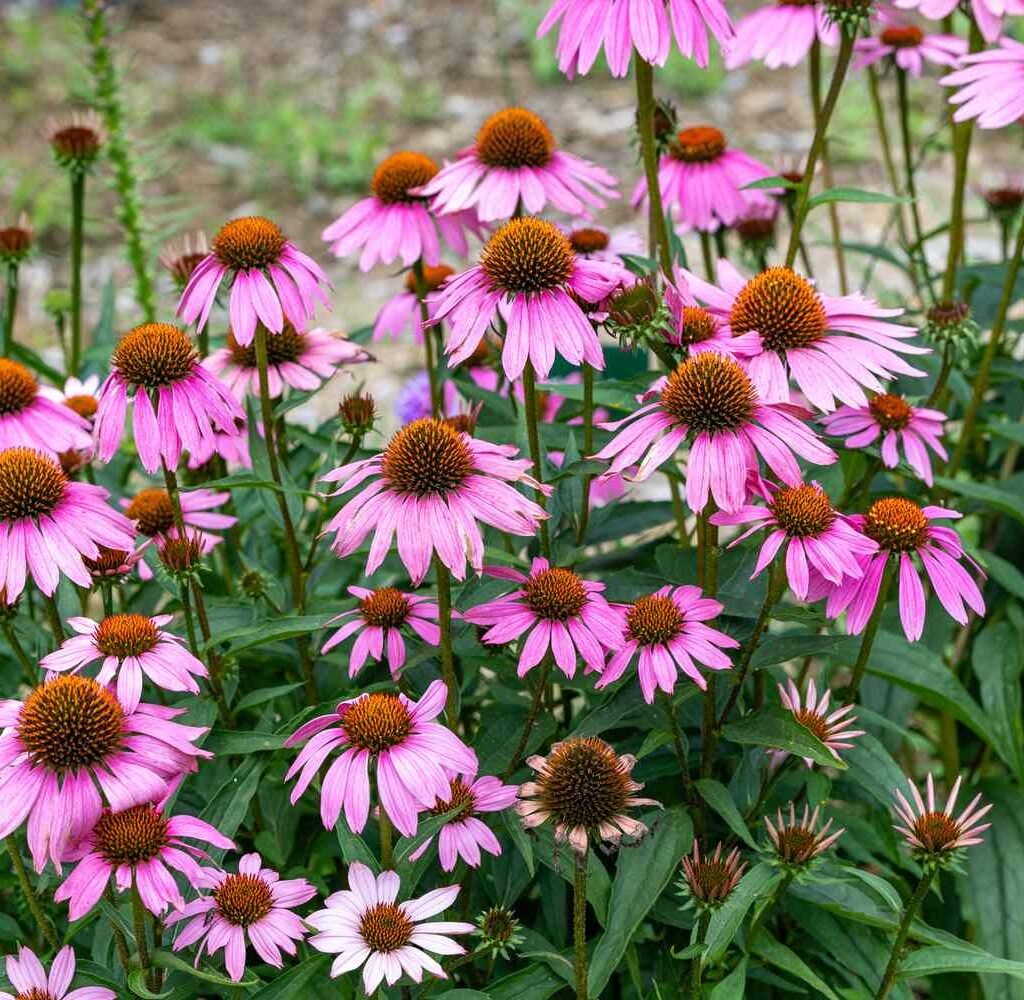
  • Cut back perennials: Trim spent stems of hostas, daylilies, and coneflowers. Leave seed heads on echinacea and sunflowers for birds.
  • Divide overcrowded plants: Fall is an ideal time to divide perennials like irises or peonies.
  • Plant spring bulbs: Daffodils, tulips, and hyacinths should be planted in fall to bloom in early spring.

These efforts create a seamless seasonal transition and prepare your garden for its next cycle.

Step 7: Add Seasonal Décor and Structure

A fall garden is not just about function; it’s about creating beauty and atmosphere.
Ideas for Seasonal Flair:

  • Pumpkin displays: Arrange pumpkins and gourds around flower beds or garden paths.
  • Ornamental grasses: Tall grasses like fountain grass or switchgrass add movement and texture.
  • Rustic touches: Hay bales, scarecrows, or lanterns give your garden a cozy, festive look.

By blending crops, flowers, and décor, you’ll create a garden that celebrates fall while remaining productive.


Step 8: Maintain and Monitor Regularly

Fall gardening requires consistent attention, even though cooler weather reduces some challenges.

  • Watering: Don’t neglect irrigation; autumn rains aren’t always enough. Water deeply but less frequently.
  • Pest control: Slugs and aphids may still appear—use organic deterrents like diatomaceous earth or neem oil.
  • Weeding: Weeds compete for nutrients even in fall. Remove them regularly.

A little maintenance now prevents major issues later.


Step 9: Plan Ahead for Next Year

One of the best benefits of fall gardening is the chance to prepare for spring.

Forward-Thinking Steps:

  • Crop rotation: Map out where fall crops will go to avoid depleting the same soil year after year.
  • Cover crops: Sow clover, rye, or vetch to enrich soil and prevent erosion over winter.
  • Garden journal: Record what worked well this season and what you’ll adjust next year.

By planning ahead, you’ll step into spring with less stress and greater success.


Final Thoughts

Transitioning your summer garden into fall isn’t about saying goodbye to growth and beauty—it’s about embracing a new season of possibilities. By clearing out summer crops, replenishing soil, planting fall vegetables and flowers, protecting against frost, and preparing perennials and bulbs, you’ll keep your garden vibrant and productive well beyond summer’s end.

Fall gardening not only rewards you with crisp, flavorful harvests and dazzling flowers but also prepares your soil and plants for a thriving spring. With a little planning and care, your garden can transition seamlessly from summer abundance to autumn splendor, proving that every season holds its own magic.

So don’t pack away those garden tools just yet—your best gardening days may still be ahead this fall.

5 Hardy Fall Vegetables You Can Still Plant Now

5 Hardy Fall Vegetables You Can Still Plant Now

Gardening is often associated with the warmth of spring and the vibrant greenery of summer. Yet, for those who understand the rhythm of nature, fall is just as promising a season to sow seeds and harvest nourishing crops. In fact, many vegetables thrive in the cooler temperatures of autumn. If you think you missed your chance to grow fresh produce this year, you’ll be delighted to know that several hardy vegetables can still be planted in fall and harvested before or even after the first frost.

This article explores five hardy fall vegetables you can still plant now, highlighting why they are ideal for the season, how to plant and care for them, and what makes them resilient in cooler weather. By the end, you’ll see that fall isn’t the end of the gardening season—it’s just a new beginning.


Why Fall Gardening Works

Before diving into the list, it’s important to understand why fall is such a good time for certain vegetables. Cooler temperatures reduce pest pressure, meaning your plants face fewer challenges from aphids, caterpillars, and beetles. Soil moisture tends to be more stable as autumn rains arrive, helping seedlings establish themselves with less stress. Furthermore, many vegetables taste sweeter when grown in cool conditions, as cold weather causes plants to concentrate natural sugars as a form of protection.

These factors combine to create an ideal environment for hardy crops that can tolerate light frosts or even thrive after them. Now, let’s look at five vegetables you can still plant for a rewarding fall harvest.


1. Kale – The Frost-Friendly Super Green

Kale is one of the most cold-tolerant vegetables you can grow. In fact, its flavor actually improves after a frost because the plant produces sugars that give the leaves a milder, sweeter taste. That makes fall the perfect time to grow kale, especially if you missed planting it in summer.

Planting Tips

  • Soil: Kale prefers well-drained, fertile soil with plenty of organic matter.
  • Spacing: Sow seeds about 12–18 inches apart. Thin seedlings to ensure good airflow.
  • Timing: Direct sow seeds in early to mid-fall. If you’re in a region with harsh winters, plant them 6–8 weeks before the first expected frost.

Care and Harvest

Keep the soil moist but not waterlogged. Mulch around the base of plants to retain warmth and protect roots during cold nights. You can begin harvesting baby leaves within 30 days or wait for larger leaves around 50–60 days. Pick the outer leaves first, allowing the center to keep producing.

Why It’s Hardy

Kale can survive temperatures as low as 20°F (-6°C). In mild climates, it may continue growing all winter long, making it one of the most reliable fall crops.


2. Spinach – A Quick and Cold-Loving Green

Spinach is another leafy green that thrives in cool weather and can tolerate light frosts. Its rapid growth makes it perfect for fall planting, since you can harvest within just a few weeks of sowing.

Planting Tips

  • Soil: Spinach prefers neutral to slightly alkaline soil with good drainage.
  • Spacing: Plant seeds about 1 inch apart, in rows 12 inches apart. Thin seedlings to about 3 inches.
  • Timing: Sow seeds directly outdoors 6–8 weeks before the first frost date. In regions with milder winters, you can even sow into late fall.

Care and Harvest

Water regularly, as spinach doesn’t like drying out. Cover with row fabric or cold frames if frost is predicted, which can extend your harvest season. You can harvest baby spinach leaves in as little as 3–4 weeks. For mature leaves, wait 6–8 weeks.

Why It’s Hardy

Spinach is frost-resistant and will keep producing until temperatures dip into the low 20s°F (-6°C). In fact, with protection, spinach can overwinter and provide early spring harvests the following year.


3. Carrots – Sweetened by the Cold

Carrots are a root vegetable that truly shines in the fall garden. The cool weather causes them to store sugars in their roots, resulting in sweeter, crisper carrots than those grown in summer.

Planting Tips

  • Soil: Loose, sandy soil free from rocks is essential for straight, healthy roots.
  • Spacing: Sow seeds thinly, about 2 inches apart, in rows spaced 12–18 inches.
  • Timing: Direct sow seeds in late summer to early fall. Carrots need about 70–80 days to mature, but baby carrots can be harvested earlier.

Care and Harvest

Keep soil consistently moist for even germination. Thin seedlings to prevent crowding, which leads to misshapen roots. Mulch to maintain soil temperature and protect against early frost. Harvest once roots reach finger thickness or wait until they are full-sized.

Why It’s Hardy

Carrots tolerate frost very well and can even be left in the ground after the first freeze. In fact, leaving them in the soil longer often enhances their sweetness. Covering rows with straw can help preserve carrots for winter harvests.


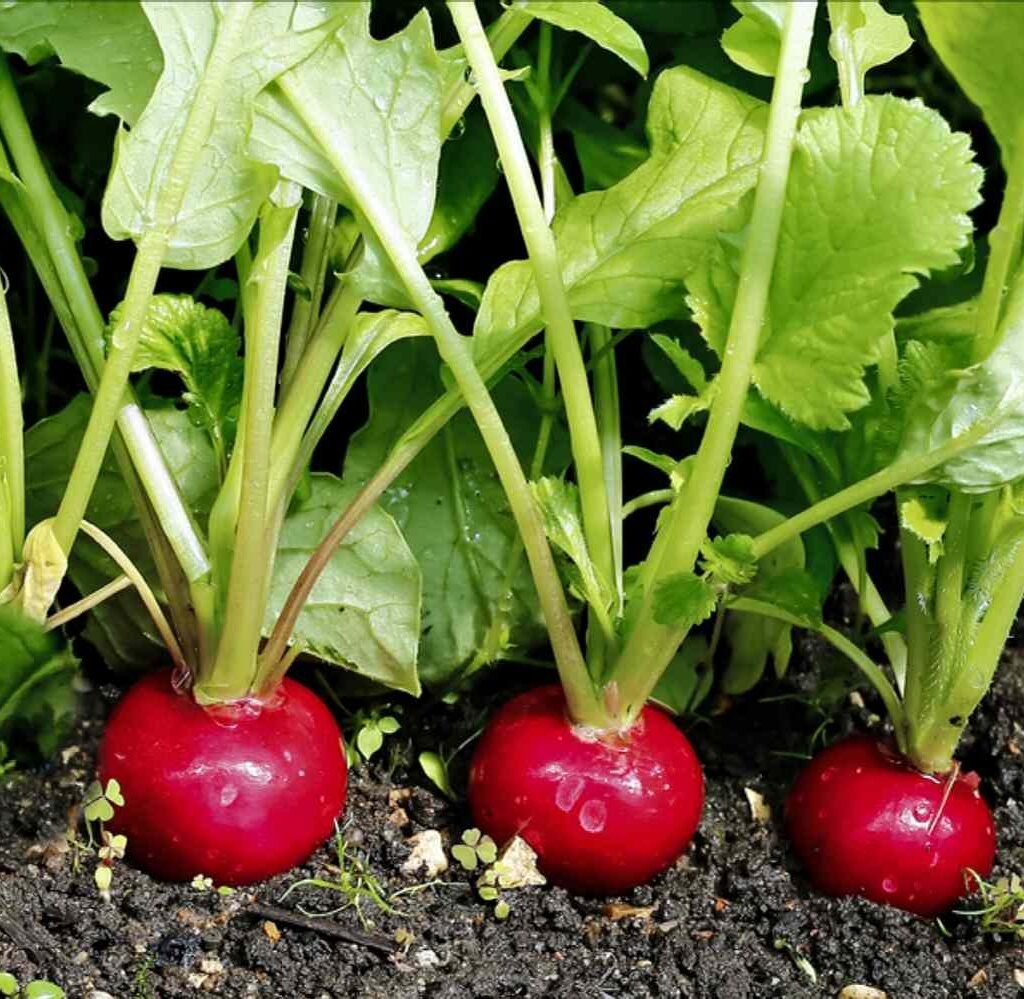
4. Radishes – The Speedy Root Vegetable

Radishes are one of the quickest crops to grow, often ready to harvest in less than a month. This makes them a perfect choice for fall planting, as you can still get multiple successions before winter sets in.

Planting Tips

  • Soil: Radishes prefer light, well-drained soil with plenty of organic matter.
  • Spacing: Sow seeds about 1 inch apart in rows spaced 8–12 inches.
  • Timing: Plant every 7–10 days for continuous harvests until frost.

Care and Harvest

Radishes need consistent moisture to avoid becoming woody or overly spicy. Harvest as soon as roots are mature, usually within 25–30 days, to avoid a tough texture.

Why It’s Hardy

While radishes don’t last as long in freezing weather as carrots or kale, they grow so quickly that you can enjoy several crops before winter. Some winter radish varieties, like daikon, are even more tolerant and can grow into late fall.


5. Garlic – The Fall Planting Powerhouse

While garlic isn’t harvested in the same season, fall is the ideal time to plant it. Garlic needs a long growing period and performs best when planted in autumn and allowed to overwinter. By spring and summer, you’ll be rewarded with large, flavorful bulbs.

Planting Tips

  • Soil: Garlic prefers rich, well-drained soil with plenty of compost.
  • Spacing: Plant cloves 2 inches deep, 6 inches apart, with the pointed end facing up.
  • Timing: Plant garlic 4–6 weeks before the ground freezes.

Care and Harvest

Mulch heavily with straw or leaves to protect cloves from freezing. Water lightly until the soil freezes, then resume watering in spring. Harvest when the lower leaves begin to turn brown in early summer.

Why It’s Hardy

Garlic is perfectly adapted to overwintering in cold conditions. By planting now, you’re essentially preparing for one of next year’s most rewarding harvests.


Final Thoughts

Just because summer has passed doesn’t mean your gardening season is over. By planting hardy fall vegetables like kale, spinach, carrots, radishes, and garlic, you can extend your harvest window and enjoy fresh produce well into the cooler months. These crops not only tolerate chilly temperatures but often thrive in them, offering sweeter flavors, tender leaves, and crisp roots.

Whether you want fast-growing greens, sweetened root crops, or the promise of next year’s garlic bounty, fall gardening has something to offer. All it takes is a little planning, the right varieties, and an understanding of your region’s frost dates. So, grab your seeds, prepare your soil, and embrace the beauty of the fall garden—you’ll be glad you did.

The Best Plants for a Low-Maintenance Garden

The Best Plants for a Low-Maintenance Garden

Creating a beautiful garden doesn’t have to mean endless hours of pruning, watering, fertilizing, and weeding. In today’s fast-paced world, more and more homeowners are embracing low-maintenance gardens—landscapes that are not only aesthetically pleasing but also sustainable, drought-tolerant, and easy to care for.

Whether you’re a beginner gardener, a busy professional, or someone who simply prefers a laid-back approach to landscaping, choosing the right plants is the key to building a garden that thrives with minimal input. This article explores the best plants for a low-maintenance garden, offering a mix of perennials, shrubs, succulents, and ground covers that require little care but deliver big visual impact.


What Makes a Plant Low-Maintenance?

Before diving into plant selections, it’s important to define what “low-maintenance” actually means in the gardening context. Plants considered low-maintenance usually have the following characteristics:

  • Drought Tolerance – Requires little or infrequent watering once established.
  • Pest and Disease Resistance – Not prone to common plant problems.
  • Minimal Pruning or Deadheading – Grows well without constant grooming.
  • Self-Sustaining Growth Habit – Can thrive without regular fertilization or staking.
  • Hardy and Adaptable – Tolerates a wide range of soil types and weather conditions.

Now, let’s explore the top plant picks that meet these criteria.


1. Lavender (Lavandula spp.)

Type: Perennial Shrub

Ideal Conditions: Full sun, well-drained soil

Zones: 5–9

Why it’s low-maintenance:
Lavender is not only visually stunning with its purple blooms, but it’s also aromatic, deer-resistant, and highly drought-tolerant. Once established, it needs very little watering and can go years without fertilizer.

Maintenance Tips:

  • Prune once a year after flowering to keep its shape.
  • Avoid overwatering; too much moisture can cause root rot.
  • Use it as a border plant or in containers for flexibility.

Bonus: Lavender attracts pollinators like bees and butterflies but repels pests like mosquitoes and moths.


2. Sedum (Stonecrop)

Type: Succulent ground cover or perennial

Ideal Conditions: Full sun to part shade, dry soil

Zones: 3–9

Why it’s low-maintenance:
Sedums are among the easiest plants to grow. These succulents store water in their leaves, making them exceptionally drought-tolerant. They thrive in poor soils and are rarely troubled by pests or diseases.

Top Varieties:

  • Sedum ‘Autumn Joy’: Upright with pink blooms.
  • Sedum spurium: Ground cover with colorful foliage.
  • Sedum acre: Fast-spreading yellow-flowered mat.

Maintenance Tips:

  • Requires little to no fertilization.
  • Cut back dead growth in early spring for neatness.
  • Excellent for rock gardens and borders.

3. Hostas

Type: Perennial (especially shade-tolerant)

Ideal Conditions: Partial to full shade, moist but well-drained soil

Zones: 3–9

Why it’s low-maintenance:
Hostas are beloved for their lush foliage and ability to fill shady spaces with texture and color. Once planted, they return reliably every year and require minimal care aside from occasional watering during dry spells.

Top Features:

  • Comes in a variety of sizes and shades (blue, green, variegated).
  • Resistant to most diseases.
  • Pairs well with ferns and other shade plants.

Maintenance Tips:

  • Mulch to retain soil moisture and reduce weeds.
  • Divide every 3–5 years if clumps become too large.
  • Watch for slugs in humid areas.

4. Coneflowers (Echinacea spp.)

Type: Flowering perennial

Ideal Conditions: Full sun, well-drained soil

Zones: 3–9

Why it’s low-maintenance:
Echinacea is a native North American wildflower that tolerates drought, poor soil, and urban pollution. It blooms for months, attracts beneficial insects, and reseeds itself generously.

Popular Varieties:

  • Echinacea purpurea: Classic purple petals.
  • ‘Cheyenne Spirit’: Mix of red, yellow, and orange tones.
  • ‘White Swan’: Elegant white blooms.

Maintenance Tips:

  • Cut back spent flowers to encourage reblooming.
  • Leave late-season seed heads for winter bird food.
  • Excellent for cottage gardens and meadow-style landscapes.

5. Russian Sage (Perovskia atriplicifolia)

Type: Woody perennial

Ideal Conditions: Full sun, sandy or rocky soil

Zones: 4–9

Why it’s low-maintenance:
Russian sage produces long spikes of silvery lavender-blue flowers that bloom from summer into fall. It’s extremely drought-tolerant and pest-free, thriving in tough conditions.

Maintenance Tips:

  • Cut back to 6–8 inches in early spring to promote fresh growth.
  • Avoid heavy clay soils—this plant prefers excellent drainage.
  • Looks great in mass plantings or paired with ornamental grasses.

6. Ornamental Grasses (Various Species)

Type: Perennial Grass

Ideal Conditions: Full sun to partial shade, average soil

Zones: Varies by species

Why they’re low-maintenance:
Ornamental grasses add movement, texture, and sound to the garden. Most require no fertilization, minimal water, and are deer-resistant. They come in a wide variety of shapes and colors.

Top Picks:

  • Miscanthus sinensis (Maiden Grass): Tall and elegant.
  • Pennisetum alopecuroides (Fountain Grass): Soft, feathery blooms.
  • Festuca glauca (Blue Fescue): Compact and colorful.

Maintenance Tips:

  • Cut back to the ground in late winter or early spring.
  • Divide every few years to maintain vigor.
  • Use as borders, backdrops, or standalone features.

7. Coral Bells (Heuchera spp.)

Type: Perennial

Ideal Conditions: Partial shade, moist but well-drained soil

Zones: 4–9

Why it’s low-maintenance:
With its vibrant foliage colors—ranging from lime green to deep burgundy—Heuchera offers year-round interest without the need for constant care. It’s also a great choice for shady spots and containers.

Maintenance Tips:

  • Remove dead leaves in spring.
  • Divide every 3–4 years if needed.
  • Avoid overwatering; it’s more susceptible to root rot than drought.

8. Yarrow (Achillea millefolium)

Type: Perennial

Ideal Conditions: Full sun, dry soil

Zones: 3–9

Why it’s low-maintenance:
Yarrow is a tough-as-nails wildflower with ferny foliage and clusters of blooms in various colors. It’s drought-tolerant, self-sustaining, and a pollinator magnet.

Maintenance Tips:

  • Deadhead spent blooms for extended flowering.
  • Divide plants every few years to prevent overcrowding.
  • Tolerates neglect and poor soils.

9. Creeping Thyme (Thymus serpyllum)

Type: Ground Cover

Ideal Conditions: Full sun, well-drained soil

Zones: 4–9

Why it’s low-maintenance:
This aromatic, low-growing herb forms dense mats that suppress weeds and tolerate foot traffic. It’s excellent between stepping stones or as a lawn alternative in dry areas.

Maintenance Tips:

  • Requires no mowing.
  • Minimal watering once established.
  • Produces lovely pink-purple flowers in summer.

Design Tips for a Truly Low-Maintenance Garden

To maximize the benefits of low-maintenance plants, consider the following strategies:

1. Group Plants by Water Needs

Place drought-tolerant species together so you don’t overwater plants that prefer dry conditions.

2. Use Mulch Generously

Mulch retains moisture, suppresses weeds, and reduces the need for frequent watering.

3. Choose Native Plants

Native species are naturally adapted to your region’s soil and climate, making them more resilient and easier to care for.

4. Limit the Lawn

Grass requires frequent mowing and watering. Replace sections of lawn with ground covers or gravel for lower maintenance.


Conclusion: Beauty Without the Burden

Low-maintenance gardening doesn’t mean sacrificing beauty or diversity. With the right plant choices, you can create a dynamic, colorful, and environmentally-friendly landscape that essentially takes care of itself. By incorporating drought-resistant, pest-free, and self-sustaining species, your garden becomes a space of relaxation rather than obligation.

Whether you’re planning a new garden or looking to reduce the workload of an existing one, the plants listed above are proven performers that offer high impact for minimal effort. A low-maintenance garden is not just a dream—it’s a smart, sustainable reality.

5 Low-Cost Garden Upgrades With Big Impact

5 Low-Cost Garden Upgrades With Big Impact

A well-maintained garden is more than just an outdoor space—it’s a sanctuary, a personal retreat, and a statement of style. However, many homeowners and garden enthusiasts shy away from upgrading their garden spaces due to the perceived high costs. The truth is, creating a beautiful, functional garden doesn’t require a massive budget. With a few clever and cost-effective upgrades, you can transform your outdoor area into a vibrant, inviting oasis.

In this article, we explore five low-cost garden upgrades that deliver high visual and functional impact, suitable for homeowners, renters, and garden lovers alike. Whether you’re working with a small urban backyard or a larger rural garden, these tips are adaptable, sustainable, and budget-friendly.


1. Add Definition with Garden Edging

Estimated Cost: $20–$100
Impact Level: High Visual Appeal and Organization

Why It Works:

Garden edging is a subtle yet powerful design element. It defines borders between garden beds, lawns, and pathways, giving the garden a clean and organized appearance. When implemented well, it brings a professional touch to even the most basic outdoor spaces.

Budget-Friendly Materials:

  • Recycled bricks or concrete blocks
  • Natural logs or tree branches
  • Flexible plastic or rubber edging
  • DIY stone borders

Implementation Tips:

  • Use a shovel to create a shallow trench before placing your edging material.
  • For curved designs, choose flexible materials like rubber edging or cut logs.
  • Combine edging with mulch or gravel to further reduce weed growth and improve drainage.

Bonus Tip:

Consider using reclaimed materials from demolition sites or recycling centers. Not only is this environmentally friendly, but it can significantly cut costs while adding rustic charm.


2. Incorporate Vertical Gardening

Estimated Cost: $15–$80
Impact Level: Space Maximization and Visual Interest

Why It Works:

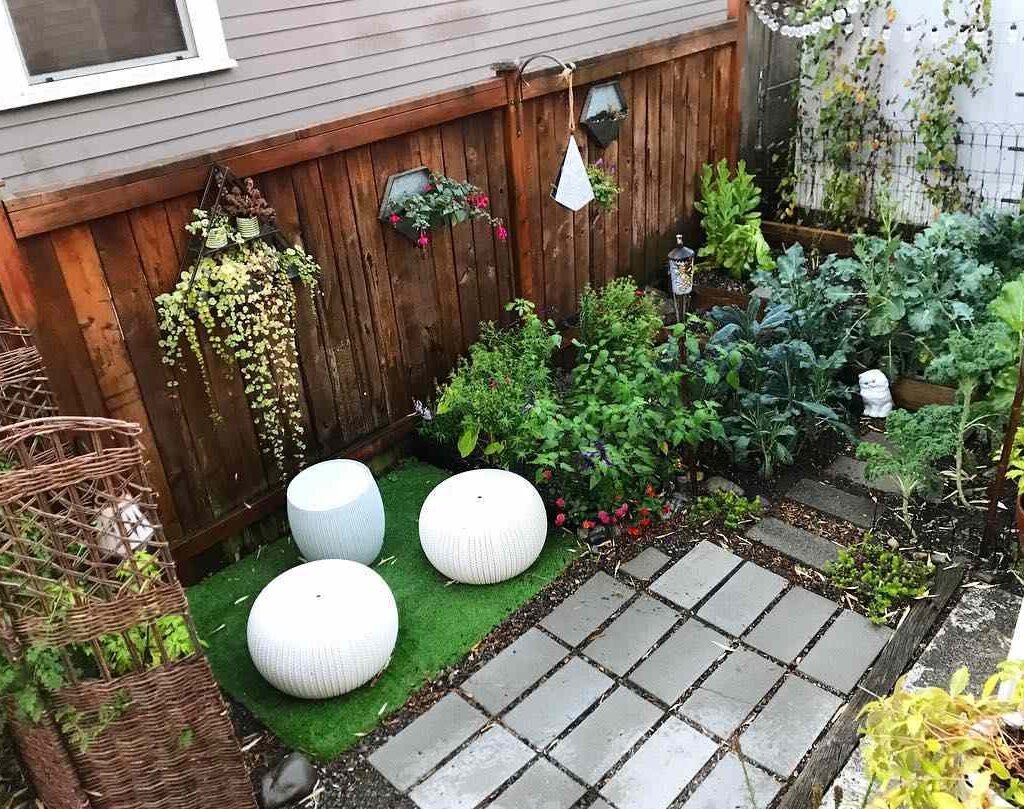
Vertical gardening is perfect for small spaces and urban settings. By growing upwards instead of outwards, you make efficient use of available space and add a striking visual element. It’s ideal for herbs, leafy greens, succulents, and even flowering vines.

Budget-Friendly Options:

  • Wooden pallets turned into plant walls
  • Hanging shoe organizers used as vertical planters
  • DIY trellises made from bamboo or scrap wood
  • Repurposed shelves or crates

How to Get Started:

  1. Choose a sturdy vertical surface (fence, wall, balcony railing).
  2. Ensure adequate drainage and sunlight.
  3. Use lightweight soil and water-retaining materials to reduce maintenance.

Bonus Tip:

Install a drip irrigation system made from repurposed plastic bottles for a low-maintenance watering solution.


3. DIY Stepping Stone Pathways

Estimated Cost: $25–$100
Impact Level: Functional Access and Aesthetic Appeal

Why It Works:

Stepping stone pathways not only guide foot traffic and prevent soil compaction but also create visual flow in your garden. Paths connect different zones of your garden and offer a whimsical or elegant touch depending on the material used.

Cost-Effective Materials:

  • Broken concrete slabs (urbanite)
  • Homemade concrete molds (using plastic containers or baking pans)
  • Flat rocks or leftover tiles
  • Gravel and sand for filling

Step-by-Step:

  1. Plan the pathway layout with rope or garden hose.
  2. Clear the area and dig shallow holes for the stones.
  3. Level the stones and secure with sand or gravel.
  4. Surround with mulch or grass for a polished look.

Bonus Tip:

Add decorative mosaics to your stepping stones using leftover tiles, marbles, or pebbles to personalize your path.


4. Upgrade Lighting with Solar Fixtures

Estimated Cost: $30–$120
Impact Level: Nighttime Ambiance and Safety

Why It Works:

Garden lighting extends the usability of your space into the evening hours while adding ambiance and security. Solar-powered lights are an eco-friendly, low-maintenance solution that requires no wiring or electricity.

Affordable Solar Lighting Ideas:

  • Solar stake lights along pathways
  • Hanging solar lanterns from trees or hooks
  • LED string lights across patios or fences
  • Mason jar solar lights as table centerpieces

Installation Guide:

  1. Place lights in areas that receive ample sun during the day.
  2. Space lights evenly for balance and aesthetics.
  3. Choose warm-toned bulbs for a cozy atmosphere.

Bonus Tip:

Combine lighting with reflective surfaces (like mirrors or metallic planters) to amplify light without adding more fixtures.


5. Create a Focal Point with Upcycled Decor

Estimated Cost: $10–$70
Impact Level: Personalization and Artistic Flair

Why It Works:

A garden focal point draws the eye and gives the space character. Upcycled garden decor lets you showcase creativity while minimizing waste and expenses. The result is a personalized outdoor area that feels curated and cohesive.

Ideas for Upcycled Focal Points:

  • Painted old wheelbarrows turned into flower beds
  • Vintage bicycles adorned with baskets of blooms
  • Reused wooden ladders as tiered plant stands
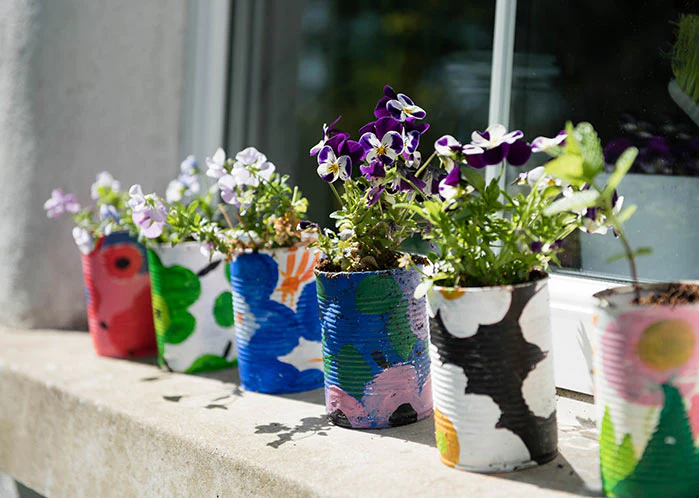
  • Broken ceramic pots arranged into fairy gardens

Tips for Impact:

  • Choose a spot that’s easily visible—near the entrance, at the end of a path, or in the center of a flower bed.
  • Use bright colors or contrasting textures to make your focal point pop.
  • Keep it proportionate to your space—large items can overwhelm small gardens.

Bonus Tip:

Rotate focal points seasonally (e.g., pumpkins in fall, lanterns in winter) to keep your garden feeling fresh and dynamic all year.


Final Thoughts: Small Changes, Big Rewards

Transforming your garden doesn’t have to be expensive or labor-intensive. The key is to maximize impact through thoughtful, intentional upgrades that enhance beauty, function, and sustainability. By focusing on inexpensive materials, reusing what you already have, and putting in a bit of creativity, you can breathe new life into your garden without stretching your budget.

Whether it’s defining your garden with clean edges, adding vertical interest, illuminating your nights, or showcasing your personality with upcycled decor, these five low-cost upgrades offer big returns for minimal investment. More importantly, they inspire a deeper connection with your outdoor space and allow your garden to reflect your unique taste and lifestyle.

So roll up your sleeves, gather your materials, and get started—your dream garden is more achievable than you think!

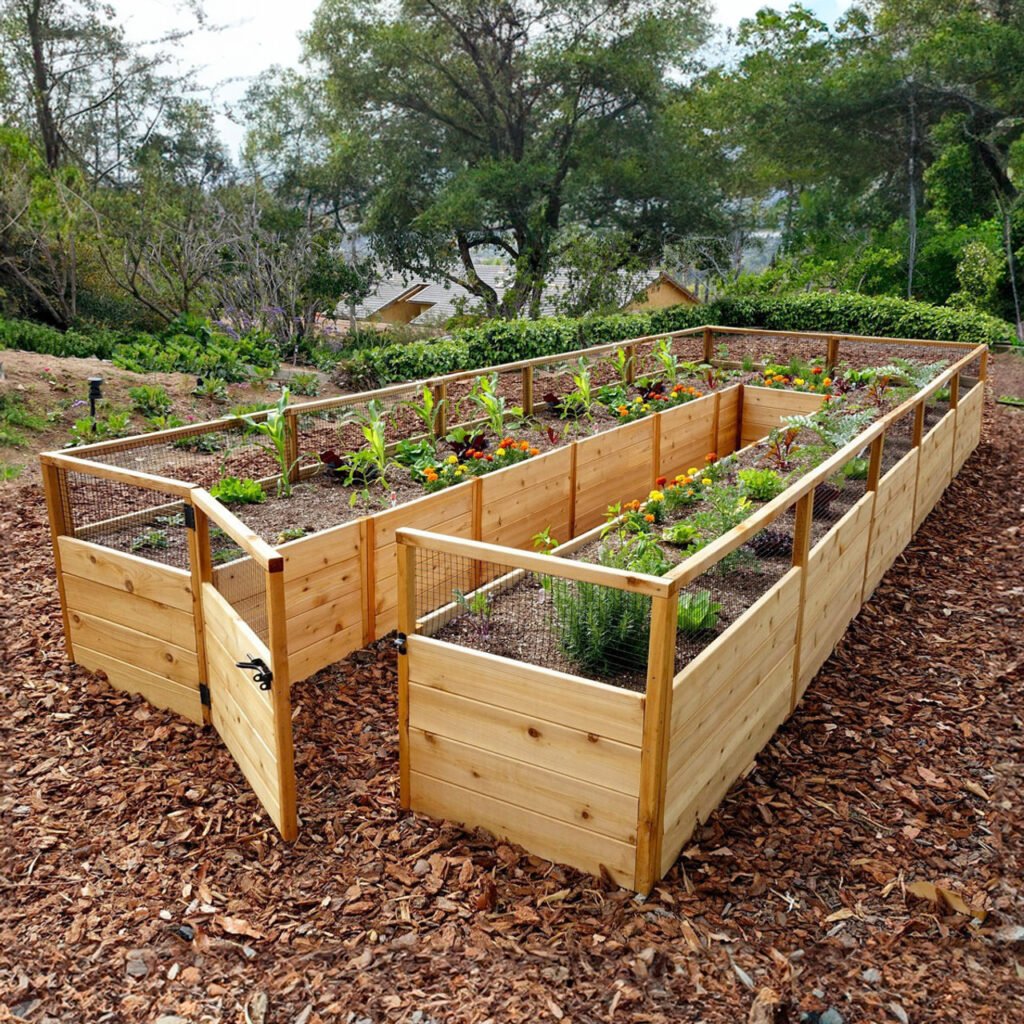
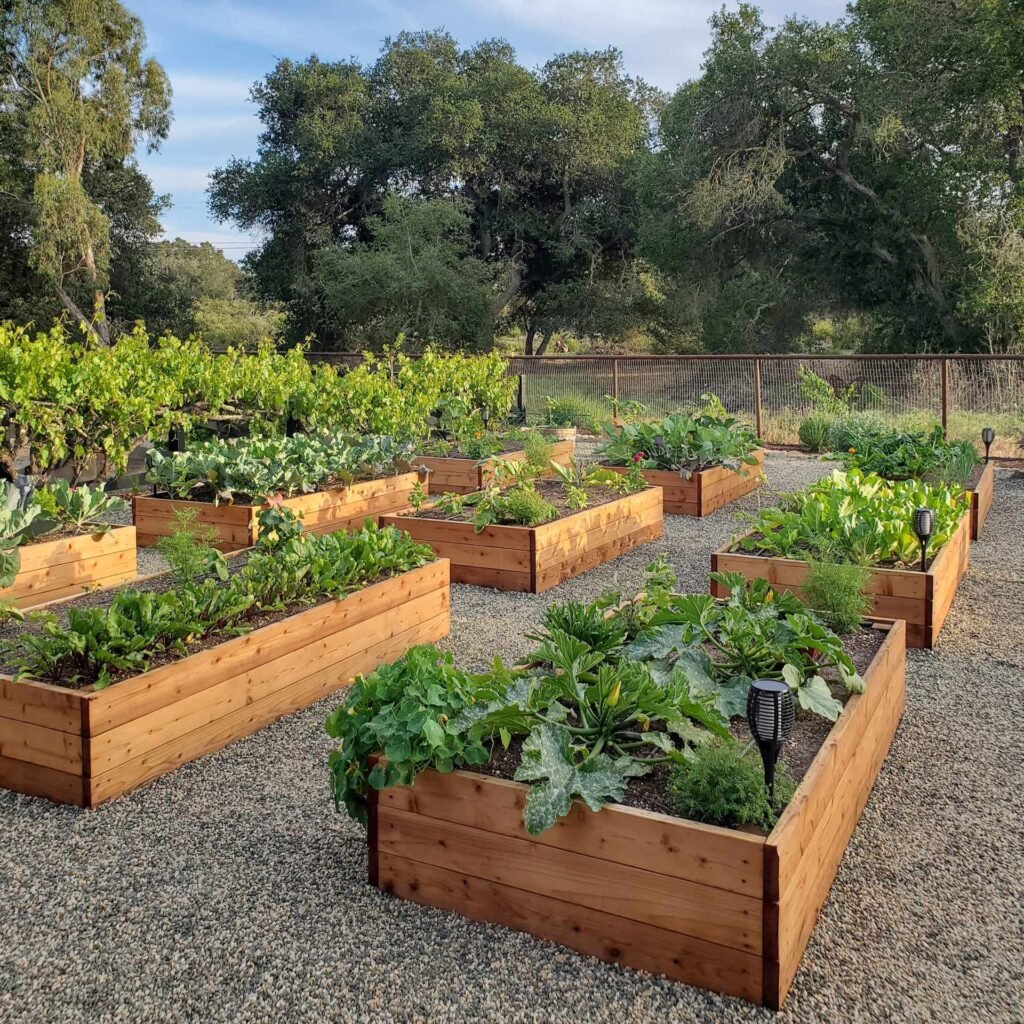
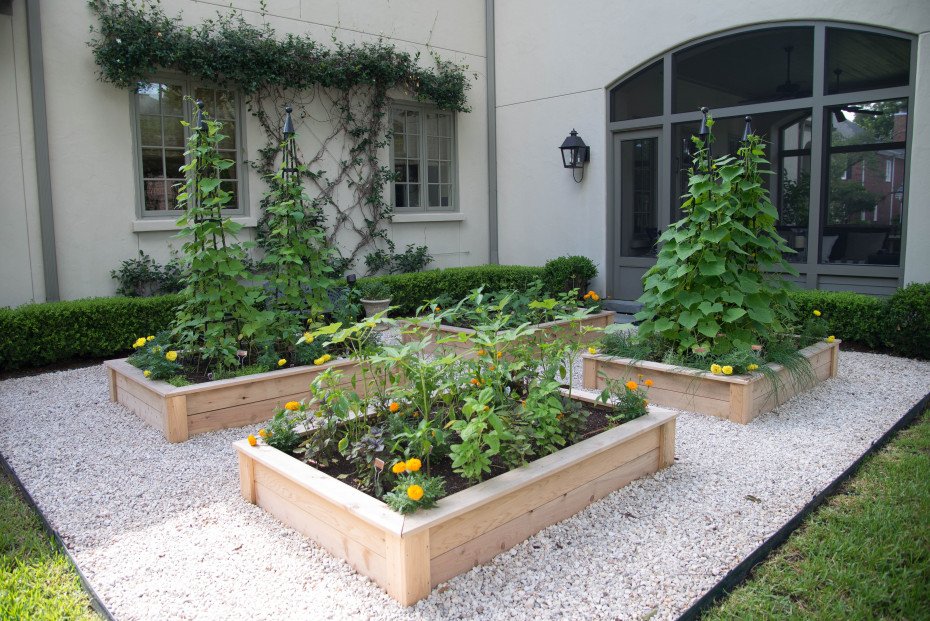
Why Raised Beds Make Gardening So Much Easier

Why Raised Beds Make Gardening So Much Easier

Gardening is one of the most rewarding hobbies you can pursue, offering benefits that range from fresh produce to stress relief. But ask any experienced gardener, and they’ll tell you—not all garden setups are created equal.

One method that continues to grow in popularity among beginners and seasoned green thumbs alike is raised bed gardening. Why? Because it simply makes everything easier.

From better soil control to fewer weeds and less strain on your back, raised beds offer a long list of advantages that can transform the way you garden. In this article, we’ll explore the science, structure, and simplicity behind raised bed gardening, and why this method has become a favorite among modern gardeners.


What Are Raised Beds?

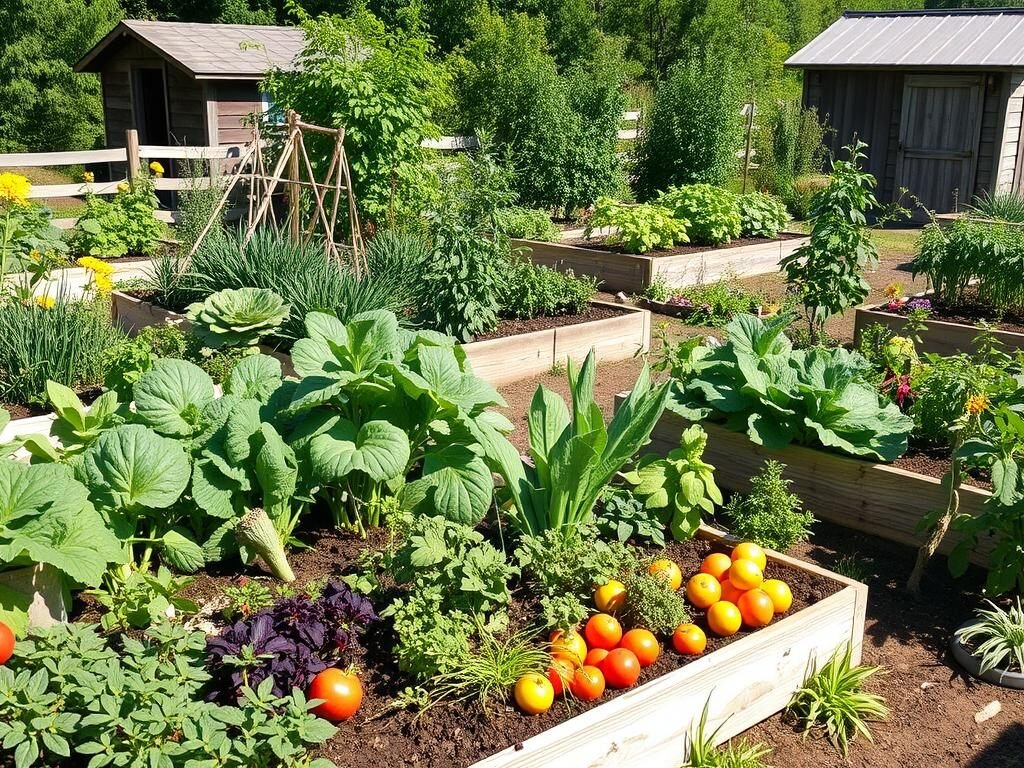
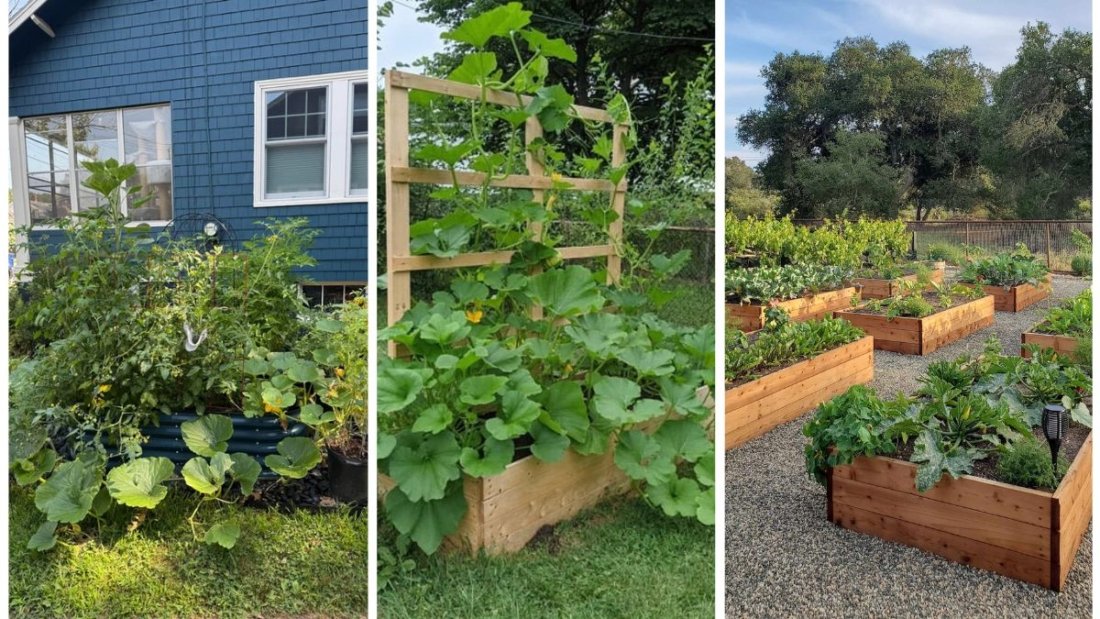
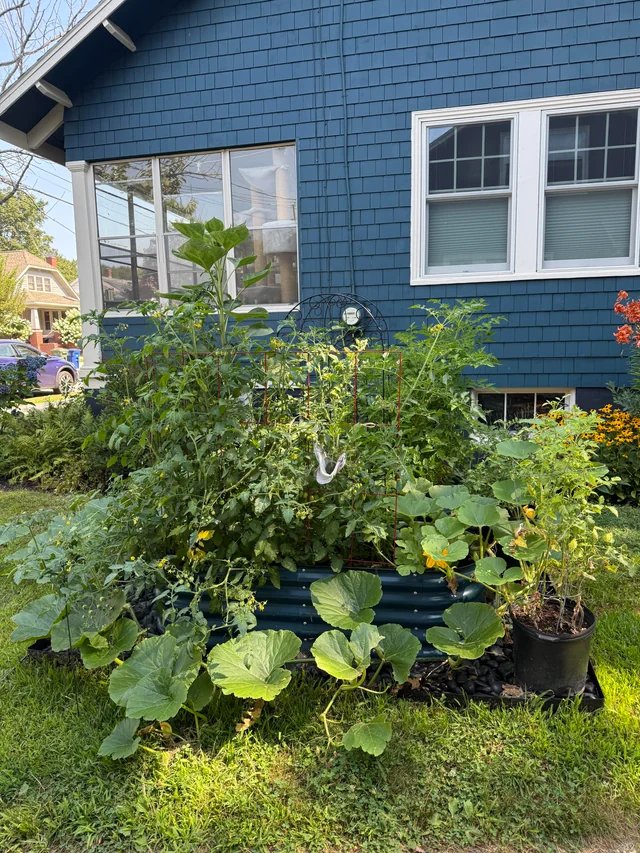
A raised bed is essentially a garden bed that is elevated above the natural ground level. It’s usually contained within a frame made of wood, stone, metal, or other materials, and filled with a curated mix of soil and compost.

Raised beds can vary in size and height depending on your needs. Some are as low as 6 inches, while others are tall enough to eliminate bending entirely.


1. Better Soil Control = Better Plant Growth

One of the biggest advantages of raised bed gardening is the ability to control your soil quality.

In traditional in-ground gardening, you’re stuck with whatever soil nature has given you—which may be clay-heavy, sandy, rocky, or lacking in nutrients. Raised beds allow you to create a customized soil mix that’s perfect for the plants you’re growing.

Benefits of Soil Control:

  • Improved drainage: Raised beds prevent water from pooling, reducing the risk of root rot.
  • Soil warmth: The soil in raised beds warms up faster in the spring, allowing for an earlier start to planting.
  • Nutrient density: You can add compost, worm castings, and organic matter to supercharge your growing medium.
  • Fewer toxins: If you live in an urban area or on previously developed land, raised beds help isolate your plants from potentially contaminated native soil.

Ideal Soil Mix for Raised Beds:

  • 50% topsoil
  • 30% compost
  • 20% aerators like perlite, vermiculite, or coarse sand

This rich, loose blend promotes strong root development and higher yields.


2. Fewer Weeds and Easier Weed Management

Weeding is one of the most dreaded chores in gardening. Raised beds make this task significantly easier for two key reasons:

A. Less Weed Seed Exposure

When you fill your raised bed with fresh, high-quality soil and compost, you avoid much of the weed seed bank that lives in the ground. Fewer weed seeds = fewer weeds.

B. Easier Maintenance

The defined edges and smaller surface area make it easier to spot and pull weeds before they spread. Plus, adding a layer of mulch on top (like straw, bark, or leaf mold) helps smother weeds and retain moisture.

You can also lay weed-blocking fabric at the bottom of the raised bed during installation to further reduce weed intrusion from below.


3. Better Accessibility = Less Strain on Your Body

Traditional ground-level gardens require a lot of bending, kneeling, and squatting—movements that can be tough on your back, knees, and joints, especially as you get older.

Raised beds bring the garden up to a more comfortable height, which:

  • Reduces back strain
  • Makes planting, weeding, and harvesting easier
  • Is wheelchair-friendly when built at appropriate height

In fact, raised bed gardening is often recommended for:

  • Elderly gardeners
  • People with mobility challenges
  • Those recovering from injury or surgery

Even a 12–18 inch tall raised bed can make a huge difference in comfort.


4. Improved Drainage and Water Control

Drainage is critical in gardening. Plants need water, but they don’t want to sit in soggy soil. Poor drainage leads to root rot, fungus, and disease.

Raised beds are naturally excellent at draining excess water. Since they’re elevated and not compacted by foot traffic, water can flow freely through the soil.

Tips to Maximize Drainage:

  • Use loose, organic-rich soil
  • Avoid walking on the soil inside the bed
  • If needed, drill holes in the bottom or use gravel layers

At the same time, raised beds retain moisture better when mulched correctly, making watering more efficient.


5. Extended Growing Season

Because raised beds warm up faster in the spring and drain better after snow or rain, you can often start planting earlier than you would in the ground.

In some regions, raised beds can extend the growing season by several weeks, giving you an edge for cool-season crops like lettuce, spinach, and carrots.

Additionally, the contained design allows for easy use of:

  • Row covers
  • Cold frames
  • Mini hoop houses
    These additions can protect plants from frost, wind, and pests—giving you even more control over your garden’s microclimate.

6. Space Efficiency and Higher Yields

Raised beds encourage intensive planting methods, such as square-foot gardening, which helps maximize production in small spaces.

Benefits include:

  • Tighter plant spacing = fewer weeds
  • Denser planting = better use of water and nutrients
  • Optimized design = easier access from all sides (no stepping in the bed!)

A 4×8 foot raised bed can feed a family of four with seasonal vegetables throughout spring, summer, and fall when managed properly.


7. Pest Control Made Easier

Raised beds don’t eliminate pests entirely, but they make them easier to manage.

Advantages:

  • Barrier from burrowing pests like gophers or moles (use wire mesh at the base)
  • Easier to install fencing or netting for rabbits, deer, or birds
  • Visual access helps you spot insect infestations sooner
  • You can easily cover crops with floating row covers or cloches

By elevating your plants, you reduce the chances of random ground pests reaching them unnoticed.


8. Tidy, Organized Appearance

A well-maintained raised bed garden looks structured and intentional, which is especially appealing in urban or suburban settings. It enhances curb appeal and can even add value to your property.

Aesthetic Benefits:

  • Clean lines and defined spaces
  • Easier to maintain symmetry and design
  • Great for showcasing edible landscapes or ornamental plants

Raised beds can also be customized with trellises, arches, or decorative edging to create a visually stunning garden that doubles as a design feature.


9. Customizable for Any Location or Climate

Whether you’re working with clay soil, rocky terrain, or limited space, raised beds are versatile and adaptable.

You can build them:

  • On top of poor soil
  • In small patios or balconies (with container beds)
  • With materials suited for your climate (e.g., rot-resistant cedar for wet areas, galvanized steel for dry zones)

Raised beds also allow for crop rotation, companion planting, and vertical gardening, making them a flexible choice for any gardener.


Summary: Why Raised Beds Make Gardening Easier

BenefitHow It Helps
Better soil controlBoosts plant health and yields
Weed reductionSaves time and labor
Easier on the bodyReduces physical strain
Improved drainagePrevents root rot and overwatering
Longer growing seasonMore harvests per year
Space efficiencyIdeal for small or urban gardens
Easier pest controlProtects crops and simplifies defense
Cleaner designEnhances beauty and structure
CustomizationAdapts to your environment and goals

Final Thoughts

Raised bed gardening isn’t just a trend—it’s a smart, efficient, and rewarding way to garden. Whether you’re growing flowers, vegetables, herbs, or all of the above, raised beds give you greater control, better results, and a more enjoyable experience.

By solving common gardening problems—like poor soil, weeds, and accessibility—raised beds empower both beginners and experts to grow more with less effort.

If you’re looking for a way to make gardening easier, more productive, and more beautiful, raised beds are the answer.