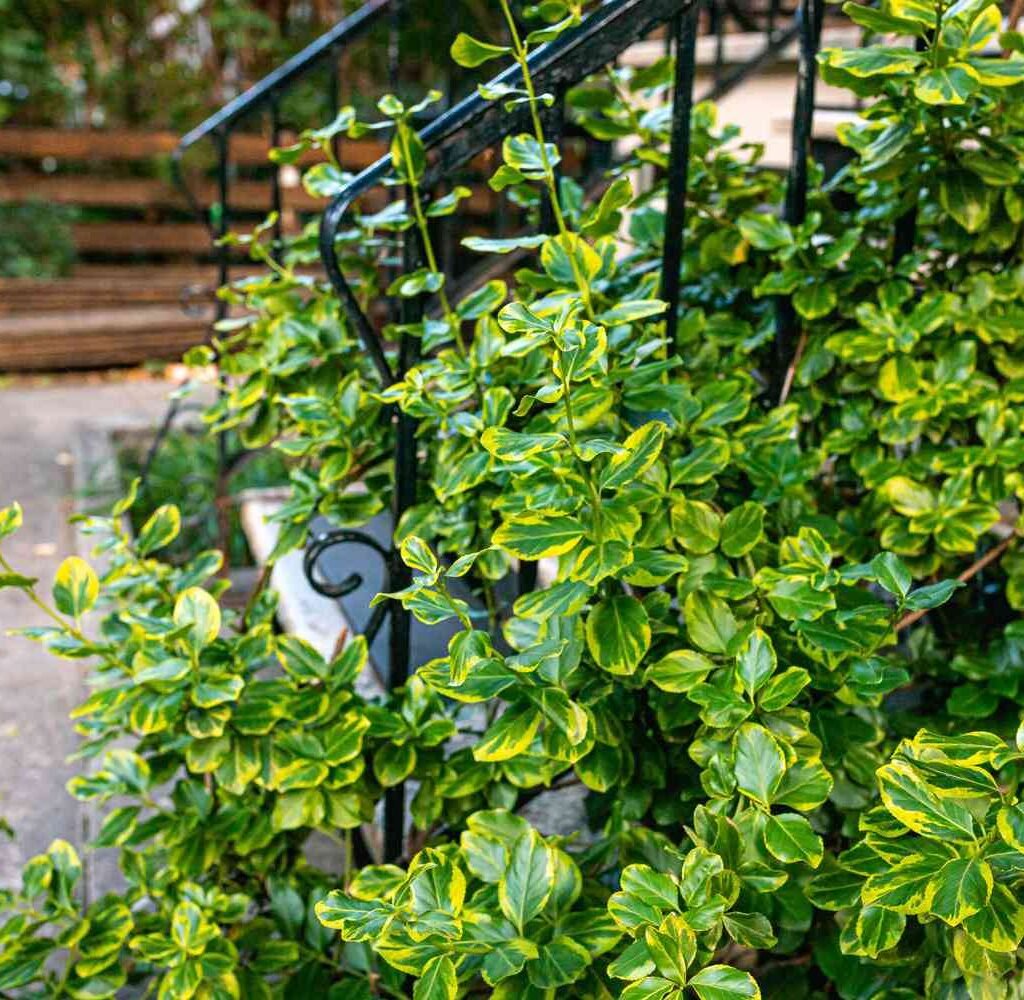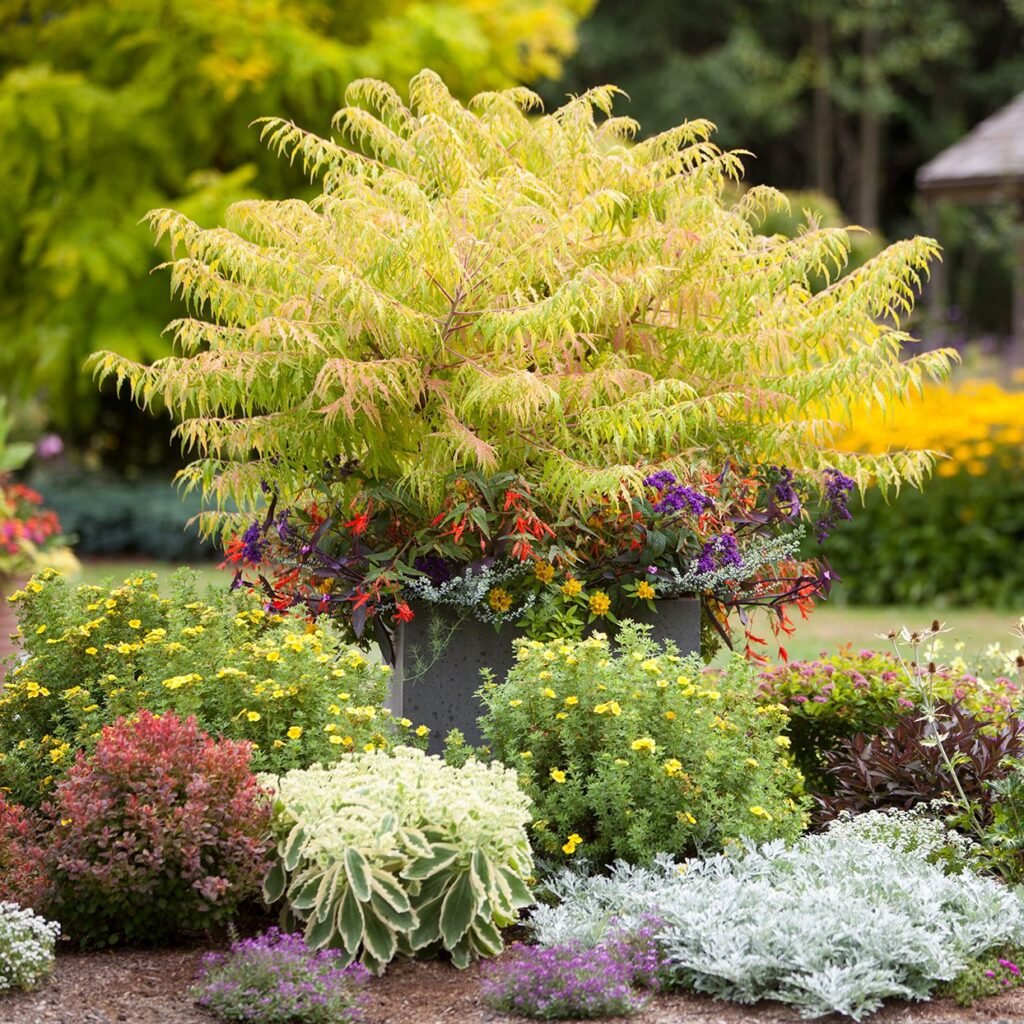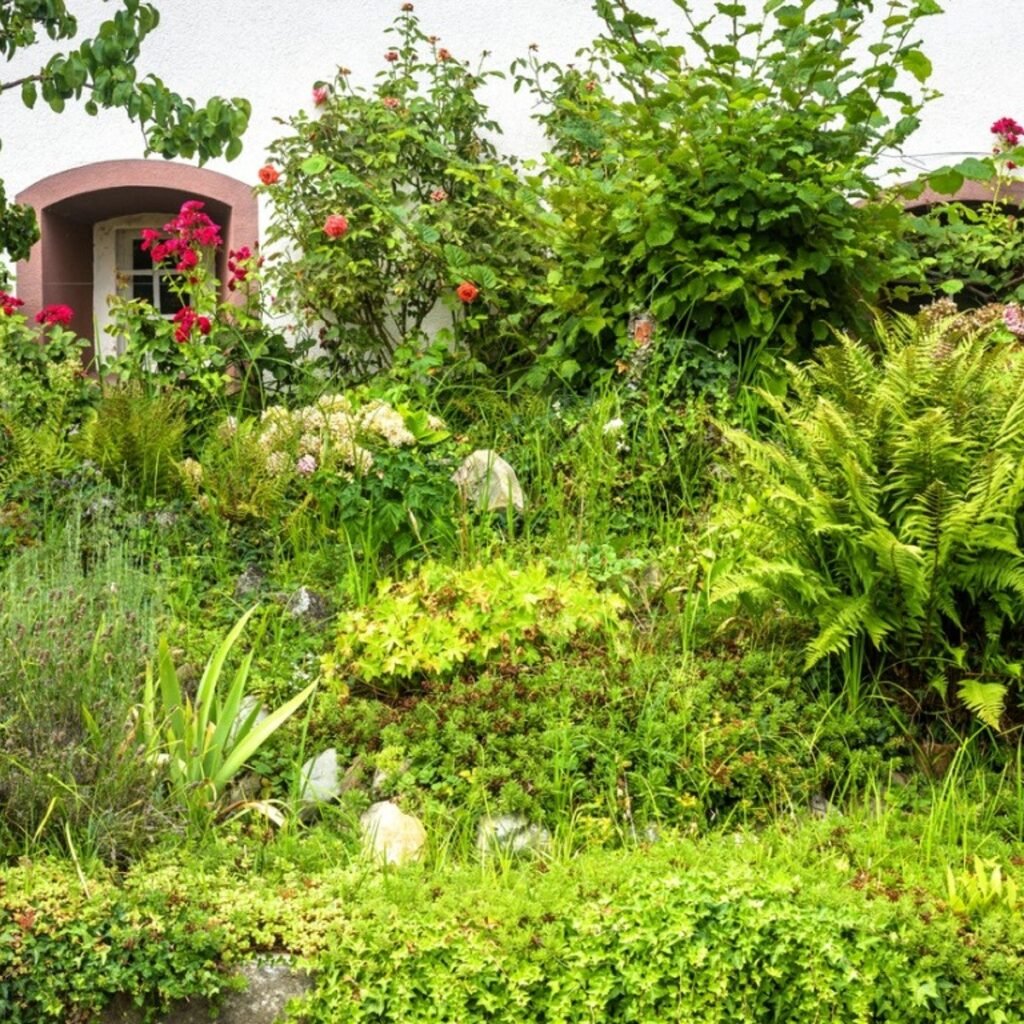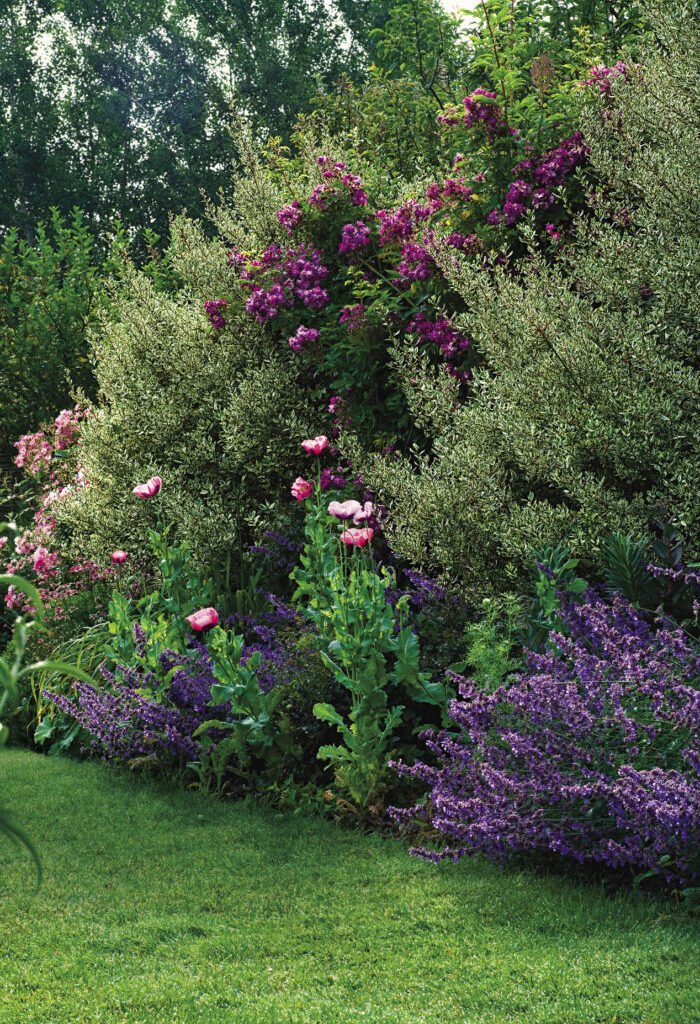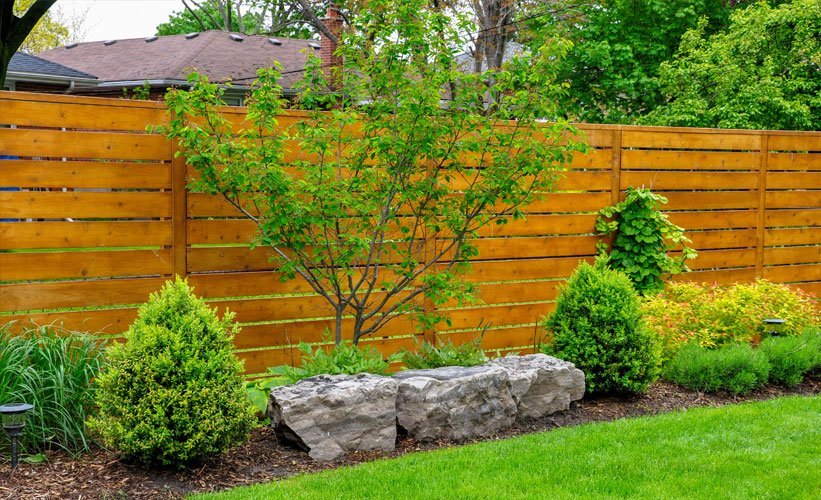
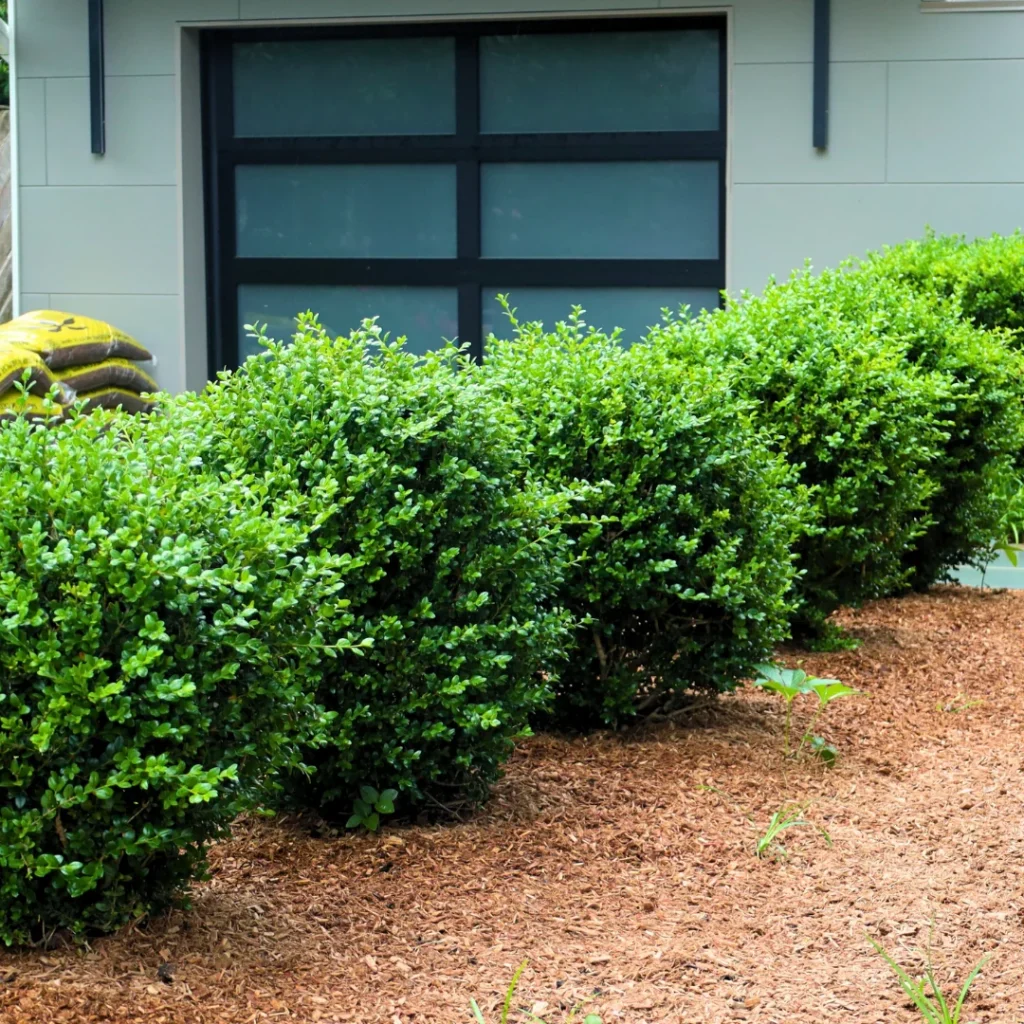
Boxwood hedges are classic elements of landscaping that provide structure, elegance, and year-round greenery. Known for their dense foliage and slow, steady growth, boxwoods can be shaped into formal hedges, topiaries, or natural borders. Their versatility and aesthetic appeal make them a favorite choice for gardeners, homeowners, and landscape designers.
This guide offers a comprehensive, beginner-friendly approach to growing, shaping, and maintaining boxwood hedges, ensuring lush, healthy, and well-manicured plants year-round.
Why Choose Boxwood Hedges?
Boxwoods (Buxus spp.) are widely used in landscaping because of their unique qualities:
- Evergreen Foliage: Maintains a rich green color throughout the year.
- Versatility: Can be grown as formal hedges, low borders, topiaries, or foundation plants.
- Slow Growth: Makes them easier to shape and maintain.
- Adaptability: Tolerates a range of soil types and partial shade.
- Low-Maintenance: Once established, boxwoods are hardy and resilient.
Understanding these benefits highlights why boxwoods are ideal for structured garden designs and ornamental hedging.
Step 1: Selecting the Right Boxwood Variety
Several boxwood varieties are suitable for hedges, each with distinct characteristics:
- English Boxwood (Buxus sempervirens ‘Suffruticosa’)
- Slow-growing, dense, and compact.
- Ideal for low formal hedges and topiaries.
- American Boxwood (Buxus sempervirens ‘American’)
- Larger leaves and slightly faster growth.
- Suitable for medium-height hedges and privacy screens.
- Japanese Boxwood (Buxus microphylla var. japonica)
- Compact, adaptable, and tolerant of heat.
- Perfect for sunny and coastal regions.
- Wintergreen Boxwood (Buxus microphylla var. compacta)
- Small, dense, and slow-growing.
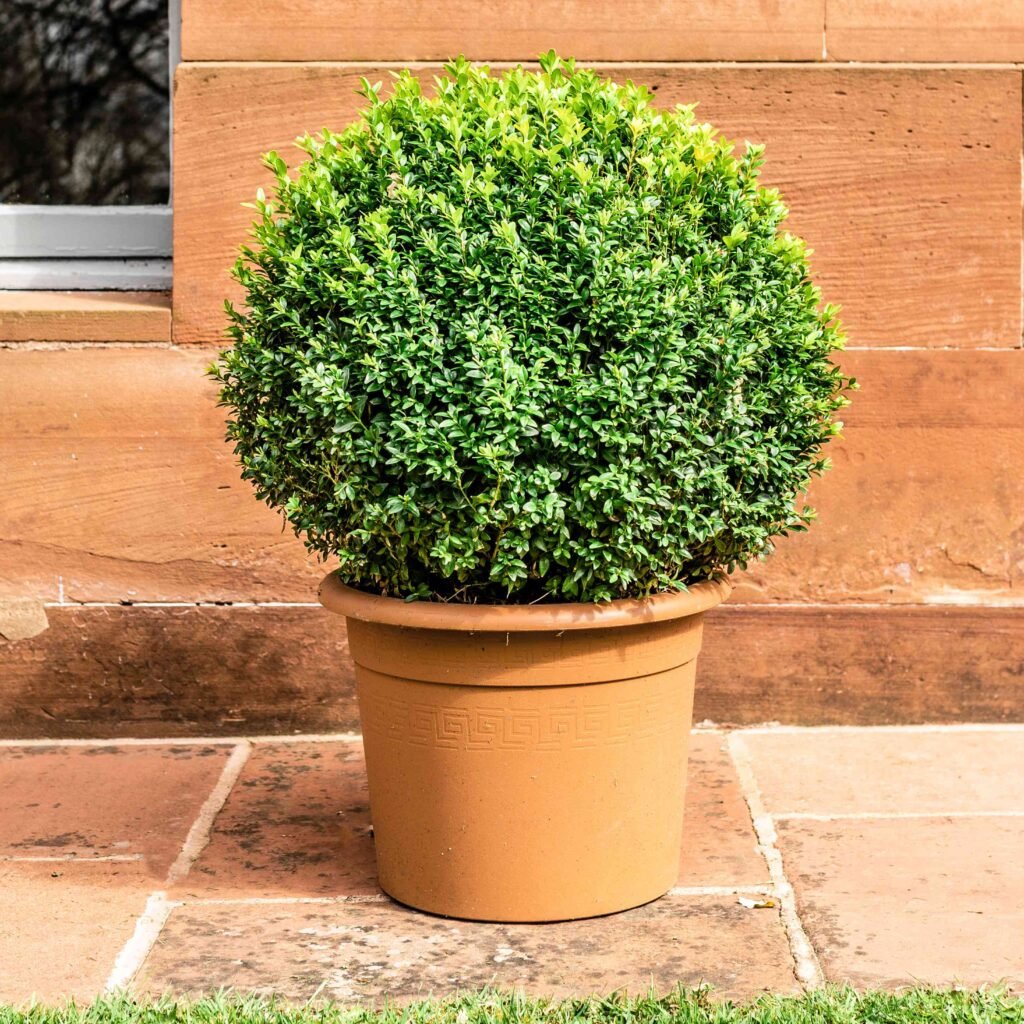
- Works well in small gardens and container hedges.
Tip: Choose a variety that fits your garden size, climate, and desired hedge height.
Step 2: Choosing the Right Location
Boxwoods thrive under specific conditions:
- Sunlight: Prefer partial shade to full sun. Avoid harsh afternoon sun in hot climates, which may scorch leaves.
- Soil: Well-draining soil is critical; boxwoods do not tolerate waterlogged roots. Loamy soil enriched with organic matter works best.
- Spacing: Space plants 12–24 inches apart for low hedges, and up to 36 inches for taller hedges. Proper spacing allows airflow and healthy growth.
Pro Tip: Avoid planting too close to large trees, which compete for nutrients, water, and light.
Step 3: Planting Boxwood Hedges
Planting correctly is essential for establishing a healthy hedge:
- Timing: Early spring or fall is ideal to avoid extreme heat or cold.
- Planting Hole: Dig a hole twice as wide and slightly deeper than the root ball.
- Soil Amendment: Mix native soil with compost or well-rotted organic matter for improved drainage and fertility.
- Planting Depth: Place the boxwood at the same depth as it was in the container or nursery. Avoid burying the crown.
- Watering: Water thoroughly after planting to settle soil and remove air pockets.
- Mulching: Apply 2–3 inches of mulch around the base to conserve moisture and regulate soil temperature, keeping mulch away from the trunk to prevent rot.
Step 4: Watering and Moisture Management
Consistent watering is crucial, especially during establishment:
- Frequency: Water deeply once or twice a week, depending on rainfall.
- Newly Planted Hedges: Require more frequent watering for the first year.
- Established Hedges: Less frequent watering; monitor during droughts.
- Avoid Overwatering: Boxwoods are prone to root rot if soil remains soggy.
Tip: Use drip irrigation or soaker hoses for efficient watering without wetting foliage.
Step 5: Fertilizing Boxwoods
Proper fertilization supports healthy growth and vibrant foliage:
- Timing: Early spring before new growth appears. Optionally, a light application in mid-summer.
- Type: Use a balanced, slow-release fertilizer or one formulated for evergreen shrubs.
- Application: Follow manufacturer instructions, and avoid over-fertilization, which can cause excessive leaf growth and reduce density.
Pro Tip: Mulching with compost also provides gradual nutrient release.
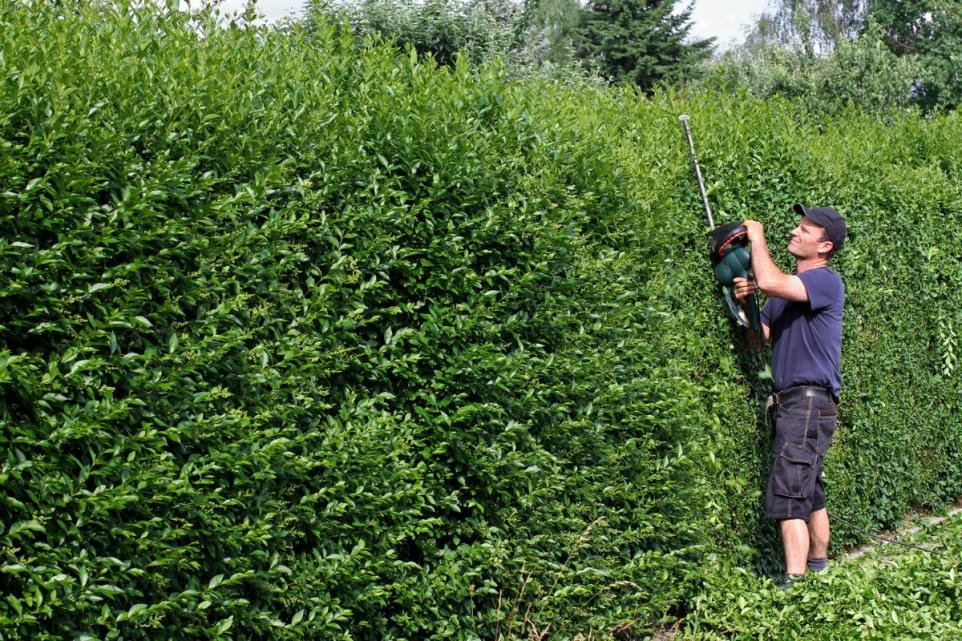
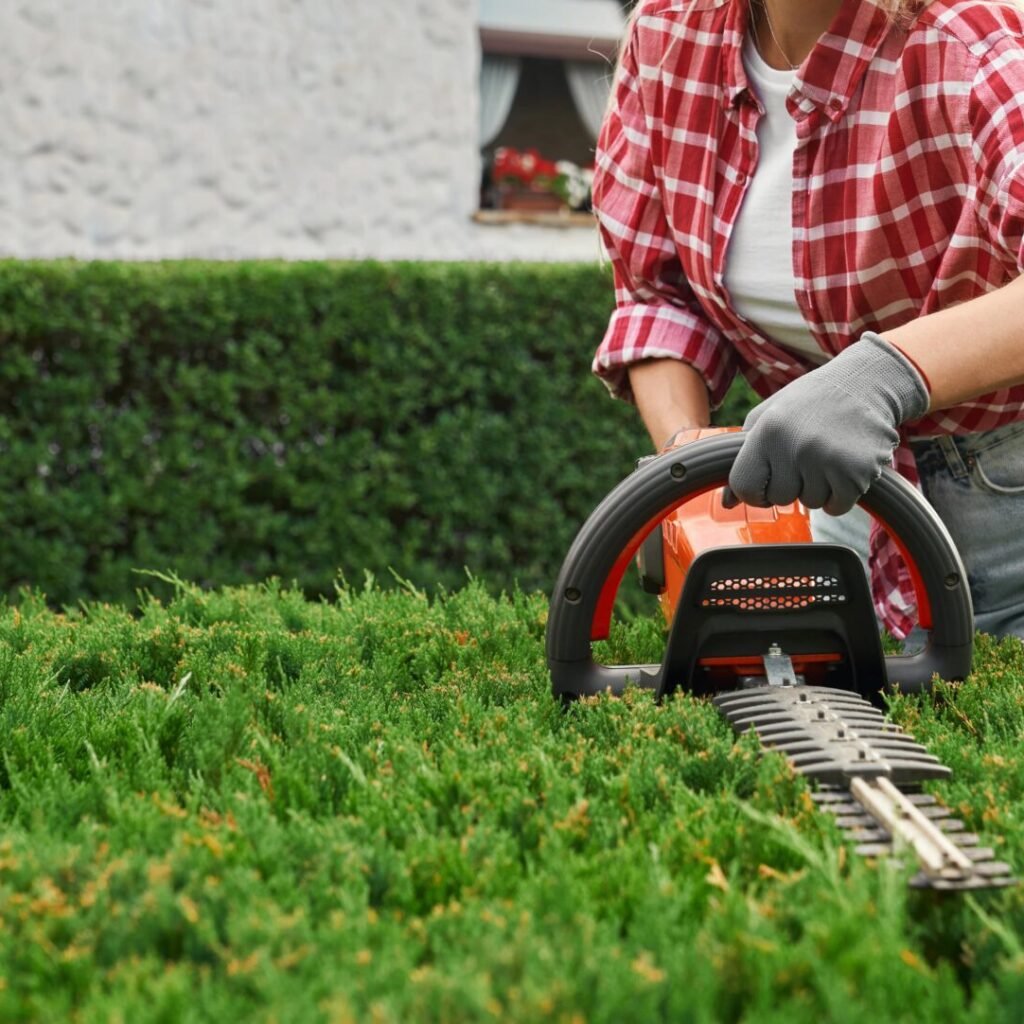
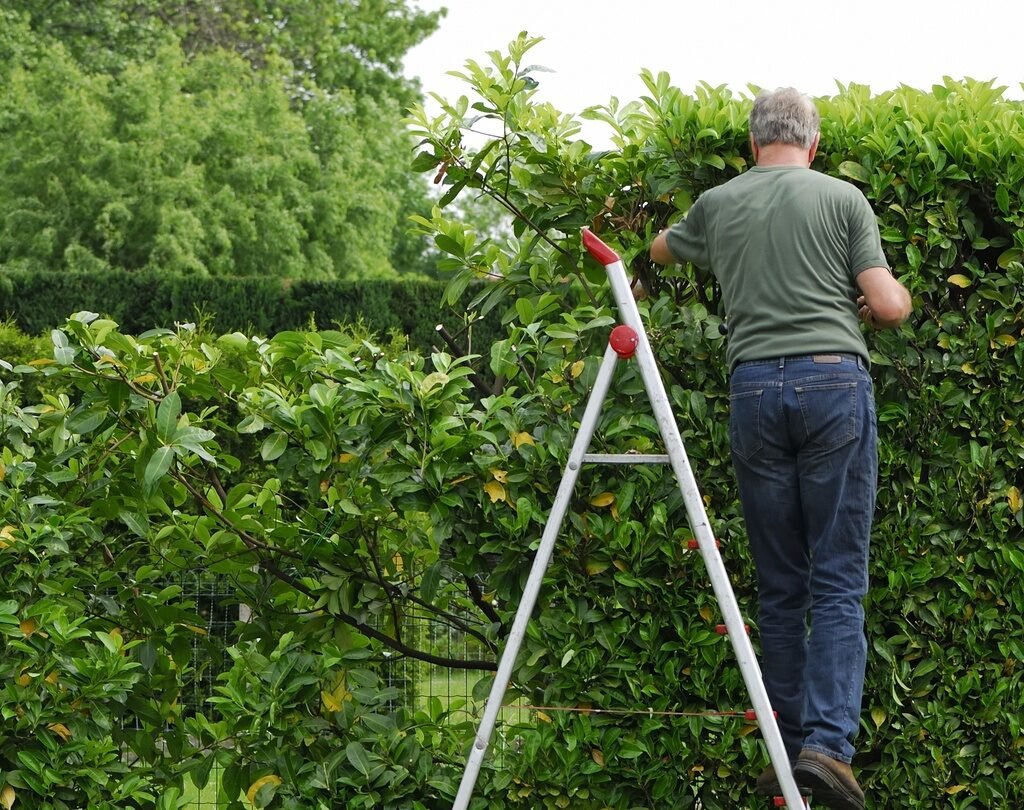
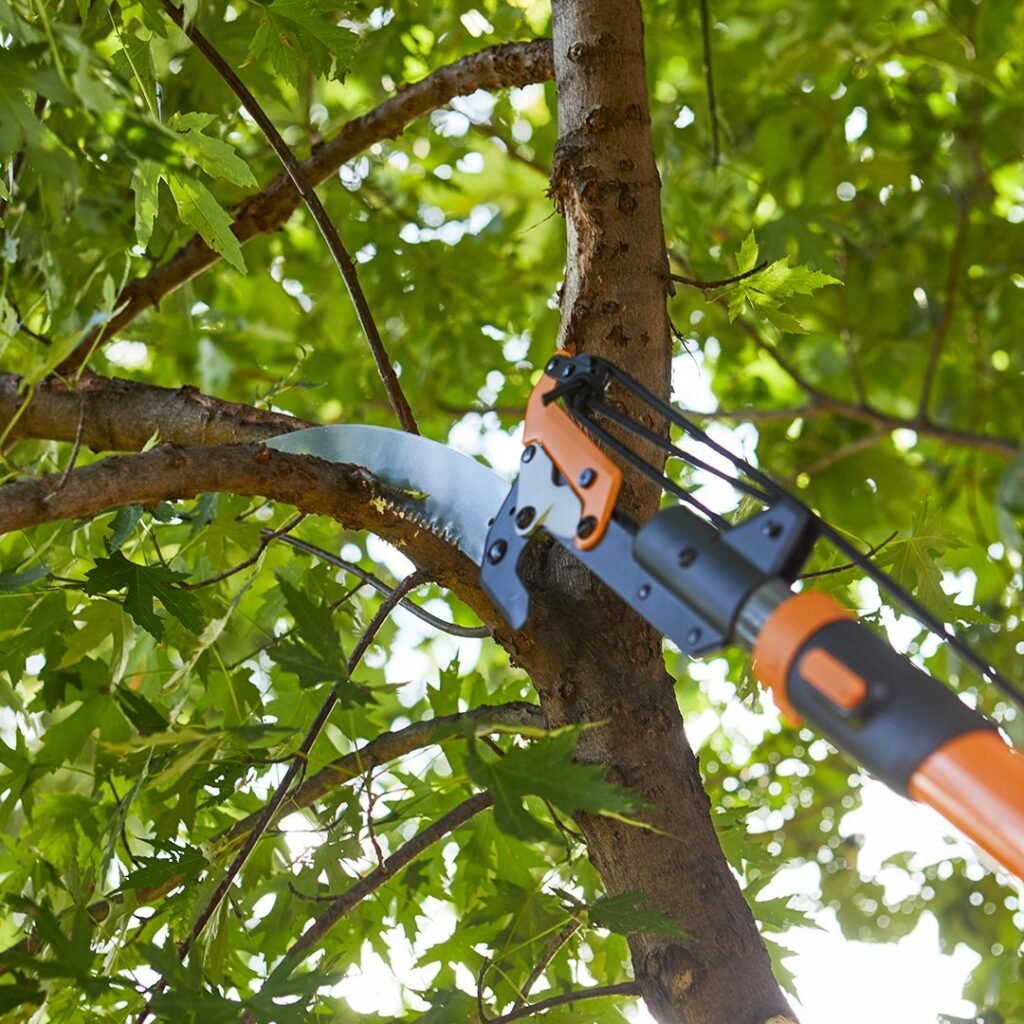
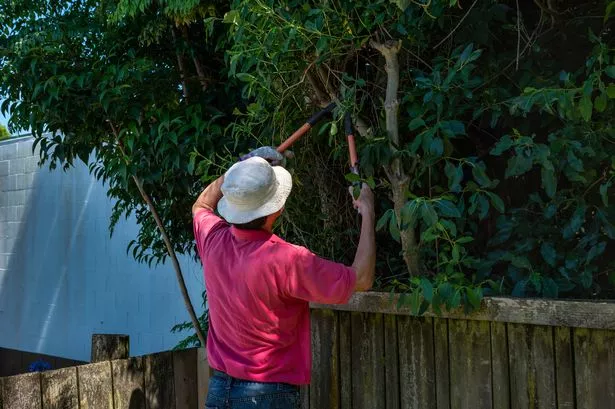
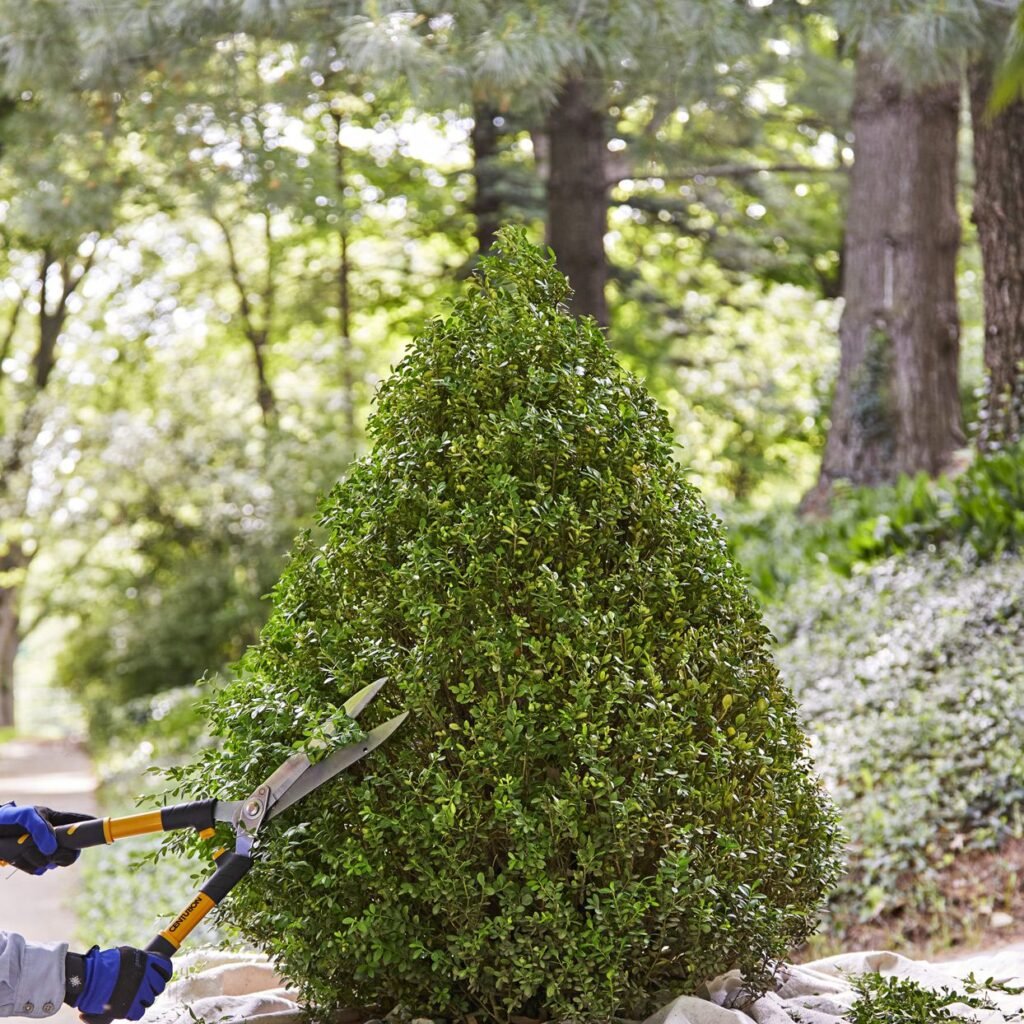
Step 6: Pruning and Shaping
Pruning is essential for maintaining neat, dense hedges:
- Timing:
- Light shaping can be done throughout the growing season.
- Major pruning should be done in late winter or early spring before new growth begins.
- Tools: Use sharp hedge shears for large hedges and hand pruners for detailed shaping.
- Technique:
- Trim the top slightly narrower than the base to allow sunlight to reach lower leaves.
- Remove dead, damaged, or crossing branches to maintain airflow.
- Avoid cutting into old wood that may not regrow.
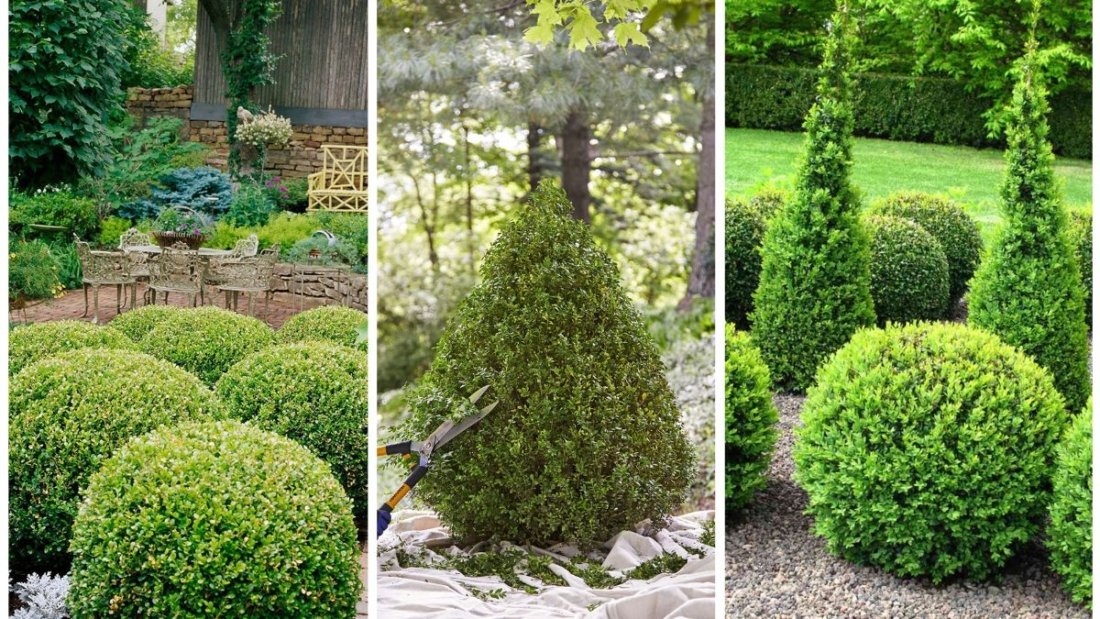
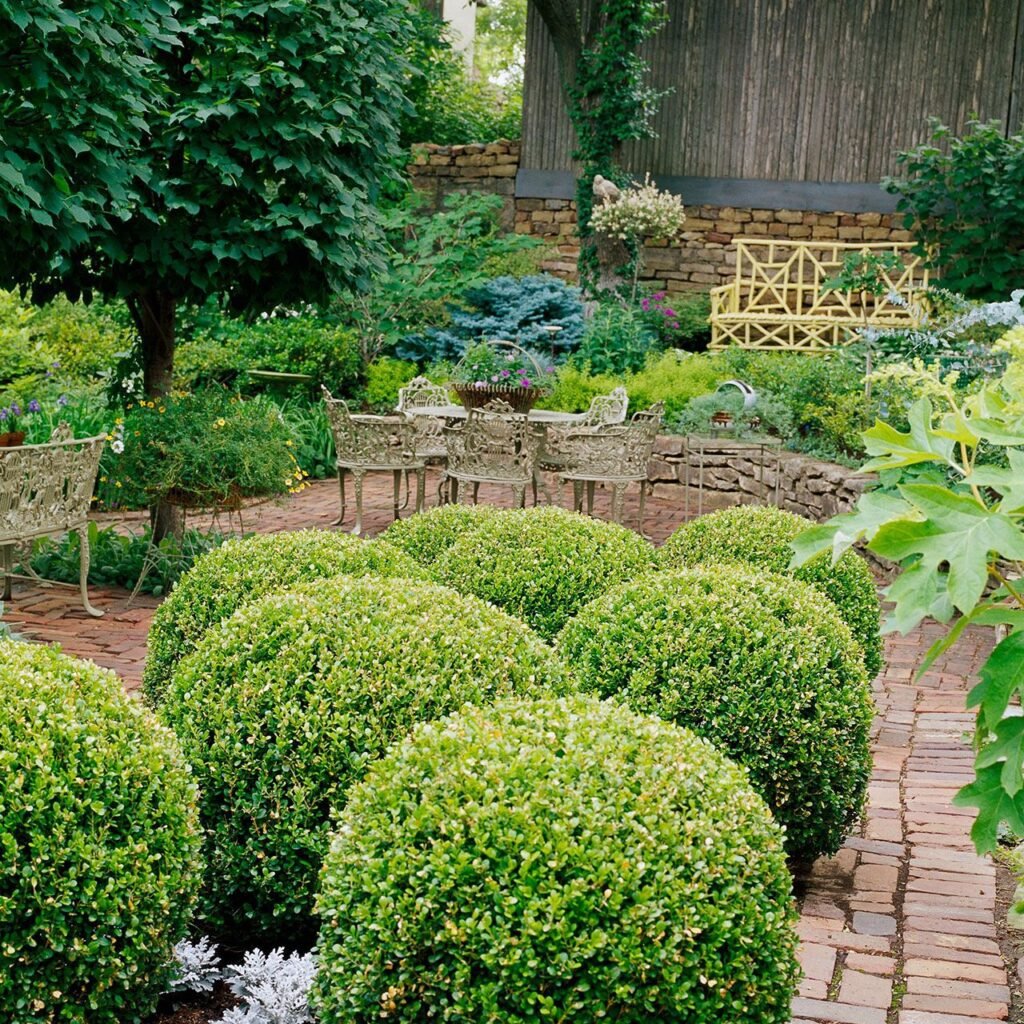
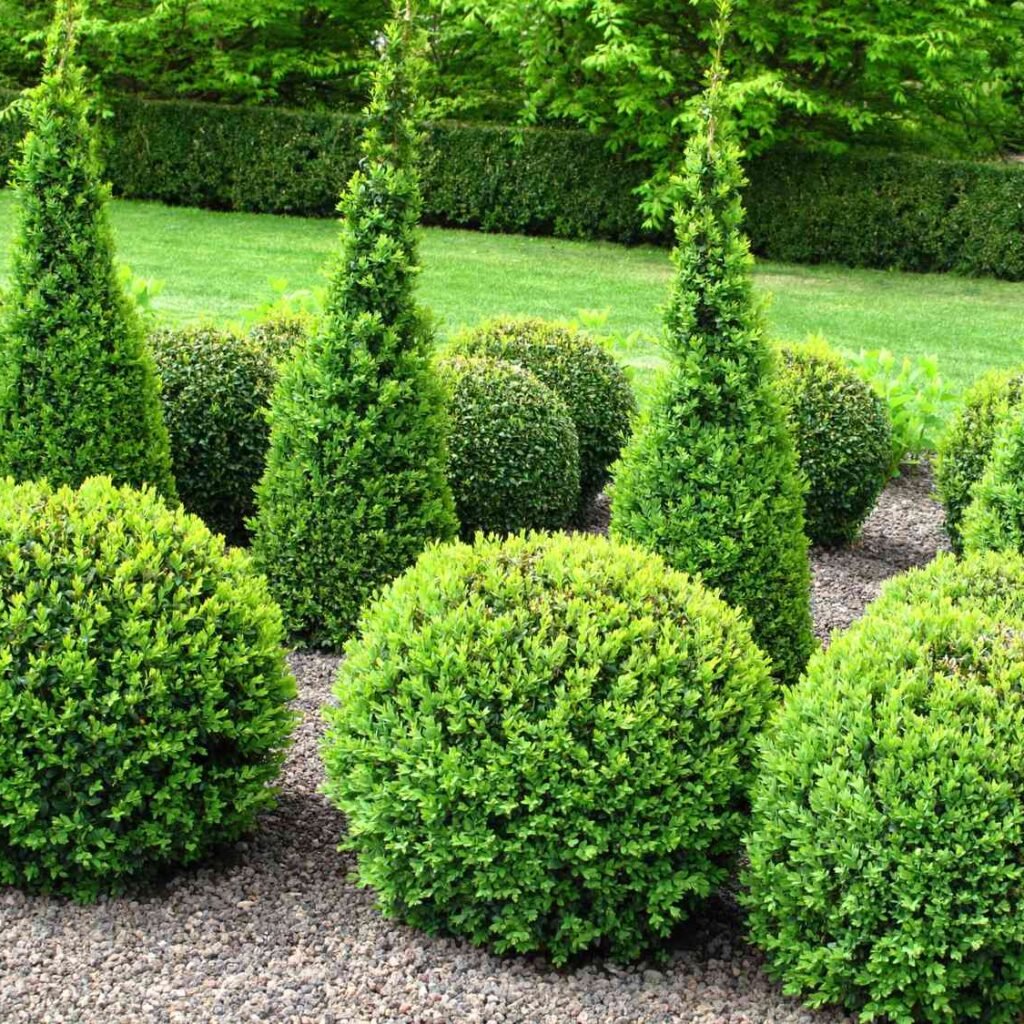
- Shaping Ideas:
- Formal hedge: Even, straight lines.
- Topiary: Shapes like spheres, cones, or spirals.
- Informal hedge: Soft, natural form for a less structured look.
Step 7: Pest and Disease Management
Boxwoods are generally hardy but can be affected by pests and diseases:
Common Pests
- Boxwood Leafminer: Causes blistered leaves; treat with systemic insecticides in early spring.
- Boxwood Mite: Leads to stippled, discolored leaves; use miticides if infestation is severe.
- Boxwood Psyllid: Causes cupped leaves; prune affected areas.
Common Diseases
- Boxwood Blight: Fungal disease causing leaf spots, defoliation, and stem dieback. Maintain proper spacing and remove infected debris.
- Volutella Blight: Fungal disease leading to leaf discoloration; prune infected branches and apply fungicide.
- Root Rot: Caused by waterlogged soil; ensure proper drainage.
Prevention:
- Avoid overcrowding and ensure good air circulation.
- Water at the base of plants to keep foliage dry.
- Inspect plants regularly for early signs of pests and disease.
Step 8: Seasonal Care for Boxwoods
Spring
- Fertilize to encourage healthy growth.
- Lightly prune to shape and remove dead wood.
- Monitor for pests and fungal diseases.
Summer
- Water deeply during hot periods.
- Mulch to retain soil moisture.
- Inspect for leafminer and mite infestations.
Fall
- Reduce watering as temperatures drop.
- Apply mulch for winter protection.
- Avoid heavy pruning to prevent new growth vulnerable to frost.
Winter
- Protect young or sensitive plants from freezing temperatures using burlap or frost cloth.
- Water during dry spells when the ground is not frozen.
- Avoid fertilizing during dormancy.
Common Mistakes to Avoid
- Planting Too Deep: Can lead to crown rot and poor growth.
- Overwatering: Leads to root rot and fungal problems.
- Underwatering: Can cause leaf drop and stunted growth.
- Neglecting Pruning: Leads to sparse, uneven growth.
- Crowding Plants: Reduces airflow, increasing the risk of disease.
Final Thoughts
Boxwood hedges are elegant, durable, and versatile landscaping elements that enhance any yard or garden. With careful selection, proper planting, and consistent care, boxwoods can provide structure, privacy, and beauty for decades.
By following this step-by-step guide—from choosing the right variety, planting, watering, fertilizing, and pruning, to managing pests and diseases—gardeners can enjoy dense, healthy hedges that maintain their form and lush greenery year-round.
Whether you aim for a formal hedge lining your walkway, a sculpted topiary, or a natural privacy screen, boxwoods offer a timeless appeal that complements both traditional and contemporary landscapes. Patience, attention to detail, and seasonal care are the keys to achieving thriving, long-lasting boxwood hedges in your yard.