A backyard fire pit transforms any outdoor space into a cozy, inviting retreat. Whether it’s for roasting marshmallows, enjoying a cool evening with friends, or creating a warm ambiance for family gatherings, a fire pit is both functional and stylish. The best part is that building a backyard fire pit doesn’t require professional help or a massive budget. With proper planning, the right materials, and some DIY effort, you can construct a beautiful, safe, and durable fire pit in your backyard.
In this article, we’ll guide you through step-by-step instructions, material choices, safety tips, and creative design ideas to help you construct a backyard fire pit that will become the centerpiece of your outdoor living area.
Why Build a Backyard Fire Pit?
Before starting construction, it’s helpful to understand the benefits of having a fire pit in your backyard:
- Entertainment: Fire pits provide a natural gathering point for family and friends.
- Ambiance: The flickering flames create a cozy, relaxing atmosphere.
- Cooking: Ideal for roasting marshmallows, hot dogs, or even grilling.
- Year-Round Use: Adds warmth, making your outdoor space usable even in cooler weather.
- Aesthetic Appeal: Enhances landscape design with a rustic or modern focal point.
With a well-constructed fire pit, you can enjoy all these benefits while increasing the charm and functionality of your backyard.
Step 1: Plan Your Fire Pit
Proper planning ensures safety, durability, and an attractive design.
- Choose the Location:
- Place the fire pit at least 10–15 feet away from your house, trees, fences, and other flammable structures.
- Ensure the area is level and has proper drainage.
- Avoid low spots where smoke or rain could accumulate.
- Decide on Size and Shape:
- Common sizes range from 36 to 48 inches in diameter for circular fire pits.
- Rectangular or square designs are also popular for modern or built-in seating arrangements.
- Check Local Regulations:
- Many cities have rules about open fires, so check permits, burn restrictions, and setback requirements.
- Choose Fuel Type:
- Wood-burning: Traditional, authentic fire experience.
- Propane or Natural Gas: Cleaner, easy to control, and convenient for instant flames.
Step 2: Gather Materials and Tools
Materials for a Masonry Fire Pit:
- Concrete pavers, bricks, or natural stones
- Fire-rated mortar or construction adhesive
- Gravel or crushed stone for the base
- Sand for leveling
- Optional: Metal fire ring insert
Materials for a Gas Fire Pit:
- Gas burner kit (propane or natural gas)
- Lava rocks, fire glass, or ceramic logs
- Gas tubing and valve (included in most kits)
Tools Needed:
- Tape measure
- Shovel
- Level
- Rubber mallet
- Trowel
- Drill (if using a metal ring or gas line)
- Wheelbarrow (for mixing or moving gravel)
Step 3: Prepare the Site
- Mark the Area:
- Use a rope, spray paint, or garden hose to outline the shape and size of your fire pit.
- Excavate the Ground:
- Dig 6–12 inches deep for wood-burning pits.
- Remove grass, roots, and debris.
- Level the Base:
- Fill the hole with 2–3 inches of gravel or crushed stone for drainage.
- Compact the gravel with a tamper or your foot.
- Add a thin layer of sand for leveling if needed.
Pro Tip: Proper base preparation prevents the fire pit from shifting or sinking over time.
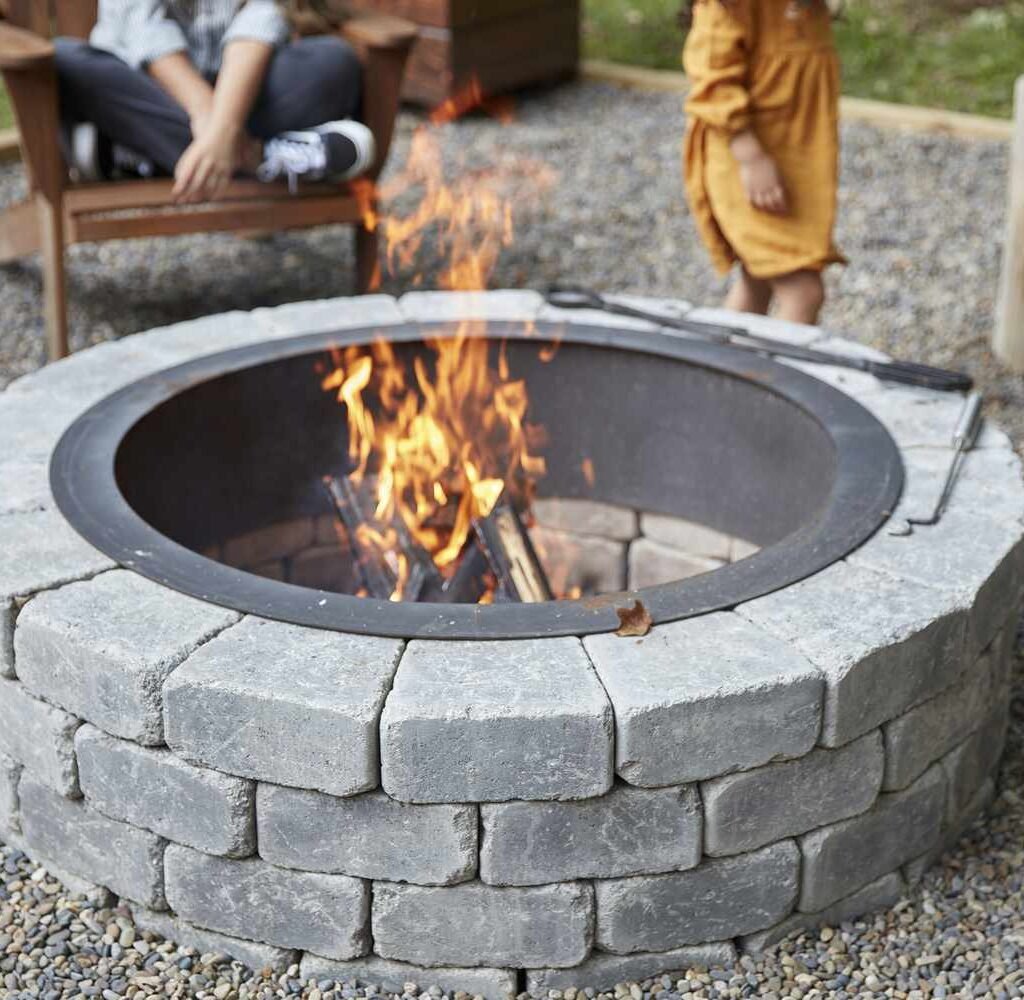
Step 4: Build the Fire Pit Walls
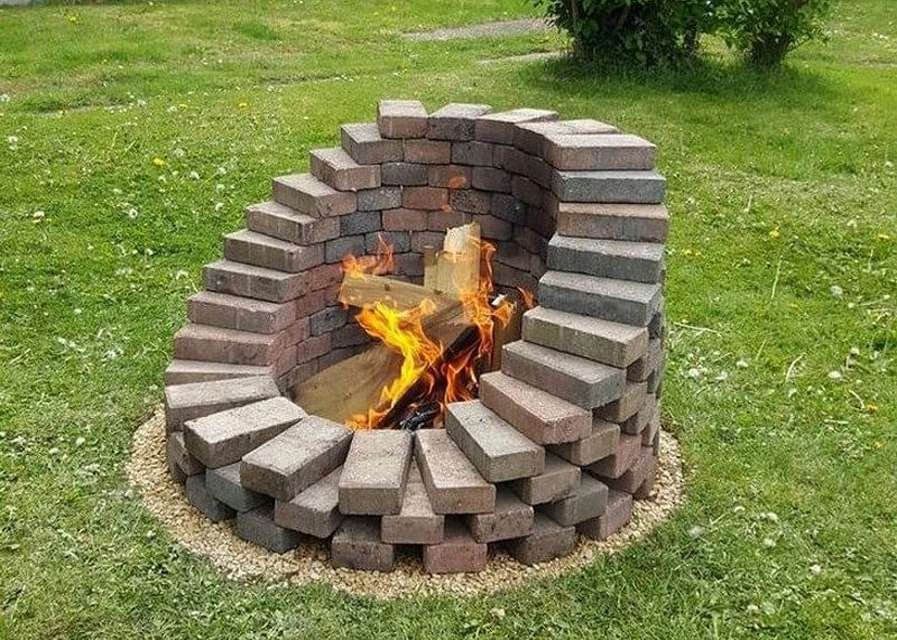
Option 1: Using Concrete Blocks or Bricks
- Start laying your first layer of bricks or blocks in a circle (or chosen shape).
- Use a level to ensure even placement.
- Apply fire-rated mortar or adhesive between blocks for stability.
- Continue stacking additional layers, staggering seams for strength.
- For circular designs, a metal fire ring can be placed inside to protect masonry from heat.
Option 2: Dry Stack Stone Design
- Use flat stones to create the desired shape without mortar.
- Stack stones tightly and level each layer as you go.
- Ensure the wall height is comfortable for seating and safe for flames.
Tips:
- Maintain 12–24 inches height for safety and visibility.
- For gas fire pits, leave space for the burner and lava rocks or fire glass.
Step 5: Install Gas Components (Optional)

If building a gas fire pit:
- Place the gas burner in the center according to the kit instructions.
- Connect the gas line to propane or natural gas supply.
- Fill the pit with lava rocks or fire glass to cover the burner.
- Test the gas system for leaks and proper ignition before use.
Safety Tip: Follow manufacturer instructions strictly and consult a professional if unsure about gas connections.
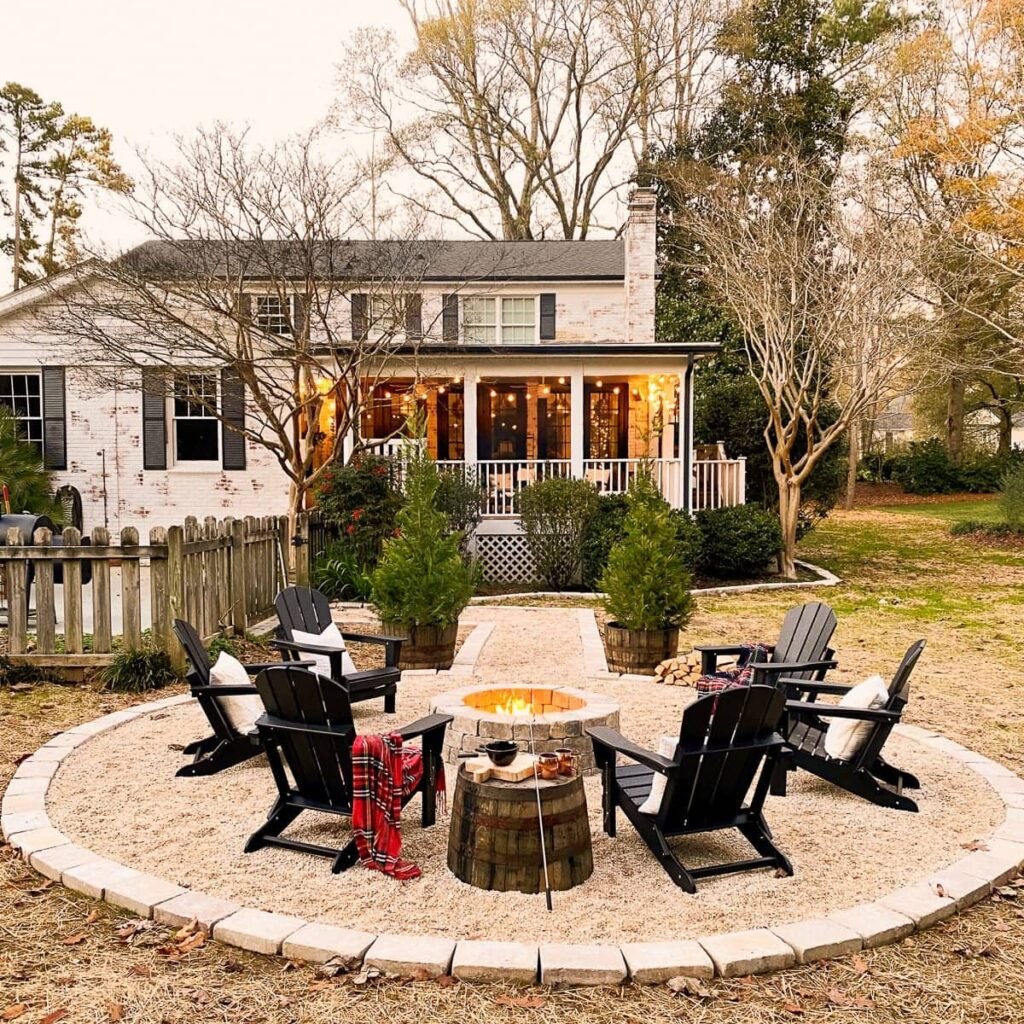
Step 6: Finishing Touches
- Top Edge: Smooth the top layer of bricks or stones for a polished look.
- Seating: Add benches, chairs, or built-in seating around the fire pit.
- Decorative Stones or Pavers: Surround the pit with a patio area for aesthetics and safety.
- Fire Safety Tools: Keep a fire extinguisher, bucket of sand, or garden hose nearby.
Pro Tip: Use heat-resistant paint or sealant on the outer stones for long-lasting appearance.
Step 7: Safety Considerations
Safety is critical when constructing and using a fire pit:
- Keep children and pets at a safe distance.
- Never leave a fire unattended.
- Avoid using flammable liquids to start a fire.
- Ensure proper ventilation if the fire pit is in a partially covered area.
- Use a screen or spark guard to prevent embers from flying.
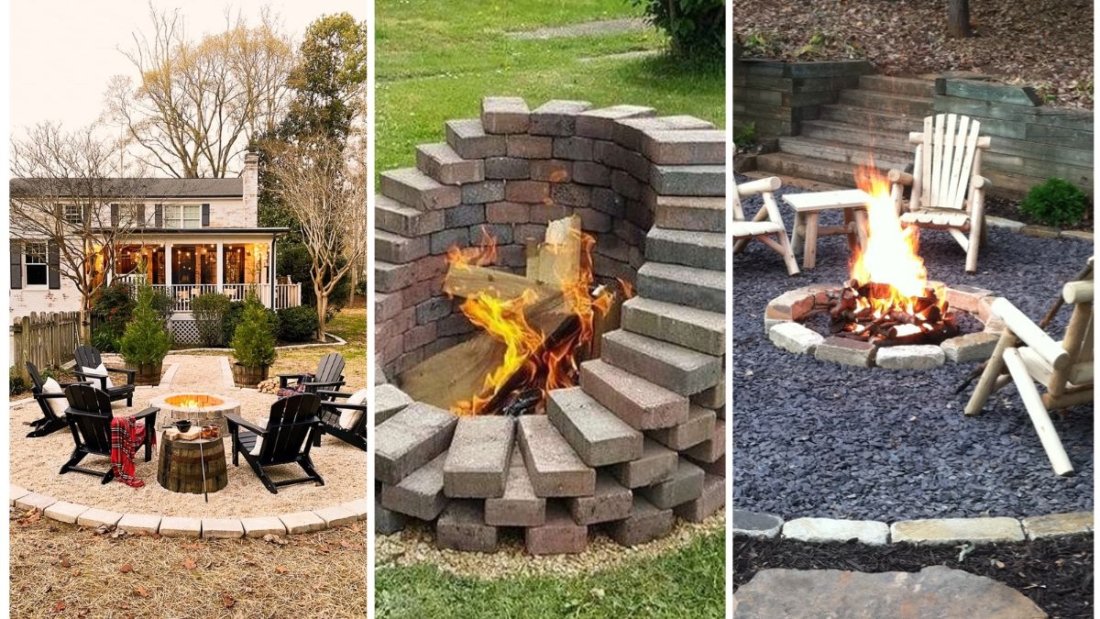
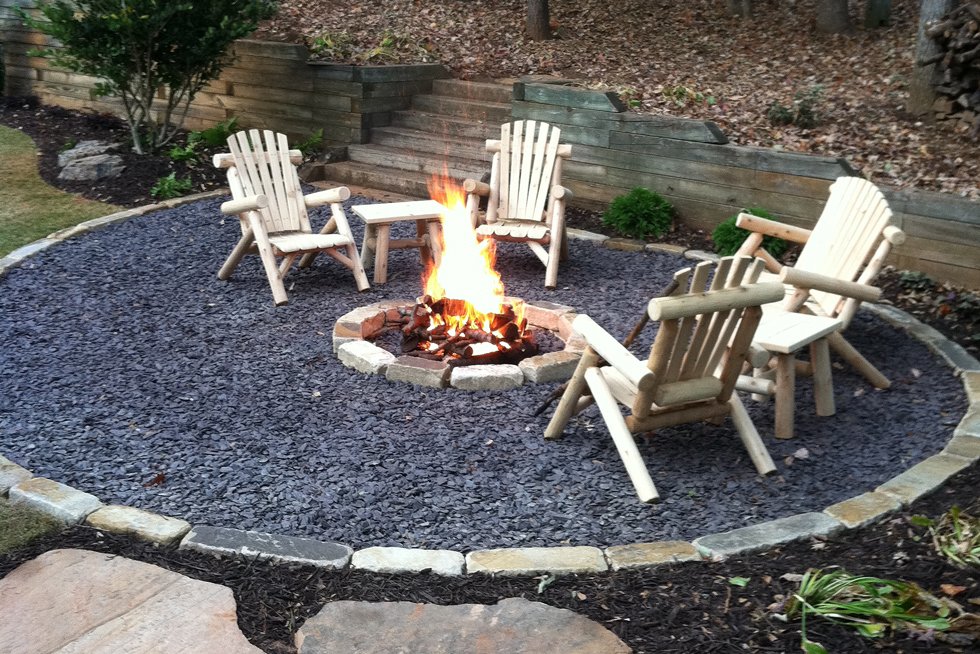
Creative Design Ideas for Backyard Fire Pits
- Rustic Stone Circle: Use natural stones for a classic, earthy look.
- Modern Concrete Fire Pit: Smooth concrete or geometric designs complement contemporary patios.
- In-Ground Fire Pit: Build a sunken fire pit with seating around it for a cozy, intimate feel.
- Tabletop Fire Pit: Small, portable gas fire pits for balconies or small patios.
- Integrated Seating Fire Pit: Build benches or low walls around the fire pit for a complete entertainment area.
Maintenance Tips
- Clean Ashes Regularly: Remove ashes after each use to prevent buildup.
- Check Masonry: Inspect for cracks or loose stones and repair as needed.
- Cover When Not in Use: Protect the pit from rain and debris with a fire pit cover.
- Gas Systems: Periodically inspect hoses, valves, and connections for safety.
Benefits of a Backyard Fire Pit
- Enhances Outdoor Living: Extends the usability of your backyard throughout the year.
- Social Hub: Ideal for gatherings, parties, and quiet evenings.
- Cooking Opportunities: Enjoy outdoor cooking with friends and family.
- Aesthetic Appeal: Creates a visually appealing focal point in any garden or patio.
- Versatility: Works with wood, propane, or natural gas depending on your preference.
Conclusion
Constructing a backyard fire pit is a rewarding DIY project that combines functionality, safety, and design. Whether you choose a rustic stone circle, a modern concrete fire pit, or a gas-powered centerpiece, the key steps include planning, preparing the base, building stable walls, and ensuring safety measures.
By following the tips outlined in this guide, you can create a fire pit that becomes the heart of your backyard, providing warmth, ambiance, and enjoyment year-round. With proper placement, quality materials, and regular maintenance, your backyard fire pit will be a cherished gathering spot for family and friends while enhancing the beauty and functionality of your outdoor space.