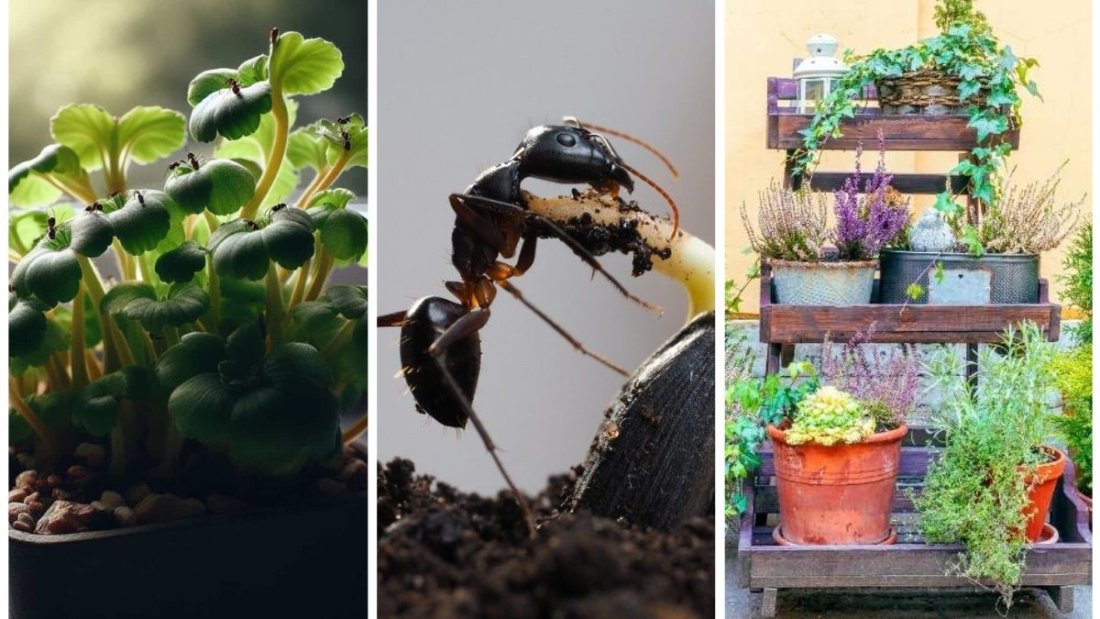
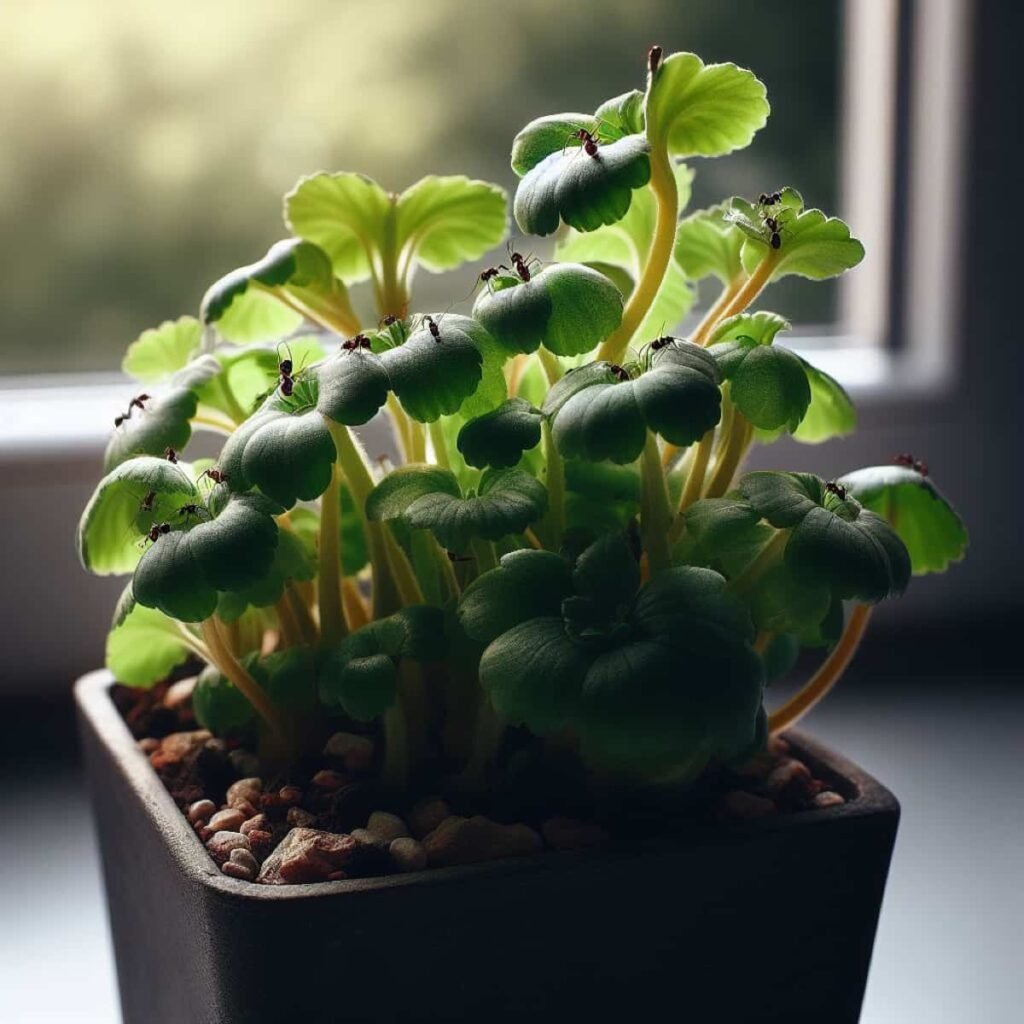
Few things are as frustrating as discovering ants crawling all over your potted plants. These tiny invaders may not directly damage your plants, but their presence often signals a deeper issue—such as aphids, mealybugs, or overly moist soil. Left unchecked, ants can disturb root systems, spread pests, and turn your pots into miniature colonies.
Fortunately, you don’t need to resort to harsh chemicals to keep ants at bay. With a little knowledge and some simple strategies, you can create a healthy, ant-free environment for your plants. This guide will walk you through why ants invade potted plants, the risks they pose, and the easiest natural methods to keep them out permanently.
Why Do Ants Invade Potted Plants?
Before getting rid of ants, it’s important to understand why they’re there in the first place. Ants are resourceful and opportunistic, and potted plants provide them with:
- Shelter – Loose soil offers a safe, protected space to build tunnels and nests.
- Food – Ants feed on honeydew, a sweet substance secreted by aphids, mealybugs, and scale insects.
- Moisture – Overwatered pots provide a damp environment ants love.
- Warmth – Containers, especially terracotta or ceramic, trap heat, making them attractive for colonies.
By addressing these conditions, you can reduce the appeal of your pots to ants in the first place.
The Problems Ants Cause in Potted Plants
While ants aren’t directly harmful to plants (they don’t chew leaves or roots), they bring several problems:
- Aphid Farming: Ants protect and “farm” aphids, mealybugs, and scales for their honeydew. This means pest populations grow unchecked.
- Root Disturbance: Ant tunnels can loosen soil around roots, affecting stability and water absorption.
- Soil Imbalance: Colonies change soil structure, leading to poor aeration and nutrient flow.
- Spread of Pests: Ants can move pest eggs from one pot to another, infesting multiple plants.
So while one or two ants may seem harmless, ignoring them can lead to major plant health issues.
The Easiest and Most Effective Ways to Keep Ants Out
Let’s dive into natural, practical methods you can use today.
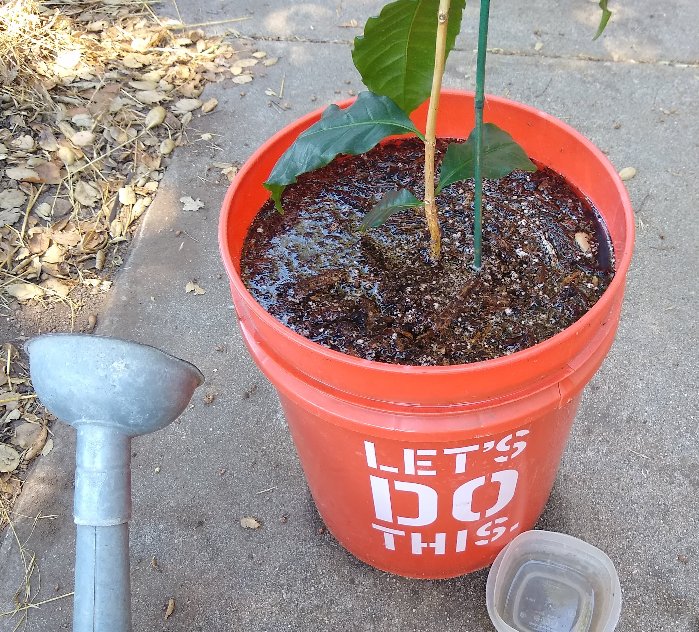
1. Flood the Ants Out with Water
If ants are nesting inside the pot, the simplest first step is to flush them out with water.
How to do it:
- Place the pot in a large bucket or tub.
- Fill with water until it reaches the soil surface.
- Let it sit for 20–30 minutes.
This drowns ants and forces survivors to abandon the pot.
Why it works:
Ants prefer dry soil. Flooding disrupts their tunnels and kills their brood, making the pot less appealing.
Pro tip: Add a tablespoon of liquid dish soap to the water for extra effectiveness. Soap breaks the surface tension, drowning ants more quickly.
2. Use Cinnamon or Coffee Grounds as a Natural Repellent
Ants dislike strong-smelling substances like cinnamon and coffee grounds.
How to apply:
- Sprinkle ground cinnamon directly onto the soil surface.
- Add a thin ring of coffee grounds around the base of the pot.
Why it works:
Both cinnamon and coffee mask the pheromone trails ants use to navigate, confusing them and driving them away.
Extra bonus: Coffee grounds add organic matter to the soil, while cinnamon has mild antifungal properties.
3. Create a Barrier with Diatomaceous Earth
Diatomaceous earth (DE) is one of the easiest and most effective natural ant deterrents.
How to use:
- Sprinkle food-grade DE around the top of the soil and around the outside base of the pot.
- Reapply after watering or rain.
Why it works:
DE is made from fossilized algae with sharp microscopic edges. It dehydrates insects by damaging their exoskeletons, yet it’s safe for plants, pets, and humans.
Pro tip: Always use food-grade DE, not pool-grade, which is chemically treated.
4. Control Aphids and Other Sap-Sucking Pests
Since ants are often attracted by the honeydew of other pests, treating the root cause is essential.
Steps:
- Inspect plants for aphids, mealybugs, or scale insects.
- Spray leaves with a mix of 1 teaspoon mild dish soap in 1 quart of water.
- Apply neem oil weekly until pests are gone.
Why it works:
By eliminating honeydew-secreting pests, you remove the ants’ food source. Without a reward, ants lose interest in your pots.
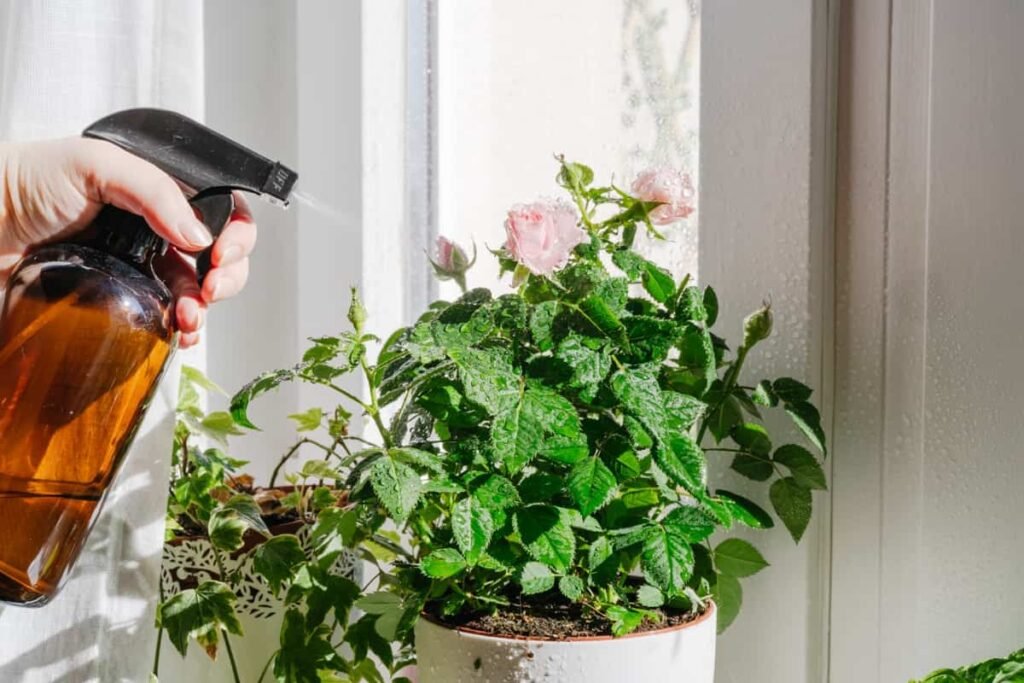
5. Natural Ant Deterrent Sprays
You can create a safe, plant-friendly spray to repel ants.
DIY Recipe:
- 1 cup water
- 1 tablespoon vinegar or lemon juice
- 10 drops peppermint or tea tree essential oil
Spray this mixture around the base of pots and nearby surfaces (avoid spraying directly on delicate plant leaves).
Why it works:
- Vinegar and lemon disrupt pheromone trails.
- Peppermint and tea tree oils are natural ant repellents.
This method works especially well indoors or on patios where pots are near entryways.
Additional Preventative Measures
Keeping ants out of potted plants isn’t just about reacting—it’s also about prevention. Here are a few easy habits to adopt:
Water Smartly
Overwatering attracts ants. Let the top 1–2 inches of soil dry before watering again.
Keep Pots Clean
Remove fallen leaves, debris, and old flowers from soil surfaces to avoid pest buildup.
Elevate Pots
Place pots on stands or saucers with a thin layer of soapy water to create a moat ants can’t cross.
Repot if Needed
If the infestation is severe, consider removing the plant, shaking off soil, washing roots, and repotting in fresh soil.
Indoor vs. Outdoor Potted Plants
While the basic methods are the same, there are some differences to note:
- Indoors: Focus on keeping soil drier, using natural repellents like cinnamon, and sealing entry points around windows or doors.
- Outdoors: Combine flooding, DE, and predator-friendly practices like encouraging birds or beneficial insects that feed on ants.
Eco-Friendly Alternatives to Chemical Ant Killers
Commercial pesticides may kill ants quickly, but they also harm pollinators, contaminate soil, and pose risks to pets. Natural remedies like DE, cinnamon, or vinegar are just as effective without environmental drawbacks.
By sticking to these safer solutions, you protect your plants and the ecosystem around them.
Final Thoughts
Ants in potted plants may seem like a minor nuisance, but they can cause long-term problems if ignored. The good news is that the easiest and safest solutions are often natural and inexpensive.
By using methods like flooding nests, applying cinnamon or DE, controlling aphids, and maintaining proper watering habits, you can keep your pots ant-free without chemicals. Prevention is just as important as treatment, so focus on keeping your plants healthy, your soil balanced, and your pots tidy.
Remember: the goal isn’t just to kick ants out but to make your potted plants an environment where they never want to settle in the first place. With these strategies, you’ll enjoy thriving, pest-free plants year-round.