Heavy rainfall can be both a blessing and a challenge for gardeners. While rain provides essential water, excessive precipitation can damage flowers, leading to broken stems, waterlogged soil, fungal diseases, and nutrient leaching. For gardeners who invest time and effort into maintaining vibrant flower beds, a sudden downpour can be disheartening. However, with the right strategies, it is possible to revive flowers after heavy rain, restore their beauty, and prevent long-term damage.
This article provides a comprehensive guide on identifying rain damage, immediate recovery measures, soil management, and long-term prevention techniques to maintain healthy, thriving blooms.
1. Understanding the Impact of Heavy Rain on Flowers
Heavy rain affects flowers in multiple ways:
- Physical Damage: Petals and leaves can be bruised or torn; stems may bend or break under the weight of water.
- Waterlogged Soil: Excess water displaces oxygen in the root zone, leading to root stress or rot.
- Nutrient Leaching: Essential minerals like nitrogen, potassium, and phosphorus can be washed away, reducing flower vigor.
- Increased Risk of Disease: Wet foliage encourages fungal infections like powdery mildew, botrytis, and leaf spots.
- Delayed Growth: Prolonged saturation slows photosynthesis and may stunt flower development.
Understanding these effects is the first step in assessing damage and implementing recovery strategies.
2. Immediate Recovery Measures After Heavy Rain

A. Assess Damage
- Walk through the garden and identify flowers with broken stems, bruised petals, or flattened foliage.
- Prioritize plants that are most vulnerable, such as delicate annuals or tall perennials.
B. Remove Standing Water
- If water pools in garden beds or containers, gently scoop or drain it to prevent root suffocation.
- Use a shallow trench or raised beds for better drainage in areas prone to flooding.
C. Straighten Bent Stems
- Support fallen or bent flowers by staking them or gently propping them with soft ties.
- Avoid tying too tightly, which can further damage stems.
D. Remove Damaged Foliage
- Trim broken leaves and shredded petals carefully to reduce stress and prevent disease.
- Dispose of debris away from flower beds to limit fungal spore proliferation.
3. Soil Management Post-Rain

Proper soil care is essential to revive flowers and restore root health:
A. Check Soil Drainage
- Heavy rain can compact soil, reducing aeration.
- Gently loosen compacted areas with a fork or hand trowel, being careful not to damage roots.
B. Add Organic Matter
- Incorporate compost or well-rotted manure to improve soil structure and drainage.
- Organic matter enhances oxygen retention and promotes microbial activity, supporting recovery.
C. Fertilize Carefully
- Rain can leach nutrients; apply a balanced, water-soluble fertilizer once the soil has dried slightly.
- Avoid over-fertilization, which can stress already weakened plants.
4. Watering Strategies After Heavy Rain
Even after a downpour, careful watering may be needed:

- Allow Soil to Dry Slightly: Avoid immediate watering until topsoil is moderately dry.
- Deep, Gentle Watering: Once the soil is ready, water at the base to support roots without wetting foliage.
- Monitor Moisture Levels: Ensure the soil is not soggy for more than 24–48 hours to prevent root rot.
Proper watering encourages root recovery and reduces susceptibility to disease.
5. Disease Prevention and Management
Excess moisture increases fungal and bacterial risks:
A. Inspect for Fungal Infections
- Look for spots, mold, or powdery coating on leaves and stems.
- Remove infected parts immediately.
B. Improve Air Circulation
- Thin crowded plants to allow sunlight and airflow.
- Avoid overhead watering for several days to let foliage dry.
C. Use Organic Fungicides
- Apply neem oil or baking soda solutions to prevent or control fungal growth.
- Only use chemical fungicides as a last resort and follow label instructions carefully.
Preventing disease ensures damaged flowers recover without secondary infections.
6. Supporting Fragile Flowers

Some flowers require additional care after heavy rain:
- Tall or Top-Heavy Plants: Stake or cage plants like hollyhocks, delphiniums, and sunflowers to prevent bending.
- Climbing Plants: Gently untangle vines that may have twisted due to rain and secure them to supports.
- Delicate Annuals: Lift flattened flowers carefully and avoid stepping on wet soil to reduce compaction.
Providing structural support aids in faster recovery and prevents recurring damage.
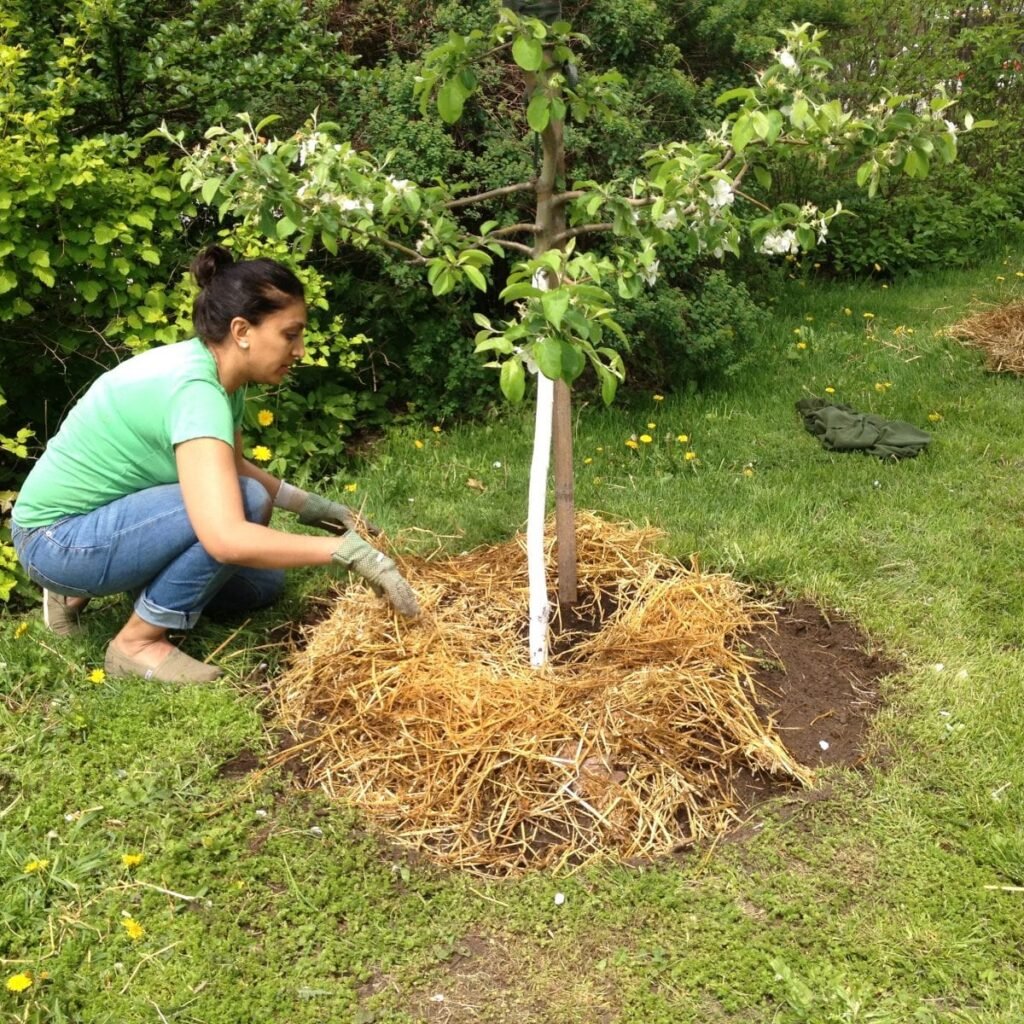
7. Mulching for Post-Rain Recovery
Mulch helps regulate soil moisture and protect flower roots:
- Apply a 2–3 inch layer of organic mulch around plant bases.
- Mulch reduces splashing, which can spread soil-borne pathogens onto foliage.
- Helps retain essential moisture once the soil begins to dry after heavy rain.
Mulching is a simple yet effective strategy for both recovery and long-term resilience.
8. Reviving Container Flowers After Heavy Rain
Potted plants face unique challenges:
- Drainage Check: Ensure pots have adequate drainage holes; excess water should escape freely.
- Remove Excess Water: Tip or tilt containers to let water drain from saturated soil.
- Soil Aeration: Gently loosen the top layer of compacted soil.
- Repotting (if necessary): For severely waterlogged containers, repot into fresh, well-draining soil to prevent root rot.
Containers require extra attention as roots are more vulnerable to waterlogging.
9. Nutrient Restoration After Nutrient Leaching
Heavy rain often washes away nutrients vital for flower growth:
- Nitrogen Deficiency: Yellowing leaves indicate nitrogen loss; supplement with balanced fertilizers or compost tea.
- Phosphorus and Potassium: Promote root and flower development; apply slow-release fertilizers if soil tests indicate deficiency.
- Micronutrients: Trace elements like magnesium and iron may need replenishment for optimal flowering.
Restoring nutrients supports robust regrowth and prolonged blooming.
10. Planning for Future Rain Events
Preventive measures reduce future damage:
- Raised Beds and Mounds: Improve drainage and protect roots from waterlogging.
- Rain Gardens: Divert excess water to designated areas to reduce flooding in flower beds.
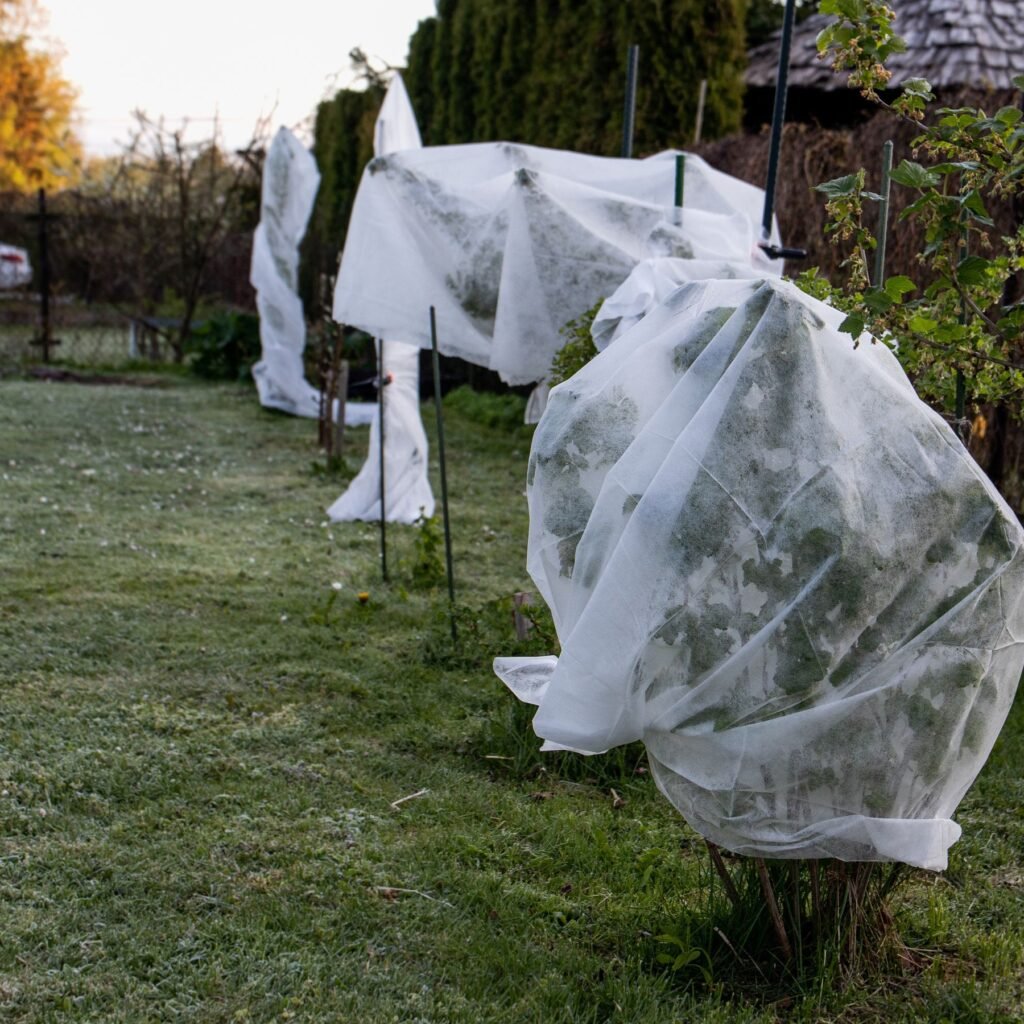
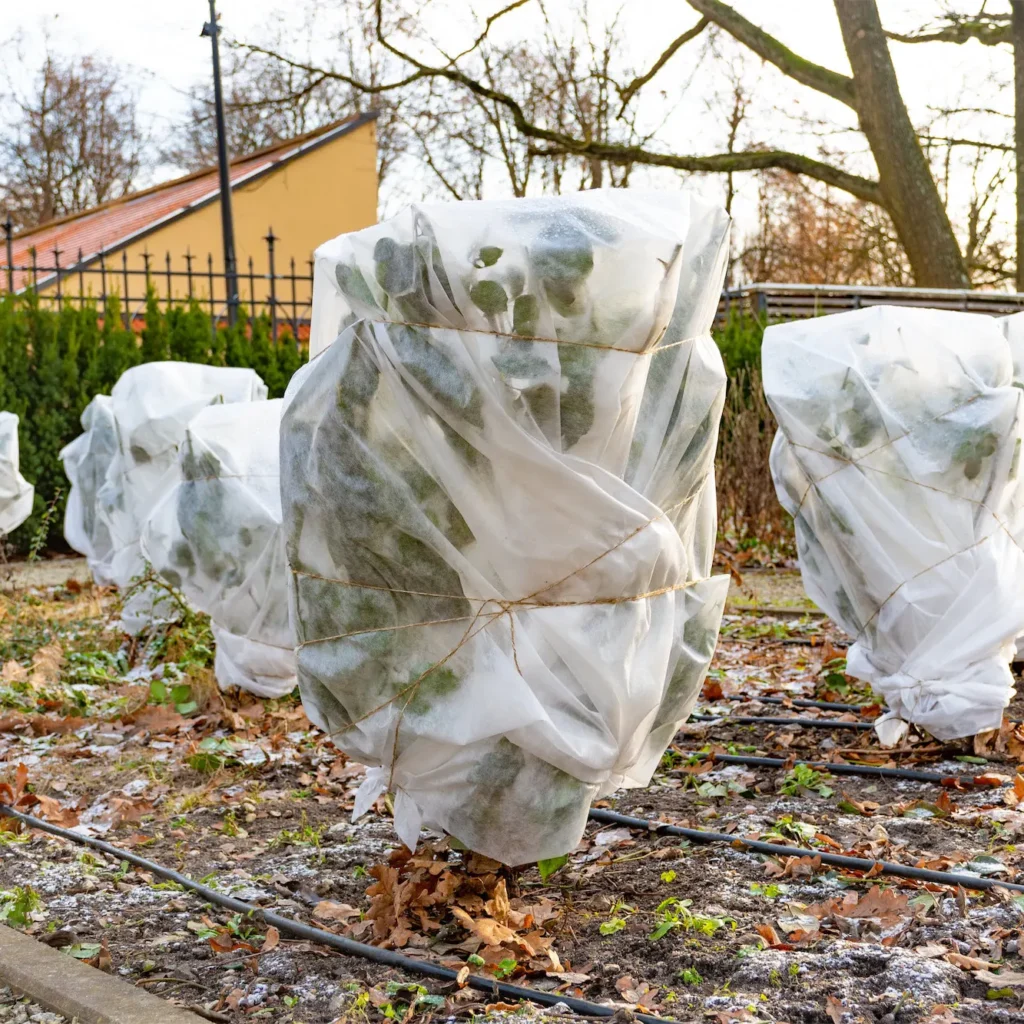
- Windbreaks and Shelter: Protect flowers from wind-driven rain that can cause mechanical damage.
- Soil Amendments: Incorporate sand or perlite into heavy soils to improve drainage.
Strategic planning ensures flowers remain resilient and less prone to rain damage.
11. Encouraging Regrowth and Continuous Bloom
After heavy rain, flowers can bounce back with proper care:
- Deadheading: Remove spent blooms to stimulate new growth.
- Regular Pruning: Trim broken or damaged stems to redirect energy to healthy parts of the plant.
- Sunlight Exposure: Ensure flowers receive adequate sunlight to revive photosynthesis.
- Monitoring: Check for pest infestations, which may exploit weakened plants.
These steps promote vigorous regrowth and restore garden beauty.
12. Psychological Benefits of Reviving Rain-Damaged Flowers
Gardening after storms provides emotional and cognitive benefits:
- Stress Relief: Tending to damaged flowers helps gardeners feel productive and connected to nature.
- Problem-Solving Skills: Diagnosing damage and implementing solutions enhances analytical thinking.
- Aesthetic Satisfaction: Reviving flowers restores visual harmony, boosting morale and enjoyment of outdoor spaces.
Caring for flowers post-rain fosters both resilient gardens and a healthy mindset.
13. Conclusion
Heavy rain can temporarily disrupt the beauty and vitality of flower gardens, but with timely intervention and proper care, flowers can recover and continue to flourish. Key strategies include:
- Immediate Assessment and Support: Straighten stems, trim damaged foliage, and remove standing water.
- Soil and Nutrient Management: Improve drainage, aerate compacted soil, and replenish nutrients lost to leaching.
- Disease Prevention: Maintain airflow, monitor for fungal growth, and apply organic treatments as needed.
- Ongoing Maintenance: Deadhead, prune, and stake plants to encourage regrowth and prevent recurring damage.
- Future Planning: Implement raised beds, rain gardens, and soil amendments to mitigate the impact of future heavy rainfall.
By following these practices, gardeners can revive flowers after heavy rain, maintain continuous blooms, and protect the long-term health of their gardens. Resilient flower beds not only enhance the aesthetic appeal of outdoor spaces but also contribute to a balanced ecosystem, attracting pollinators and supporting biodiversity.
Ultimately, successful recovery from rain damage requires awareness, patience, and proactive care, ensuring that gardens remain vibrant, colorful, and thriving despite the challenges posed by nature.