Fruit trees are a rewarding addition to any garden, providing fresh, nutritious produce and enhancing the landscape’s beauty. However, achieving a bountiful harvest requires more than just planting the right varieties and watering adequately—it depends heavily on proper fertilization. Fertilizing at the right time is crucial for promoting strong root development, healthy foliage, abundant flowering, and high-quality fruit. Fertilize too early or too late, and you risk poor growth, reduced yield, or weakened trees. This article provides a detailed guide on the best time to fertilize fruit trees, with tips for timing, methods, and nutrient management to maximize your harvest.
Understanding Fruit Tree Nutrition
Fruit trees require essential nutrients for growth, flowering, and fruiting. These nutrients are typically categorized as:
- Macronutrients:
- Nitrogen (N): Promotes leaf and shoot growth. Crucial during the early growing season.
- Phosphorus (P): Supports root development and flower formation.
- Potassium (K): Essential for fruit quality, size, and overall plant health.
- Secondary Nutrients:
- Calcium, magnesium, and sulfur contribute to structural strength, chlorophyll production, and overall tree vitality.
- Micronutrients:
- Iron, zinc, manganese, copper, boron, and molybdenum are needed in small amounts for enzymatic functions and metabolic processes.
Fertilization aims to balance these nutrients in accordance with the tree’s growth stage to ensure maximum productivity.
Best Time to Fertilize Based on Tree Growth Stage
The timing of fertilization depends on the seasonal cycle and the tree’s growth stage:
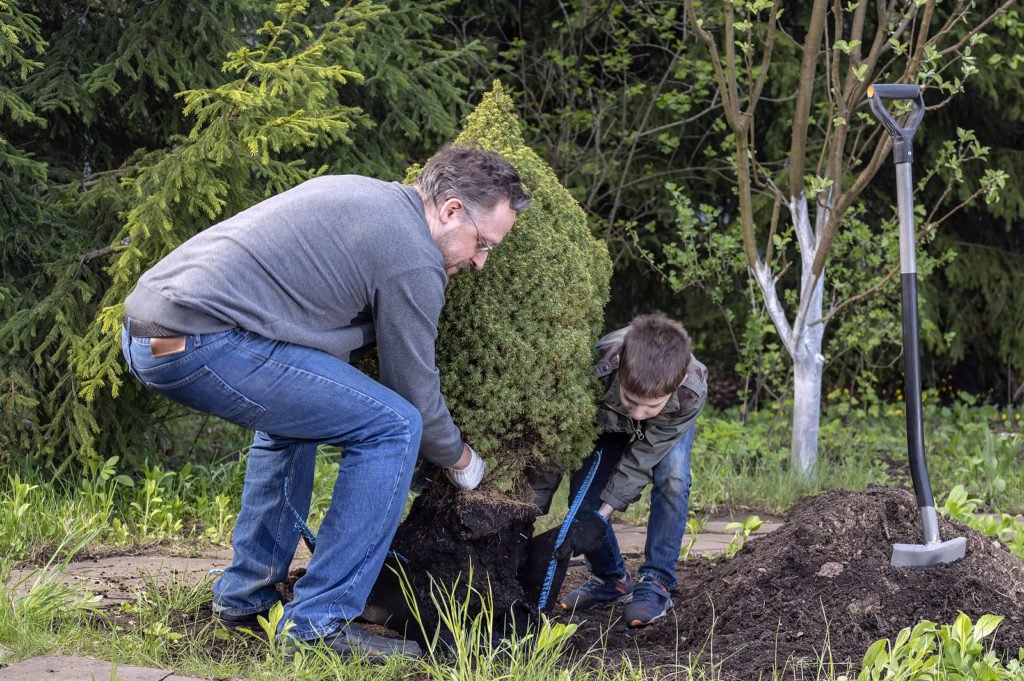
1. Early Spring (Pre-Bud Break)
- Purpose: Stimulate root development and prepare the tree for vigorous growth.
- Why It Works: Soil is warming, and trees begin to mobilize nutrients stored in roots.
- Recommended Fertilizer: Balanced slow-release fertilizer (e.g., 10-10-10) or high-nitrogen formulations for leafy growth.
- Application Tips:
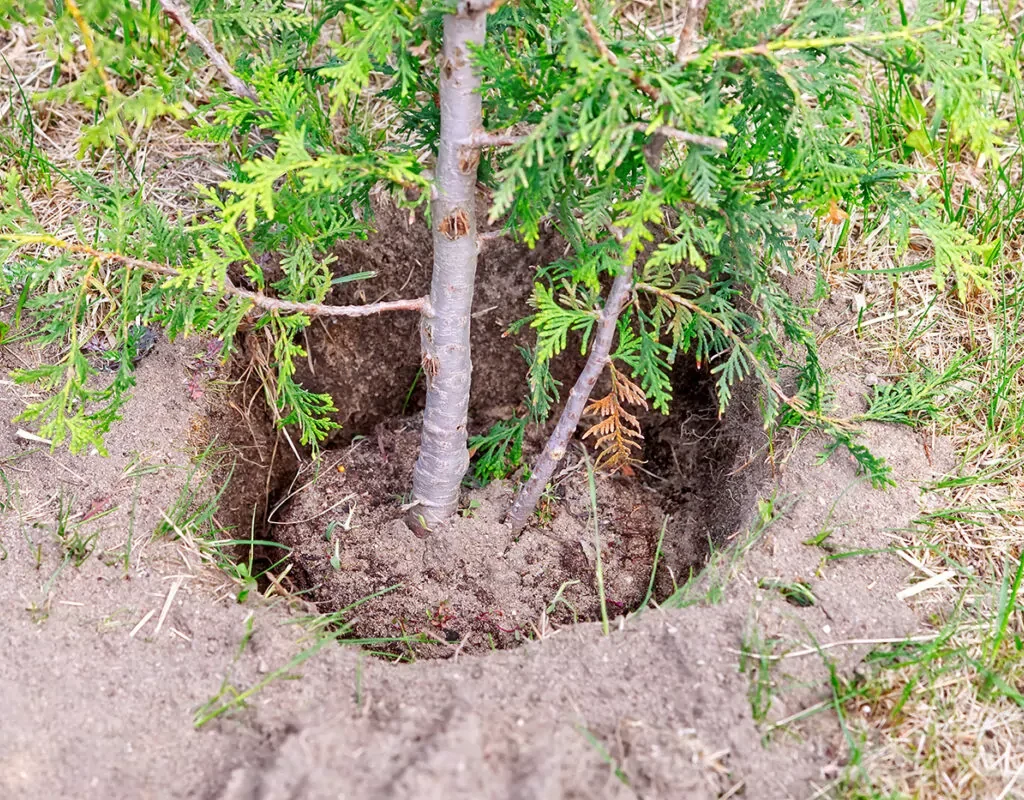
- Apply fertilizer evenly around the drip line (the area beneath the canopy where roots absorb most nutrients).
- Avoid placing fertilizer too close to the trunk to prevent root burn.
Early spring fertilization ensures that trees have the nutrients needed for healthy leaf expansion and flower bud formation.
2. At Bloom (Flowering Stage)
- Purpose: Support blossom development and pollination.
- Nutrient Focus: Phosphorus and potassium are critical for flower and fruit set.
- Recommended Fertilizer: Bloom-specific fertilizers or those higher in P and K.
- Application Tips:
- Avoid excessive nitrogen at this stage, which can promote leafy growth at the expense of flowers.
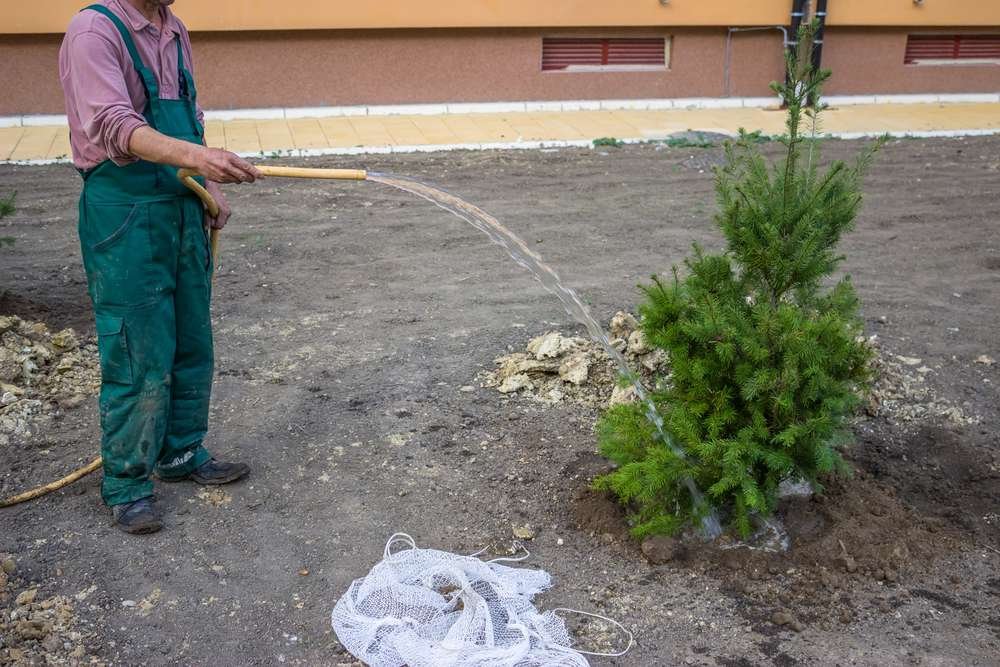
- Water fertilizer into the soil to enhance absorption.
Proper nutrition during bloom helps ensure maximum flower retention, which directly impacts fruit quantity.
3. Post-Harvest (Late Summer to Early Fall)
- Purpose: Replenish nutrient reserves and prepare trees for dormancy.
- Nutrient Focus: Balanced nutrients with a moderate nitrogen component to promote root storage rather than excessive top growth.
- Recommended Fertilizer: Organic options like composted manure, bone meal, or slow-release granular fertilizers.
- Application Tips:
- Spread fertilizer evenly under the canopy to feed roots.
- Avoid fertilizing too late in fall, as it may stimulate tender growth vulnerable to frost.
Post-harvest fertilization helps the tree recover from fruiting and strengthens it for the next season.
Special Considerations for Different Fruit Trees
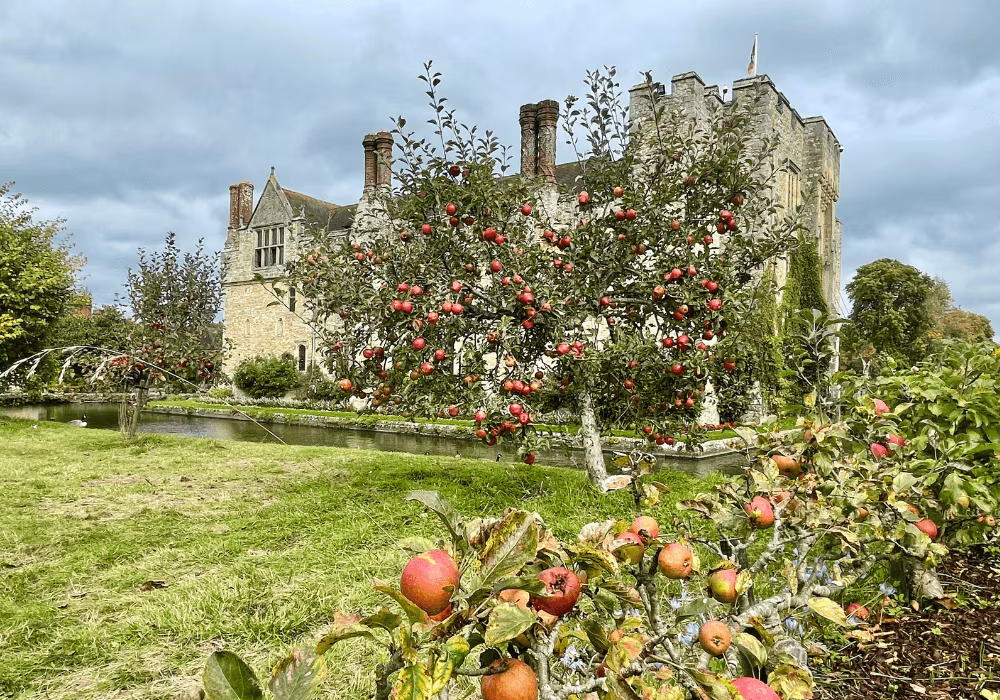
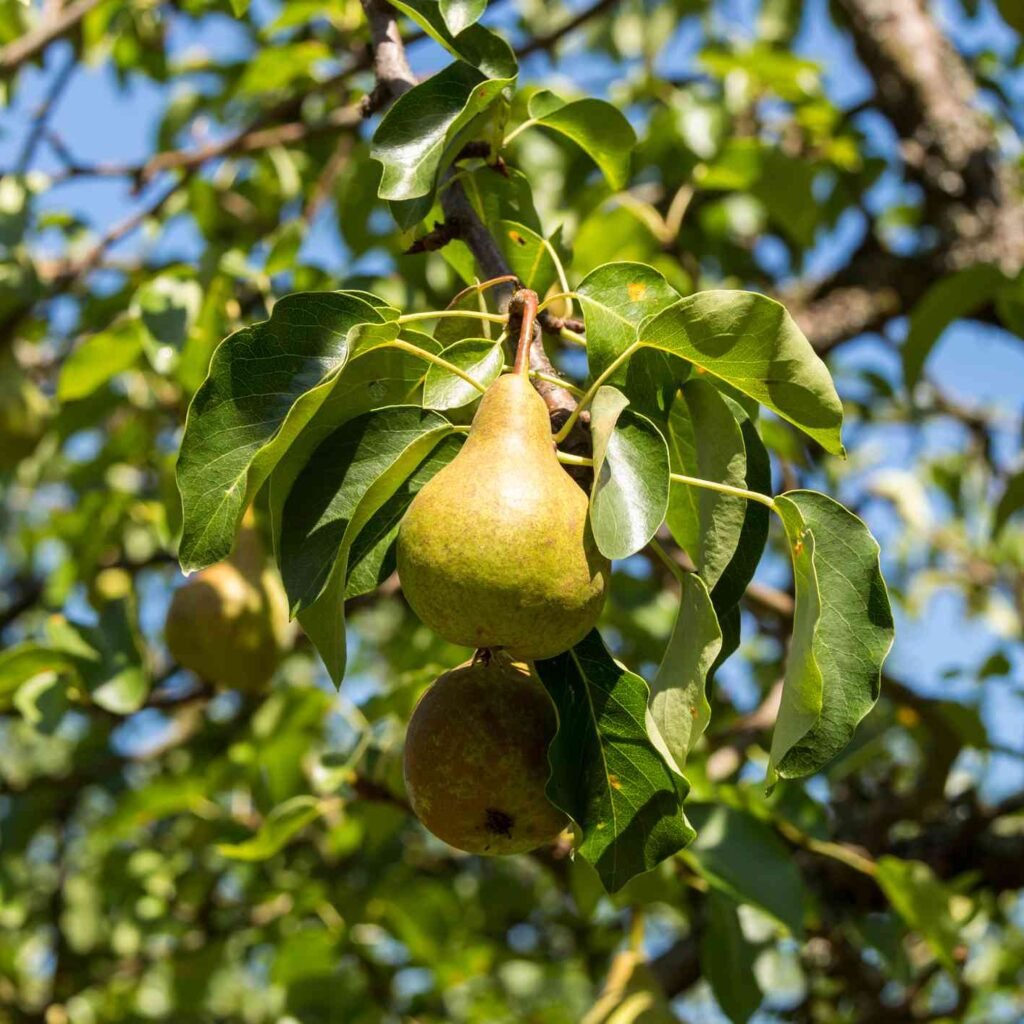
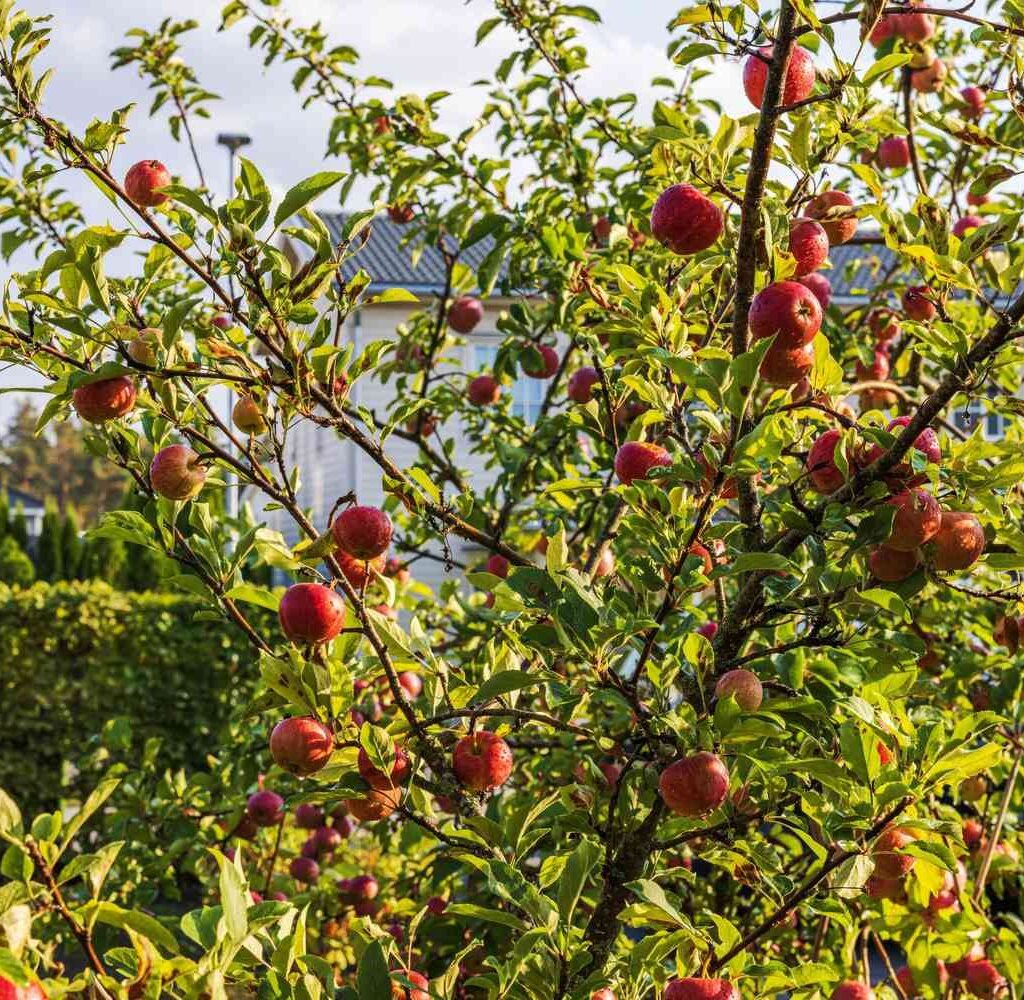
1. Apples and Pears
- Require high nitrogen early in the season for vegetative growth.
- Post-harvest fertilization with potassium and phosphorus promotes fruit bud formation for next year.
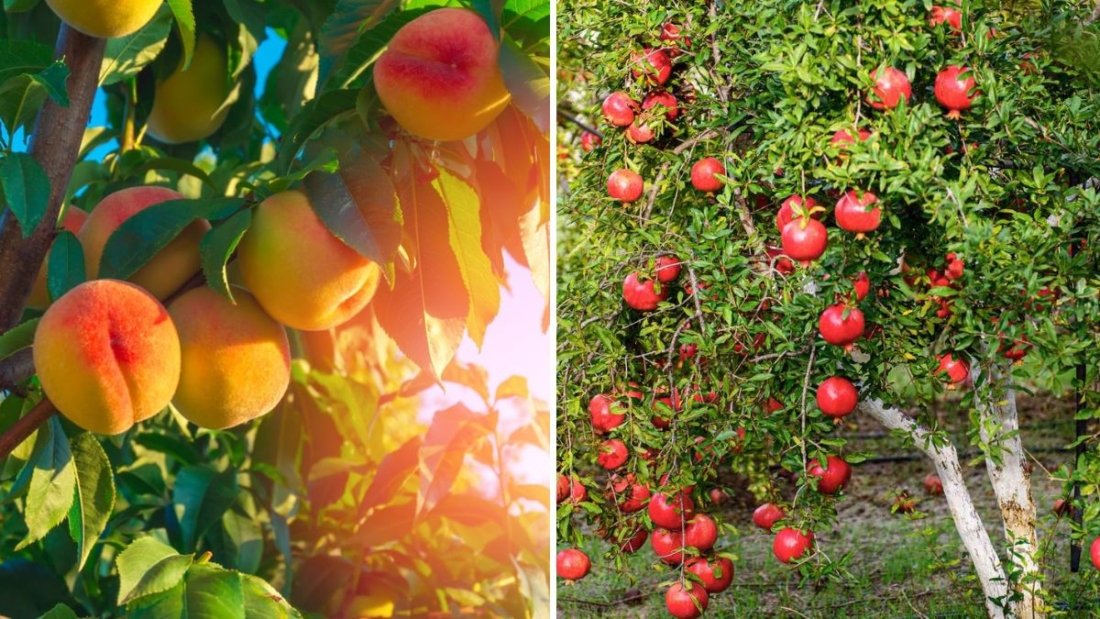
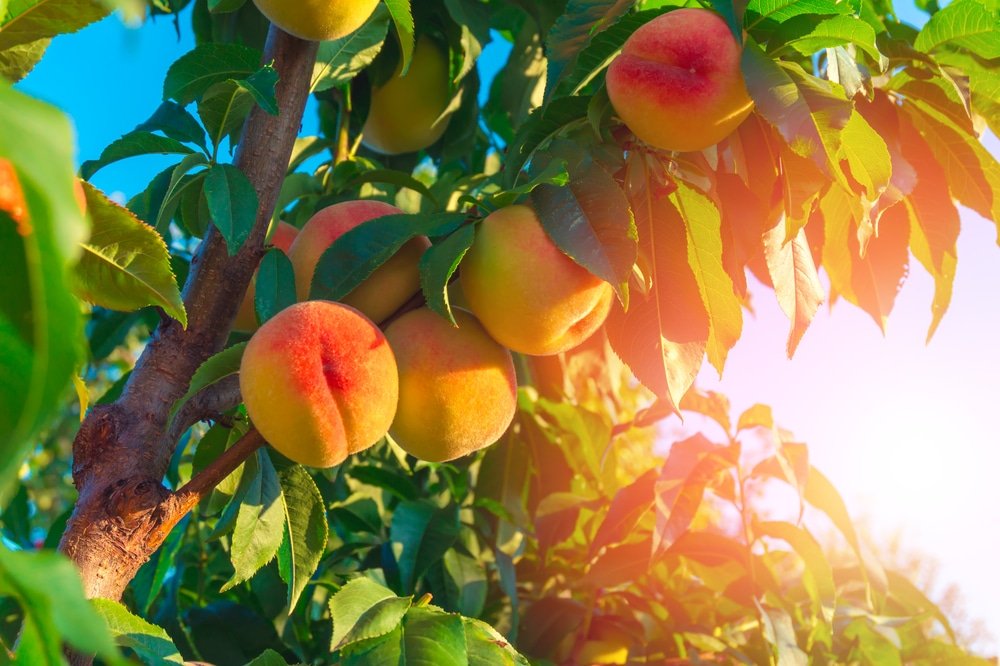
2. Stone Fruits (Peaches, Plums, Cherries)
- Nitrogen application should be moderate to prevent excessive leafy growth, which can increase disease susceptibility.
- Timing is critical: early spring application before bloom is ideal.
3. Citrus Trees
- Benefit from fertilization 3–4 times per year due to continuous growth cycles.
- Use a citrus-specific fertilizer containing micronutrients such as magnesium and iron.
4. Nut Trees (Almonds, Walnuts, Pecans)
- Focus on nitrogen in early spring for shoot and leaf growth.
- Potassium and phosphorus should be applied after nut set for improved kernel quality.
Understanding species-specific nutrient needs ensures optimal fertilization and fruit production.
Methods of Fertilizing Fruit Trees
- Granular Fertilizer
- Spread evenly under the drip line and water in.
- Provides slow-release nutrition that supports long-term growth.
- Liquid Fertilizer
- Applied as a soil drench or foliar spray.
- Offers rapid nutrient uptake, particularly useful during bloom or when deficiency symptoms appear.
- Organic Fertilizers
- Compost, manure, bone meal, or fish emulsion provide nutrients and improve soil structure.
- Slower nutrient release but improves long-term soil fertility.
- Foliar Feeding
- Spraying nutrient solutions directly onto leaves allows rapid absorption of micronutrients like iron and zinc.
- Useful when soil deficiencies limit nutrient uptake.
Choosing the right method depends on tree size, nutrient needs, and time of year.
Signs Your Fruit Trees Need Fertilization
- Pale or Yellowing Leaves: Indicates nitrogen or iron deficiency.
- Poor Flower or Fruit Development: May suggest phosphorus or potassium deficiency.
- Slow Growth: Could be due to inadequate nutrients or imbalanced soil.
- Leaf Curling or Necrosis: Often linked to micronutrient deficiency or irregular fertilization.
Regular observation and soil testing help determine fertilization timing and prevent over-application, which can harm the tree or reduce fruit quality.
Common Mistakes to Avoid
- Fertilizing at the Wrong Time: Late fall fertilization may stimulate growth susceptible to frost; mid-summer fertilization can disrupt dormancy.
- Over-Fertilization: Excess nitrogen can lead to lush foliage but poor fruit set and higher susceptibility to pests and diseases.
- Neglecting Soil Testing: Applying fertilizer without knowing soil nutrient levels can result in deficiencies or toxicities.
- Applying Too Close to Trunk: Concentrated fertilizer near the trunk can damage roots and create uneven nutrient distribution.
Avoiding these mistakes maximizes fruit yield while maintaining tree health.
Enhancing Fertilization with Soil Care
- Mulching: Retains moisture, moderates soil temperature, and reduces nutrient runoff.
- Composting: Adds organic matter and beneficial microorganisms that improve nutrient uptake.
- Irrigation Management: Proper watering ensures nutrients are absorbed efficiently.
- pH Management: Adjust soil pH to optimal levels for the species, as nutrient availability depends on pH.
Healthy soil enhances fertilization effectiveness and supports long-term tree productivity.
Conclusion
Fertilizing fruit trees at the right time is critical for achieving a bumper crop. Early spring applications support root growth and leaf development, bloom-stage nutrients ensure strong flower and fruit set, and post-harvest fertilization replenishes reserves for the following season. Understanding each fruit tree’s nutritional requirements, choosing the correct fertilizer, and applying it at the optimal time ensures healthy trees, abundant flowers, and high-quality fruit.
Avoiding common mistakes, monitoring tree health, and maintaining soil fertility further enhance fruit production. By following these strategies, gardeners can maximize yields, improve fruit quality, and enjoy the satisfaction of a productive orchard year after year. Thoughtful, well-timed fertilization is not just a seasonal task—it is the foundation for thriving, fruitful trees and a rewarding gardening experience.