Marigolds are widely celebrated for their vibrant colors, ease of growth, and versatility in gardens worldwide. Beyond their aesthetic appeal, marigolds play a crucial role in natural pest management, making them a favorite among organic gardeners. Often referred to as “nature’s pesticide,” marigolds can help protect vegetable gardens, flower beds, and even container plants from a variety of harmful insects and soil-borne pests. Understanding how to grow and strategically use marigolds can lead to healthier plants, higher yields, and a more balanced ecosystem in your garden.
This article explores the science, strategies, and best practices for growing marigolds as a natural pest control solution.
1. Understanding the Pest-Repellent Properties of Marigolds
Marigolds (Tagetes spp.) produce bioactive compounds that deter pests. These compounds include:
- Thiophenes: Found in roots, these natural chemicals suppress nematodes and soil-borne pests.
- Volatile oils: Released from flowers and foliage, these repel aphids, whiteflies, and certain beetles.
- Dense foliage and vibrant flowers: Attract beneficial insects like ladybugs, lacewings, and parasitic wasps, which prey on garden pests.
By leveraging these natural defenses, gardeners can reduce reliance on chemical pesticides while maintaining garden health.
2. Choosing the Right Marigold Varieties

Marigolds come in two main types:
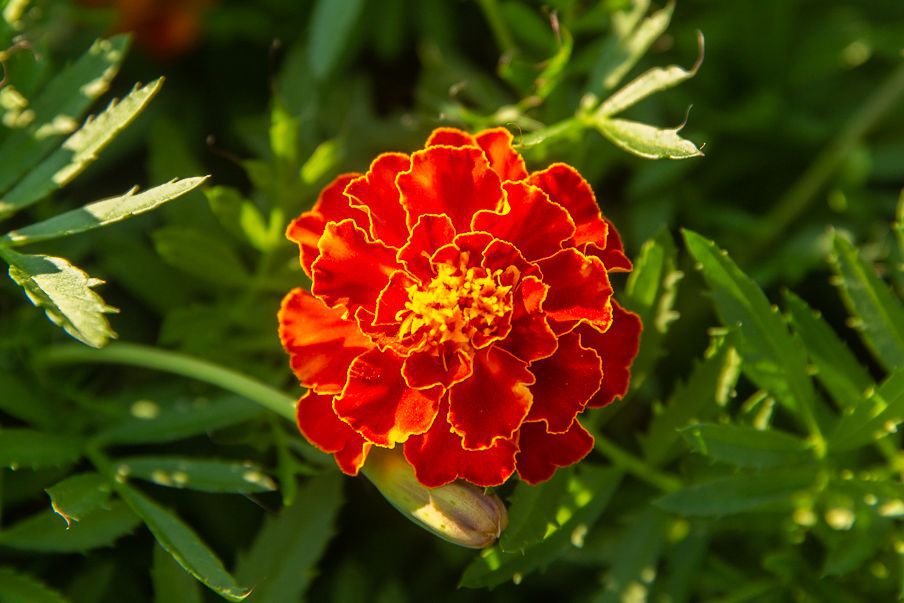
A. French Marigolds (Tagetes patula)
- Size: Small to medium (6–12 inches tall)
- Features: Compact, bushy growth; ideal for borders, container gardens, and intercropping.
- Pest Control Benefit: Strong nematode-suppressing root compounds.
B. African Marigolds (Tagetes erecta)
- Size: Taller plants (up to 3 feet) with large, showy blooms
- Features: Excellent for cutting gardens, flower beds, and companion planting
- Pest Control Benefit: Effective against soil pests and certain insects, though less compact than French marigolds.
Selecting the right variety depends on garden size, design, and pest control goals.
3. Site Selection and Soil Preparation
For marigolds to thrive and act as effective pest deterrents, proper site preparation is key:
- Sunlight: Full sun (at least 6 hours daily) ensures robust growth and vibrant blooms.
- Soil: Well-drained, fertile soil with a slightly acidic to neutral pH (6.0–7.0) is ideal.
- Soil Enrichment: Add compost or organic matter to support healthy root systems that produce nematode-suppressing compounds.
- Spacing: French marigolds: 6–12 inches apart; African marigolds: 12–18 inches apart. Proper spacing ensures airflow, reduces fungal issues, and maximizes pest-repellent benefits.
Well-prepared soil promotes healthy plants with maximum chemical defenses.
4. Planting Techniques

A. Direct Sowing
- Sow seeds after the last frost in spring, about ¼ inch deep in well-prepared soil.
- Thin seedlings to recommended spacing once true leaves appear.
B. Transplanting Seedlings
- Start seeds indoors 6–8 weeks before the last frost.
- Harden seedlings before transplanting to prevent shock.
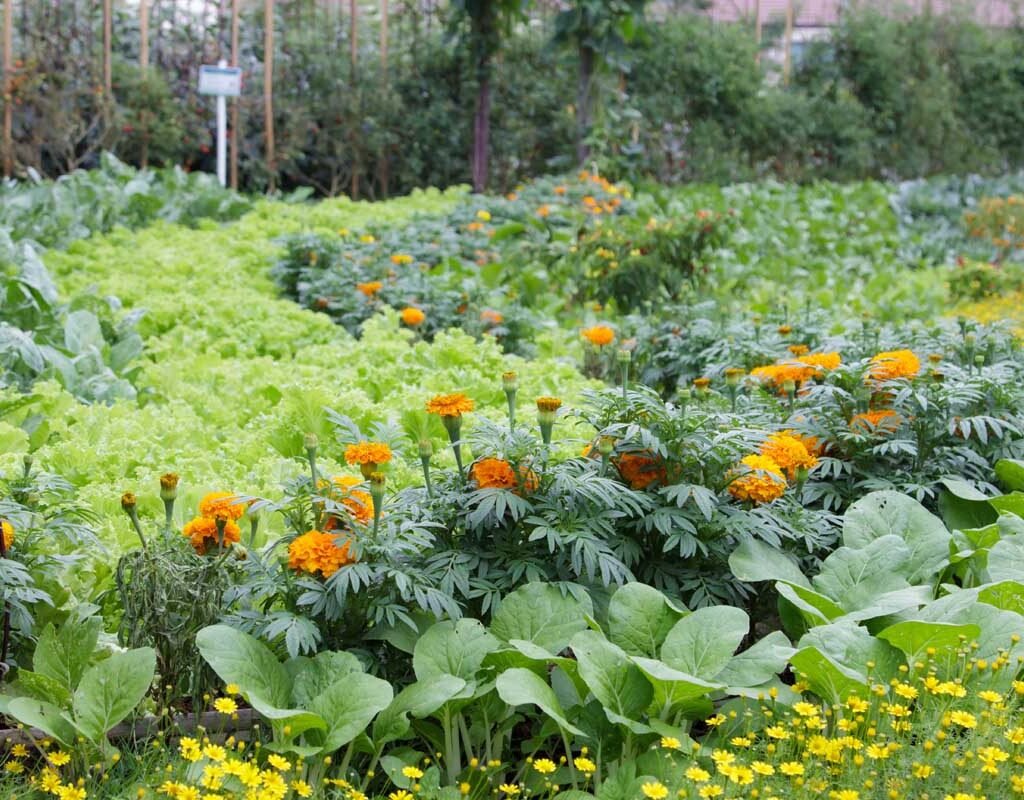
C. Companion Planting
- Interplant marigolds among vegetables like tomatoes, peppers, cucumbers, and beans.
- Position taller African marigolds at the back of beds and smaller French marigolds along borders.
Strategic planting maximizes pest-repellent coverage and overall garden protection.
5. Watering and Fertilization Practices
Marigolds are relatively low-maintenance but require proper care for maximum efficacy:
- Watering: Keep soil evenly moist but avoid waterlogging. Drip irrigation is ideal for preventing fungal growth.
- Fertilization: Use a balanced, low-nitrogen fertilizer or compost. Excess nitrogen encourages leaf growth at the expense of flowers, reducing pest-repellent properties.
- Mulching: Apply 2–3 inches of organic mulch to retain moisture, regulate soil temperature, and suppress weeds.
Healthy, well-nourished marigolds produce stronger bioactive compounds, enhancing their pest-control abilities.
6. Timing for Maximum Pest Control
Timing is critical for marigolds to protect your garden:
- Early Spring Planting: Establishes marigolds before pest populations increase.
- Succession Planting: Sow seeds every 3–4 weeks to maintain continuous bloom and pest suppression.
- Long Blooming Season: Deadhead spent flowers to encourage new blooms, ensuring a consistent supply of repellent compounds.
Proper timing ensures that marigolds are present whenever pests emerge, reducing damage to nearby plants.
7. Common Pests Marigolds Help Control
Marigolds are particularly effective against:
- Nematodes: Parasitic root nematodes can devastate vegetables like tomatoes and peppers; marigold roots produce thiophenes that suppress these pests.
- Aphids: Volatile oils from foliage deter aphids from settling on nearby plants.
- Whiteflies and Spider Mites: Strong-scented marigolds reduce infestations naturally.
- Beetles and Leaf Miners: Interplanting marigolds discourages feeding and reduces egg-laying activity.
By targeting these pests, marigolds provide multi-layered natural protection.
8. Attracting Beneficial Insects

Marigolds not only repel pests but also attract beneficial insects that act as natural predators:
- Ladybugs: Feed on aphids and soft-bodied insects.
- Lacewings: Prey on caterpillars and aphids.
- Parasitic Wasps: Control a wide range of garden pests.
Including marigolds in your garden creates a balanced ecosystem, where natural predators reduce pest populations without chemicals.
9. Seasonal Care and Maintenance
To maximize marigolds’ pest control benefits:
- Deadheading: Regular removal of spent blooms encourages continuous flowering and prolonged pest deterrence.
- Pruning: Trim back overly dense growth to improve airflow and reduce fungal risk.
- Fertilization: Apply organic compost mid-season to maintain flower production.
- Monitoring: Check plants for pests; while marigolds deter many insects, some may still feed on them without affecting neighboring plants.
Proper maintenance ensures healthy marigolds that continuously protect the garden.
10. Companion Planting Strategies
Marigolds are highly effective when combined with other plants:
- Tomatoes and Peppers: Marigolds reduce root nematodes and foliar pests.
- Cucumbers and Squash: Repel beetles and aphids.
- Beans: Help protect against Mexican bean beetles.
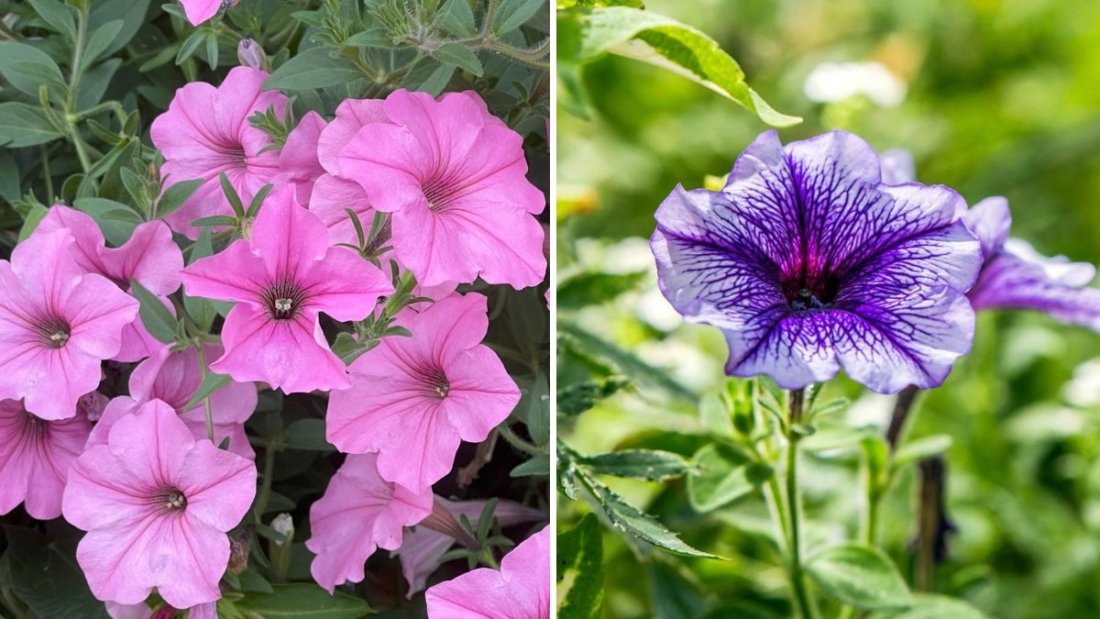
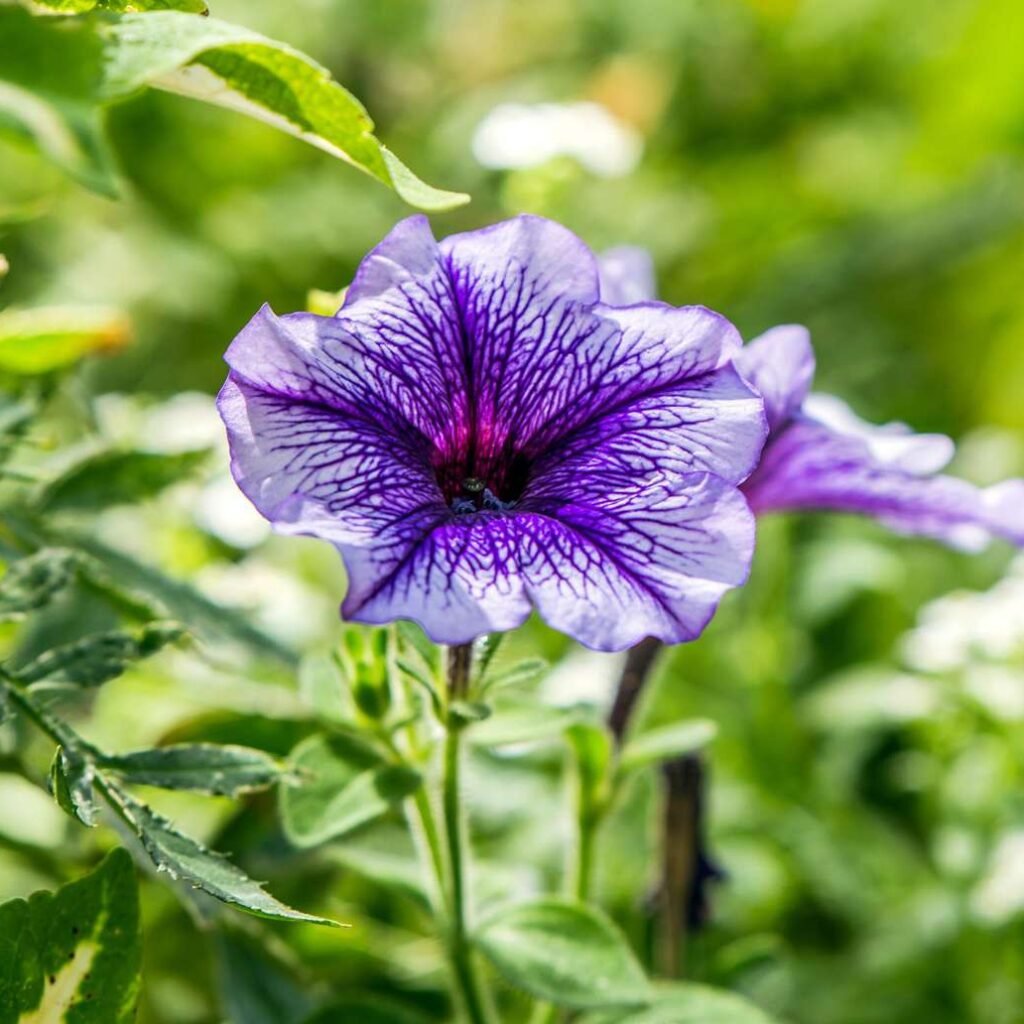
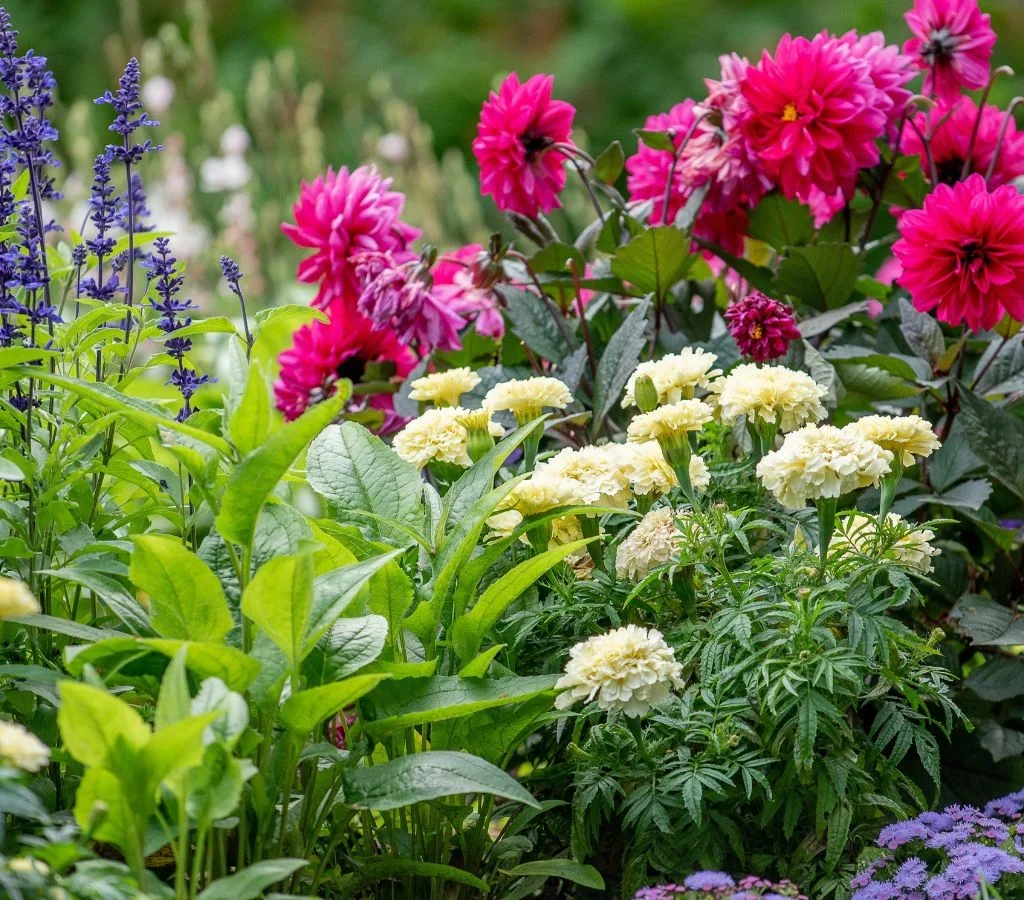
- Flowers like Petunias and Nasturtiums: Complement marigolds by providing additional pest deterrence and visual diversity.
Companion planting amplifies pest control benefits while enhancing garden aesthetics.
11. Environmental Considerations
- Sunlight: Marigolds require full sun for maximum growth and flower production.
- Temperature: They thrive in warm conditions (70–85°F). Frost can damage blooms, so plant after the last frost date.
- Soil Moisture: Overly wet soil can reduce pest-repellent chemical production and promote fungal diseases.
- Air Circulation: Adequate spacing prevents disease and promotes stronger chemical defenses.
Optimizing environmental conditions ensures robust marigolds capable of natural pest suppression.
12. Benefits Beyond Pest Control
Growing marigolds offers additional advantages:
- Aesthetic Appeal: Bright blooms enhance garden color and design.
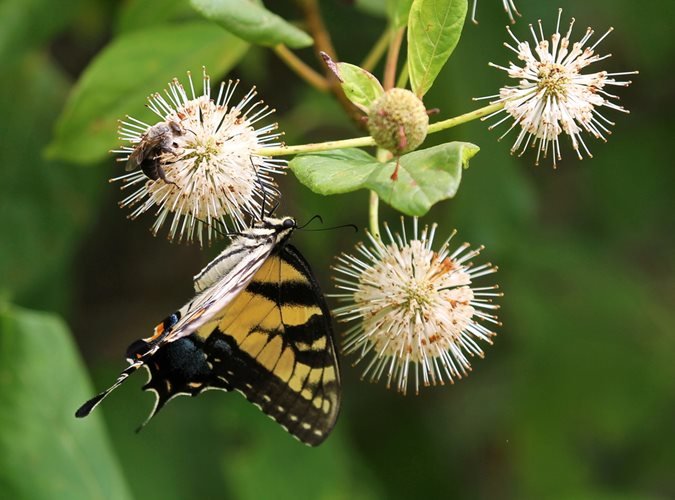
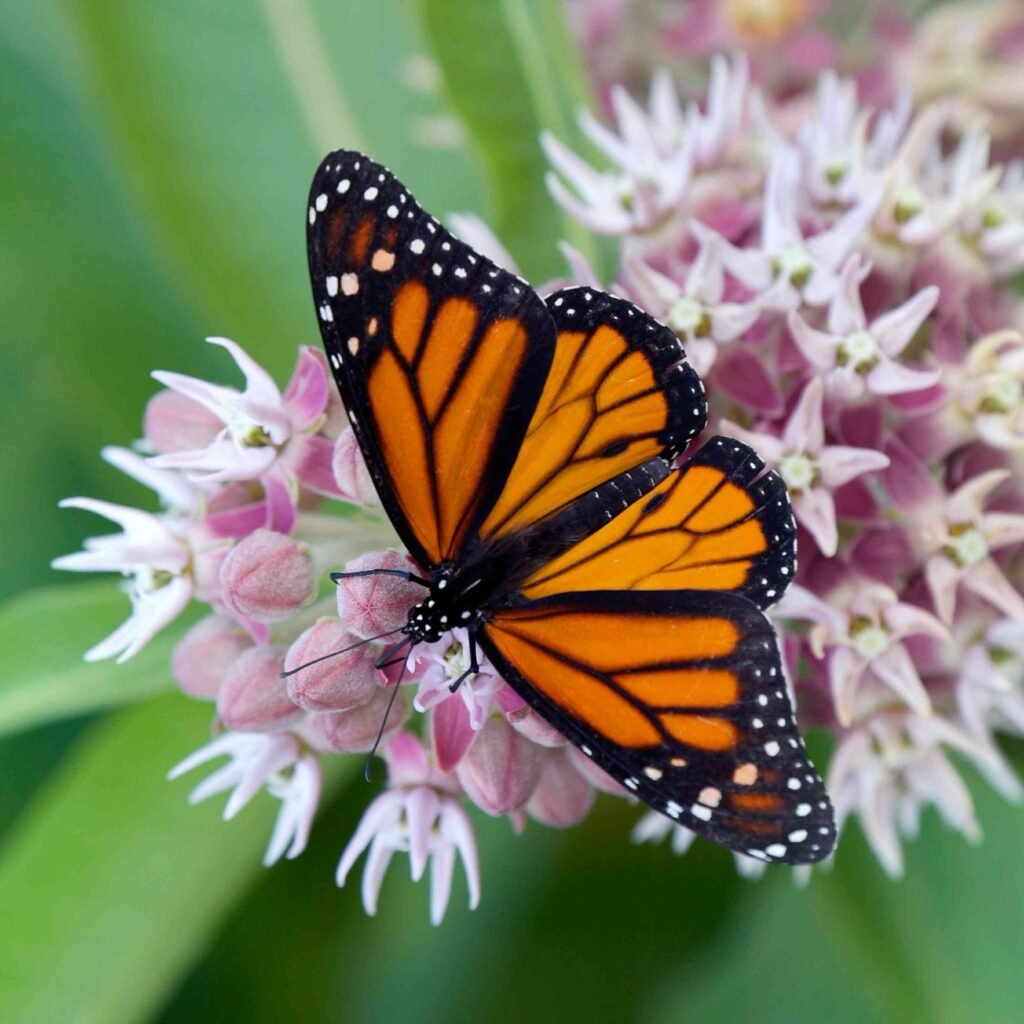
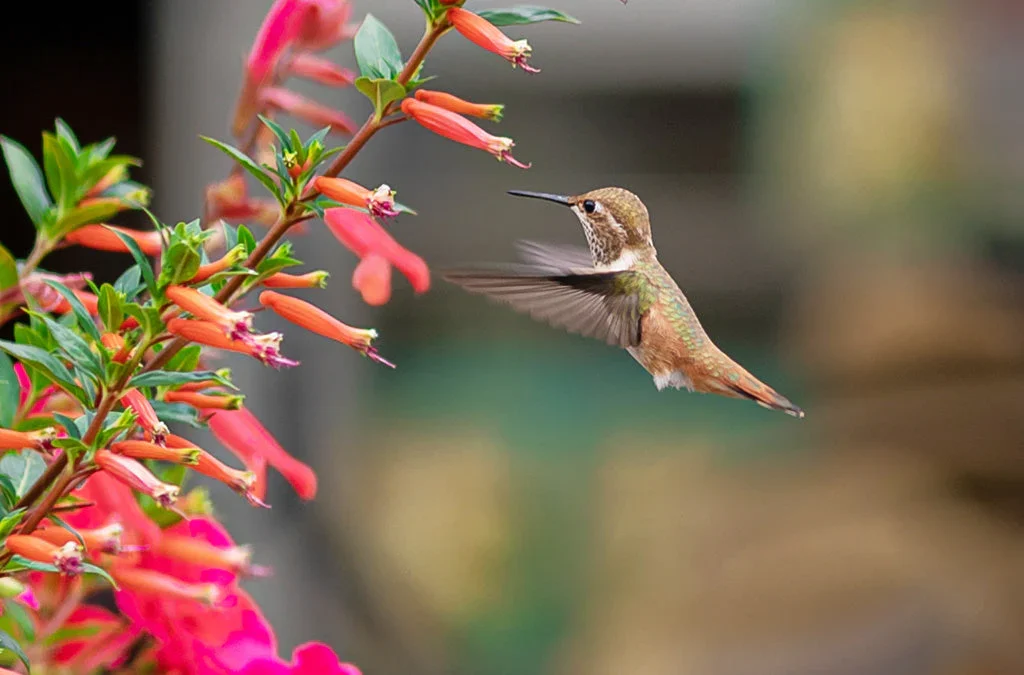
- Pollinator Attraction: Bees, butterflies, and hoverflies are drawn to flowers, improving pollination for neighboring plants.
- Soil Health: Marigold roots improve soil texture and support beneficial microbial activity.
- Low Maintenance: Easy to grow and resilient, ideal for beginner and organic gardeners.
Marigolds provide a multi-functional solution, combining beauty, pest management, and ecological benefits.
13. Conclusion
Marigolds are a powerful, natural tool for pest control in gardens, offering a chemical-free solution to common pest problems. Their ability to suppress nematodes, repel aphids and beetles, and attract beneficial insects makes them indispensable companions for vegetables, flowers, and container plants.
By selecting the appropriate variety, preparing fertile soil, practicing proper planting, watering, fertilization, and deadheading, gardeners can maximize the pest-repellent potential of marigolds. Strategic companion planting and succession sowing ensure continuous protection throughout the growing season.
Integrating marigolds into your garden creates a balanced, vibrant ecosystem, reduces the need for chemical interventions, and contributes to healthier plants and higher yields. Beyond pest control, marigolds bring color, fragrance, and life to the garden, proving that effective natural solutions can be both practical and beautiful.